
The B Major Chord on Guitar: Every Way to Play It
The full major B chord shape on guitar, two no-barre versions, a capo trick, and the exact fixes for a B chord that will not ring clean yet.

The B major chord is played by barring your index finger across the bottom five strings at the 2nd fret, then adding your middle finger on the 4th fret of the D string, your ring finger on the 4th fret of the G string, and your pinky on the 4th fret of the B string. Mute the low E string. If a full barre is not happening yet, there is a genuine three-finger version further down that skips it entirely, plus a capo trick that gets you a fully open-string B major with no barre at all.
| String | Fret | Finger |
|---|---|---|
| 6 (low E) | Muted | - |
| 5 (A) | 2 | 1 (barre) |
| 4 (D) | 4 | 2 |
| 3 (G) | 4 | 3 |
| 2 (B) | 4 | 4 |
| 1 (high E) | 2 | 1 (barre) |
That is the shape most chord charts mean when they simply write "B." Like B minor, it is one of the first chords new players meet that has no friendly open-string version at all, so every note in it has to be fretted by hand, a capo, or borrowed from a shape you already know. That is not a flaw in how the guitar is built. It is just where B happens to land, and once you see why, the chord stops feeling like an arbitrary wall.
What Notes Make Up the B Major Chord
B major is built from three notes: B (the root), D# (the major third), and F# (the fifth). Any combination of those three notes, in any octave, on any strings, is a B major chord. Every shape in this post, the full barre, the easy version, the capo trick, is the same three notes rearranged across the fretboard.
Those three roles are worth knowing by name, because the same naming applies to every chord you will ever learn. The root names the chord. The third decides whether it sounds major or minor, which is exactly what the next section covers. The fifth mostly reinforces the chord's stability without changing its character much, which is why it gets doubled across multiple strings in a full voicing, as it is in the barre shape above, where F# appears twice.
The B major scale itself, B, C#, D#, E, F#, G#, A#, is where those three chord tones come from: the root, the third scale degree, and the fifth scale degree. Notice that E is a note in the B major scale but not in the B major chord. Mixing those two up, playing an open E string against a B chord, is a common beginner slip that makes an otherwise correct chord sound slightly wrong without an obvious cause.
In interval terms, the major third sits four semitones above the root, and the perfect fifth sits seven semitones above it. That four-semitone gap is the entire difference between a major chord and a minor chord, which uses a three-semitone third instead. It is a small gap in theory and a large one in sound, which is why the B major vs B minor comparison below is worth spending real time on.
B Major vs B Minor: What One Note Changes
It helps to see the two chords side by side, because the difference on paper is smaller than the difference by ear.
| Chord | Notes | 2nd string (B) note in the barre shape | Character |
|---|---|---|---|
| B major | B, D#, F# | D# | Bright, resolved |
| B minor | B, D, F# | D natural | Somber, unresolved |
On the full barre shape, that single semitone lives on the pinky finger. In the barre version of B minor, the pinky sits one fret lower than it does here, turning the D# back into a plain D. Every other finger in the shape stays exactly where it was. If you already know the B minor barre chord, sliding only your pinky up one fret is the fastest way to hear the two chords flip between somber and bright.
This is also useful in reverse: if a B chord you are playing sounds unexpectedly sad, check that pinky. A finger that has slipped back one fret turns your B major into a B minor without you necessarily noticing by sight alone.
The Full A-Shape Barre Chord, Step by Step
Here is the shape broken down one finger at a time, in the order most players find easiest to build it.
- Lay your index finger flat across the bottom five strings at the 2nd fret, from the A string through to the high E string. Get it as close to the fret wire as you comfortably can, not centered in the middle of the fret space.
- Place your middle finger on the 4th fret of the D string (4th string).
- Place your ring finger on the 4th fret of the G string (3rd string), just past your middle finger.
- Place your pinky on the 4th fret of the B string (2nd string).
- Check the high E string is still being caught cleanly by the barre. It is the note most players let slip.
- Mute the low E string with the underside of your index finger, or simply avoid strumming it, and strum from the A string down.
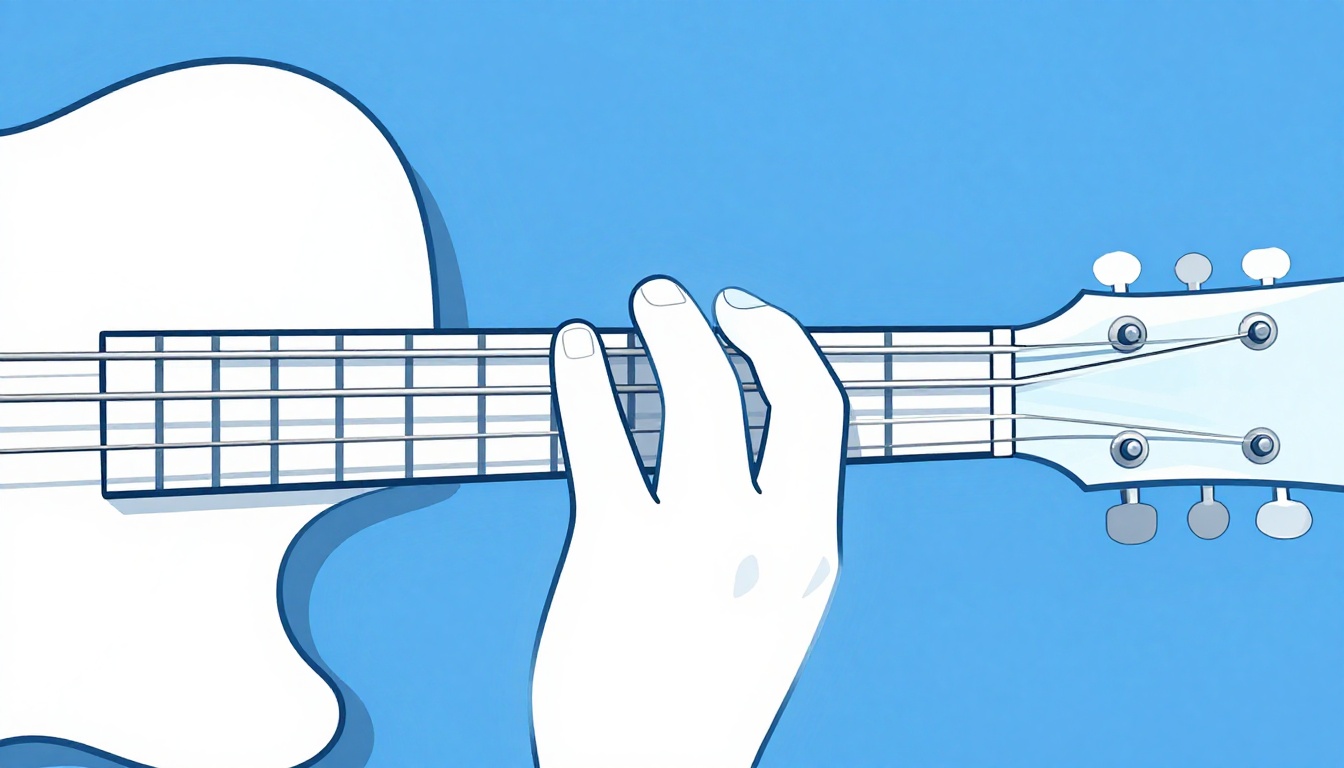
Play it one string at a time before you strum the whole thing. Pick the A, D, G, B, and high E strings individually, and listen for any string that comes out muted or buzzing. That single-string check tells you exactly which finger needs to adjust, instead of guessing from a strum that sounds vaguely wrong.
This shape is moveable. It is the same fingering as an open A major chord with a capo-like barre standing in for the nut, shifted up two frets. You already know this shape in a sense, you have just never had to supply your own capo with your index finger before.
An Easier B Major Chord With No Barre
If the full barre is not happening yet, there is a genuine three-finger version of B major that skips it entirely, using only the top three strings.
| String | Fret | Finger |
|---|---|---|
| 6 (low E) | Don't play | - |
| 5 (A) | Don't play | - |
| 4 (D) | Don't play | - |
| 3 (G) | 4 | 3 (ring) |
| 2 (B) | 4 | 4 (pinky) |
| 1 (high E) | 2 | 1 (index) |
Play only the top three strings. The ring and pinky fingers land right next to each other on the same fret, one string apart, which feels unfamiliar the first few times but is a genuinely usable shape, not just a practice crutch. Curl your fingers so each one only touches its own string, since the G and B strings are close together and it is easy for a flat finger to mute the one next to it.
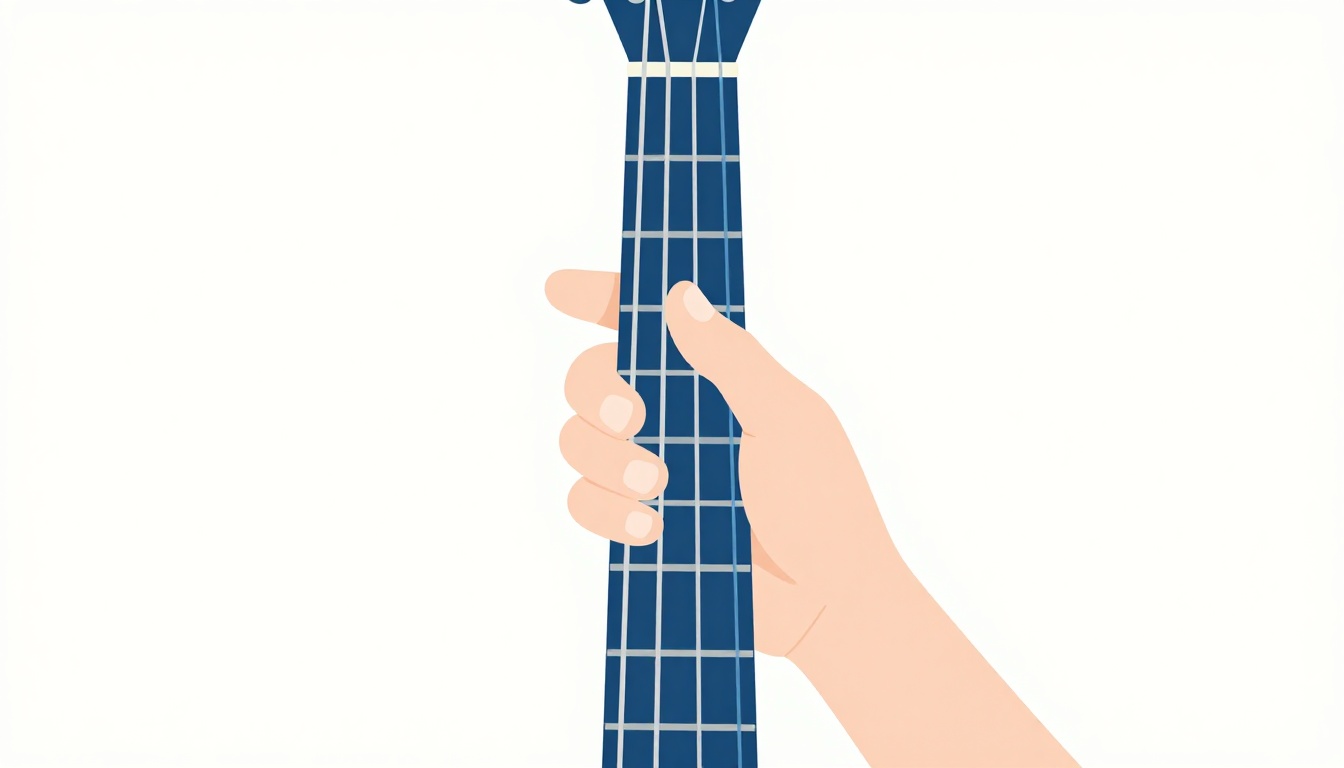
This version sits high in pitch compared to the full barre chord, so it works well in a mix where you do not want a heavy low end, and it is the fastest way to get a correct-sounding B major under your fingers on day one.
A Four-String No-Barre Version
Between the three-string shape above and the full barre sits a four-string version that adds the D string without adding a barre.
| String | Fret | Finger |
|---|---|---|
| 6 (low E) | Don't play | - |
| 5 (A) | Don't play | - |
| 4 (D) | 4 | 2 (middle) |
| 3 (G) | 4 | 3 (ring) |
| 2 (B) | 4 | 4 (pinky) |
| 1 (high E) | 2 | 1 (index) |
Every finger plays exactly one note, no barre, no finger doubling up. This is the shape worth practicing right after the three-string version, because the fingering is nearly identical to the full barre chord minus the index finger's job, so your hand is already learning the target shape without the added demand of flattening a finger across five strings at once.
Strum only the four strings you are fretting. If your pick catches the A string or low E string, you will hear an open A or open E note that does not belong in the chord, which sounds off in a way that is hard to place if you do not know to listen for it.
Alternate Fingerings for Small Hands or Stiff Fingers
The three-string and four-string versions above are written with a specific finger assigned to each string, but that assignment is a starting suggestion, not a rule. If your ring and pinky fingers feel cramped landing on adjacent strings at the same fret, try the same shape with your middle and ring fingers instead, freeing the pinky entirely. The notes produced are identical either way, since what matters is which strings get fretted at which frets, not which finger does the pressing.
This matters more than it sounds like it should, because hand size and finger length vary enough that a fingering that feels natural for one player feels cramped for another. A player with a shorter pinky often finds middle-and-ring more comfortable for the top-string shapes in this post; a player with a longer reach often prefers keeping the pinky in play so the index finger stays free for whatever comes next in a chord change. Try both on the three-string version specifically, since it is the shape you are most likely to reach for quickly, and let comfort decide rather than whatever fingering happened to be printed first.
The same flexibility applies to the four-string version's middle finger on the D string. Some players find it easier to lead with the ring finger there and let the middle finger take the G string instead, effectively mirroring the assignment. Neither is more correct; the only wrong version is one where a finger flattens and mutes the string next to it.
The Capo Trick: Playing B Major With No Barre At All
There is a way to get a full, six-string B major chord with entirely open strings and no barre whatsoever, and it uses a shape you likely already know: the open A major chord.
Clip a capo onto the 2nd fret and play an open A major chord, index finger 2nd fret D string, middle finger 2nd fret G string, ring finger 2nd fret B string, with the low E string muted and the A and high E strings ringing open. Play it exactly as you would without the capo.
| String | Fret (relative to capo) | Finger |
|---|---|---|
| 6 (low E) | Muted | - |
| 5 (A) | Open | - |
| 4 (D) | 2 | 1 (index) |
| 3 (G) | 2 | 2 (middle) |
| 2 (B) | 2 | 3 (ring) |
| 1 (high E) | Open | - |
The capo raises every open string's pitch by two semitones. A major raised two semitones is B major, so the chord that comes out is a full B chord, open strings included, with none of your three fretting fingers doing anything different from the open A shape you already know.
This works because the barre chord version above is, mechanically, the exact same thing: your index finger is standing in for a capo, replacing the nut for the strings it barres, while your other three fingers play the same relative shape as open A. A real capo does exactly what your index finger is doing in the barre version, just without asking your hand to supply the pressure.
The tradeoff is honest: you need to own a capo, and you need to move it every time the song changes key. For a song that sits in B throughout, or where you have a moment to move a capo during a pause, this is a completely legitimate way to play the chord, not a workaround lesser players fall back on.
The same trick generalizes to any major chord, since moving the capo simply shifts which major chord the open A shape produces.
| Capo fret | Open A shape becomes |
|---|---|
| 1 | B♭ major |
| 2 | B major |
| 3 | C major |
| 4 | C# major |
| 5 | D major |
Once you know this relationship, a capo and one open shape can stand in for most of the barre chords on the low end of the neck, which is a genuinely useful option to have even after the barre itself stops being difficult.
Why B Major Doesn't Have an Open-String Shape
New players often assume every chord has an easy open-string version somewhere, the way C, G, D, and E do. B major genuinely does not, and the reason is about which notes the six open strings actually are.
| String | Open note |
|---|---|
| 6 (low E) | E |
| 5 (A) | A |
| 4 (D) | D |
| 3 (G) | G |
| 2 (B) | B |
| 1 (high E) | E |
Look at that list against the three notes in B major: B, D#, and F#. Only the open B string matches a chord tone, and it happens to be the root, which is why every no-barre version above keeps the general area near that note. Nothing else lines up. There is no open string anywhere on the guitar that plays D# or F# without fretting something, so every practical B major voicing has to fret at least two of its three notes.
This is actually one note stingier than B minor, which gets both its root and its third for free from the open B and D strings and only has to fret the fifth. B major only gets the root free, because the D string's open note, D natural, is not in the chord at all, D# is. That difference is a large part of why B major, more than most chords, tends to be a player's first real introduction to barre technique or a capo as a genuine tool rather than a shortcut.
Why Your B Major Chord Isn't Ringing Clearly
If you have the shape right and it still sounds muted, buzzy, or half-dead, the cause is almost always one of these, worth checking in order rather than all at once.
Your barre finger is flat instead of curled
Laying the index finger completely flat spreads its pressure thin and lets the fleshy part of the finger dip into the gaps between strings, muting them. Angle the finger slightly so you are pressing with more of the side and less of the flat pad. The bony edge applies more even pressure across five strings than the soft center does.
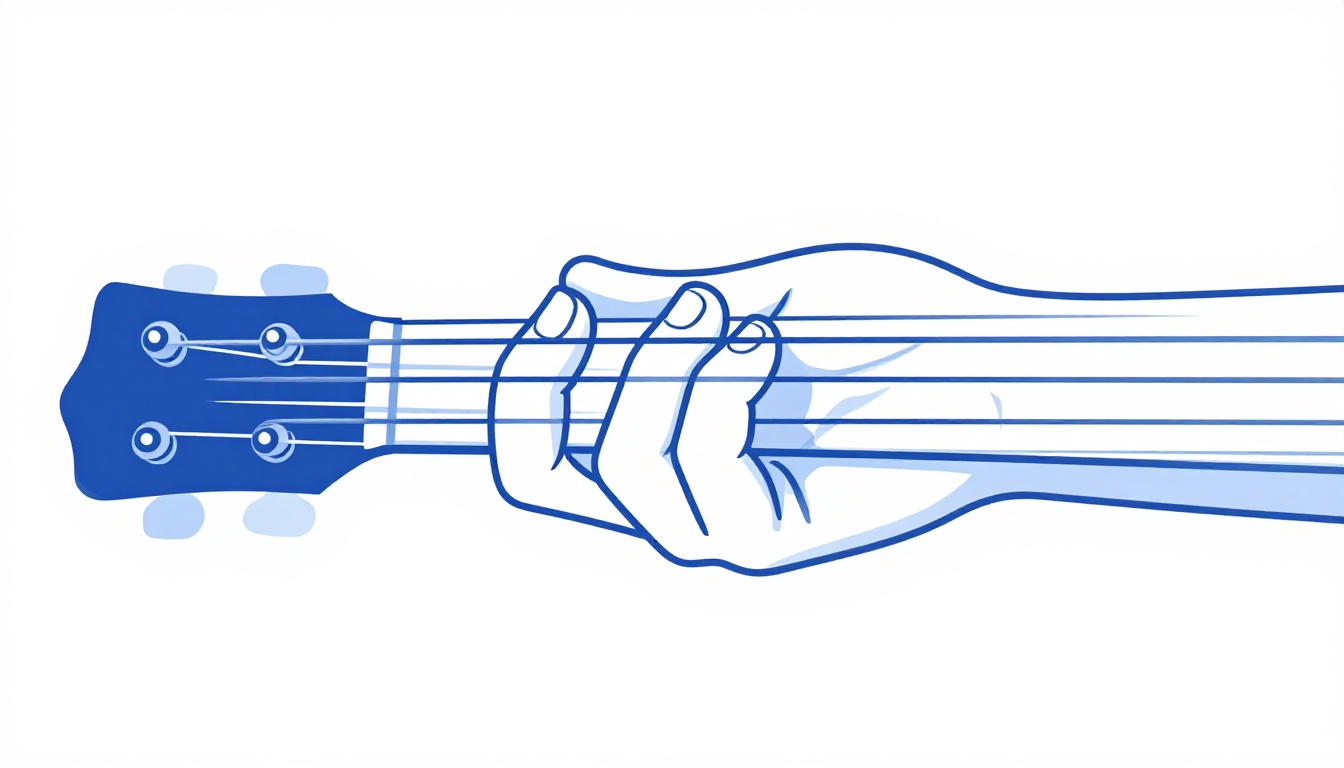
Your thumb is in the wrong spot behind the neck
The thumb should sit roughly behind your first or second finger, low on the back of the neck, acting as the opposing pressure to your barre finger. A thumb that has crept up over the top of the fretboard, or one that is too far down toward the middle of the neck, gives your hand nothing to squeeze against, so the barre finger has to work much harder for the same pressure.
Your fingers are too far from the fret
Every finger, not just the barre, should land as close to the fret wire as possible without sitting on top of it. A finger in the middle of the fret space needs noticeably more pressure to stop the string cleanly, and on a chord that already asks four fingers to work together, that extra pressure is exactly what runs out first.
Your wrist is locked straight
A wrist held flat and straight forces your fingers to approach the strings at an awkward angle, which flattens them against the fretboard. Dropping your wrist slightly, so your hand approaches the neck more from underneath, lets your fingers arch and land on their tips and edges instead of collapsing flat.
The guitar's action is genuinely high
If every barre chord buzzes and cleans up only with extreme effort, the issue may not be your technique at all. Guitars with high action, meaning the strings sit unusually far from the fretboard, make every fretted note harder to press cleanly, and a chord asking for four simultaneous fretted notes will expose that faster than a single open chord will. A guitar tech can check and adjust action in a short setup; it is not something you fix by pressing harder indefinitely.
One finger is nudging its neighbor out of place
On the full barre shape, the middle, ring, and pinky fingers sit close together on adjacent strings, all on the same fret. It is common for the ring finger to lean into the pinky's space, muting the B string even though the pinky is technically in the right spot. Check each finger is making contact only with its own string, and that no finger's knuckle or side is resting against the string next to it.
The guitar itself is out of tune
It is easy to spend ten minutes adjusting finger position on a chord that was never going to sound right, because one string was out of tune before you started. A B major chord built from a flat or sharp string will sound wrong in a way that can feel identical to a fretting mistake, especially to a beginner's ear, which has not yet learned to separate "wrong note" from "wrong pitch." Tune up before troubleshooting a chord, not after.
Beyond Buzzing: Other Common Mistakes
Buzzing is the loudest problem, but it is not the only one that shows up when players first learn B major.
Resetting the whole hand for every chord change
A common habit is lifting the entire hand off the neck between every chord and rebuilding the shape from scratch each time, including for chords that share fingers or positions with B. This is slow and unnecessary. Where a finger can stay in roughly the same place between two chords, leaving it in place and moving only what has to move is both faster and more reliable.
Strumming before the shape is set
Strumming and fretting at the same time, rather than fretting first and strumming a beat later, feels efficient but causes more mistakes, not fewer, because it gives your fretting hand no chance to correct a slightly wrong finger before the sound happens. Slow practice deliberately separates the two: form the shape completely, check it, then strum.
Gripping harder instead of adjusting position
When a chord does not ring clearly, the instinctive response is to squeeze harder. That works occasionally, but far more often the actual fix is a small positional adjustment, moving a finger closer to the fret, angling the wrist, or shifting the thumb, and squeezing harder on a poorly positioned hand mostly just adds fatigue without fixing the sound.
Building Barre Strength Gradually
Barre chords are a strength and technique skill, not a talent you either have or do not. The finger pressure that feels impossible in week one is ordinary by week six for almost everyone who keeps practicing it a little at a time.
Start with the three-string and four-string versions above and spend real time there before forcing the full barre. Those shapes build the same hand position and the same left-hand strength without the added demand of flattening one finger across five strings simultaneously. When you do practice the full barre, aim for short, frequent attempts rather than long ones: press it, strum once, release, rest a few seconds, repeat. Holding a barre chord for a sustained minute while your hand shakes teaches your hand to tense up, not to relax into the shape.
A useful checkpoint: if you can fret the barre and pluck each of the five strings individually, getting a clean note from every one, you have the strength. If you can do that but the sound falls apart the instant you strum all five together, the issue is usually timing and simultaneous pressure across fingers rather than raw strength, and that comes from repetition, not harder squeezing.
Some soreness on the index finger's edge during the first couple of weeks is normal, since that finger is doing new work it has not done before. Genuine pain that lingers well after you put the guitar down, or numbness, is different and is a sign to stop for the day rather than push through. Calluses on the fingertips of the fretting hand build up naturally over the first month or two of regular playing and make this kind of pressure noticeably more comfortable, but only with consistent short sessions, not one long punishing one.
Keeping the Barre Steady While You Strum
A barre chord that rings cleanly when you strum it gently can fall apart the moment you strum it with any real energy, and that is a separate problem from the ones already covered, because the shape and the pressure were fine before the strumming hand got involved.
The usual cause is the strumming arm's motion pulling the fretting hand along with it. A big, loose strum from the shoulder or elbow tends to rock the whole guitar slightly with each stroke, and if your fretting hand is not anchored independently of that motion, the barre finger's pressure shifts a fraction with every downstroke, just enough to let a string buzz on some strums and not others. Keep the strumming motion coming from the wrist rather than the whole arm, and keep the guitar's body braced against yours so the strumming hand's energy does not transfer into the neck.
It also helps to strum with a lighter touch than feels natural at first, particularly while the barre is still new. A hard strum does not make a chord sound more confident if the shape underneath it is not fully stable yet; it just makes the buzzing louder and more obvious. Build up strumming intensity gradually as the barre itself gets more reliable, rather than strumming at full volume from the first attempt and trying to force the shape to keep up.
The E-Shape Barre Version at the 7th Fret
There is a second full barre shape for B major, built on the open E major chord instead of A major, and it lives at the 7th fret.
| String | Fret | Finger |
|---|---|---|
| 6 (low E) | 7 | 1 (barre) |
| 5 (A) | 9 | 3 (ring) |
| 4 (D) | 9 | 4 (pinky) |
| 3 (G) | 8 | 2 (middle) |
| 2 (B) | 7 | 1 (barre) |
| 1 (high E) | 7 | 1 (barre) |
Barre your index finger across all six strings at the 7th fret, then add your middle finger on the 8th fret of the G string, your ring finger on the 9th fret of the A string, and your pinky on the 9th fret of the D string. This is the same relationship as the open E shape, moved up seven frets with a barre standing in for the nut.
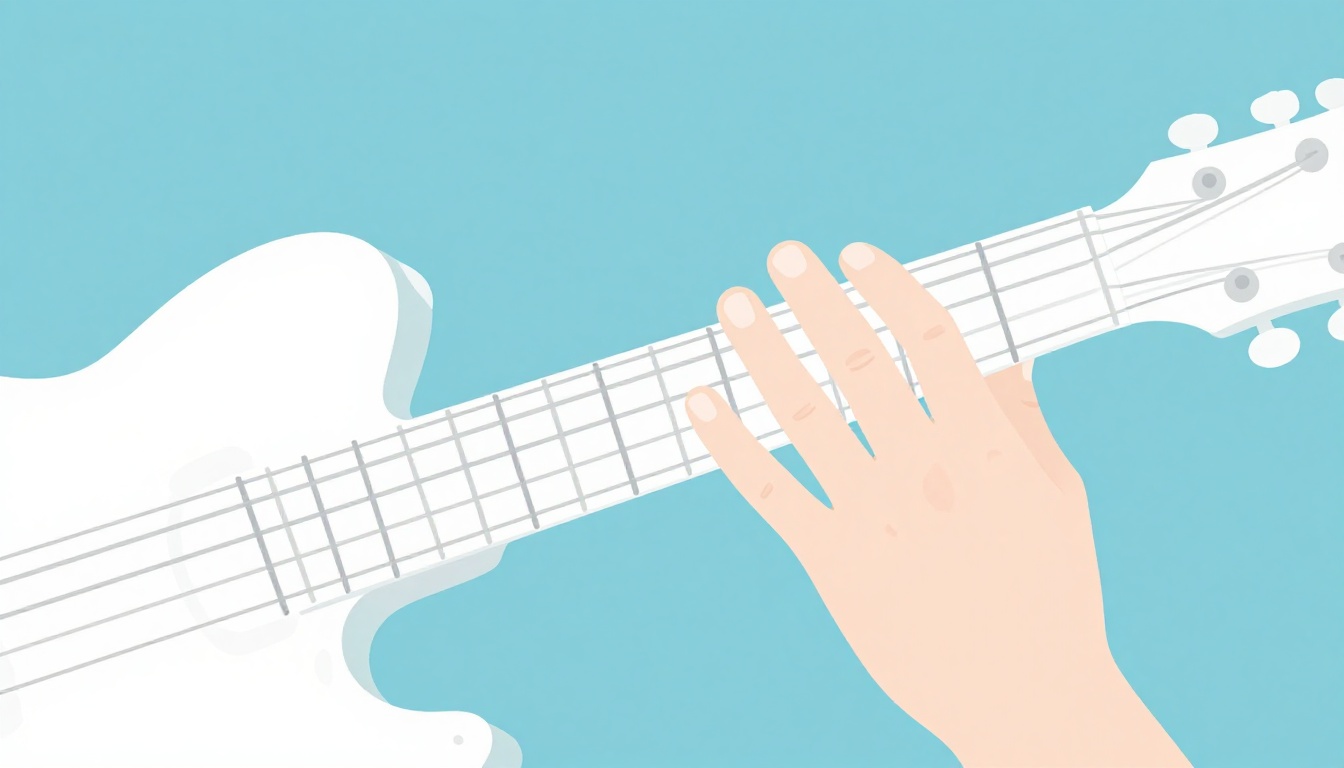
This shape sits higher up the neck, where the frets are closer together and the strings sit lower, which some players find genuinely easier on the fretting hand than the 2nd-fret version, even though it looks more advanced. It is also the shape to reach for when a song needs B right after or before another chord that is already in E-shape territory further up the neck, since staying in one region avoids a big jump.
Like the 2nd-fret version, this shape is moveable. Slide the whole thing down one fret and you get B♭ major; slide it up one and you get C major. Learning it as a shape and a starting fret, rather than as a fixed chord, is what makes barre chords worth the initial effort.
A Thumb-Over Shortcut for This Shape
Some players find it easier to fret the low E string's root note by wrapping their thumb over the top of the neck instead of including it in the index finger's barre. With the thumb anchoring that root note, the index finger only has to cover the remaining strings across the barre, which is noticeably less demanding than flattening across all six. This is the same thumb-over technique many players eventually use for the F chord and other E-shape barre chords, and it is a legitimate alternative technique, not a beginner crutch, though it does depend on having a wide enough neck profile and a flexible enough thumb joint to reach comfortably. If your guitar's neck is on the thinner side, it is worth trying; if it feels like a stretch that strains your wrist, the standard full barre is just as correct a way to play the shape.
B7: The Easier Stand-In Chord
Open B7 is not the same chord as B major, it adds a fourth note and changes the color from bright and resolved to bluesy and unresolved, but it shares B major's root, third, and fifth, and it is genuinely easier to finger than either barre version.
| String | Fret | Finger |
|---|---|---|
| 6 (low E) | Don't play | - |
| 5 (A) | 2 | 2 (middle) |
| 4 (D) | 1 | 1 (index) |
| 3 (G) | 2 | 3 (ring) |
| 2 (B) | Open | - |
| 1 (high E) | 2 | 4 (pinky) |
B7 is built from B, D#, F#, and A, the full B major triad plus a flattened seventh. In a lot of practical playing, especially blues, folk, and older pop songs, B7 is what is actually written wherever B might be expected, precisely because it does not need a barre. It is worth learning as its own chord rather than a pure substitute, since swapping it in for a plain B major in a song that wants a clean resolved sound will noticeably change the mood, but in the right context it is exactly the right chord, not a compromise.
The B Power Chord (B5): When You Don't Need the Third
A power chord is not technically major or minor at all, since it drops the third entirely and keeps only the root and the fifth. For distorted, rock, or riff-based playing, B5 is often the more useful shape than the full B major chord.
| String | Fret | Finger |
|---|---|---|
| 6 (low E) | Muted | - |
| 5 (A) | 2 | 1 (index) |
| 4 (D) | 4 | 3 (ring) |
| 3 (G) | 4 | 4 (pinky) |
| 2 (B) | Muted | - |
| 1 (high E) | Muted | - |
Mute the low E, B, and high E strings, and fret only the A, D, and G strings as shown. Because it has no third, B5 works equally well in a major or minor context, which is part of why power chords are the default in rock and metal riffs that move quickly between chords: the shape is moveable, simple, and never clashes with whatever key the rest of the band is implying. It is not a replacement for learning the full chord, but it is a genuinely correct choice in the right style of song, not a beginner shortcut.
B Major on Electric vs Acoustic Guitar
The shapes in this post are the same on either instrument, since a chord is defined by which notes it contains, not by what the guitar is made of. What changes is how much resistance your fretting hand feels while forming them.
Electric guitars typically carry lighter string gauges and lower action than acoustics, which means less finger pressure is needed to stop a string cleanly. A barre chord that feels genuinely difficult on a steel-string acoustic can feel noticeably easier on an electric with a well-set-up neck, purely because of string tension and action height, not because the player got better overnight. If you are learning B major on an acoustic and finding the barre unusually hard even after weeks of practice, it is worth trying the same shape on an electric or a nylon-string classical guitar, if either is available, just to hear how much of the difficulty was the shape and how much was the instrument.
This cuts the other way too: the compact no-barre versions and the capo trick earlier in this post are worth learning regardless of which instrument you play most, since they give you a reliable B major on an unfamiliar or harder-playing guitar without waiting for your hand to adapt to that instrument's specific action and string tension.
The Moveable Shape: Getting Other Major Chords From B
Both full barre shapes in this post, the A-shape at the 2nd fret and the E-shape at the 7th fret, are moveable. The finger pattern stays identical; only the fret you start on changes, because a barre chord's root note moves up one semitone for every fret you slide it.
| Shape | Start fret for B | Slide to fret 3 | Slide to fret 5 |
|---|---|---|---|
| A-shape (index barres, root on 5th string) | 2 | C major | D major |
| E-shape (index barres, root on 6th string) | 7 | G major | A major |
This is the real payoff of learning the barre version rather than only the easier no-barre shapes: once your hand knows the A-shape and E-shape major patterns, you already know every major chord on the neck, not just B. Moving a shape you already know a few frets in either direction to reach a new chord is a much smaller task than learning an entirely new fingering from scratch.
Where B Major Lives: The Keys of B Major and E Major
B major is the tonic chord of its own key, B major, which has five sharps in its key signature: F#, C#, G#, D#, and A#. It also shows up as the V chord in the key of E major, one of the more common keys for guitar-friendly rock and pop songs.
In the key of B major, the chords are B, C#m, D#m, E, F#, G#m, and A#dim, with B sitting as the I chord, the tonal center everything else resolves toward. In the key of E major, the chords are E, F#m, G#m, A, B, C#m, and D#dim, with B as the V chord, the one that creates the strongest pull back to the tonic. If you already play in E and have been avoiding B in favor of a capo or a simpler substitute, this is the chord that has likely been quietly missing.
Chord Progressions That Use B Major
Because B sits as the I chord in its own key and the V chord in E major, it shows up in progressions built from either.
| Progression | Roman numerals | Chords |
|---|---|---|
| In the key of B major | I, IV, V, vi | B, E, F#, G#m |
| In the key of E major | V, vi, IV, I | B, C#m, A, E |
| In the key of B major | I, V, vi, IV | B, F#, G#m, E |
Roman numerals describe a chord's position in the key rather than a specific song, which is why the same handful of numbers turn up across a lot of unrelated material once you start listening for them. Practicing a progression like B-E-F#-G#m on its own, cycling through it slowly with a metronome, builds the specific hand movements you will actually need once you meet the same shape inside a real song, without tying the drill to any one piece of music.
Changing Into and Out of B Major
The shape is rarely the hard part once you have it under your fingers. The hard part is arriving at it in time and leaving it in time, especially mid-strum in a song that is not going to pause and wait.
B to E: since the E-shape barre for B sits at the 7th fret, sliding the same shape down to fret 0 lands on open E major. Practice this pair specifically if a song alternates between the two, since it is the same hand shape at two different positions rather than two unrelated chords.
B to F#: less obvious at first glance, but the E-shape barre pattern for F# sits at the 2nd fret, the same fret as the A-shape barre for B. Changing between them means keeping your hand at roughly the same spot on the neck while reshaping which fingers do what, which is a smaller move than it looks.
B to G#m: B major and G#m share two of their three notes, B and D#, since G#m is B major's relative minor. Moving between the two barre shapes is mostly a matter of shifting which strings your fingers land on rather than jumping to an unrelated hand position.
B5 to A5 or E5: for riff-based playing, the power chord versions of these three chords sit two frets apart on the same string pair, so sliding the same two-finger shape up or down the neck covers most of a rock progression without changing hand shape at all.
Practice any of these pairs slowly, without a metronome at first, and say the next chord's name out loud a half second before you move to it. That verbal cue forces your brain to commit to the destination shape before your hand starts moving, which is usually the actual bottleneck, not finger speed.
Songs Built on B Major
"Yellow" by Coldplay is written in the key of B major and leans on the B chord throughout its verse and chorus, alongside F# and E, making it a practical piece for connecting the barre shape to the changes covered above, since its main progression is close to a textbook I-V-IV movement in the key of B.
"Thunderstruck" by AC/DC centers on B as well, though almost entirely through the B5 power chord rather than the full major triad, moving between B5, A5, and E5 at speed. It is a good piece for practicing the power chord shape and the quick slides between chords two frets apart, even though it will not build barre chord strength the way a strummed acoustic song will.
Working through even the first section of a song like either of these, rather than isolated chord drills alone, gives the shape a reason to exist beyond the exercise itself, and that context tends to make it stick faster than repetition alone.
A Practice Routine for B Major
Fifteen minutes is enough if it is focused. Try this sequence:
- Two minutes: fret the full barre shape, strum once, release completely, rest, repeat. Focus only on getting a clean strum, not on speed.
- Three minutes: play the three-string no-barre version and the four-string version back to back, comparing how each sounds against the full barre.
- Five minutes: pick one chord pair from the changing section above, B to E is a gentle start if you already know open E, and practice moving between the two chords slowly, saying the next chord name before you move.
- Five minutes: play through as much of a song that uses B as you can manage, even slowly, even with pauses. A real piece of music, not a drill, is what tells you whether the chord is actually usable yet.
Repeat this daily rather than doing one long session once a week. Barre chord strength is built the same way any hand strength is, in small consistent doses, and it fades almost as quickly as it builds if you stop practicing it for long stretches.
A Longer Arc, If You Want a Target
Fifteen minutes a day is enough on any given day, but it helps to know roughly what progress should look like over a longer stretch, so a slow week does not feel like failure.
Week 1: focus entirely on the three-string and four-string no-barre versions, or the capo trick if you own one. Do not force the full barre yet. The goal this week is a chord that rings cleanly, even if it is the simplified one.
Weeks 2 to 3: introduce the full barre using the short press-strum-release drill above. Expect it to sound worse than the no-barre versions at first. That is normal and not a sign the earlier practice failed; a five-finger barre is simply a harder coordination task than a three-finger shape.
Weeks 4 to 6: start pairing B with one other chord, using the changing section above, and bring in a real song. By this point most players can hold the barre chord cleanly on its own; the remaining work is almost entirely about the transition in and out of it, not the shape itself.
Beyond week 6: if the full barre still is not reliable, it is worth checking in with an experienced player or teacher in person, since a hand position issue that is easy to spot from the outside can be invisible to the player making it. It is also worth ruling out a genuinely high-action guitar, covered earlier, before assuming the problem is entirely technique.
Frequently Asked Questions
Why does B major need a barre when C or G don't?
Because none of the six open strings in standard tuning play B, D#, and F# together in a way that forms the chord without fretting most of them. Only the open B string matches a note in the chord, and it is not enough on its own.
Is there really no open-chord version of B major at all?
Not a full six-string one, no. There are genuine partial shapes using the top three or four strings, shown earlier in this post, that avoid the barre while still forming a real B major chord, just without the low strings.
What is the easiest way to play B major for a total beginner?
Either the three-string version, ring finger 4th fret G string, pinky 4th fret B string, index finger 2nd fret high E string, or the capo trick: clip a capo to the 2nd fret and play an open A major chord.
Why does my B major chord sound muted on the high E string?
That string sits at the very edge of the barre finger and is the easiest one to miss. Check that your index finger extends fully across it and that the finger is angled rather than flat, so the tip end still has enough pressure on the last string.
Can I use B7 instead of B major?
Sometimes. B7 shares B major's root, third, and fifth, and is genuinely easier to finger, but it adds a fourth note that changes the chord's color from bright and resolved to bluesy and unresolved. It works as a stand-in in many songs, especially blues and folk, but it is a different chord, not a simplified version of the same one.
What is the difference between B major and B minor?
One note. B major uses D# as its third; B minor uses D natural. On the full barre shapes, that difference lives on a single finger, one fret apart.
Is B5 the same as B major?
No. B5 is a power chord, root and fifth only, with no third at all, which means it is neither major nor minor. It is common in rock and distorted guitar playing precisely because it avoids committing to either.
Should I learn the 2nd-fret or the 7th-fret barre shape first?
The 2nd-fret A-shape version is the more commonly taught starting point and is worth learning first, since it is the shape most chord charts and songbooks assume when they simply write "B." The 7th-fret E-shape version is worth adding once the first one feels comfortable, mainly because it generalizes to every other major chord on the neck using a second, equally useful shape.
Is the capo trick a legitimate technique or a beginner-only workaround?
It is a genuine technique, not a beginner-only workaround. Clipping a capo to the 2nd fret and playing an open A major shape produces a real, correctly voiced B major chord, and plenty of experienced players use a capo deliberately for exactly this kind of chord when the song and setting allow it.
Does string gauge or action affect how hard B major is?
Yes, noticeably. Lighter strings and lower action both reduce how much pressure your fretting hand needs to stop the notes cleanly, which is why the same barre shape can feel very different from one guitar to the next. If a chord that should be manageable feels unusually punishing on your instrument, it is worth having the action checked before assuming the problem is entirely technique.
Why do some chord charts write "B" and others write "Bmaj"?
They mean the same chord. Plain letter names like "B" default to major unless a chart specifically marks a chord minor, seventh, or some other quality, so "B" and "Bmaj" are interchangeable. "Bm" or "Bmin" is what marks the minor version, and that letter is the one worth watching for, since it is easy to glance past on a printed chart.
GuitarLowKey
Ready for fifteen focused minutes?
Open the web app and train the change that is blocking your song.