
How to Play the C Chord on Guitar (and Fix the Buzz)
The open C chord guitar players learn first: exact finger placement, why it buzzes, three easier versions, and how to change in and out of it fast.

To play a C chord on guitar, mute the low E string, put your ring finger on the 3rd fret of the A string, your middle finger on the 2nd fret of the D string, and your index finger on the 1st fret of the B string, then strum from the A string down through the high E string. The G and high E strings stay open. That is the whole shape. Everything below is what makes it actually sound clean, how to change in and out of it, and the variations you will run into once you start reading real chord charts.
The standard open C chord, string by string
Here is the full shape as a table. "Finger" uses standard numbering: 1 is your index finger, 2 is your middle finger, 3 is your ring finger, 4 is your pinky.
| String | Fret | Finger |
|---|---|---|
| 6 (low E) | Muted, do not play | - |
| 5 (A) | 3 | 3 (ring) |
| 4 (D) | 2 | 2 (middle) |
| 3 (G) | Open | - |
| 2 (B) | 1 | 1 (index) |
| 1 (high E) | Open | - |
Build it from the bottom up. Ring finger first, on the 3rd fret of the 5th string (A). Then middle finger, 2nd fret of the 4th string (D). Then index finger, 1st fret of the 2nd string (B). The 3rd string (G) and 1st string (high E) are not fretted at all, just left open to ring.
The order matters more than it seems like it should. Most beginners place the index finger first out of habit, then discover there is no room left for the ring finger's stretch to the 5th string. Placing the ring finger first, on the string that requires the biggest reach, gives your hand the space it needs before the other two fingers fill in around it.
Which strings to strum
Strum the top five strings only, from the 5th string (A) down through the 1st string (high E). The 6th string (low E) is not part of this chord. If you play it, you will hear a low, out-of-key note underneath the chord that muddies the whole thing, because the open low E is not one of the three notes (C, E, and G) that make up a C major chord.
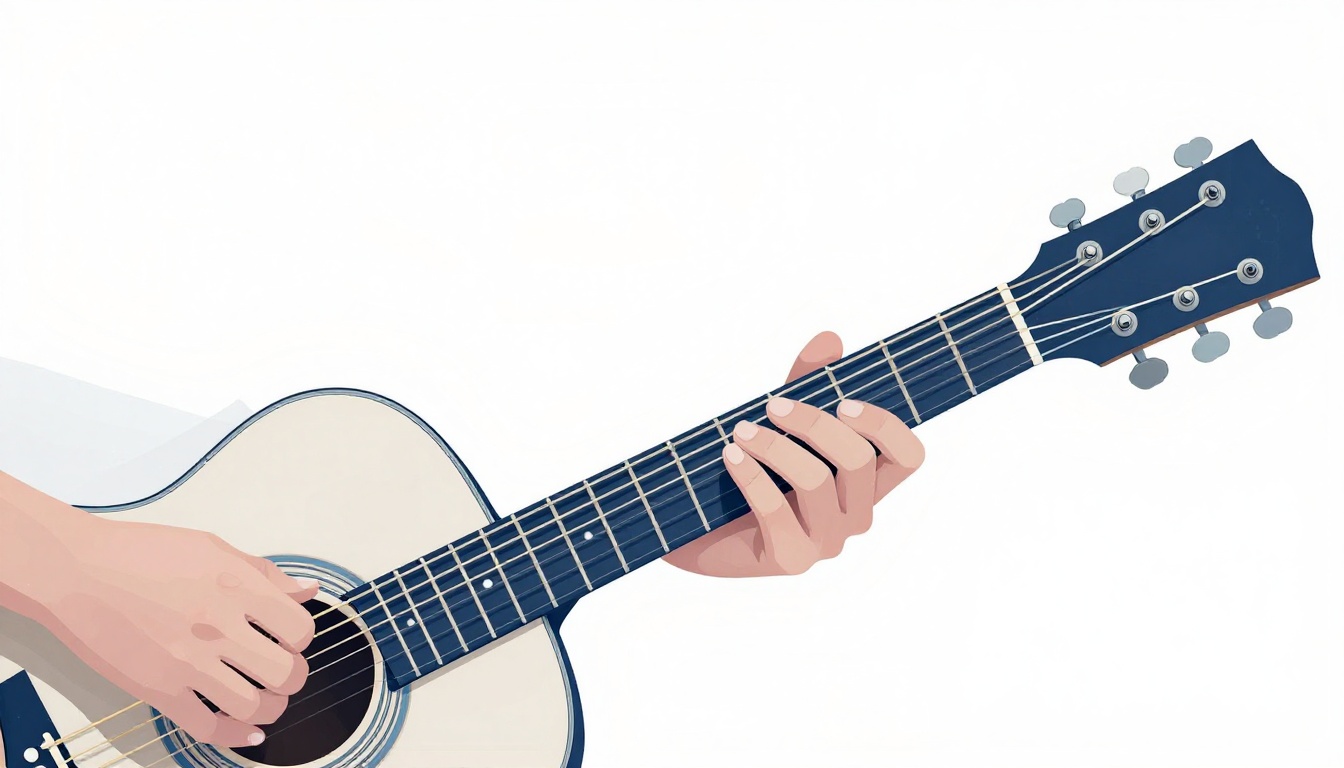
Two ways to keep the low E out of the strum:
- Start your strum on the 5th string. Anchor your strumming hand's downstroke so it begins at the A string, not the low E. This takes a bit of aim at first but becomes automatic within a few days of deliberate practice.
- Lightly touch the low E with your ring finger. Because your ring finger is already reaching up toward the 5th string for its own note, the underside of that same finger is often resting close enough to the low E to mute it if it brushes the string. This happens naturally for a lot of players without them trying, but do not force it, a light touch is enough.
If you are strumming fast and can't guarantee precision every stroke, the light mute is the more forgiving habit. If you are still strumming slowly and deliberately, aiming your downstroke to start on the A string is the more accurate one.
Either way, test it deliberately rather than assuming it is working. Strum the full chord slowly and listen specifically to the very first sound your pick or thumb makes contact with. If you hear a low, dull thud before the rest of the chord rings out, that is the low E string sneaking in, and it is worth isolating which of the two methods above is failing before you build a habit around it.
Why your C chord is buzzing or sounds dead
This is the part most guides skip, and it is the part that actually decides whether you keep playing the chord or give up on it. A buzz or a dead, thudding note almost always traces back to one of five specific causes. Go through them one at a time rather than guessing.
Your finger is too flat
If your finger lies flat across the fretboard instead of coming down on its tip, the pad of that finger touches the neighboring string and mutes it. This is the single most common reason a C chord sounds incomplete: the ring finger's own note (the A string) rings out, but its flat underside is pressing lightly against the D string too, deadening the note your middle finger is trying to produce.
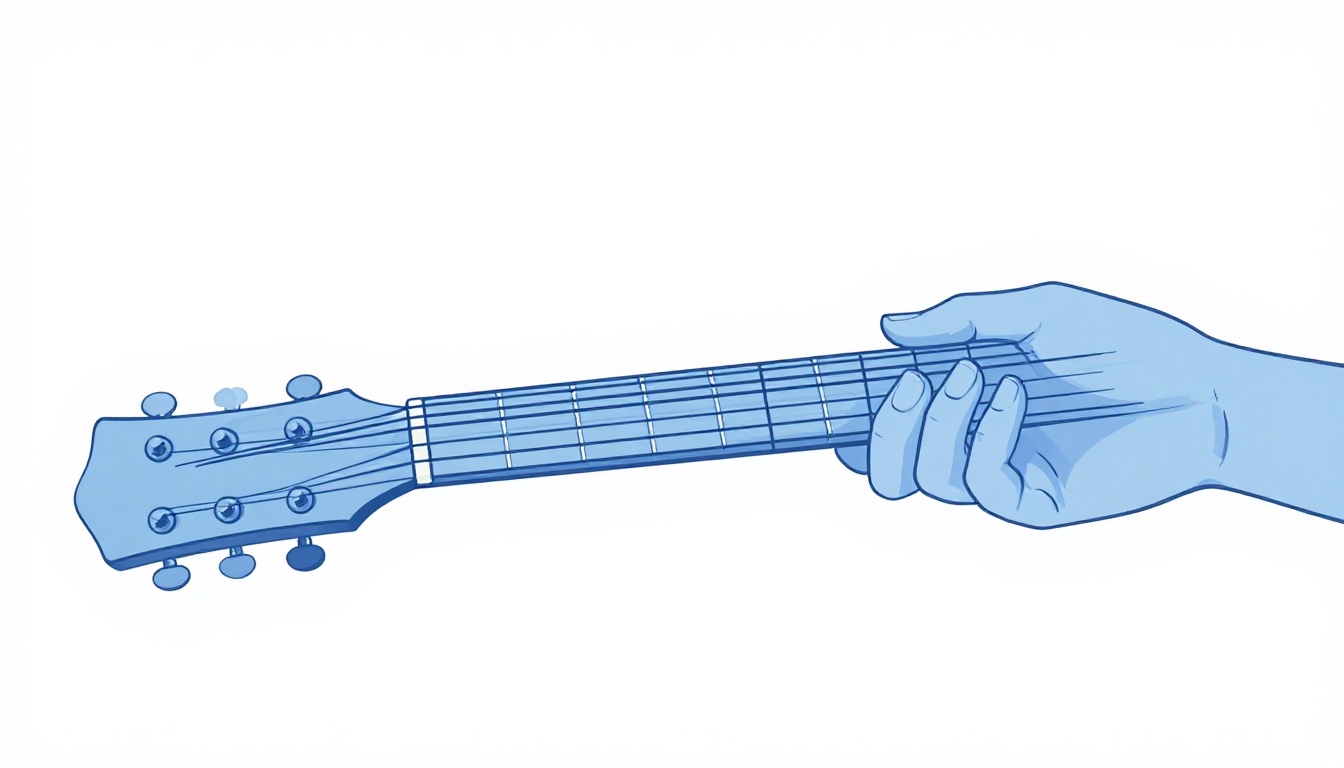
Fix it by curling your fingers more, so each one comes down close to vertical, contacting the string only at the very tip. Check your thumb, too. If your thumb creeps up over the top of the neck, it pulls your fingers down flatter to compensate. Keep your thumb roughly behind your middle finger, on the back of the neck, and your fingers naturally arch more.

You are too far from the fret
Fret numbers count the space between two metal fret wires, not the wire itself. Pressing right up against the fret wire (on the side closer to the guitar's body) takes far less pressure to get a clean note than pressing in the middle of that space or right up near the nut side. If your finger sits in the middle of the "1st fret" space rather than hugging the fret wire itself, you will need noticeably more force to avoid a buzz, and your hand will tire faster.
Move each fingertip until it is just behind the fret wire, then check that string on its own. A cleanly placed finger next to the fret wire often rings clearly with barely any pressure at all.
Not enough downward pressure
Even with a good arch and good fret placement, a string needs a minimum amount of downward force to stop buzzing against the fret in front of it. New players often under-press because their fingers are not yet strong enough to hold that pressure for more than a few seconds, especially the ring finger, which is usually the weakest and least independent finger on a hand that has not played guitar before.
This one has no shortcut except repetition. Fret each of the three notes on its own, pick that single string, and listen. If it buzzes, add pressure gradually until it stops, then remember what that felt like. You are training a specific amount of force into muscle memory, not just holding the shape.
A finger is muting a string it should not touch
The C chord asks your fingers to sit close together on adjacent strings, and it is easy for a finger to lean just slightly into a neighbor and choke it. The two strings most often killed by accident are the open 3rd string (G), muted by the middle finger leaning back too far, and the open 1st string (high E), muted by the index finger's outer edge if it is angled too flat.
Pick each open string, the G and the high E, on their own while your fingers are in the C shape. Both should ring exactly as they do with your fretting hand off the guitar entirely. If either sounds shorter or duller, adjust the angle of the nearby finger until it clears the open string completely.
The stretch is throwing off your whole hand shape
The 3rd fret on the A string sits further down the neck than the 2nd fret on the D string and the 1st fret on the B string, which means your ring finger has to reach past the other two. For a new player, that stretch can pull the whole hand out of position, flattening the index and middle fingers as the hand twists to accommodate the ring finger's reach.
Angling your wrist slightly outward, away from the guitar's body, gives the ring finger room to make that reach without dragging the rest of your hand out of shape with it. Keep your thumb low on the back of the neck rather than high near the top, since a low thumb gives your fingers a more open angle to work from. If the stretch still feels impossible, use the one-finger version below while your hand's flexibility catches up. Most players notice real improvement within two or three weeks of daily practice, since finger independence and hand flexibility both build gradually with repeated use, not all at once.
The easiest version, for total beginners or a stiff first week
If the full C chord is out of reach today, this version has all three of the same notes with a single finger.
| String | Fret | Finger |
|---|---|---|
| 6 (low E) | Do not play | - |
| 5 (A) | Do not play | - |
| 4 (D) | Do not play | - |
| 3 (G) | Open | - |
| 2 (B) | 1 | 1 (index) |
| 1 (high E) | Open | - |
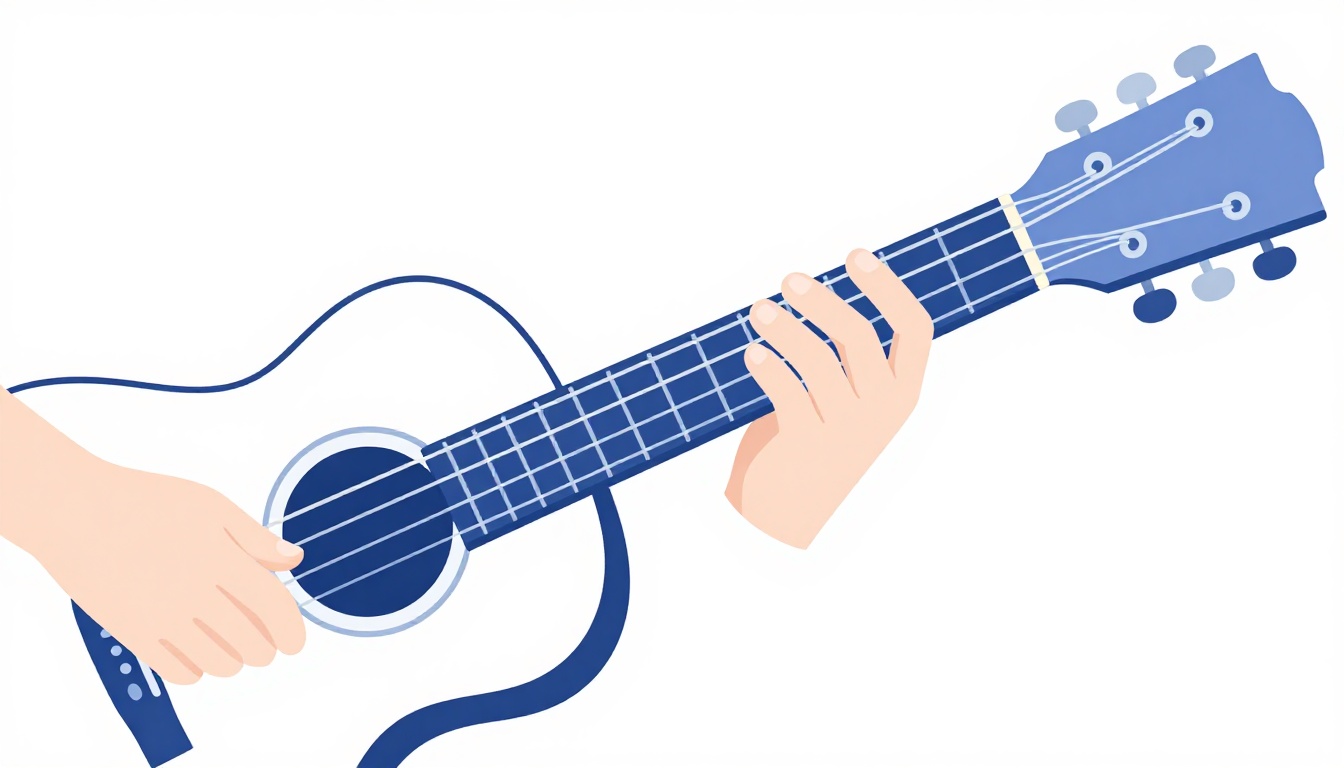
Put your index finger on the 1st fret of the B string and strum only the three thinnest strings, the G, B, and high E. The notes are G, C, and E, the same three notes as the full chord, just rearranged and thinner sounding. It is not as full as the five-string version, but it is genuinely a C major chord, not a placeholder, so you are not learning something you will have to unlearn later. Use it to practice changing to and from other chords while your hand builds the strength and stretch for the full version.
Cmaj7: the softer, two-finger C
Drop your index finger off the standard C shape entirely and you get Cmaj7, a smoother, jazzier-sounding chord that shares four of its five notes with C major.
| String | Fret | Finger |
|---|---|---|
| 6 (low E) | Muted | - |
| 5 (A) | 3 | 3 (ring) |
| 4 (D) | 2 | 2 (middle) |
| 3 (G) | Open | - |
| 2 (B) | Open | - |
| 1 (high E) | Open | - |
The fastest way to learn it: form a normal C chord, then simply lift your index finger away from the B string and let it ring open. That one change adds the note B, the major 7th of the C chord, which is what gives Cmaj7 its softer, slightly wistful character compared to the brighter, more resolved sound of plain C. Because it only uses two fingers, it is also a genuinely easier chord than the full C shape, and a fine substitute while you are still working on that stretch.
Cadd9: the fuller-sounding C variation
Cadd9 shows up constantly in acoustic pop and singer-songwriter music because it adds a bit of shimmer to an otherwise plain major chord without changing its basic character.
| String | Fret | Finger |
|---|---|---|
| 6 (low E) | Muted | - |
| 5 (A) | 3 | 2 (middle) |
| 4 (D) | 2 | 1 (index) |
| 3 (G) | Open | - |
| 2 (B) | 3 | 3 (ring) |
| 1 (high E) | Open | - |
Notice this is a different fingering pattern than the plain C chord, not just an added finger: the index finger now takes the D string, the middle finger takes the A string, and the ring finger moves up to the 3rd fret of the B string instead of the 1st. Some players add a fourth note by also fretting the high E string at the 3rd fret with the pinky, which is a valid Cadd9 voicing too, just slightly fuller and slightly harder to reach cleanly. Start with the four-string version above and add the pinky later if you want the extra thickness.
C/G: giving the C chord a walking bass note
A slash chord like C/G tells you to play a C chord but make G the lowest-sounding note instead of C. It is written as "the chord" over "the bass note." Since G is already one of the three notes inside a C chord, this does not change the chord's identity, just which note sits on the bottom.
| String | Fret | Finger |
|---|---|---|
| 6 (low E) | 3 | 4 (pinky) |
| 5 (A) | 3 | 3 (ring) |
| 4 (D) | 2 | 2 (middle) |
| 3 (G) | Open | - |
| 2 (B) | 1 | 1 (index) |
| 1 (high E) | Open | - |
The easiest way to reach it: play a normal C chord, then add your pinky on the 3rd fret of the low E string and strum all six strings this time instead of five. Guitarists reach for slash chords like this one to smooth out a bass line, so instead of the lowest note jumping around between chord roots, it steps up or down a note at a time and the progression feels more connected. You will see C/G most often as a bridge between a G chord and a C chord, where the bass line can walk G, then down to the low E's G again on the C/G, before settling into C proper.
C7: the bluesy, dominant version
C7 (sometimes written C dom7) swaps the plain major sound for something bluesier and less resolved, the kind of chord that wants to move somewhere rather than sit still.
| String | Fret | Finger |
|---|---|---|
| 6 (low E) | Muted | - |
| 5 (A) | 3 | 3 (ring) |
| 4 (D) | 2 | 2 (middle) |
| 3 (G) | 3 | 4 (pinky) |
| 2 (B) | 1 | 1 (index) |
| 1 (high E) | Open | - |
This is the standard C shape with one addition: your pinky reaches over to fret the 3rd fret of the G string, turning that open G note into a Bb, the flat 7th that gives the chord its bluesy pull. Everything else, ring finger, middle finger, index finger, stays exactly where it already was for plain C, which makes C7 one of the more approachable seventh chords once the basic shape is comfortable. You will hear it most in blues, early rock and roll, and anywhere a progression wants tension before resolving back to F or moving down to a related chord.
Because three of C7's four fingers are identical to plain C, it is a genuinely useful chord to practice switching into and out of even before you need it in a song, purely as a drill for adding the pinky under pressure without disturbing the other three fingers already holding their ground.
Barre C at the 3rd fret (the A shape)
Every open chord has a movable, barred version further up the neck, and C is no exception. This one is built on the same finger pattern as an open A chord, just shifted up and barred.
| String | Fret | Finger |
|---|---|---|
| 6 (low E) | Do not play | - |
| 5 (A) | 3 | 1 (index, barre) |
| 4 (D) | 5 | 3 (ring) |
| 3 (G) | 5 | 4 (pinky), or barred with the ring |
| 2 (B) | 5 | barred with the ring or a flattened ring/pinky |
| 1 (high E) | 3 | 1 (index, barre) |
Lay your index finger flat across the 3rd fret, from the A string through to the high E string (the low E string is not part of this shape and should not be played). Then bar your ring finger flat across the D, G, and B strings at the 5th fret, the same way your open A chord bars three strings with one finger, just two frets higher and with your index finger now doing the job the nut used to do. This version is genuinely harder than the open C chord: it asks for two barres stacked on top of each other, so treat it as a stretch goal once your open chords are solid, not something to chase on day one.
Barre C at the 8th fret (the E shape)
The other common movable C shape borrows the open E chord's finger pattern instead. Because the open low E chord has its root note on the open low E string, moving that same shape up the neck until the low E string lands on a C note gives you a full, six-string barred C. That note is the 8th fret.
| String | Fret | Finger |
|---|---|---|
| 6 (low E) | 8 | 1 (index, barre) |
| 5 (A) | 10 | 3 (ring) |
| 4 (D) | 10 | 4 (pinky) |
| 3 (G) | 9 | 2 (middle) |
| 2 (B) | 8 | 1 (index, barre) |
| 1 (high E) | 8 | 1 (index, barre) |
Your index finger barres straight across all six strings at the 8th fret, replacing the open strings the way it did on the A-shape version. The other three fingers then form the same shape they would for an open E chord, just two frets higher: middle finger on the G string, ring finger on the A string, pinky on the D string. This shape gives you a fuller, six-string C with a low root note, which the open C chord and the A-shape barre version both lack, at the cost of needing a full six-string barre held down cleanly. If your open C is still developing, this is not the version to start with, but it is worth knowing exists once you start exploring the neck.
Getting a C sound without the C shape, using a capo
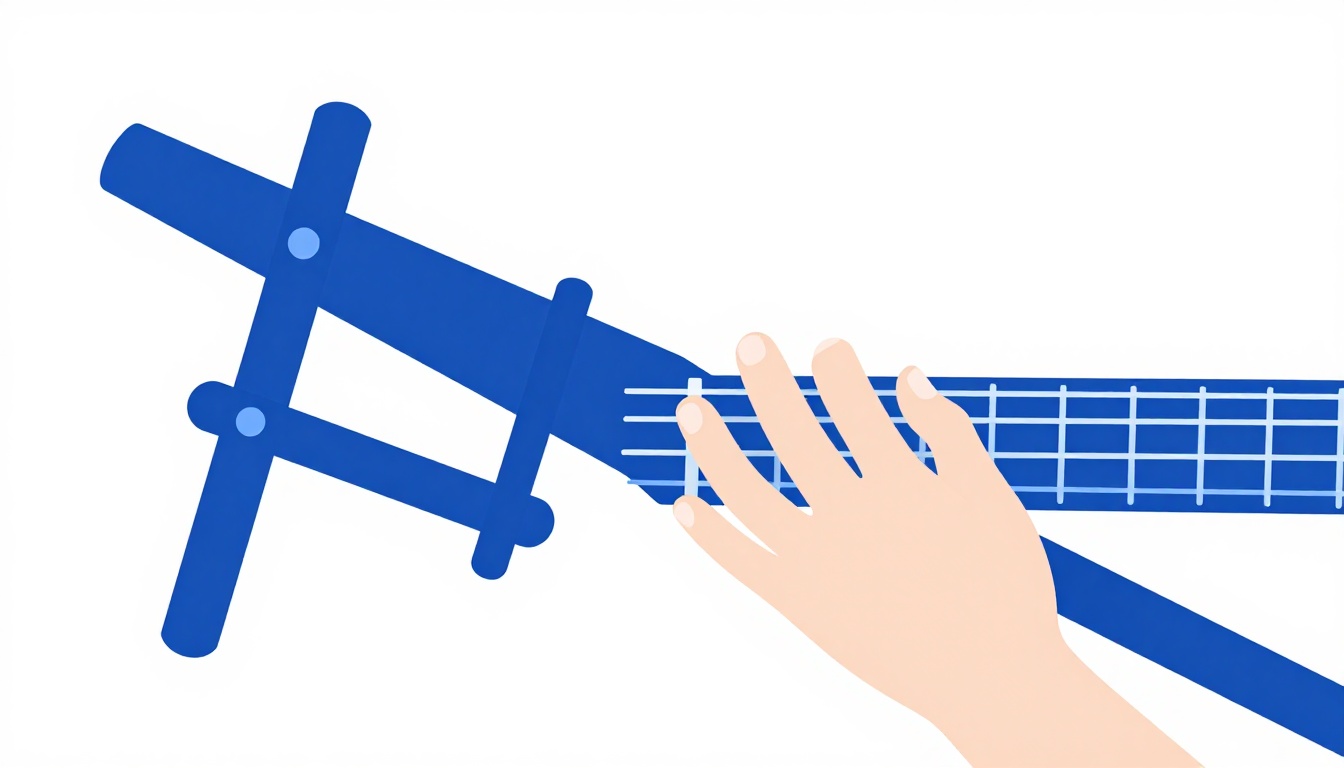
If the open C shape's stretch is the actual obstacle, a capo offers a genuine workaround, not by making that stretch smaller, but by letting you play a completely different, easier shape that sounds like C once the capo shifts it into place. A capo clamps across the neck like a mechanical index finger, so any open chord shape you already know reliably comes out sounding higher than its usual pitch.
| Capo position | Shape you play | What it sounds like |
|---|---|---|
| 3rd fret | Open A shape (x02220) | C |
| 5th fret | Open G shape (320003) | C |
| 8th fret | Open E shape (022100) | C |
Capo the 3rd fret and play an open A shape, and you are playing the exact same notes as the A-shape barre chord covered earlier, except the capo does the barring for you, leaving your fretting hand free to play the easier open A fingering instead. The same logic applies further up: capo the 5th fret and an open G chord rings out as C, or capo the 8th fret and an open E chord does the same, matching the E-shape barre C from the previous section. None of this changes the stretch inside the C shape itself, since you are avoiding that shape entirely, which is exactly the point if your hand genuinely is not ready for it yet.
Changing from C to G
C and G sit right next to each other in thousands of songs, and the move is faster than it looks once you notice the shared string.
| Chord | 5 (A) | 4 (D) | 3 (G) | 2 (B) | 1 (high E) |
|---|---|---|---|---|---|
| C | 3 (ring) | 2 (middle) | Open | 1 (index) | Open |
| G | 2 (middle) | Open | Open | Open | 3 (pinky) |
The fastest way to see this change is to notice that both chords use a finger on the A string in roughly the same area, so your hand does not have to travel far vertically, only shift which finger is doing the work and reposition slightly. A common way to bridge the two: keep your ring finger anchored near the A string as a pivot, lift your index and middle fingers together, and let your middle finger drop to the 3rd fret of the low E string while your other fingers land on the B and high E strings for the G shape. Practice the change on its own, slowly, without strumming, until your hand can find the G shape without your eyes checking it first.
Changing from C to Am
This is the easiest chord change most beginners learn, because C and Am share two fingers in the exact same place.
| Chord | 5 (A) | 4 (D) | 3 (G) | 2 (B) | 1 (high E) |
|---|---|---|---|---|---|
| C | 3 (ring) | 2 (middle) | Open | 1 (index) | Open |
| Am | Open | 2 (middle) | 2 (ring) | 1 (index) | Open |
Your index finger and middle finger barely move at all, the middle finger just slides from the D string over to stay on the D string in the same fret, and your index finger stays put on the B string the entire time. Only your ring finger has real work to do, lifting off the A string and landing on the G string instead. Because two of your three fingers are nearly stationary, this is the change to practice first if C is giving you trouble elsewhere, since it builds confidence fast.
Changing from C to F
This is the one that trips people up, because the easiest common version of F asks for a small barre, and it is worth learning that version rather than avoiding it.
| Chord | 6 (low E) | 5 (A) | 4 (D) | 3 (G) | 2 (B) | 1 (high E) |
|---|---|---|---|---|---|---|
| C | Muted | 3 (ring) | 2 (middle) | Open | 1 (index) | Open |
| F (mini, small barre) | Do not play | Do not play | 3 (ring) | 2 (middle) | 1 (index, barres 2 strings) | 1 (index, barres 2 strings) |
The mini F version bars your index finger across just the top two strings (B and high E) at the 1st fret, rather than the full six-string barre a lot of beginners assume F requires. From C, your ring finger moves from the A string to the D string, your middle finger moves from the D string to the G string, and your index finger goes from a single string to barring two. Go slowly here. This change asks more of your hand than C to G or C to Am, so it deserves its own dedicated practice rather than being rushed inside a song at full speed on day one.
Changing from C to D
D sits further up the neck in terms of finger shape, but the change from C flows more naturally than it looks because your fretting hand stays in roughly the same triangular cluster.
| Chord | 4 (D) | 3 (G) | 2 (B) | 1 (high E) |
|---|---|---|---|---|
| C | 2 (middle) | Open | 1 (index) | Open |
| D | Open | 2 (middle) | 3 (ring) | 2 (index) |
D uses the D string as its lowest note, the same string your C chord's middle finger sits on, so your hand does not need to travel far, it needs to reshuffle which finger goes where within a tight three-string cluster. Practice lifting all three C fingers together and dropping the D shape as one motion, rather than placing each finger one at a time, since that one-at-a-time habit is what makes chord changes feel slow long after the shapes themselves are memorized.
Changing from C to Em
Em is one of the simplest full chords on the guitar, which makes it a good one to pair with C while your hand is still building strength.
| Chord | 5 (A) | 4 (D) | 3 (G) | 2 (B) | 1 (high E) |
|---|---|---|---|---|---|
| C | 3 (ring) | 2 (middle) | Open | 1 (index) | Open |
| Em | 2 (middle) | 2 (ring) | Open | Open | Open |
Both chords keep a finger in the same small zone around the A and D strings, so the change is mostly about which two fingers are doing the fretting rather than a big hand relocation. Because Em only uses two fingers and no stretch, this is a good chord to practice changing into and out of while your ring finger is still building the strength for C's own stretch, since it gives that finger repeated light reps instead of a demanding one.
Where C sits in the key of C major
If you play in the key of C major, C is the home chord, the one everything else in the key resolves back toward. The other six chords built from that same scale are:
| Chord | Roman numeral | Quality |
|---|---|---|
| C | I | Major |
| Dm | ii | Minor |
| Em | iii | Minor |
| F | IV | Major |
| G | V | Major |
| Am | vi | Minor |
| Bdim | vii° | Diminished |
Most songs in the key of C lean on C, F, G, and Am far more than the other three, since those four chords make up the bulk of the progressions guitarists actually play, and Bdim in particular is rare in open-chord songwriting because a diminished chord sounds unresolved on its own. If a song you are learning is described as being "in the key of C" and you already have C, G, Am, and F under your fingers from the changes above, you already have the four chords that will carry most of it.
Am, the sixth chord in that table, is C major's relative minor, meaning it is built from the exact same seven notes as the key of C, just starting and resolving around A instead of C. That shared note pool is part of why the C to Am change covered earlier feels so natural under the fingers: the two chords are close relatives, not distant ones, and a song can drift between "in C major" and "in A minor" without ever technically leaving the same key. If a chord chart looks like it is in C but keeps landing on Am instead of C, that drift is usually why.
Songs built around the C chord
Once C, G, Am, and F are comfortable, the same four-chord shape underpins a huge number of recorded songs, arranged in different orders and rhythms. "Let It Be" by The Beatles is one of the clearest examples of this exact chord set, and "Learning to Fly" by Tom Petty cycles through a very similar F, C, Am, G pattern for almost the entire song with a simple, steady strum. Because the underlying chords repeat, both are useful practice songs specifically for chord-change speed rather than for learning anything new about the shapes themselves.
This four-chord pattern, sometimes cycled as C, G, Am, F, shows up across enough songs from enough different decades and genres that learning to move cleanly between these four shapes is one of the highest-value things a beginner can practice. It is not that these songs are simple in every sense, it is that a huge share of popular songwriting leans on the same handful of chord relationships, and C major sits right at the center of the most common one.
Wonderwall by Oasis is another common practice choice, and it leans on the Cadd9 variation covered earlier rather than plain C, which makes it a good next step once that shape feels comfortable. Ring of Fire by Johnny Cash is a country standard commonly taught in the key of C as well, useful practice specifically because its bass-heavy strumming pattern rewards a clean, confidently muted low E string, exactly the habit covered in the strumming section above.
Playing C fingerstyle instead of strumming
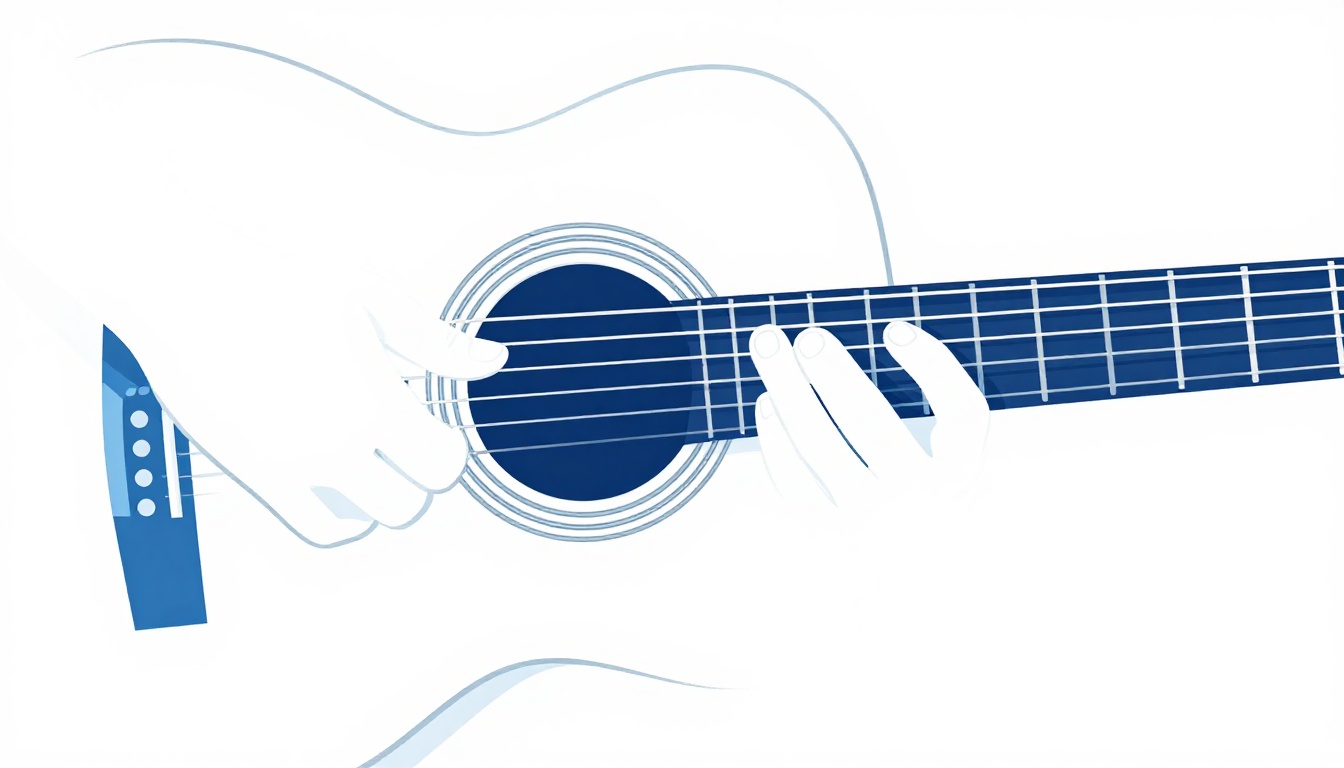
The C shape works just as well plucked one note at a time as it does strummed, and it is a common chord to start fingerpicking on because its notes fall cleanly across separate strings. Fingerpicking convention assigns your thumb to the bass strings and your index, middle, and ring fingers to the three treble strings, one string each.
| Finger | String | Note (fretted) |
|---|---|---|
| Thumb | 5 (A), alternating with 4 (D) | C, then E |
| Index | 3 (G) | G |
| Middle | 2 (B) | C |
| Ring | 1 (high E) | E |
A simple starting pattern: thumb plays the 5th string, then index, middle, and ring pluck the 3rd, 2nd, and 1st strings in order, then thumb plays the 4th string before the pattern repeats. That alternating thumb, moving between the 5th and 4th strings on each repeat, is what gives fingerpicked chords their rolling, continuous feel instead of the more static sound of a held strum. Practice this slowly, well under tempo, and say each finger's name out loud as it plays until the sequence stops needing conscious thought.
Common mistakes beyond buzzing
A few habits show up again and again in new players working on this chord, separate from the technical buzzing causes above.
Gripping the neck like a fist
Some players wrap their thumb high over the top of the neck and squeeze, the way you might grip a bat or a bar. This flattens your fingers against the fretboard and makes the reach for the 3rd fret nearly impossible without straining. Keep your thumb roughly parallel to the neck, resting behind it rather than curled over it.
Pressing far harder than necessary
Once a string stops buzzing, more pressure adds nothing except fatigue. A lot of beginners keep squeezing well past the point a clean note requires, which tires the hand out in minutes and makes long practice sessions unpleasant. Once you find the pressure a string needs, that is the ceiling, not a floor to build from.
Checking the chord one string at a time, every time
Picking each string individually is a useful diagnostic when something sounds wrong, covered in the buzzing section above, but leaning on it as your only way to confirm the chord is right slows you down badly in the long run. Once you have used it to fix a specific problem, switch back to strumming the whole chord and trust your ear to catch anything still off.
Rushing the shape before it is reliable
It is tempting to move on to chord changes the moment C sounds right once. But a shape that only works when you have several seconds to place each finger carefully will fall apart the instant you need it inside a song's tempo. Spend a few extra days holding the shape, releasing it, and re-forming it from scratch before you start timing changes against a strum.
Letting the pinky hang off the neck
The C chord does not use the pinky in its standard form, and a lot of new players let it flop out to the side or curl up out of the way entirely. Left dangling, it throws off the balance of the rest of the hand and makes the ring finger's stretch feel more awkward than it needs to. Let your pinky rest lightly near the fretboard instead, hovering close to the high E string, so your whole hand stays in a compact, ready position rather than one finger pulling everything off balance.
Does the C chord feel different on a nylon-string guitar?
Yes, in two separate ways that pull in opposite directions. Nylon strings sit under much lower tension than steel strings, so once your finger is correctly placed, less force is needed to stop it from buzzing, which is a real advantage while your fingertips are still building calluses. Classical and nylon-string guitars also tend to have noticeably wider necks than steel-string acoustics, which gives each string more room and makes it easier to avoid the accidental muting covered earlier in this article, since your fingers have more space to arch between strings.
The trade-off is that same wider neck asks for a slightly bigger stretch to cover the same fret pattern, which can work against players with smaller hands even as it helps everyone avoid muting neighboring strings. If you are learning on a nylon-string guitar and the ring finger's reach to the 3rd fret feels further than it looks like it should in a photo or video of someone playing a steel-string, this width difference is usually why. The shape, the fingers, and the frets are identical either way, only the physical spacing changes.
Warm-ups that make the stretch easier
A cold hand fights the C chord's stretch far more than a warmed-up one, so a minute of warm-up before you even form the shape pays for itself.
- Finger walk. Rest all four fingertips on the low E string, one fret apart starting at the 1st fret, and press each one down in order, index through pinky, then release them in the same order. Repeat this on each string. It wakes up finger independence, which is exactly what the C shape's asymmetric finger placement demands.
- Ring finger isolation. Since the ring finger is doing the most unfamiliar work in the C shape, spend ten seconds pressing it alone into the 3rd fret of the A string, releasing, and repeating five times, without the other fingers joining in.
- Open and close. Make a loose fist with your fretting hand, then spread your fingers as wide as comfortable, five times. This is a general hand warm-up borrowed from typing and other repetitive-motion routines, and it helps loosen the tendons that the C chord's stretch relies on.
None of this needs to take more than a minute or two, and it is worth doing before any session that focuses on this chord specifically, not just as a one-time exercise.
A practice routine for today
You do not need a long session to make real progress on this chord. Fifteen focused minutes is enough if you spend them on the right things, which is the whole idea behind practicing guitar in short daily sessions rather than occasional long ones.
- Two minutes: form the C shape from nothing, five separate times, resetting your hand fully between each one. Check the shape, not the sound, yet.
- Three minutes: strum the chord slowly, five strings only, and pick each of the three fretted notes individually if anything sounds off, using the buzzing section above to diagnose it.
- Five minutes: practice one chord change, C to Am first if C is still shaky, or C to G once Am feels solid. Change on a slow, steady four-count, with no strumming in between, just the shape landing cleanly on the beat.
- Five minutes: strum through a simple progression, C, Am, F, G, at a slow, even tempo, accepting a dead beat of silence between chords rather than rushing and playing a muted mess. Speed comes after accuracy, never before it.
Repeat this most days rather than one long session once a week. Chord shapes are built through frequent, short repetition far more than through occasional marathon sessions, since your hand is learning a physical position, not just a fact to remember.
Over a couple of weeks, that same fifteen-minute structure can shift without needing to change much. The two minutes spent forming the shape from nothing will naturally shrink as it stops requiring conscious thought, freeing up time you can shift into a second chord change or a longer stretch of the strummed progression. Resist the urge to speed up the progression itself before the changes inside it are landing cleanly at a slow tempo, since a faster strum over sloppy changes only trains the sloppiness in more firmly.
FAQ
Is the C chord hard for beginners? It is one of the more physically demanding open chords for a totally new player, mainly because of the stretch to the 3rd fret with the ring finger. It is not harder than F's small barre, but it usually arrives earlier in a beginner's chord list, so it is often the first real stretch a new player encounters. Most of the difficulty is the stretch itself rather than anything technically complex about the shape, which is why the one-finger and Cmaj7 versions covered above exist as genuine stepping stones rather than lesser substitutes.
Why does my C chord sound muffled even when nothing buzzes? Muffled usually means a string is being lightly muted rather than fully deadened, which sounds different from an obvious buzz. Pick the G and high E strings on their own while your hand is in the C shape and listen for a slightly shortened or duller ring, the classic sign of an unintentionally muted open string. It is often the middle finger leaning back onto the G string, or the index finger's outer edge brushing the high E, so check both individually rather than assuming it is a fretting problem.
Do I need to use the exact fingers listed, or can I use different ones? The listed fingering (ring, middle, index) is standard because it leaves your hand in a position that makes common chord changes, especially to G and F, faster and more natural. Using different fingers can still produce the same notes, but it will likely make the chord changes in this article harder to learn cleanly, so it is worth sticking with the standard fingering while you are still building your chord vocabulary. Once changes feel automatic, small personal adjustments to fingering are far less risky than they are on day one.
How long does it take to get a clean C chord? This varies by how much you practice and by hand size and flexibility, but most beginners notice a real, repeatable improvement within two to three weeks of short daily practice, with the ring finger's stretch typically being the last piece to feel comfortable. A clean, confident strum tends to arrive well before a clean, confident chord change, since the change adds timing pressure on top of the same physical shape.
What notes are in a C major chord? C, E, and G. The open C chord shape repeats some of these notes across different strings (there are two Cs and two Es in the five-string version), but only those three notes appear anywhere in the chord. That same three-note group, in different arrangements and octaves, is what every variation in this article, from the one-finger version to the barre chords, is still built from.
Can I play C without the ring finger stretch? Yes, using the one-finger version covered earlier in this article, which uses only the top three strings. It contains the same three notes as the full chord and is a legitimate way to play C major, just with a thinner sound and less low-string presence. Cmaj7, which drops the index finger instead of the ring finger's stretch, is another genuine option if you want a little more body than the one-finger version without tackling the full reach yet.
Why do some chord charts show C with four fingers? That is usually one of the variations covered above, most often Cadd9 or a slash chord like C/G, rather than plain C major. Chord charts label these differently (Cadd9, C/G, and so on) specifically because they are not interchangeable with plain C, even though they are all built from a similar shape. If a chart just says "C" but shows four dots, double check it against the tables in this article, since it is worth knowing exactly which variation you are actually looking at before you learn it.
Is it normal for my fingers to hurt while learning this chord? Some tenderness on the fingertips is normal in the first couple of weeks as calluses begin to form, especially on the ring finger doing unfamiliar work. Sharp pain, or pain in your wrist or the base of your thumb, is different and usually means your grip or wrist angle needs adjusting rather than something to push through. The warm-ups and thumb positioning covered earlier in this article are the first things worth checking if discomfort is showing up somewhere other than your fingertips.
GuitarLowKey
Ready for fifteen focused minutes?
Open the web app and train the change that is blocking your song.