
Cryogeyser Chords for Guitar: How to Play Leach the Easy Way
The real chords behind Cryogeyser's Leach: the easy Ab, Bb, Db, Abm version, the fuller maj7 chart, a capo trick that swaps every barre for an open chord, and the full song structure.

The Cryogeyser song most people mean when they search for its chords is "Leach," from the band's 2019 album "Glitch." The easy version uses four chords: Ab, Bb, Db, and Abm, all in the key of Ab major, all barre shapes, no open chords available at all. The good news is a capo on the 1st fret turns every one of those barre shapes into an open chord you probably already know. Everything below covers both versions, the full song structure, every shape in a table, and the capo trick that makes this song playable for a beginner.
The Easy Way to Play It: Ab, Bb, Db, and Abm
These four chords carry the whole song. Strings are numbered 1 to 6, thinnest to thickest. Fingers use standard numbering: 1 is your index finger, 2 is your middle finger, 3 is your ring finger, 4 is your pinky, and a barre means one finger presses down more than one string at once.
Ab Major
| String | Fret | Finger |
|---|---|---|
| 6 (low E) | 4 | 1 (barre) |
| 5 (A) | 6 | 3 (ring) |
| 4 (D) | 6 | 4 (pinky) |
| 3 (G) | 5 | 2 (middle) |
| 2 (B) | 4 | 1 (barre) |
| 1 (high E) | 4 | 1 (barre) |
Bb Major
| String | Fret | Finger |
|---|---|---|
| 6 (low E) | Muted | - |
| 5 (A) | 1 | 1 (barre) |
| 4 (D) | 3 | 2 (middle) |
| 3 (G) | 3 | 3 (ring) |
| 2 (B) | 3 | 4 (pinky) |
| 1 (high E) | 1 | 1 (barre) |
Db Major
| String | Fret | Finger |
|---|---|---|
| 6 (low E) | Muted | - |
| 5 (A) | 4 | 1 (barre) |
| 4 (D) | 6 | 2 (middle) |
| 3 (G) | 6 | 3 (ring) |
| 2 (B) | 6 | 4 (pinky) |
| 1 (high E) | 4 | 1 (barre) |
Ab Minor (Abm)
| String | Fret | Finger |
|---|---|---|
| 6 (low E) | 4 | 1 (barre) |
| 5 (A) | 6 | 3 (ring) |
| 4 (D) | 6 | 4 (pinky) |
| 3 (G) | 4 | 1 (barre) |
| 2 (B) | 4 | 1 (barre) |
| 1 (high E) | 4 | 1 (barre) |
Notice that Abm is actually simpler than Ab major here. The only difference between the two is the 3rd string: Ab major asks your middle finger to fret it one fret higher, while Abm just lets the main barre cover it. If you can hold the barre steady, Abm is close to free.
Song Basics at a Glance
| Detail | Value |
|---|---|
| Song | "Leach" |
| Artist | Cryogeyser |
| Album | Glitch |
| Released | June 16, 2019 |
| Key | Ab major |
| Tempo | Around 62 beats per minute |
| Tuning | Standard (E A D G B E, low to high) |
| Capo (original recording) | None |
| Easy chords | Ab, Bb, Db, Abm |
| Fuller chart chords | Abmaj7, Abm, Cm, Dbmaj7, Ab, Bbmaj7, Gbmaj7 |
Who Is Cryogeyser?
Cryogeyser is a three-piece from Los Angeles built around Shawn Marom, who writes and sings the band's songs. "Leach" was written by Marom and Hunter Martinez and appears on "Glitch," the band's 2019 debut album. The band's sound sits across dream pop, shoegaze, slowcore, and lo-fi indie rock, genres that tend to favor hazy, layered guitar textures over sharp, aggressive strumming, which is part of why a song like "Leach" leans on rich major seventh and minor chords instead of the plain triads a lot of guitar-forward pop and rock songs reach for.
That harmonic choice matters for how you approach the song on guitar. A major seventh chord adds a note a half step below the octave to an ordinary major triad, and the effect is a softer, more suspended color than a plain major chord gives you, closer to floating than resolving. Slowcore and shoegaze songwriters use that color often, because the genre is built around atmosphere and sustain rather than punchy chord changes.
What "Leach" Is About
The lyric follows the drained, hard-to-shake feeling of staying tangled in a relationship that has already turned toxic, the title itself borrowed from a parasite that survives by feeding off something else. Lines built around being fed on and unable to break free run through the verses, and the recurring image of something leaving "this head" and "sucking blood" is about as direct as the metaphor gets. It is a breakup song, but a specifically anxious one, less about the moment of ending things and more about the drawn-out, draining stretch of realizing you are still stuck.
That mood lines up with the chord choices. A song about feeling trapped and unresolved fits naturally with major seventh chords that never quite land on a plain, settled triad, and with a chord progression that keeps returning to Ab without ever really breaking free of it, the same way the lyric keeps circling the same feeling without resolving it.
Why Every Chord in This Song Is a Barre Chord
Ab major is not a beginner-friendly key on guitar, and "Leach" makes no attempt to work around that. Every chord in the song, easy version or full chart, has to be played somewhere up the neck with at least one finger flattened across multiple strings, because none of Ab major's chords line up with the small set of shapes that use open strings.
Open chords exist because certain notes, E, A, D, G, B, happen to be what your strings are already tuned to. C, F, and G also get open-chord treatment because they are close enough to those notes that a handful of standard shapes were worked out for them generations ago. Ab, Bb, Db, and their related minor and seventh chords sit outside that lucky set entirely. There is no folklore open-position shape for any of them, so every chord in this song requires a barre.
That is not unusual for a song in this genre, and it is not a sign you have found the wrong chord chart. It does mean the song is a genuinely good one to practice barre technique on, since you cannot avoid it by hunting for an easier chart online, there is not a simpler version of the real chords to find. There is, however, a workaround, and it is the single most useful thing in this post.
The Capo Trick: Turning Every Barre Chord Into an Open Chord
Put a capo on the 1st fret and every chord in this song can be played as a shape you already know, using no barre at all except one easy two-finger substitute.
A capo shortens the strings, so any open shape you play with a capo on sounds one semitone higher for every fret the capo sits on. With the capo on the 1st fret, an open G shape sounds as Ab, an open A shape sounds as Bb, and so on. Here is the full conversion for this song.
| Chord You Hear | Capo 1 Shape You Play | Open Chord Needed |
|---|---|---|
| Ab | G shape | Yes, fully open |
| Bb | A shape | Yes, fully open |
| Db | C shape | Yes, fully open |
| Abm | Gm shape, or use Em shape | Em is open, Gm is not |
| Fm (relative minor, used in some simplified charts) | Em shape | Yes, fully open |
| Cm | Bm7 shape | Not fully open, but a simple two-finger shape |
| Gbmaj7 | Fmaj7 shape | Yes, fully open, no barre |
The Abm row deserves a closer look, since G minor is not itself an open shape. The cleanest fix is to treat Abm as its relative pairing would suggest and reach for an open Em shape instead, which is the shape you would use anyway if the song's simplified 4-chord chart is the one you are following. Cm has the same problem in reverse, since its capo 1 equivalent, Bm, is not an open shape either. Bm7 stands in for it cleanly, since it only asks for two fingers and no barre at all.
G Major (Capo 1, Sounds as Ab)
| String | Fret | Finger |
|---|---|---|
| 6 (low E) | 3 | 3 (ring) |
| 5 (A) | 2 | 2 (middle) |
| 4 (D) | Open | - |
| 3 (G) | Open | - |
| 2 (B) | Open | - |
| 1 (high E) | 3 | 4 (pinky) |
A Major (Capo 1, Sounds as Bb)
| String | Fret | Finger |
|---|---|---|
| 6 (low E) | Muted | - |
| 5 (A) | Open | - |
| 4 (D) | 2 | 1 (index) |
| 3 (G) | 2 | 2 (middle) |
| 2 (B) | 2 | 3 (ring) |
| 1 (high E) | Open | - |
C Major (Capo 1, Sounds as Db)
| String | Fret | Finger |
|---|---|---|
| 6 (low E) | Muted | - |
| 5 (A) | 3 | 3 (ring) |
| 4 (D) | 2 | 2 (middle) |
| 3 (G) | Open | - |
| 2 (B) | 1 | 1 (index) |
| 1 (high E) | Open | - |
E Minor (Capo 1, Sounds as Fm)
| String | Fret | Finger |
|---|---|---|
| 6 (low E) | Open | - |
| 5 (A) | 2 | 2 (middle) |
| 4 (D) | 2 | 3 (ring) |
| 3 (G) | Open | - |
| 2 (B) | Open | - |
| 1 (high E) | Open | - |
F Major 7 (Fmaj7, Capo 1, Sounds as Gbmaj7)
| String | Fret | Finger |
|---|---|---|
| 6 (low E) | Muted | - |
| 5 (A) | Muted | - |
| 4 (D) | 3 | 3 (ring) |
| 3 (G) | 2 | 2 (middle) |
| 2 (B) | 1 | 1 (index) |
| 1 (high E) | Open | - |
B Minor 7 (Bm7, Capo 1, Sounds as Cm)
| String | Fret | Finger |
|---|---|---|
| 6 (low E) | Muted | - |
| 5 (A) | 2 | 1 (index) |
| 4 (D) | Open | - |
| 3 (G) | 2 | 2 (middle) |
| 2 (B) | Open | - |
| 1 (high E) | 2 | 3 (ring) |
A capo does not change what a chord is called on the record, and this post keeps naming chords by what you actually hear, Ab, Bb, Db, Abm, since that is what matches every other chord chart for this song you will find. The capo column is just the easier path to the same sound.
The Fuller Chord Chart on the Record
The simplified 4-chord version gets you through the song, but the actual recording leans on major seventh and minor seventh colors throughout, which is where a chart's chords, Abmaj7, Abm, Cm, Dbmaj7, Ab, Bbmaj7, and Gbmaj7, come from. None of these are required to play "Leach" convincingly, but they are worth knowing if you want your version to sit closer to what is actually on the record.
The easiest of these to add first is Abmaj7, since it is a small variation on the plain Ab shape you already have.
Ab Major 7 (Abmaj7)
| String | Fret | Finger |
|---|---|---|
| 6 (low E) | 4 | 1 (barre) |
| 5 (A) | 6 | 3 (ring) |
| 4 (D) | 5 | 2 (middle, flat across with 3rd string) |
| 3 (G) | 5 | 2 (middle, flat across with 4th string) |
| 2 (B) | 4 | 1 (barre) |
| 1 (high E) | 4 | 1 (barre) |
The only change from plain Ab major is the 4th string, which drops one fret, from the barre's octave root down to the major seventh. Your middle finger ends up flattened slightly to cover both the 4th and 3rd strings at the same fret, a small mini-barre inside the larger shape.
Bbmaj7 and Dbmaj7 follow the same idea relative to plain Bb and Db, but on the A-shape barre the note that moves is on a different string.
Bb Major 7 (Bbmaj7)
| String | Fret | Finger |
|---|---|---|
| 6 (low E) | Muted | - |
| 5 (A) | 1 | 1 (barre) |
| 4 (D) | 3 | 3 (ring) |
| 3 (G) | 2 | 2 (middle) |
| 2 (B) | 3 | 4 (pinky) |
| 1 (high E) | 1 | 1 (barre) |
Db Major 7 (Dbmaj7)
| String | Fret | Finger |
|---|---|---|
| 6 (low E) | Muted | - |
| 5 (A) | 4 | 1 (barre) |
| 4 (D) | 6 | 3 (ring) |
| 3 (G) | 5 | 2 (middle) |
| 2 (B) | 6 | 4 (pinky) |
| 1 (high E) | 4 | 1 (barre) |
Cm and Gbmaj7 show up more briefly in the song, in the intro and bridge respectively, and if reaching for six new shapes on top of the easy version feels like too much at once, playing Ab in their place loses very little, since both chords function as passing color rather than a harmonic destination the song lands on. For anyone who wants them anyway, both are playable shapes in their own right.
C Minor (Cm)
| String | Fret | Finger |
|---|---|---|
| 6 (low E) | Muted | - |
| 5 (A) | 3 | 1 (barre) |
| 4 (D) | 5 | 3 (ring) |
| 3 (G) | 5 | 4 (pinky) |
| 2 (B) | 4 | 2 (middle) |
| 1 (high E) | 3 | 1 (barre) |
Gb Major 7 (Gbmaj7)
| String | Fret | Finger |
|---|---|---|
| 6 (low E) | 2 | 1 (barre) |
| 5 (A) | 4 | 3 (ring) |
| 4 (D) | 3 | 2 (middle, flat across with 3rd string) |
| 3 (G) | 3 | 2 (middle, flat across with 4th string) |
| 2 (B) | 2 | 1 (barre) |
| 1 (high E) | 2 | 1 (barre) |
Gbmaj7 is written as Gb here because that is how it is named relative to the key of Ab major, though you will sometimes see the same chord written as F#maj7. They are the same shape and the same pitch, just two names for the same note depending on which way a particular chart chooses to spell it.
How This Song Sits in the Key of Ab Major
Naming these chords by their role in the key, rather than just by letter name, explains why a few of them feel like they lean somewhere the others do not. The Ab major scale is Ab, Bb, C, Db, Eb, F, and G, and its diatonic chords are Ab (I), Bb minor (ii), C minor (iii), Db (IV), Eb (V), F minor (vi), and a diminished chord on G.
Two of this song's chords step outside that list entirely, and both do it on purpose. Bb major, not Bb minor, is what the ii chord would be if it followed the key strictly, and swapping in a major chord where a minor one is expected gives the progression a brighter, slightly unresolved lift right where you would otherwise expect something darker. Abm is an even bigger departure, borrowing the minor tonic from Ab's parallel minor key rather than staying in Ab major at all, a trick that lets the song's home chord flicker between major and minor without ever fully picking a side. Gbmaj7, the bridge's chord, is a borrowed flat seven, another common move in indie and shoegaze songwriting for a chord that lifts the harmony without resolving anywhere in particular.
None of this theory is required to play the song. It does explain why "Leach" feels harmonically restless even though it never strays far from Ab, and why a plain, strictly diatonic chord chart would sound noticeably flatter than what is actually on the record.
Why Some Chord Charts List Fm Instead of Abm
If you look at more than one chord chart for this song, you will run into a genuine disagreement: some list the song's minor chord as Abm, others simplify it to Fm. Both show up often enough online that it is worth explaining rather than picking one and pretending the other does not exist.
Fm is the relative minor of Ab major, the natural minor chord that already belongs to the key without any borrowing. A simplified chart built for beginners will sometimes substitute a song's more unusual borrowed chord, here Abm, with the closest diatonic relative, here Fm, because it keeps every chord in the song inside the plain key of Ab and avoids introducing the parallel-minor color altogether. It is not the same chord the recording actually uses, but it is close enough in function, both are minor chords that add contrast to the surrounding major harmony, that substituting one for the other rarely sounds wrong to a casual listener.
If you want the version closest to the record, use Abm. If a chart you are following lists Fm instead and you would rather not relearn a new barre position, playing Fm in its place is a reasonable, commonly used simplification rather than a mistake.
Barre Strength: A Simple Daily Exercise
Barre chord strength comes from repetition more than from any particular trick, but a short, focused exercise builds it faster than trying to power through the full song over and over. Fret the Ab shape from the easy version, strum it once, release the pressure completely without lifting your hand off the neck, then press and strum again. Repeat that for thirty seconds, rest, and do one more set.
The point of releasing and re-fretting, rather than holding the barre continuously, is that it trains the specific motion of clamping down cleanly on contact, which is what actually happens every time you change chords mid-song. Holding a barre chord for a long, static stretch builds endurance, but it does not train the quick, accurate clamp a fast chord change actually needs. Five minutes of this before you play through "Leach" itself is a better investment than five extra minutes of stumbling through the full song at tempo.
Electric or Acoustic
Nothing about this song's chords or structure depends on which kind of guitar you play it on, but the two instruments suit slightly different parts of "Leach." An electric guitar with even a small amount of reverb leans into the hazy, floating character that shoegaze and dream pop are built around, and it is the more natural fit if you are trying to get close to the original recording's atmosphere.
An acoustic guitar strips that atmosphere away and puts the chord voicings themselves front and center, which is not a worse way to play the song, just a different one. The major seventh colors covered earlier come through clearly on acoustic without any effects at all, since the interest in those chords lives in the notes themselves rather than in reverb or sustain. Either instrument plays every shape in this post identically. The choice is about the mood you are going for, not about correctness.
How the Song Is Structured, Section by Section
Seeing where each chord falls makes the song far easier to play start to finish, rather than guessing at the order from memory.
| Section | Full Chart | Easy Substitute |
|---|---|---|
| Intro | Abmaj7 - Abm - Cm | Ab - Abm - Ab |
| Verse | Abmaj7 - Abm - Dbmaj7 - Ab | Ab - Abm - Db - Ab |
| Chorus | Bbmaj7 - Abmaj7 - Ab | Bb - Ab - Ab |
| Bridge | Gbmaj7 (repeated) | Db (nearest easy substitute) |
| Outro | Bbmaj7 - Abmaj7 | Bb - Ab |
The verse is where the song spends most of its time, cycling through the same four-chord idea twice before the chorus opens up on Bb. That repetition works in your favor while learning the song: get the verse's Ab to Abm to Db to Ab sequence comfortable, and you already have most of the chorus and outro covered, since both reuse the same Ab and Bb chords in a shorter order.
Why It's Not Working: Fixing Barre Chord Buzz
Barre chords buzz or sound half-muted for a small, predictable set of reasons. Since every chord in this song is a barre, it is worth working through these one at a time rather than assuming your ear is wrong.
Your Index Finger Isn't Rolled Onto Its Edge
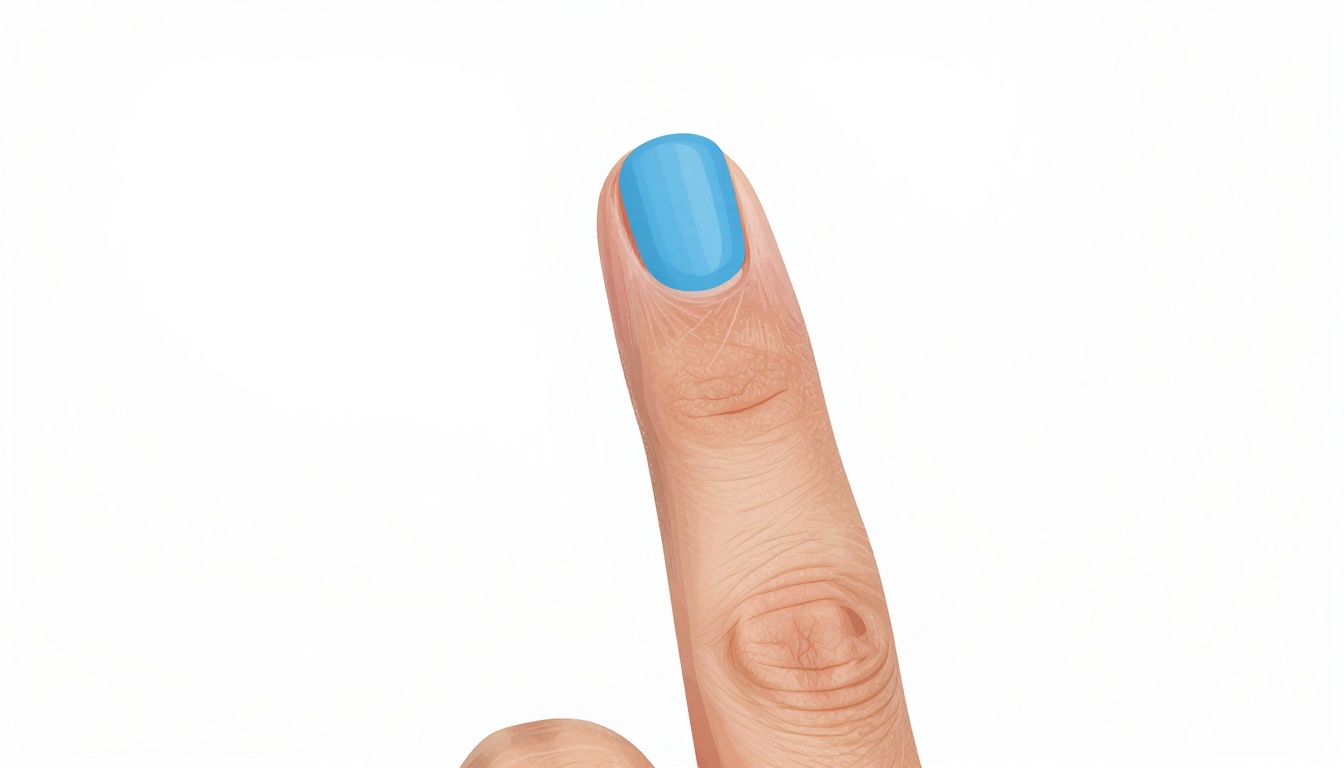
A barre pressed flat with the pad of your index finger has to fight the natural dip between your finger's knuckles, where the strings can sit lower than the rest of the barre and buzz. Rolling your index finger slightly onto its outside edge, rather than laying it completely flat, presents a firmer, more even surface to all six strings at once.
Your Thumb Is Riding Too High on the Neck
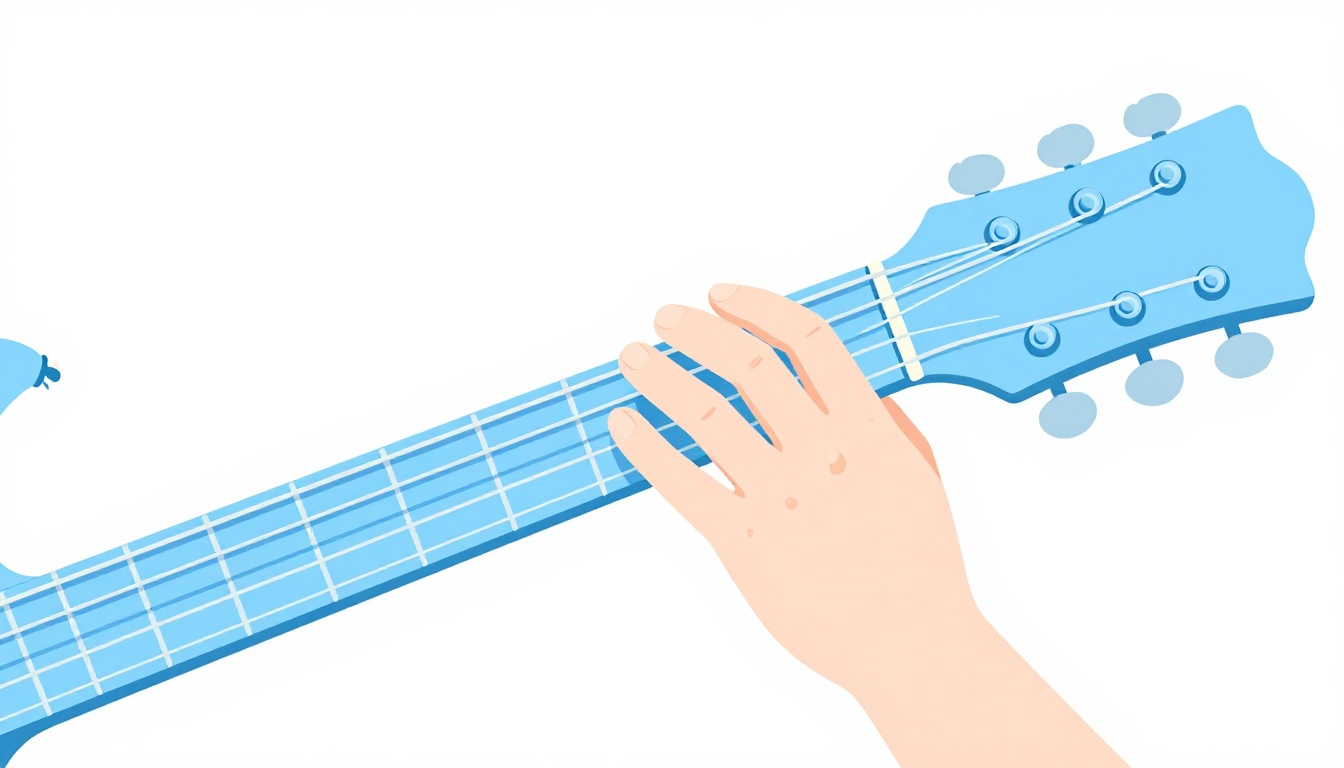
A thumb that creeps up over the top of the neck, a habit a lot of players carry over from open chords, robs the rest of your hand of the leverage a barre needs. For a clean barre, your thumb should sit roughly behind your index finger, low on the back of the neck, pushing forward while your fingers press down, rather than gripping the neck like a baseball bat.
You're Pressing in the Middle of the Fret Instead of Behind the Wire
Fret numbers count the space between two metal wires, not the wire itself. Pressing right up against the fret wire, on the side closer to the guitar's body, takes noticeably less pressure for a clean note than pressing in the middle of that space, and it matters even more on a barre, where you are already asking one finger to do the work of several.
The Guitar's Action Is Working Against You
Some guitars simply need more finger strength to barre cleanly than others, because the strings sit higher off the fretboard, a setup detail called action. If every barre chord on one particular guitar buzzes no matter how carefully you check your hand position, and the same shapes are fine on a different instrument, the guitar itself, not your technique, may be the actual problem. A setup adjustment at a guitar shop can lower the action and make barre chords considerably easier across the board.
You Haven't Built the Hand Strength Yet
Barre chords ask for a kind of sustained finger pressure that open chords never do, and that strength genuinely takes time and repetition to build, not just correct technique. If your hand position checks out against everything above and the chord still buzzes, especially if your hand also tires quickly, the honest answer is often that you need more reps, not a different approach.
Easier Versions for Beginners
If the full six-string barre isn't landing yet, a few smaller versions keep the song playable while you build toward it.
Partial Barre Versions
Every chord in this song's easy version, Ab, Bb, Db, and Abm, can be played as a smaller barre covering only the top four or five strings instead of all six, since the low E string in the E-shape chords and the low E and A strings in the A-shape chords are either the root or muted anyway on some voicings. Barring fewer strings at once takes less overall finger strength, even though the chord still uses the same basic shape.
| String | Fret | Finger |
|---|---|---|
| 6 (low E) | Not played | - |
| 5 (A) | 6 | 3 (ring) |
| 4 (D) | 6 | 4 (pinky) |
| 3 (G) | 5 | 2 (middle) |
| 2 (B) | 4 | 1 (partial barre) |
| 1 (high E) | 4 | 1 (partial barre) |
This is the same Ab major shape from earlier with the low E string left out entirely. You lose a doubled root note, which barely changes how the chord sounds in a full strum, and your index finger only has to hold down two strings instead of three.
If Your Hands Are Small
The A-shape barre chords in this song, Bb and Db, ask your ring, middle, and pinky fingers to sit close together at the same fret across three adjacent strings, which can feel cramped if your hand is on the smaller side. Angling your wrist slightly further out from the neck than feels natural at first, rather than keeping it flat against the neck the way open chords encourage, opens up a little more room for those three fingers to land independently instead of piling into each other.
If that still is not enough room, the partial barre approach above helps here too. Dropping the low E and A strings out of the Bb and Db shapes and focusing your barre on just the top four strings reduces how far your hand has to stretch across the neck at once, without changing which notes end up ringing in the chord you actually hear.
Lean on the Capo Trick While You Build Strength
The capo conversion covered earlier is not just a beginner's shortcut, it genuinely removes the barre requirement for most of this song's chords. Practicing "Leach" with a capo on the 1st fret using G, A, C, and Em shapes, and only reaching for a true barre chord on Bm7 or a similar substitute, is a complete, honest way to learn the whole song while your barre technique catches up separately.
Changing Between the Chords Without Losing the Beat
The shapes themselves are the harder part of this song, but the changes between them still deserve their own practice, since Ab to Db in particular asks your whole hand to slide up the neck rather than just reshape in place.
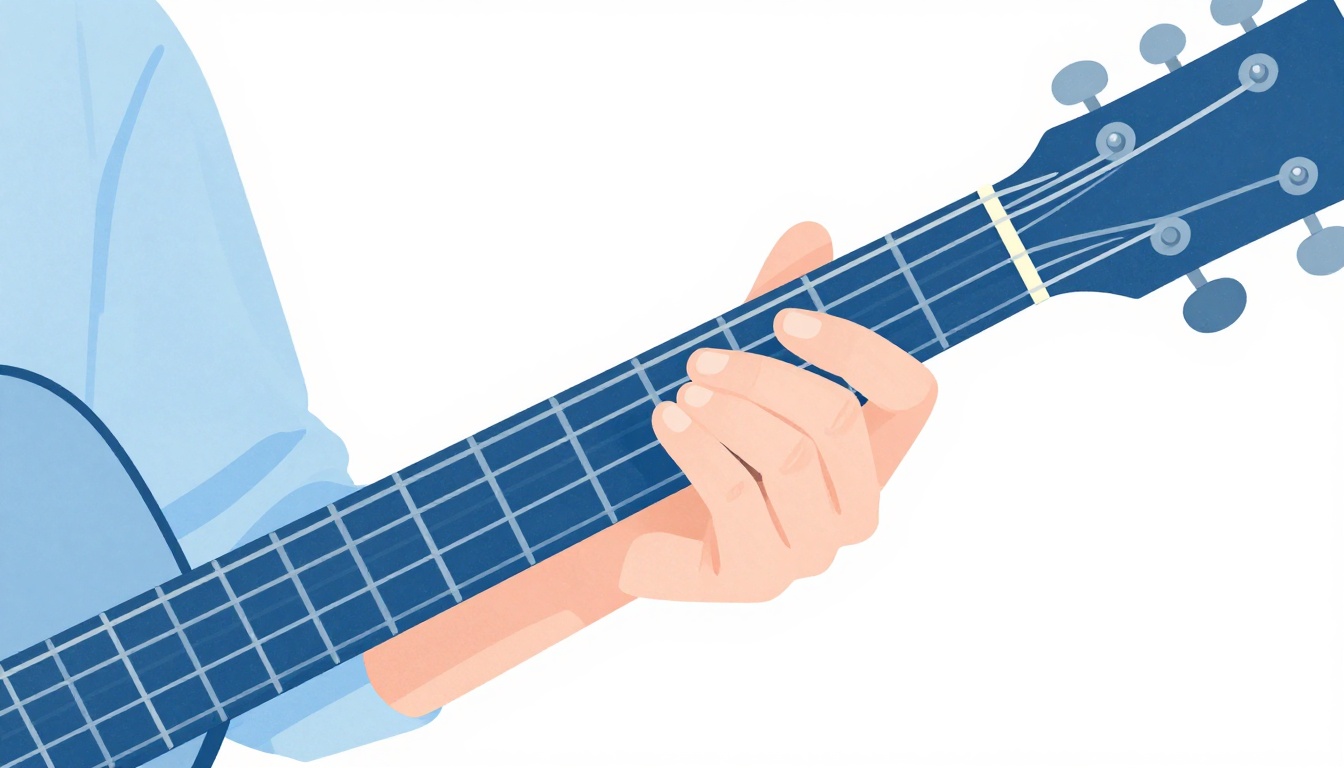
Ab to Bb moves your entire hand shape from an E-shape barre at the 4th fret to an A-shape barre at the 1st fret, a jump down the neck rather than up it. Keep your index finger's barre pressure consistent through the move rather than releasing it completely between chords, since re-establishing a barre from nothing costs more time than sliding an already-pressed barre to a new fret.
Ab to Abm is the easiest change in the song, since both chords share the identical 4th-fret position. Only your middle finger's placement on the 3rd string changes, lifting off for Abm and pressing down a fret higher for Ab major. Practicing this pair back and forth is a low-effort way to build barre stamina, since your hand never has to travel anywhere.
Db to Ab, which closes out the verse, is a longer jump, from the 4th-fret A-shape barre down to the 4th-fret E-shape barre, different shapes at the same fret number. Look ahead to where your index finger needs to land before you move, rather than watching your whole hand mid-transition, and let the change happen as one motion rather than a slide followed by a reset.
Bb to Db, which opens the chorus into the verse's chord territory, keeps the same A-shape barre throughout and simply slides it three frets up the neck, from the 1st fret to the 4th. Since your hand never has to change shape, only position, this change rewards keeping consistent, light barre pressure while you slide rather than releasing and re-fretting at the new fret.
The intro's Ab to Abm to Cm sequence is a useful one to isolate on its own, since it moves through three different barre positions in quick succession, the 4th-fret E-shape, the same 4th-fret E-shape in its minor form, and then the 3rd-fret A-shape for Cm. Practicing that three-chord loop by itself, slowly, before attaching it to the rest of the song, pays off more than trying to absorb it for the first time as part of a full run-through.
Strumming and Dynamics for a Shoegaze and Dream Pop Feel
At around 62 beats per minute, "Leach" has room to breathe that a faster strumming pattern would crowd out. A simple down, down-up pattern per bar, played with a light touch, matches the genre's preference for texture over percussive attack far better than an aggressive strum does.
Shoegaze and dream pop guitar parts, on the original recording and in most cover versions, tend to favor sustain and blend over sharp, individually picked notes. Letting each chord ring for its full duration, rather than choking it off to fit in extra strums, does more for the song's atmosphere than adding rhythmic complexity would. If you are playing electric with any reverb or delay available, even a small amount goes a long way toward matching the record's hazy character, though the chords and structure in this post work identically whether you are playing through effects or straight into an amp.
Fingerpicking as an Alternative to Strumming
Given the song's slower tempo and its reliance on major seventh colors, which tend to sound richer picked individually than strummed as a block, fingerpicking is a genuinely good fit for "Leach," especially through the verse.
A simple thumb-and-fingers approach works without learning a complex fingerstyle arrangement. Play the chord's lowest available note with your thumb first, then roll through the remaining strings with your index, middle, and ring fingers in order, letting each note ring into the next rather than plucking everything at once. This approach also makes barre chord buzz far less noticeable than a hard strum would, since a single weak note in a slower, picked pattern is much less exposed than the same weak note lost inside six strings struck at once.
A Practice Routine for This Song
Start with the easy four-chord version, Ab, Bb, Db, and Abm, using either the true barre shapes or the capo 1 conversion, whichever your hand is more ready for today. Add the fuller chart's maj7 colors only after the plain version feels solid under tempo.
| Days | Focus |
|---|---|
| 1 to 2 | Ab, Bb, Db, and Abm in isolation, no song yet, just clean barre changes |
| 3 to 4 | The verse progression, Ab - Abm - Db - Ab, at a slow tempo |
| 5 | Add the chorus, Bb - Ab, and the full song structure at reduced speed |
| 6 | Swap in Abmaj7 and Bbmaj7 wherever the full chart calls for them |
| 7 | Full song at tempo, either the barre version or the capo 1 version, whichever you have chosen |
Treat day 7 as the first time you play the whole song slowly and imperfectly, not the point where it needs to sound finished. If you are building this into a short daily habit rather than one long session, the homepage has more on structuring focused fifteen-minute practice blocks that actually stick over time.
Playing It Solo or With a Band
Alone, with just a guitar, the easy four-chord version or its capo-1 equivalent carries the entire song, verse through outro, without needing any of the maj7 substitutions. That is a complete way to play "Leach," not a placeholder waiting for the "real" chords.
With a full band or a backing track that includes the original recording's other instruments, the maj7 and m7 colors do more noticeable work, since they are audibly part of the mix you are playing along with. Matching those voicings, rather than the plain triads, keeps your guitar part from sounding thinner than the rest of the arrangement around it.
If you are playing along with the original recording specifically, whether from a streaming app or a video, the plain-triad easy version still lines up correctly under the mix, since Ab, Bb, Db, and Abm are the same chords with less of the maj7 color layered on top rather than different chords entirely. You will not clash with the recording playing the easy version, you will simply hear the fuller chart's extra notes coming from the original track while your own playing stays a shade plainer underneath it.
An Easier Cryogeyser Song to Start With
If the barre chords in "Leach" are proving to be a lot to take on before anything else, Cryogeyser's "Angry" is a considerably friendlier entry point into the band's catalog. It uses Bm7, E, D, and A, a set of chords that are either fully open or, in Bm7's case, a simple two-finger shape, with no true six-string barre required anywhere.
| Chord | Type |
|---|---|
| Bm7 | Two-finger shape, no barre |
| E | Open |
| D | Open |
| A | Open |
Learning "Angry" first, or alongside "Leach," gives your hands a genuine break from barre technique while you keep working on it separately, and it means you are never more than one song away from playing something by this band comfortably while "Leach" is still coming together.
Common Mistakes Beyond the Chords
A handful of issues trip players up on this song that have nothing to do with fretting a wrong shape.
Rushing the Verse-to-Chorus Change
Because the chorus only adds one new chord, Bb, on top of the verse's Ab, it is tempting to treat the transition as trivial and speed through it. The change from a 4th-fret E-shape barre to a 1st-fret A-shape barre is a bigger physical move than the harmony alone suggests, and rushing it is a common source of a dropped beat right at the seam between sections.
Strumming Too Hard for the Genre
This is not a song that rewards an aggressive strumming hand. A hard strum flattens the difference between the maj7 chords and their plain triad substitutes, and works against the atmospheric, sustained character the original recording is built around. Keep your strumming hand light, especially through the verse.
Learning the Full Maj7 Chart Before the Easy Version Is Solid
Abmaj7, Bbmaj7, and Dbmaj7 are worth learning, but adding them on top of a chord progression you are still fumbling through in its plain form usually means you get neither version clean. Get Ab, Bb, Db, and Abm comfortable first, then swap in the fuller voicings one at a time.
Trusting a Chord Chart Over Your Own Ears
Chord charts for a smaller indie release like this one are almost always transcribed by other guitarists, not published by the band, and different transcribers occasionally disagree, as the Fm-versus-Abm split earlier in this post shows. If a shape you are playing consistently sounds wrong against the recording, trust what you are hearing over any single chart, including this one, and check a second source before assuming your ear is the problem.
Giving Up on Barre Chords Instead of Trying the Capo
If barre chords are still the main obstacle after real practice, reaching for the capo 1 conversion earlier in this post is not cheating and is not a lesser version of the song. It is the same chords, the same structure, and the same song, played with shapes that do not require a barre at all.
Frequently Asked Questions
What are the easy chords for Cryogeyser's "Leach"?
Ab, Bb, Db, and Abm. All four are barre chords in the key of Ab major, and together they cover the entire verse, chorus, and outro.
What key is "Leach" in?
Ab major. The song does not change key at any point from the intro through the outro.
Do I need a capo to play this song?
No, but a capo on the 1st fret is genuinely useful here, since it lets you play G, A, C, and Em open shapes instead of Ab, Bb, Db, and Abm barre chords, with no loss of accuracy in what you hear.
Why does every chord in this song need a barre?
Ab major does not line up with any of the handful of keys, E, A, D, G, C, that have dedicated open-chord shapes. Every chord built from Ab, Bb, or Db has to be played as a movable shape somewhere up the neck.
What is the difference between the easy version and the full chord chart?
The easy version uses plain major and minor triads, Ab, Bb, Db, Abm. The full chart adds major seventh colors on top of those same chords, Abmaj7, Bbmaj7, Dbmaj7, plus Cm and Gbmaj7 as brief passing chords in the intro and bridge. Both are correct ways to play the song, and the maj7 version sits closer to the original recording.
How fast is "Leach"?
Around 62 beats per minute, a slow tempo with room for each chord to ring out rather than being strummed and cut short.
Should I strum or fingerpick this song?
Either works. A light strum suits the chorus, while fingerpicking through the verse matches the song's slower, more atmospheric character and makes any remaining barre chord buzz far less noticeable.
Is this a hard song for a beginner?
The chord shapes themselves are barre chords throughout, which puts it a step above a first song built on open chords. The capo 1 conversion in this post removes that barrier almost entirely, which makes the song approachable well before your barre technique is fully built.
Who is in Cryogeyser?
Cryogeyser is a Los Angeles three-piece led by Shawn Marom, who wrote "Leach" together with Hunter Martinez for the band's 2019 debut album, "Glitch."
What is "Leach" about?
The lyric follows the draining, hard-to-shake feeling of staying tangled in a relationship that has already turned toxic, with the title's parasite imagery, something feeding on you and refusing to let go, running through the verses and the recurring hook.
Is there an easier Cryogeyser song to learn first?
Yes. "Angry" uses Bm7, E, D, and A, chords that are either fully open or a simple two-finger shape, with no barre required anywhere in the song.
Can I play "Leach" without ever learning a barre chord?
Mostly, yes. The capo 1 conversion in this post covers every chord except Cm, which becomes Bm, and even that has an easy two-finger Bm7 substitute. A capo and the shapes in this post get you through the entire song without a true six-string barre.
What does Gbmaj7 mean if I see it written as F#maj7 somewhere else?
They are the same chord. Gb and F# are two names for the same pitch, and different chord charts pick whichever spelling fits the surrounding key more naturally. Either name points you to the identical shape.
Is "Leach" played on electric or acoustic guitar?
The chords and structure work identically on either instrument. Electric with a touch of reverb leans into the hazy, shoegaze character of the original recording, while acoustic puts the major seventh chord voicings themselves more clearly in focus.
Why do different websites list slightly different chords for this song?
"Leach" is a smaller indie release, and chord charts for songs like this are transcribed by other guitarists rather than published by the band, so occasional disagreements are normal. The Fm-versus-Abm split covered earlier in this post is the main one you are likely to run into, and both are explained there along with which one matches the record.
GuitarLowKey
Ready for fifteen focused minutes?
Open the web app and train the change that is blocking your song.