
How to Play the E7 Guitar Chord (Every Shape, No Buzzing)
The easiest E7 shape on guitar, the four-finger version, barre alternatives further up the neck, and how to fix the buzz before you strum again.

Play an open E chord, lift your ring finger off the fretboard, and strum. That is E7. Your index finger stays on the third string, first fret. Your middle finger stays on the fifth string, second fret. Everything else rings open, and the chord that comes out is E7.
That is the whole answer for anyone who already knows open E. If you do not yet, the next section walks through it finger by finger, plus the four-finger version, the versions further up the neck, and the fixes for every buzz and dead string this chord is known for.
E7 also happens to be one of the more forgiving chords a new guitarist meets. It uses only two fingers in its most common form, it relies on four ringing open strings to fill out its sound, and it shows up constantly the moment you start playing blues, folk, or almost anything built around the key of A. Getting it clean and getting the change into and out of it smooth is worth more than most beginners expect, and it pays off across a wider range of songs than its two-finger simplicity would suggest.
What Notes Make Up E7
E7 is a dominant seventh chord built from four notes: E, G#, B, and D. That is a major triad (E, G#, B) with a flattened seventh (D) stacked on top. The "seventh" in the name refers to that D, the note a minor seventh above the root.
This is different from a plain E major chord, which only has three notes in it (E, G#, B) repeated across six strings. Adding the D is what gives E7 its edge. A major chord on its own sounds settled. Add the flattened seventh and the chord leans forward, wanting to resolve somewhere else. That pull is why E7 shows up constantly in blues, and why it almost never gets left ringing at the end of a song.
It is also worth separating E7 from E minor 7 (Em7) early, because the names look similar and the search results for both chords get tangled together. E7 keeps the G# (major third). Em7 flattens that third to G natural. One letter of difference in the name, one fret of difference on the string, and a completely different mood. There is a full section on that mix-up further down.
What Each String Is Actually Playing
It helps to know which note you are producing on each string, rather than just memorizing shapes. In the easy open E7 shape, here is what rings out, low to high:
| String | Note Played | Role in the Chord |
|---|---|---|
| 6 (low E) | E | Root |
| 5 (A) | B | Perfect fifth |
| 4 (D) | D | Flattened seventh |
| 3 (G) | G# | Major third |
| 2 (B) | B | Perfect fifth, doubled |
| 1 (high E) | E | Root, one octave up |
Every core tone of E7 (root, third, fifth, seventh) is present in this shape, and the root and the fifth are each doubled across two strings. Nothing in the shape is decorative. Every open string you are relying on is doing real harmonic work, which is also why a single muted or buzzing string in this chord is so noticeable: you are not losing a spare note, you are losing one of only four pitches in the chord.
Tuning Up Before You Play This Chord
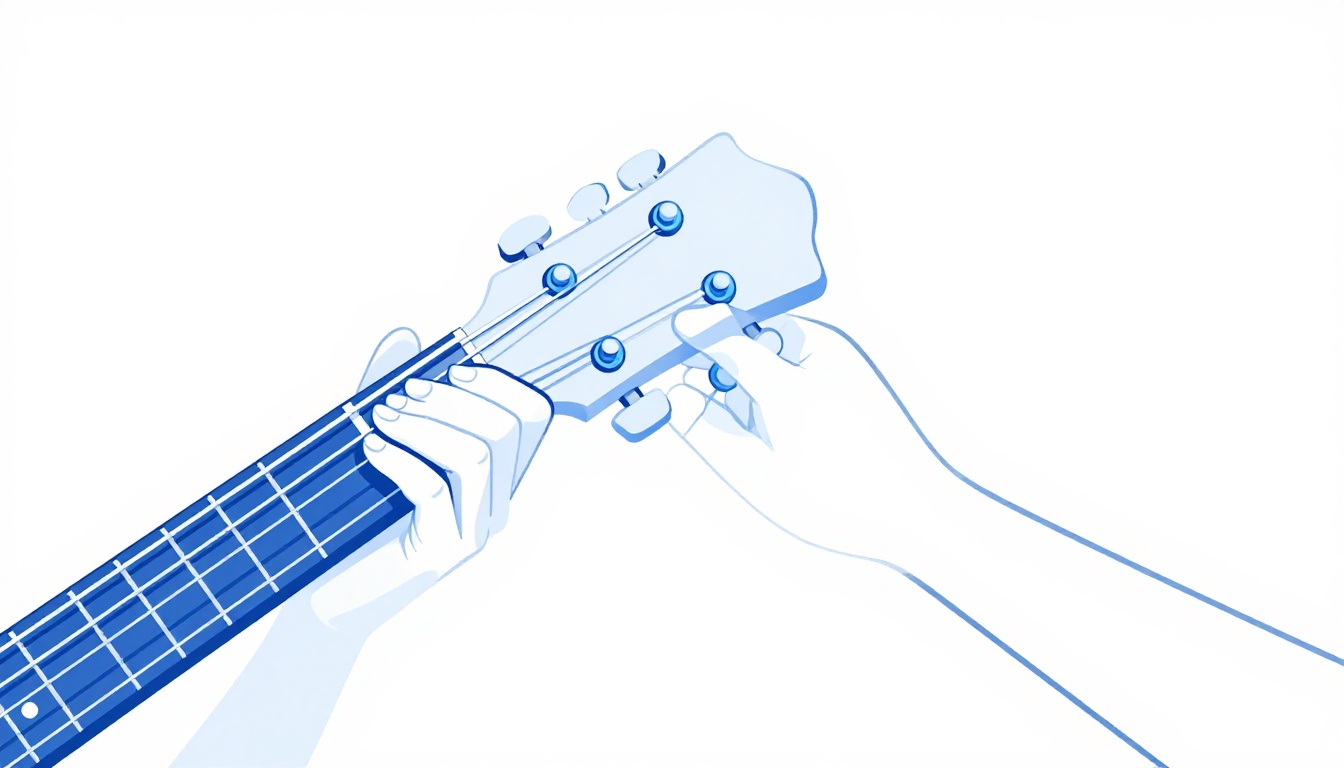
E7 relies on four open strings ringing cleanly against two fretted notes, which makes it a chord that reveals tuning problems fast. If your low E or A string is even slightly flat, the whole chord sounds sour in a way that is easy to blame on your fingers when the real problem is the tuning peg.
Standard tuning, low to high, is:
| String | Note | Common Name |
|---|---|---|
| 6 | E | Low E |
| 5 | A | A |
| 4 | D | D |
| 3 | G | G |
| 2 | B | B |
| 1 | E | High E |
Check your tuning with a clip-on tuner or a tuning app before working on this chord, especially the fifth string, since it carries one of the two fretted notes in the easy shape and any tuning drift there throws the whole chord off in a way that is hard to diagnose by ear alone. A chord that sounds "almost right" is worth checking against a tuner before assuming your fingers are the problem.
The Easiest Way to Play E7
This is the shape almost every method book, every app, and every teacher shows first, because it uses only two fingers and four open strings.
| String | Fret | Finger |
|---|---|---|
| 6 (low E) | Open | - |
| 5 (A) | 2 | 2 (middle) |
| 4 (D) | Open | - |
| 3 (G) | 1 | 1 (index) |
| 2 (B) | Open | - |
| 1 (high E) | Open | - |
Strum all six strings. Four of them ring open, which is why this shape sounds so full for so little effort, and why it is usually the first seventh chord anyone learns.
Step by Step: Placing Your Fingers for E7
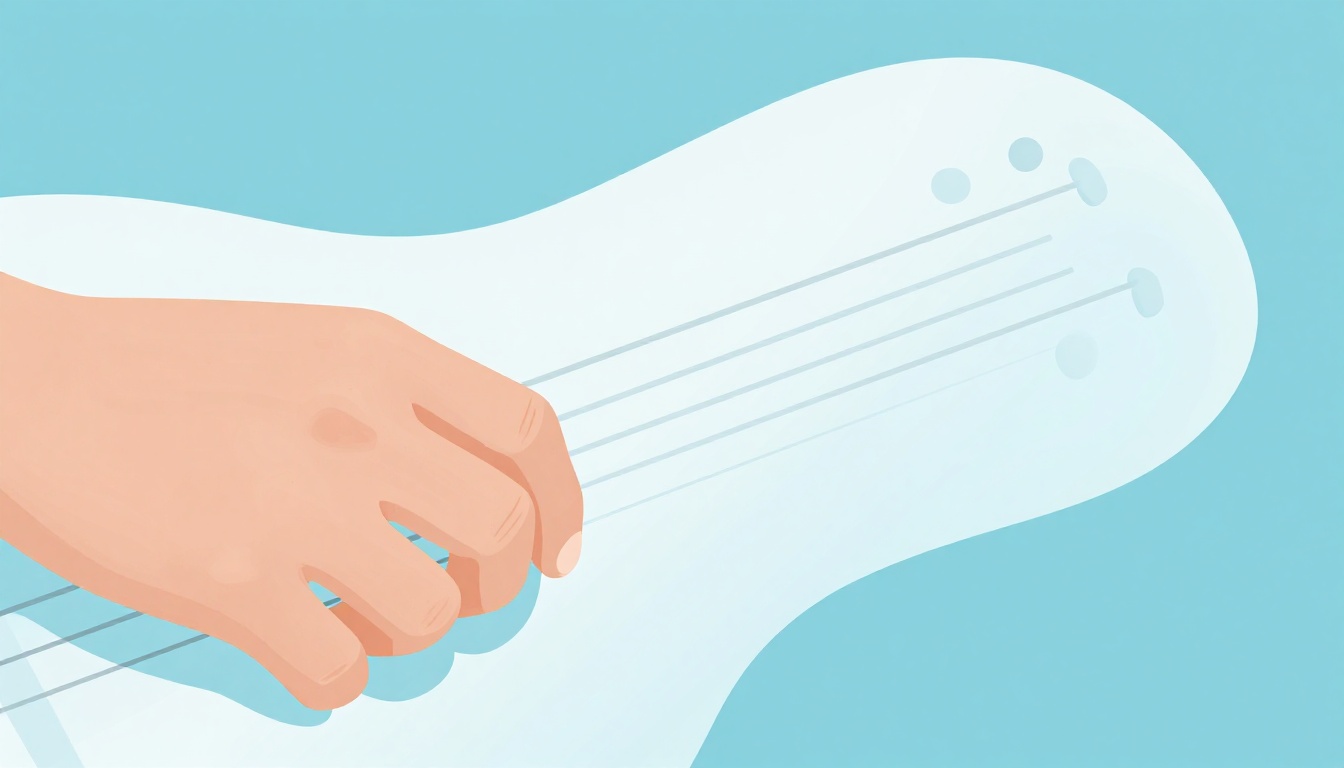
Work through it in this order rather than dropping both fingers down at once. It is easier to fix one finger than to untangle two.
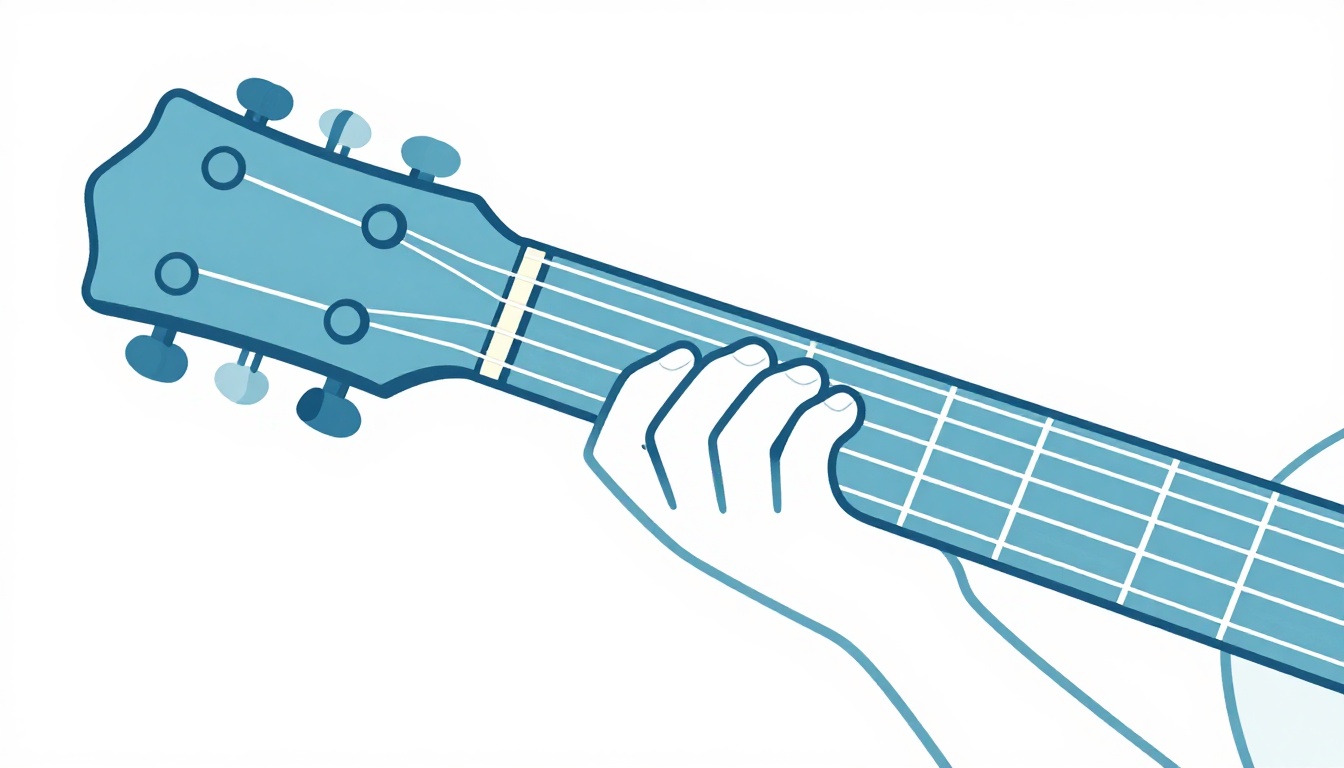
- Start from open strings. Rest your hand near the first three frets with no fingers down yet, thumb behind the neck, roughly behind your first finger.
- Place your index finger (1) on the third string (G), first fret. Get right up against the fret wire, not in the middle of the gap between frets. Closer to the fret means less pressure needed and less buzz.
- Place your middle finger (2) on the fifth string (A), second fret. This finger sits on a different string entirely, two frets further down the neck, so it should not touch or lean on your index finger.
- Check your fingertips, not your finger pads. Both fingers should be on their very tips, arched up and over so they do not brush the strings on either side.
- Strum all six strings slowly, one at a time if you can, and listen for a clean note on each string before you strum them together.
If any string buzzes or goes dead, the fixes further down cover every common cause, one at a time. It is worth resisting the urge to press harder as a first fix. In almost every case the actual fault is placement, not force, and pressing harder on a badly placed finger just tires your hand out faster without curing the buzz.
The Full Open E7 (Adding the Fourth Finger)
Once the two-finger version feels solid, there is a fuller version of the same chord that fills in one more note. It keeps the same index and middle finger placement and adds a pinky.
| String | Fret | Finger |
|---|---|---|
| 6 (low E) | Open | - |
| 5 (A) | 2 | 2 (middle) |
| 4 (D) | 2 | 3 (ring) |
| 3 (G) | 1 | 1 (index) |
| 2 (B) | 3 | 4 (pinky) |
| 1 (high E) | Open | - |
Notice this is built directly from an open E major chord (which uses index, middle, and ring exactly like this) with one extra note added by the pinky on the second string, third fret. That note is a D, the same flattened seventh that defines E7. This version has a thicker, more layered sound than the two-finger shape, at the cost of needing all four fingers cooperating in a small space. It is worth learning once the easy version is second nature, but it is not the one to start with.
A useful way to think about the relationship: the easy two-finger E7 removes the ring finger from open E and leaves the second string open. The four-finger E7 keeps the ring finger where open E puts it and adds the pinky on top. Both are legitimate, commonly taught versions of the same chord. Neither is a shortcut or a simplified stand-in for the other; they are two different voicings that happen to share two fingers.
Why E7 Sounds Different From E Major
Open E major and open E7 look almost identical on the fretboard, one finger apart, but they do not function the same way in a piece of music. E major is stable. It can end a song. E7 is restless. It wants to move somewhere, almost always toward a chord a fourth above it, which from E is A.
That pull comes from the interval between the third (G#) and the flattened seventh (D) inside the chord. Those two notes sit a tritone apart, the most unstable interval in Western harmony, and the ear wants that tension resolved. Play E7 then A and the pull-and-release is audible even without knowing any theory behind it. That single relationship is why E7 shows up wherever a song needs to lean into the next chord rather than sit still, and it is the reason blues progressions lean on dominant seventh chords instead of plain major ones.
This is also why swapping E7 in for a plain E major chord, or the other way around, changes how a passage feels even when it does not feel outright wrong. A verse that resolves cleanly on E major will feel like it is holding its breath if you swap in E7 at that final moment, because the flattened seventh is still asking to move even when the song has stopped. Save E7 for the spots where the music is meant to keep pushing forward.
E7 vs Em7: What's the Difference
This is one of the most common points of confusion for anyone searching for E7, because the two names are one letter apart and the shapes are one fret apart.
E7 keeps the major third, G#. Em7 flattens that third down to G natural. That is the entire difference in notes: E7 is E, G#, B, D. Em7 is E, G, B, D. On the fretboard, the common open Em7 shape drops your middle finger off the fifth string entirely, leaving just your index finger on the second fret of the fourth string:
| String | Fret | Finger |
|---|---|---|
| 6 (low E) | Open | - |
| 5 (A) | 2 | 2 (middle, optional) |
| 4 (D) | Open | - |
| 3 (G) | Open | - |
| 2 (B) | 3 | 3 (ring, optional) |
| 1 (high E) | Open | - |
That is a different chord family with a different mood: Em7 is minor and mellow, useful anywhere you would use a plain E minor but want a softer, jazzier color. E7 is major and tense, built to push toward another chord. If a song calls for one and you play the other, it will not sound catastrophically wrong (they share three of four notes) but it will not sit right either, and a trained ear will hear the mismatch immediately. When in doubt, check whether the surrounding chords are major or minor. A progression built on A, D, and E major almost always wants E7, not Em7.
One more mix-up worth heading off: E7 is not the same as adding a seventh to E minor and calling it "E7" out of habit, and it is not the same as Emaj7 either, which uses a natural seventh (D#) rather than the flattened one. If a chord chart just says "E7" without "maj" or "m" attached, it means the dominant version covered in this article, built on a major third and a flattened seventh.
Common Mistakes and How to Fix Them
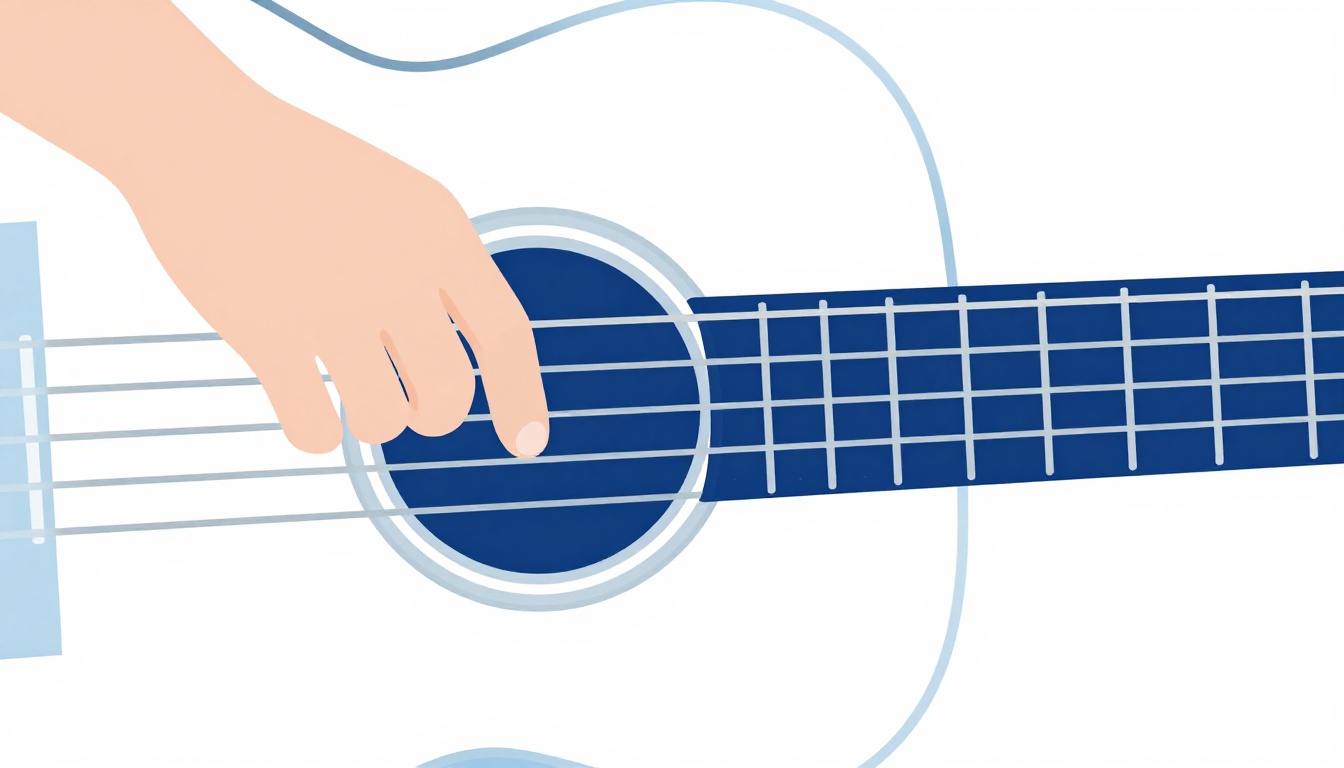
Every one of these shows up constantly with this chord, and each has a single specific fix. Work through them one at a time rather than guessing.
The third string buzzes or sounds dead
This is almost always the index finger sitting too far from the fret wire. Move it right up against the first fret, not in the middle of the gap between the nut and the fret. The closer to the fret, the less pressure you need and the cleaner the note rings.
The fifth string buzzes
Same cause, different finger. Your middle finger needs to be close to the second fret wire, on its tip, arched enough that it is not flattening onto the fourth string next to it.
The open strings sound muted or thin
If your open strings (fourth, second, and first) sound dead rather than ringing, a finger is probably resting against one of them without you realizing it. This is most common with the middle finger's knuckle brushing the fourth string, or the index finger's base joint leaning into the second string. Look down at your hand while strumming slowly and watch for any finger touching a string it is not supposed to fret.
Your thumb is wrapped too far over the top of the neck
A thumb creeping over the top of the fretboard drags the rest of your hand out of position, flattening your fingers instead of letting them arch. Bring your thumb back down behind the neck, roughly opposite your first finger, and the other fingers usually fall into a cleaner shape automatically.
You are pressing much harder than you need to
New players consistently press two or three times harder than the string requires, which tires the hand out fast and does nothing for tone. Once a note rings clean, that is the minimum pressure needed. Adding more force past that point only fatigues your hand faster without changing the sound.
The four-finger version sounds cramped or muted on the second string
This is almost always the ring finger on the fourth string leaning across and touching the second string where the pinky needs to land. Keep the ring finger upright on its tip so the pinky has a clear path to the second string, third fret.
Your fingernails are catching the string instead of your fingertip
If you hear a faint click or scrape before the note rings, check the length of your fretting hand's fingernails. Nails that extend past the fingertip push the finger back at an angle and stop it from getting close enough to the fret wire, which reintroduces the exact buzzing problem covered above even when your hand position is otherwise correct. This is worth checking before assuming the fault is technique.
A quick way to test this: press the third string at the first fret and look at the angle of your index finger from the side. If the fingertip is tilted back so the nail is pointing toward the headstock rather than straight down at the fret, the nail is almost certainly making contact with the string before the pad of your finger does. Trimming the nail on that hand short and level solves this permanently, rather than something you need to compensate for with hand position every time you play.
You are strumming faster to cover for a shape that has not settled yet
Speeding up the strum does not hide an unclean chord, it just makes the buzz or mute happen faster. If E7 does not sound clean at a slow tempo, it will not sound clean at a fast one either. Slow down until every string rings, then build speed from there rather than trying to strum past the problem.
E7 Barre Chord Versions Further Up the Neck
The open shapes above are the ones to learn first, but E7 also exists as a moveable barre shape, which matters once you start playing progressions where staying in one area of the neck saves movement, or where a brighter, higher voicing suits the song better.
The A7-shape version around the seventh fret
One common version sits around the seventh fret, built from the open A7 shape barred and moved up the neck:
| String | Fret | Finger |
|---|---|---|
| 6 (low E) | Muted | - |
| 5 (A) | 7 | 1 (index, barre) |
| 4 (D) | 9 | 3 (ring) |
| 3 (G) | 7 | 1 (index, barre) |
| 2 (B) | 9 | 4 (pinky) |
| 1 (high E) | 7 | 1 (index, barre) |
Mute the low E string with the underside of your index finger rather than trying to fret it, and strum from the fifth string down. This version has a tighter, funkier sound than the open shapes, and it is the one you will hear on recordings that need E7 to sit higher in the mix rather than ringing wide open.
The full barre version around the twelfth fret
Higher still, around the twelfth fret, the same chord can be played as a full barre with two added fingers:
| String | Fret | Finger |
|---|---|---|
| 6 (low E) | 12 | 1 (index, barre) |
| 5 (A) | 14 | 3 (ring) |
| 4 (D) | 12 | 1 (index, barre) |
| 3 (G) | 13 | 2 (middle) |
| 2 (B) | 12 | 1 (index, barre) |
| 1 (high E) | 12 | 1 (index, barre) |
This one is worth knowing exists more than it is worth practicing early. Full barre chords take real hand strength to hold cleanly, and the open E7 shapes below the fifth fret cover the vast majority of what you will actually play as a new guitarist.
A rootless three-string version for later
Once you are comfortable moving shapes around the neck, there is a small, movable voicing that drops the root entirely and plays only the third, fifth, and seventh:
| String | Fret | Finger |
|---|---|---|
| 6 (low E) | Muted | - |
| 5 (A) | Muted | - |
| 4 (D) | Muted | - |
| 3 (G) | 4 | 2 (middle) |
| 2 (B) | 3 | 1 (index) |
| 1 (high E) | 4 | 3 (ring) |
Because it has no fixed open strings, this shape can slide up and down the neck to become the same three-note voicing for a different dominant seventh chord entirely, which is a useful shortcut once you understand how chord shapes move. It is not a replacement for the full open E7 while you are still learning the chord itself, but it is worth knowing as a preview of how guitarists later learn to play the same chord type anywhere on the neck without needing a different shape for every key.
Easier Versions for Small Hands or New Players
If even the two-finger open E7 feels like a stretch, there is a simpler entry point. Play just the index finger on the third string, first fret, and strum only from the fourth string down to the first string, leaving the fifth and sixth strings out of the strum entirely. That gives you a smaller, lighter version of the same chord with a single finger doing the work.
| String | Fret | Finger | Strum it? |
|---|---|---|---|
| 6 (low E) | - | - | No |
| 5 (A) | - | - | No |
| 4 (D) | Open | - | Yes |
| 3 (G) | 1 | 1 (index) | Yes |
| 2 (B) | Open | - | Yes |
| 1 (high E) | Open | - | Yes |
This is not a lesser version of the chord, it is a genuinely smaller voicing that still contains the notes that make E7 sound like E7. It is a good place to start if your hand tires quickly, and a good chord to fall back on mid-song if a full strum is more than the moment needs.
If your hand fatigues specifically from the two-finger reach between the third fret's index finger and the fifth string's middle finger, try resting your palm slightly further from the neck rather than gripping it. A common instinct with any new chord is to squeeze the neck for stability, which actually makes small stretches feel bigger than they are. Let your thumb support the neck lightly rather than clamping it.
How E7 Functions in the Key of E and the Key of A
E7 rarely shows up on its own. It is what musicians call the dominant chord, built on the fifth note of a scale, and its job is to pull toward the chord built on the first note.
In the key of A major, E7 is the five chord (often written V7). Played before returning to A, it creates the pull-and-resolve motion that makes a progression feel like it is going somewhere and then arriving. This is the most common role E7 plays in folk, country, and pop songs written in A.
In the key of E, E7 is not the five chord, it is a variation on the tonic itself, a major chord (E) with tension added. Songs in E major that use E7 usually do it briefly, as a passing color on the way to A (the four chord) rather than as a place to rest. In blues, this relationship gets stretched further still: the whole 12-bar form in the key of E treats E7 as the tonic sound throughout, which is covered in the next section.
E7 can also appear as what is called a secondary dominant in keys that are not E or A at all, briefly borrowed to point toward an A chord even inside a song built around a completely different key center. If you come across E7 in a song that otherwise has nothing to do with the key of A or E, look at the chord that follows it. It is very likely A, or a chord standing in for A's role at that moment.
A simple way to hear this for yourself: play A major and let it ring, then play E7 and let that ring too, then go back to A. Played in that order, A sounds like a place you left, E7 sounds like a question, and the second A sounds like the answer, even without naming a single interval. That felt difference between "leaving" and "arriving" is the entire function of a dominant chord, and E7 is simply the version of it that belongs to the key of A.
The practical takeaway: if you hear E7 followed by A, that is dominant resolving to tonic, the single most common chord relationship in Western music. Recognizing it by ear makes changing between the two shapes far more automatic, because your hand starts anticipating where it needs to go next.
E7 in the 12-Bar Blues Turnaround
E7 is close to unavoidable in blues guitar because the entire 12-bar blues form in the key of E is built from dominant seventh chords rather than plain major ones. A standard 12-bar blues in E uses three chords: E7, A7, and B7.
| Bars | Chord |
|---|---|
| 1 to 4 | E7 |
| 5 to 6 | A7 |
| 7 to 8 | E7 |
| 9 | B7 |
| 10 | A7 |
| 11 to 12 | E7 (turnaround) |
The last two bars are called the turnaround, and this is where E7 does its most recognizable work. A common turnaround moves B7 to A7 to E7 in those final two bars: the B7 builds tension, the A7 eases it slightly, and E7 lands back home right as the form loops back to bar one. Another common variation moves through E, E7, A, Am, E, and B7 across the last few bars before repeating.
You do not need to understand blues theory in depth to use this. The practical version is: E7 is rarely the final destination in a progression, it is the chord that sets up the next one, and blues is where that habit is most audible. Practicing the 12-bar form above, even slowly and without a backing track, is one of the fastest ways to make the E7 shape feel automatic, because it forces the change to happen on a predictable schedule rather than whenever you happen to feel ready.
How E7 Compares to the Other Open Seventh Chords You Will Learn Next
E7 is rarely the only dominant seventh chord a new guitarist needs. A7, B7, and D7 are its closest neighbors, and once E7 is comfortable, the other three tend to fall into place faster because the hand already understands what a dominant seventh chord feels like.
| Chord | 6 (low E) | 5 (A) | 4 (D) | 3 (G) | 2 (B) | 1 (high E) |
|---|---|---|---|---|---|---|
| E7 | Open | Fret 2 | Open | Fret 1 | Open | Open |
| A7 | Muted | Open | Fret 2 | Open | Fret 2 | Open |
| B7 | Muted | Fret 2 | Fret 1 | Fret 2 | Open | Fret 2 |
| D7 | Muted | Muted | Open | Fret 2 | Fret 1 | Fret 2 |
Two things are worth noticing in this table. First, every one of these shapes relies on open strings for most of its sound, which is exactly why beginners learn all four before moving to barre chords: they deliver a full, ringing chord for a small amount of finger work. Second, E7 and A7 already showed up together in the 12-bar blues progression above, alongside B7. D7 tends to appear more in blues and folk played in the key of G or A rather than in the key of E, but it uses the same two-fret, index-and-middle-finger logic as E7, just shifted to different strings. Learning E7 first, thoroughly, effectively front-loads the hardest part of learning all four.
Changing Between E7 and Other Chords
The shape is not the hard part of this chord. Getting into it and out of it without stalling the song is. E7 shares fingers and open strings with several common chords, which makes some changes far easier than others.
E7 to A
This is the most common move E7 makes, since A is the chord it resolves to. Your middle finger on the fifth string, second fret barely has to move at all: for open A, that same finger moves to the fourth string, second fret, alongside your index and ring finger joining it. Practice this change slowly, keeping your middle finger as the anchor that guides the rest of your hand into place.
E7 to A7
An even shorter trip. Open A7 is played with a single finger, second fret of the fourth string, so E7 to A7 is really just your index finger lifting off the third string while your middle finger slides over one string.
E7 to B7
B7 needs three fingers in a small cluster around the first and second frets on the inner strings. Coming from E7, your middle finger is already near the second fret, just on the wrong string, so use it as a guide rather than resetting your whole hand from scratch.
E7 to D
D pulls your hand further up toward the first three frets on the inner four strings, with none of E7's fingers landing in the same place. Practice this one specifically, slowly, since it has no shared anchor finger to lean on.
E7 to Am
Am uses the same index and middle finger pattern as E7 but moves them to the second and third strings instead of the third and fifth. Both chords have a similar shape and hand tension, which makes this an easier change than it first looks once you have played each shape a few times separately.
E7 to G
G places your fingers across the low strings rather than the inner ones, which means almost nothing carries over directly from E7. Treat this as its own change to drill slowly rather than trying to find a shortcut through a shared finger, since there is not one.
A general approach to any of these
Practice the change on its own, away from a song, in a loop: E7, then the next chord, then back to E7, slowly, for two minutes at a time. Speed comes from repetition of the specific motion, not from playing the song faster and hoping the hand catches up. Once a change feels reliable at a slow, even tempo, increase the tempo in small steps rather than jumping straight to full speed.
The E7#9 Chord ("The Hendrix Chord") and How It Relates to E7
Once E7 is familiar, it is worth knowing about its more famous, more dissonant relative: E7#9, nicknamed the Hendrix chord after its association with Jimi Hendrix, who used it prominently in songs including "Purple Haze."
E7#9 adds one more note on top of the four already in E7: a sharpened ninth, which in the key of E is an F double sharp, functionally identical in pitch to a G natural. That means the chord contains both a major third (G#) and what sounds like a minor third (G, spelled as F double sharp) at the same time, which is exactly the clash that gives it its edgy, unresolved character.
| String | Fret | Finger | Note |
|---|---|---|---|
| 6 (low E) | Open | - | E (root) |
| 5 (A) | 7 | 2 (middle) | E (octave) |
| 4 (D) | 6 | 1 (index) | G# (major third) |
| 3 (G) | 7 | 3 (ring) | D (flattened seventh) |
| 2 (B) | 8 | 4 (pinky) | G (sharpened ninth) |
| 1 (high E) | Open | - | E (root) |
This is not a chord to reach for as a substitute while you are still learning plain E7. It requires a four-finger stretch in a cluster around the sixth to eighth frets, and it is a specialized color used deliberately for its tension rather than a general-purpose chord. It is worth knowing it exists and knowing that it grows directly out of the same E7 you already know, sharing three of its four core notes, so that if you come across the name later it is recognizable rather than mysterious.
Songs That Use E7
The Beatles' "Eight Days a Week" is a well known example of E7 in a pop context, using the chord as connective tissue between other shapes rather than as a place the song settles. Blues and folk songs lean on it constantly for the reasons covered above: any 12-bar blues written in the key of E treats E7 as its home base throughout the progression, and any song in the key of A that resolves back to its tonic chord is likely to pass through E7 on the way.
Much of the rock and roll repertoire from the 1950s and early 1960s, including well known Elvis Presley recordings such as "Blue Suede Shoes" and "Hound Dog," is built on variations of the same 12-bar blues form described above, which is why learning the E7, A7, B7 progression pays off across a much wider range of songs than the blues genre alone might suggest.
Rather than memorizing a long list of song titles, it is more useful to recognize the pattern: if a song is in A and keeps circling back to that A chord, or if a song has a bluesy, unresolved lean to certain chords before a release, there is a good chance E7 is doing that work.
Strumming Patterns to Practice With E7
Because the easy open E7 rings four open strings against two fretted notes, it responds well to a wide range of strumming patterns without losing clarity, which makes it a good chord to practice rhythm on.
Start with a simple down-down-up-up-down-up pattern over four beats, counted as: down on beat one, down on the "and" of one, up on beat two, up on the "and" of two, down on beat three, up on the "and" of four. Play this slowly against a metronome at first, focused entirely on keeping the strum even, not on the chord shape itself, since your fretting hand should already be steady from the earlier steps.
Once that feels natural, try muting the strings with your fretting hand (relax the pressure without lifting off) on the off-beats, which turns the same strumming pattern into something closer to a blues shuffle feel. This is a rhythm technique, not a chord change, and it works with any shape, but E7's four open strings make the muted scratch especially audible, which makes it a good chord to learn the technique on.
Whether you strum with a pick or with your bare fingers changes the tone here more than it changes the technique. A pick brings out the ring of the open strings more brightly, which suits the chord's four open notes well. Fingers, whether strummed together or picked individually, give a softer attack that can suit a quieter folk arrangement. Neither is more correct for this chord, and it is worth trying both rather than assuming one is the standard.
A Practice Routine for Today
Fifteen minutes is enough to make real progress on this chord if the time is spent deliberately rather than just strumming the same shape on repeat.
- Minutes 1 to 3: Place the easy two-finger E7 shape, check each string one at a time for buzz, and adjust. Do this slowly, five times in a row, resetting your hand fully between each attempt.
- Minutes 4 to 6: Strum the shape in a steady rhythm for a full minute without stopping, even if a string buzzes occasionally. The goal here is stamina and consistency, not perfection on every strum.
- Minutes 7 to 10: Pick one chord change from the section above, most usefully E7 to A, and loop it slowly: E7 for four counts, A for four counts, back to E7, for the full three minutes.
- Minutes 11 to 13: Try the four-finger open E7 version, focused purely on getting all four fingers down cleanly at the same time, even slowly.
- Minutes 14 to 15: Finish with the easy version again, strummed freely, so the session ends on the version you are most confident with.
Repeating this exact structure daily for a week does more for this chord than a single long practice session. The hand learns the shape through frequent short repetition, not through one marathon attempt.
A simple way to shape that week: spend the first two or three days almost entirely on minutes 1 to 6 above, the shape and the buzz-free strum, before giving much time to the chord change. There is little point drilling a change into a shape that still buzzes half the time, since you would just be practicing the buzz alongside the change. Once the easy shape rings clean on the first or second attempt most of the time, shift the balance of each session toward the E7 to A change for a few days, keeping the shape-only work as a short warm-up rather than the main focus. By the end of the week, most players can hold a slow four-beat E7 to A loop without the pause that gives the change away, at which point the four-finger version becomes a reasonable next target, followed by the barre versions once barre chords in general feel comfortable.
If a session feels stuck, that is a signal to shorten it rather than push through it. Five focused minutes on a single string that keeps buzzing will fix more than fifteen distracted minutes strumming the whole chord over and over.
Frequently Asked Questions
Is E7 a hard chord for beginners?
No. The easy two-finger version is one of the more approachable seventh chords on the guitar because four of the six strings ring open. It is a reasonable chord to learn in your first month, often around the same time as open A and open D.
Do I have to play all six strings when I strum E7?
Not always. The simplified version further up this page strums only the top four strings and still sounds like E7. Full six-string strumming gives a fuller sound but is not required for the chord to be recognizable.
Why does E7 sound unresolved compared to E major?
The added D note creates a tritone with the chord's third (G#), which is the most unstable interval in Western harmony. That tension is what makes E7 want to move toward another chord, usually A, rather than sit still the way a plain major chord can.
What is the difference between E7 and Em7?
E7 keeps the major third (G#), making it a bright, tense dominant chord. Em7 flattens that third to G natural, making it a minor, mellower chord. They share three of their four notes but sit in very different musical contexts.
Can I use a capo with E7?
Yes. Playing the open E7 shape with a capo transposes the whole chord up by however many frets the capo sits, which is common if a song needs a different key but the guitarist wants to keep the same familiar shapes.
Does E7 still work if my guitar is in drop D tuning?
Not in exactly the same way. In drop D tuning, the low sixth string is tuned down a whole step to D, so playing it open in an E7 shape no longer adds the root, it adds a note that clashes with the chord. Most players either mute that string or leave it out of the strum entirely when playing standard open-position chords like E7 in drop D, since the rest of the shape is unaffected.
Why is it written "E7" and not something longer like "E dominant seventh"?
"E7" is standard chord chart shorthand. Any chord letter followed directly by a plain number without "maj" or "m" attached is understood to mean the dominant version, a major triad with a flattened seventh. Longer forms like "E dominant 7" or "Edom7" mean the same chord and show up mostly in written music theory discussion rather than on the chord charts guitarists actually read from.
My E7 sounds fine alone but muddy in a song. What is happening?
This is almost always a timing issue rather than a shape issue. If the chord change into or out of E7 is late, the strum lands while your fingers are still moving into position, which reads as muddiness even though the shape itself is correct once it settles. Slow the whole progression down until the change lands cleanly, then build speed back up gradually.
Is the barre version of E7 worth learning as a beginner?
Not urgently. The open shapes near the first three frets cover almost everything a new player needs. The barre versions further up the neck are worth learning once barre chords in general feel comfortable, typically a few months into regular practice, not in the first weeks.
Why do some charts show E7 with the sixth string muted and others with it open?
Both are valid. The open low E string is also the root note of the chord, so playing it open adds depth without clashing. Muting it, as in the barre versions further up the neck, gives a tighter, more percussive sound that suits certain styles, particularly funk and some blues playing. Neither is more correct, they are different tonal choices for the same chord.
Is the Hendrix chord (E7#9) something I need to learn alongside E7?
No. It is a distinct, more advanced voicing that happens to share three of E7's four notes. It is worth knowing about once plain E7 is comfortable, but it is a specialized color chord rather than a chord you need on the way to learning E7 itself.
GuitarLowKey
Ready for fifteen focused minutes?
Open the web app and train the change that is blocking your song.