
Everlong Guitar Tab: Riff, Chords, and Drop D Tuning
The Everlong intro riff in drop D, the easy standard-tuning chords if you would rather not retune, and every chord shape for the verse, chorus, and bridge.

The fastest way into "Everlong" without retuning is D, Bm, G, A. Strum D, then Bm, then G, then Bm again through the verse, switch to D and A for the "and I wonder" pre-chorus, and land on Bm, G, D for the chorus. That gets you singing along inside a few minutes. The real studio recording is in drop D tuning and built around a picked riff instead of open strumming, and this post covers both versions, the riff fret by fret, and every chord shape in between.
"Everlong" sits in the key of D major at roughly 158 beats per minute, and almost every difficulty a guitarist runs into with it comes from one of two places: either the low string is not tuned down for the riff, or the chord you are calling "B" is not the voicing the recording is actually using. Both get sorted out below, section by section, with tables for every shape so you are not squinting at ASCII art on your phone.
Whichever version you start with, the destination is the same song. The chords are identical, the section order is identical, and the only thing that changes between the beginner route and the full arrangement is how literally you reproduce the guitar part underneath them.
Song Basics at a Glance
Before anything else, here is what you are working with.
| Detail | Value |
|---|---|
| Key | D major |
| Tempo | Around 158 BPM |
| Tuning (studio recording) | Drop D (low string down a whole step) |
| Tuning (easy version) | Standard, no retuning needed |
| Capo | None |
| Main chords | D, Bm (or Bsus2/B5), G, A |
Two tunings appear in the wild for this song because two different things are being played. The full band arrangement, the one with the interlocking guitar parts from the original record, uses drop D so the low string can ring under the riff without you fretting it. The version most beginners learn first skips the riff and just strums the chord progression in standard tuning, which sounds close enough for a singalong and does not require touching your tuning pegs.
Where the Riff Came From
The riff itself was reportedly not composed so much as stumbled onto. Dave Grohl came up with it in late 1996 while the band was recording The Colour and the Shape at Bear Creek Studios in Washington, fiddling on his guitar during downtime between takes of a different song on the same album, "Monkey Wrench." "Everlong" was released on August 18, 1997, as the second single from that album, and Grohl has described the song as being about the feeling of being so connected to someone that singing along with them becomes a kind of harmony. Rolling Stone later placed it at number 409 on its 2021 list of the 500 Greatest Songs of All Time.
That origin story is worth knowing before you sit down with the riff, because it explains why the riff does not feel like it was built from a chord chart. It has the loose, slightly off-grid feel of something worked out by ear and by feel rather than written on paper first, which is exactly why chasing a perfectly even, metronomic version of it tends to sound wrong. The goal is not textbook evenness. It is locking into the same loose pocket the original recording sits in.
Two Different Songs to Learn, Not One
Treat the drop D riff and the standard-tuning chord version as two separate skills rather than one song with an optional detour. Many guitarists play the chord version for years before ever touching the riff, and that is a complete way to enjoy the song. The riff is a separate, harder layer on top, worth learning once the chords feel automatic.
There is no shame in stopping at the chord version, either. It gets you the whole song, singable and recognizable, and plenty of guitarists who know this song well have never touched drop D tuning for it. Treat the riff as a bonus goal once the chords feel effortless, not as a prerequisite you have to clear before the song counts as learned.
What Drop D Tuning Actually Changes
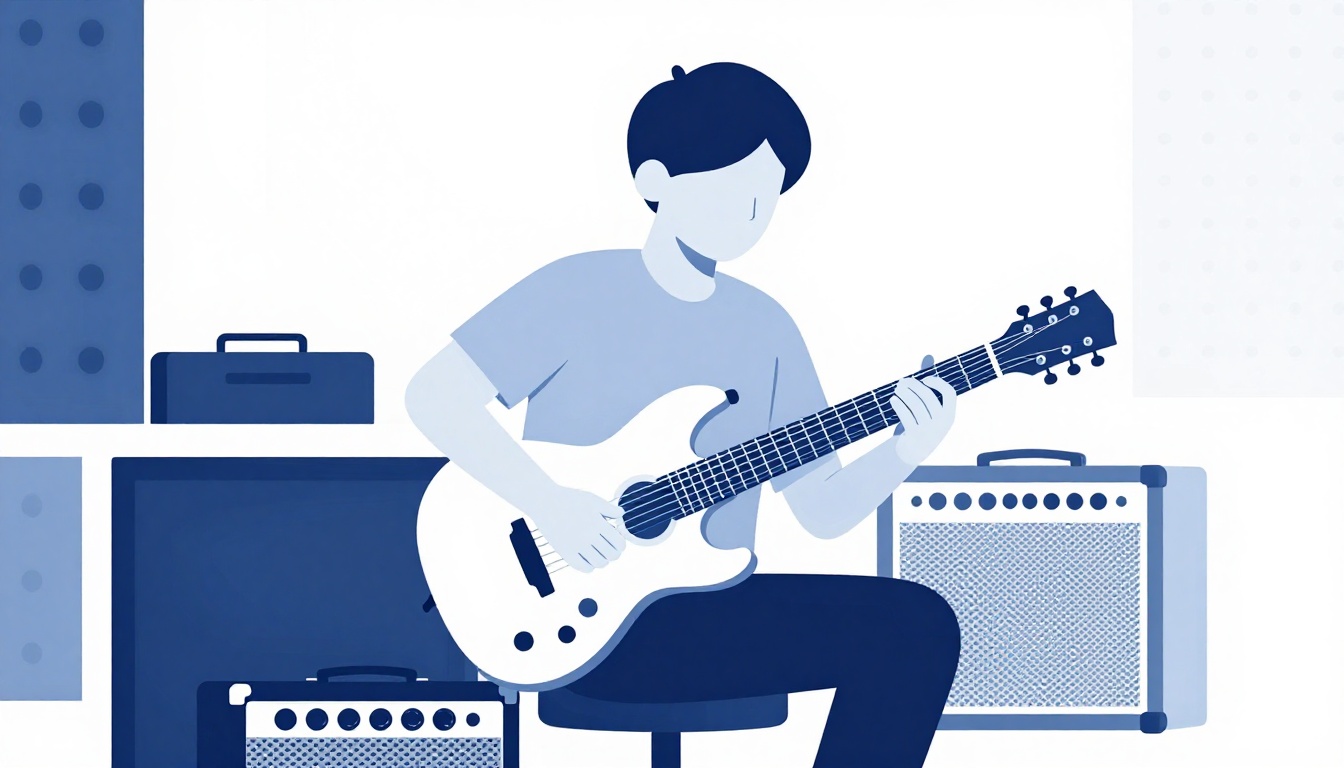
Standard tuning, low to high, is E-A-D-G-B-E (6th string to 1st string). Drop D tuning changes only the 6th string, the thickest one, tuning it down one whole step from E to D. Everything else stays exactly where it is.
| String | Standard Tuning | Drop D Tuning |
|---|---|---|
| 6 (thickest) | E | D |
| 5 | A | A |
| 4 | D | D |
| 3 | G | G |
| 2 | B | B |
| 1 (thinnest, high E) | E | E |
To get there, play your 6th string open, then turn the tuning peg slowly while comparing it against your 4th string played at the 12th fret, or against a clip-on tuner set to D. It should drop noticeably in pitch, roughly a full tone lower than usual. Once it is there, a D power chord becomes as simple as strumming the bottom three strings open, since the 6th string (D), 4th string (D), and 3rd string (G) already line up into a D5-ish sound without fretting anything.
Checking It Without a Tuner
If you do not have a tuner within reach, fret your 6th string at the 7th fret and compare it against your open 5th (A) string. When the 6th string is correctly dropped to D, that 7th fret note matches the open A string exactly. If it sounds off, the 6th string is either still close to standard E or has drifted past D, and you will hear a clear beating or wavering pitch between the two notes until it lines up.
Getting Back to Standard Tuning
Because drop D only touches one string, getting back to standard tuning afterward is just as quick: tune the 6th string back up until it matches your 4th string at the 5th fret again, the normal way you would check any adjacent pair of strings in standard tuning. Nothing else on the guitar needs to move.
Drop D is a two-minute setup and it is worth doing once you are comfortable with the standard-tuning version, because the actual riff depends on it. Expect the string to feel very slightly looser under your fretting hand once it is dropped, since lowering the pitch also lowers the tension. It is a small difference, but it can throw off your fretting pressure the first few times you play a low note on that string.
The Intro Riff, Fret by Fret
The riff that opens the song and repeats underneath the verses lives mostly on three strings: the dropped 6th string, the 5th (A) string, and a two-string figure up around the 9th and 11th frets. This is also the section people mean when they search for "the everlong tab," since the chord progression alone does not capture the guitar part everyone recognizes from the opening seconds of the song. Here is the skeleton of it, with the tuning already dropped:
| String | Low position | High position |
|---|---|---|
| 6 (dropped to D) | Open | 9th fret |
| 5 (A) | 9th fret | 9th fret |
| 4 (D) | 11th fret | 11th fret |
| 3 (G) | 11th fret | 11th fret |
| 2 (B) | Open | Open |
| 1 (high E) | Open | Open |
The riff moves between these two positions, letting the open 2nd and 1st strings ring throughout while your fretting hand shifts a two-string shape (4th and 3rd strings) up around the 9th to 11th fret area and the open dropped string alternates with a fretted note on the 6th string. It is played with downstrokes throughout on the original recording, not alternate picking, which is part of why it locks in so tightly with the drums.
Do not try to read this as one clean bar of even notes. The actual strumming pattern is syncopated and takes real repetition to internalize, more than it takes theory. Loop two bars at a time on a slow metronome setting before worrying about tempo.
The Muted Chug Between the Notes
Part of what makes the riff sound tight rather than loose is what happens between the fretted notes, not just on them. Rest the side of your fretting hand lightly against the strings you are not actively sounding, so the downstrokes that land on a muted string come out as a percussive chug instead of an unwanted open note. This is the same palm-muting instinct used across most riff-based rock rhythm playing, and it matters as much here as the fret positions do.
Why the Open High Strings Matter
The 1st and 2nd strings ring open through both positions of the riff, and that sustained ringing is a big part of the riff's character. If your strumming hand accidentally catches those strings while shifting position on the lower strings, the riff loses its shimmer and starts to sound like a plain power-chord riff instead. Keep your pick attack focused on the strings you are actually shifting, and let the top two strings take care of themselves.
Playing the Riff Without Retuning
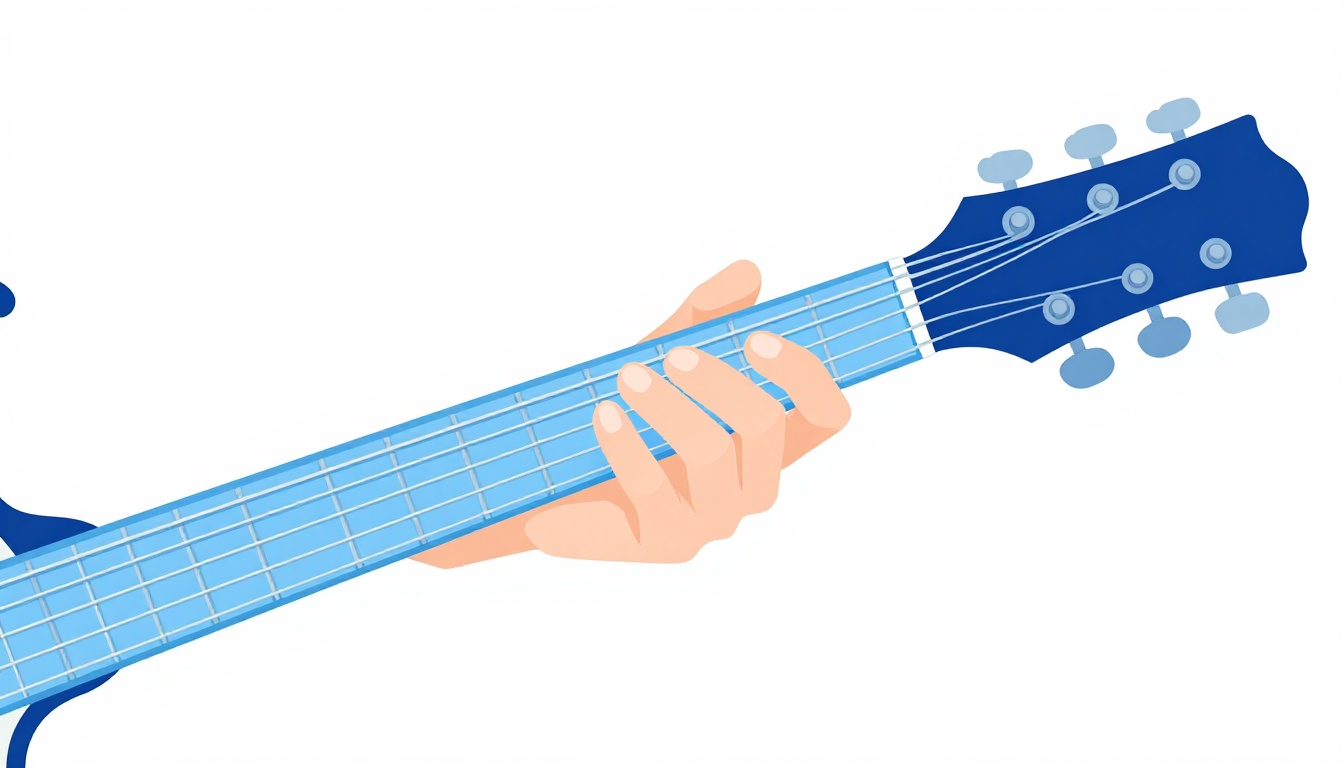
If you do not want to touch your tuning pegs, the riff's harmony translates into an open Dmaj7 chord played in a broken, picked pattern instead of a full strum.
| String | Fret | Finger |
|---|---|---|
| 6 (low E) | Muted | - |
| 5 (A) | Muted | - |
| 4 (D) | Open | - |
| 3 (G) | 2 | 1 |
| 2 (B) | 2 | 2 |
| 1 (high E) | 2 | 3 |
That is the same shape as an open D major chord with your ring finger lifted off the 1st string and moved down to the 2nd fret instead of the 3rd, which turns the D into a Dmaj7. Picking the strings individually in a rolling pattern, low string first and working up, gets you close to the texture of the actual riff without needing drop D at all. It is an approximation, not a transcription, but it is the version most beginners land on first and it holds up fine in a practice room or around a campfire.
A simple picking order to start with is thumb on the 4th string, then index on the 3rd string, middle on the 2nd string, and ring on the 1st string, rolled quickly one after another rather than strummed all at once. That rolling motion, low to high, is what gives this version its motion even though it is built from a single held chord shape rather than a moving riff.
The Verse Chords
The verse cycles through four chords, twice each time through: D, then a B-type chord, then G, then the B-type chord again.
| Section | Chord 1 | Chord 2 | Chord 3 | Chord 4 |
|---|---|---|---|---|
| Verse (repeated) | D | Bm | G | Bm |
Strum each chord for roughly one bar, keeping your strumming hand moving in a steady down-up motion even on beats you are not hitting the strings, so your timing does not drift when the chord changes. The verse sits low in energy compared to the chorus, so lighter strumming with muted strings between chord changes fits the mood better than digging in hard.
Keep the dynamic contrast in mind from the very first time you run through the verse, rather than adding it later. If every section of the song is strummed at the same volume and intensity, the chorus loses the lift that makes it feel like a chorus, and the quiet bridge later on loses its impact too. Deciding now that the verse sits back while the chorus pushes forward saves you from having to unlearn a flat, one-dynamic version of the song later.

Why "Bm" and "B" Do Not Always Agree
Look at three different tab sources for this song and you will find the same chord called three different things: Bm, Bsus2, or B5. All three are defensible, and the disagreement comes from what the actual recording leaves out.
The riff and the fuller chord voicings built around it never clearly state the 3rd of the B chord, the note that would tell you whether it is major or minor. Without that note sounding, a transcriber has to make a judgment call:
- Bm is the simplest read and the one most beginner chord charts use, since it is easy to grab and it fits the melody comfortably.
- Bsus2 replaces the missing 3rd with a 2nd instead, which matches the more open, ambiguous character of the recorded riff.
- B5 is a plain power chord, root and 5th only, no 3rd at all, which is exactly what the distorted second guitar part plays in the full band arrangement.
For a beginner working through the song, Bm is the right starting point. Once you are comfortable with the shape and want the tone closer to the record, try substituting Bsus2 in the same spot and listen to the difference.
To hear the distinction on paper: Bm spells out as B, D, F#, a minor triad. Bsus2 replaces that middle note with a C#, giving B, C#, F#, no minor 3rd at all, which is what "suspended" means, the 3rd is suspended out of the chord. B5 drops the middle note entirely and keeps only B and F#, the root and the 5th. All three share the same outer two notes, which is exactly why they can stand in for each other in this progression without the chord ever sounding wrong, only slightly different in color.
The Pre-Chorus ("And I Wonder")
The pre-chorus is the shortest jump in the song, just two chords back and forth.
| Section | Chord 1 | Chord 2 |
|---|---|---|
| Pre-chorus | D | A |
This is also where the vocal line does most of the work, so keep the strumming simple and consistent here rather than adding fills. Two bars of D, two bars of A, repeated, is enough while the pre-chorus builds toward the chorus.
Resist the urge to rush this part. Because it only has two chords, it can feel like there is nothing to do, and players naturally speed up out of impatience. The pre-chorus works precisely because it holds still under the vocal melody. Let the tension come from the lyric and the anticipation of the chorus, not from a faster strum.
The Chorus
The chorus moves through three chords in its main pass, then adds a fourth on the way back into the next verse or repeat.
| Section | Chord 1 | Chord 2 | Chord 3 | Ending |
|---|---|---|---|---|
| Chorus | Bm | G | D | D - A - G |
That closing D-A-G run is what pulls the chorus back around, whether into another verse or into the next repeat of the chorus itself. In the full band version this is where the second guitar switches to distorted power chords, B5-G5-D5-A5, so if you are playing along with the record and it suddenly sounds heavier and less chordal, that is the other guitarist, not a different progression.
How the Sections Connect
It helps to see the whole song laid out in order before you try to play it start to finish, since the same handful of chords repeat in a specific sequence rather than a straightforward loop.
| Order | Section | What Happens |
|---|---|---|
| 1 | Intro | Riff (drop D) or Dmaj7 picked pattern |
| 2 | Verse 1 | D - Bm - G - Bm |
| 3 | Pre-chorus | D - A |
| 4 | Chorus | Bm - G - D, ending D - A - G |
| 5 | Verse 2 | D - Bm - G - Bm |
| 6 | Pre-chorus | D - A |
| 7 | Chorus | Bm - G - D, ending D - A - G |
| 8 | Quiet bridge | Sparse D - Bm - G - Bm, low volume |
| 9 | Build | Dynamics rise back toward full volume |
| 10 | Final chorus and outro | Chorus repeats, riff or power chords under it |
Not every live or recorded version follows this exactly, some add an extra verse or repeat the bridge more than once, but this is the shape most transcriptions agree on and a reliable map to follow the first several times through.
The Quiet Bridge
Between the choruses, "Everlong" drops into a much quieter passage before building back up, one of the more famous soft-to-loud shifts in 90s rock. Structurally it leans on the same D-Bm-G-Bm chord family as the verse, but played sparser and softer, sometimes fingerpicked instead of strummed, with more space left between chords.
Treat this section as an exercise in restraint rather than a new set of shapes to learn. Lightening your strumming hand, letting notes ring longer, and dropping your pick attack are what make this section land, not different chords.
If you switch to fingerpicking here instead of strumming, a simple thumb-and-fingers pattern, thumb on the lowest ringing note of each chord and your other fingers picking the remaining strings in sequence, keeps the texture light without needing to learn a new progression. The goal in this section is space. Let each chord ring longer than you would in the verse, and resist filling every beat with movement.
This is also the section where playing along with a recording pays off the most. Dynamics like this are far easier to hear and copy than to describe in a paragraph, and a few minutes of playing quietly alongside the actual track will teach your strumming or picking hand more about the right feel here than any amount of written instruction.
The Build Back Into the Loud Outro
After the quiet section, the song builds back into full volume for a final chorus and outro. This is where the distorted second-guitar power chords (B5, G5, D5, A5) and the returning riff overlap most, since by this point in the arrangement the parts recorded by Dave Grohl, Pat Smear, and Chris Shiflett are all sounding at once.
On a single guitar, playing the outro means picking either the riff or the chord strum and committing to it rather than trying to cover both at once. Most solo players choose the strummed chorus chords here since the riff was already established earlier in the song.
If you play with a looper pedal or have a second guitarist available, this is the one section of the song where layering the riff underneath the strummed chords genuinely gets you closer to the record, since that overlap is exactly what the original arrangement is doing. Without a looper, committing fully to one part and playing it with conviction beats a thin attempt at covering both.
How Three Guitar Parts Fit Into One Song
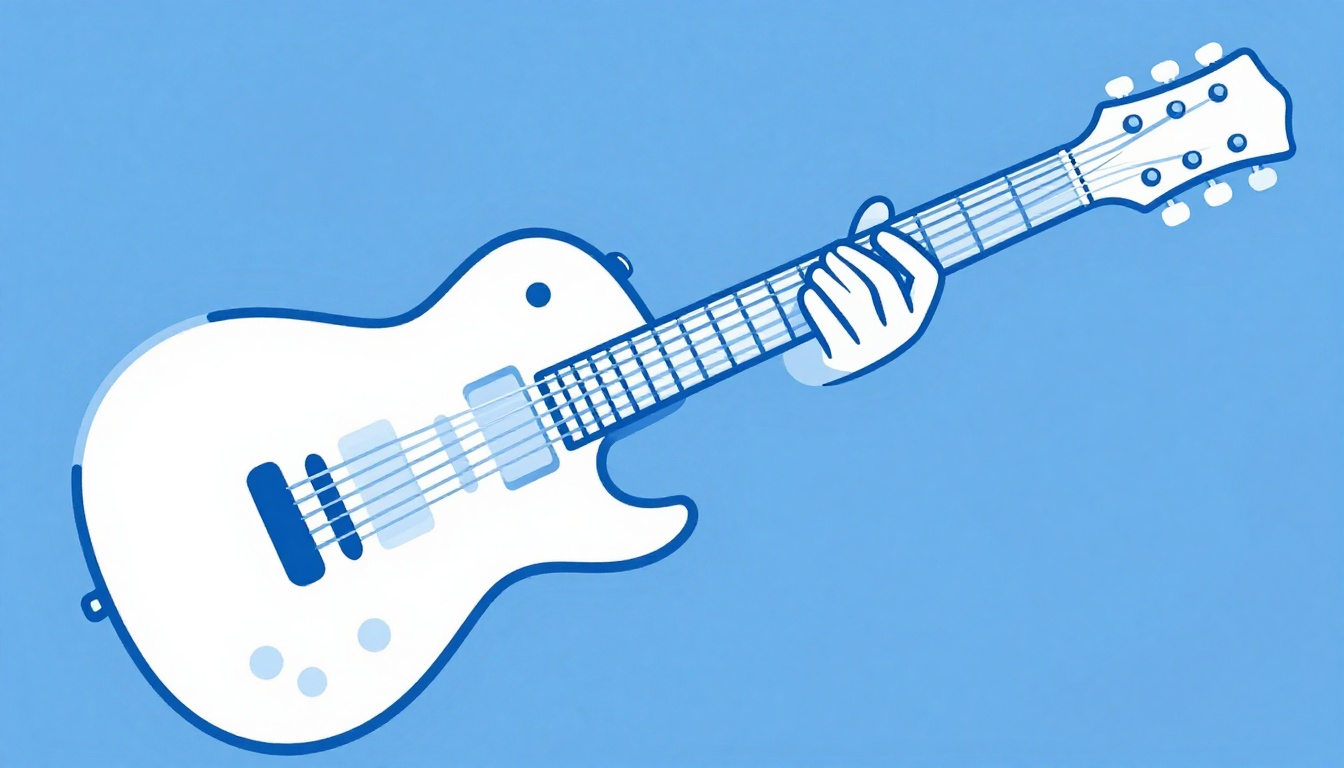
Part of why "Everlong" is trickier to nail solo than it first sounds is that the record was never built for one guitarist. Dave Grohl's clean riff, Pat Smear's rhythm chords, and Chris Shiflett's additional layers interlock across the track, and each one alone is simpler than the combined sound suggests. When you play it solo and it feels like something is missing compared to the record, that is not a mistake on your end. You are playing one part of what was originally three.
That is also why the tab you find on one site can look completely different from the tab on another site for the same section: they may be transcribing different guitar parts from the same recording.
It also explains why playing this song solo can feel like it is missing something even when every note you are playing is correct. You are not doing anything wrong. A single guitarist covering a three-guitar arrangement will always end up choosing which parts to keep and which to drop, and that choice changes depending on whether you are prioritizing the riff, the rhythm chords, or the heavier power-chord layer.
If you regularly play with another guitarist, splitting the parts is the closest you can get to the record without a looper. Have one player hold down the riff and the open chord voicings while the other covers the distorted power chords during the chorus and outro, and the arrangement locks together the same way the recorded version does.
Why Your Riff Is Not Ringing Clean
If the intro riff sounds muddy, thin, or buzzy compared to what you are hearing on record, it is almost always one of these four things.
Your Dropped String Is Not Actually in Tune
The single most common issue. If your 6th string drifted back toward E, or you never confirmed it landed on D with a tuner, everything built on top of it will sound slightly wrong even if your fretting is perfect. Check it before every practice session until your ear knows the pitch.
You Are Fretting Too Close to the Fret Wire's Left Edge
Up around the 9th to 11th fret, the frets are physically closer together than they are near the nut. Fretting in the middle of the fret space instead of right behind the fret wire causes buzzing that is easy to miss at low frets but shows up fast this high on the neck.
You Are Alternate Picking Instead of All Downstrokes
The intro riff is played with consistent downstrokes on the recording. Alternate picking (down-up-down-up) changes the accent pattern and the riff stops locking into the groove the way it should, even if every note is technically correct.
You Are Muting the Open Strings by Accident
Because the riff relies on open 1st and 2nd strings ringing while your fretting hand works higher up the neck, any part of your palm or fingers brushing those strings kills the sustain that makes the riff sound full. Check your hand position with the riff played slowly, one shift at a time.
Your Pick Attack Is Too Light or Too Heavy
This high on the neck, a pick attack that works fine for open chords can come across too soft to sound the note cleanly, or hard enough to overpower the open strings ringing alongside it. Match your pick attack across all the strings involved in the shift rather than favoring the strings you can see or reach most easily.
Full Chord Shape Reference
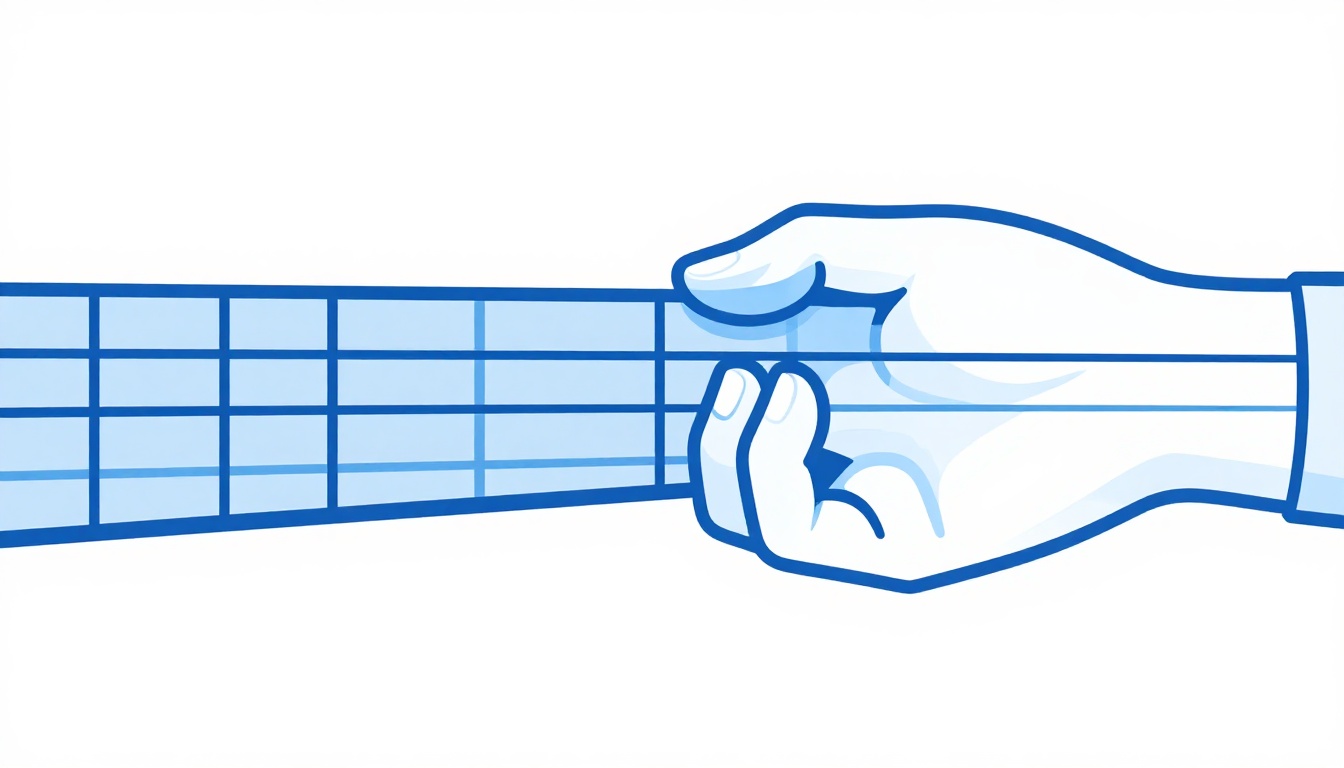
Every chord this song uses, in one place. Strings are numbered 1 to 6, thinnest to thickest, and fingers are numbered 1 to 4, index to pinky, in every table below.
A Note for Left-Handed Players
Every string and fret reference in this post assumes a right-handed guitar held in the standard way, fretting hand on the neck, strumming hand over the sound hole. If you play a left-handed, reverse-strung guitar, mirror the string numbers in every table here (string 6 becomes string 1 and so on) rather than the fret numbers, which stay the same either way.
D Major (Open)
| String | Fret | Finger |
|---|---|---|
| 6 (low E) | Muted | - |
| 5 (A) | Muted | - |
| 4 (D) | Open | - |
| 3 (G) | 2 | 1 |
| 2 (B) | 3 | 3 |
| 1 (high E) | 2 | 2 |
B Minor (Barre, 2nd Fret)
| String | Fret | Finger |
|---|---|---|
| 6 (low E) | Muted | - |
| 5 (A) | 2 | 1 (barre) |
| 4 (D) | 4 | 3 |
| 3 (G) | 4 | 4 |
| 2 (B) | 3 | 2 |
| 1 (high E) | 2 | 1 (barre) |
G Major (Open)
| String | Fret | Finger |
|---|---|---|
| 6 (low E) | 3 | 2 |
| 5 (A) | 2 | 1 |
| 4 (D) | Open | - |
| 3 (G) | Open | - |
| 2 (B) | Open | - |
| 1 (high E) | 3 | 3 |
A Major (Open)
| String | Fret | Finger |
|---|---|---|
| 6 (low E) | Muted | - |
| 5 (A) | Open | - |
| 4 (D) | 2 | 1 |
| 3 (G) | 2 | 2 |
| 2 (B) | 2 | 3 |
| 1 (high E) | Open | - |
The Power Chord Alternatives (B5, G5, D5, A5)
These are the movable two and three note shapes the distorted second guitar leans on. Each is root-plus-fifth, no 3rd, so there is no major or minor to worry about.
| Chord | Low String | Next String Up |
|---|---|---|
| B5 | 5th string, 2nd fret (root) | 4th string, 4th fret (5th) |
| G5 | 6th string, 3rd fret (root) | 5th string, 5th fret (5th) |
| D5 | 5th string, 5th fret (root) | 4th string, 7th fret (5th) |
| A5 | 5th string, open (root) | 4th string, 2nd fret (5th) |
Gsus2, the Fourth Voicing Some Tabs Use
A handful of transcriptions also swap the plain G chord for Gsus2 in the verse, following the same logic as the Bm and Bsus2 disagreement. Gsus2 is fingered by taking the open G major shape above and lifting your ring finger off the 1st string entirely, leaving it open, which drops the 3rd out of the chord the same way Bsus2 does for B. It is optional, not required, and mostly worth trying if you already like the sound of Bsus2 in place of Bm and want the two chords to match in character.
Easier Versions for Beginners
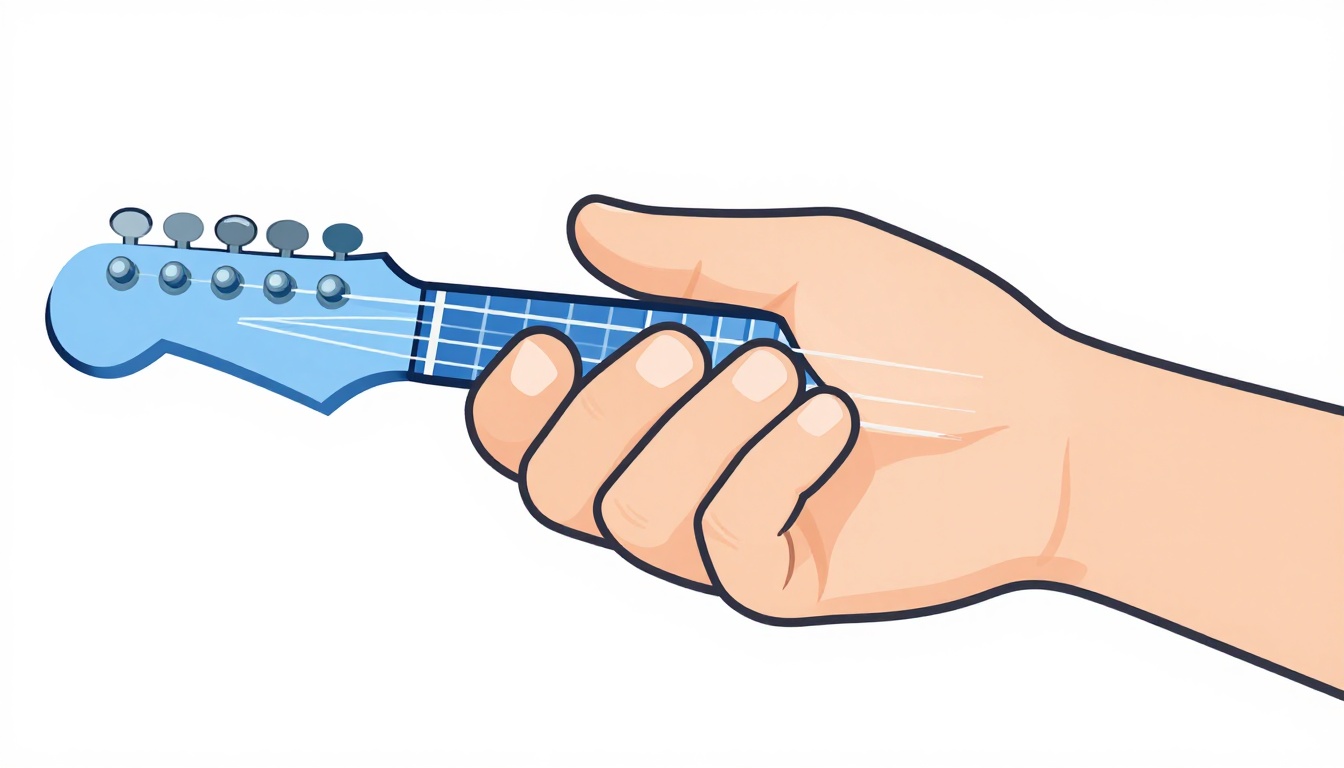
If the Bm barre chord is the sticking point, there are two common workarounds.
The first is swapping Bm for Bsus2 played as an open-adjacent shape rather than a full barre, which some players find gentler on the fretting hand while still capturing the ambiguous, open quality of the original riff. The second is simply strumming a B5 power chord instead, two strings only, which sidesteps the barre completely and still lands the right root note under the progression.
Neither substitution is "wrong." Given how ambiguous the actual recording is about the 3rd of that chord in the first place, choosing the version your hand can actually play cleanly is a reasonable trade, especially while you are still building the strength for a full barre.
If the G chord's stretch across four strings at once is the harder part for you rather than the B chord, a simplified G using only three fretted notes, dropping the low E string entirely and starting the chord from the A string, is a common shrunk-down version that keeps the same top notes and just removes the widest reach.
None of these simplifications are a permanent compromise, either. Most players who start on the easier versions eventually pick up the full barre chord and the wider G shape naturally, once their fretting hand has built up enough strength and independence from playing other songs. Starting easy is a way to keep playing the song while that strength develops, not a ceiling on how well you will eventually play it.
Getting the Strumming Pattern Right
For the standard-tuning, chords-only version of the song, a steady down-down-up-up-down-up pattern across each bar covers the verse and pre-chorus comfortably. The chorus can take a slightly harder attack, more wrist, less arm, to match the lift in energy without losing time.
The part that trips people up is not the pattern itself, it is keeping the strumming hand moving in constant motion, down and up, even during the beats where you deliberately do not hit the strings. Stopping your arm on a rest beat is the single fastest way to lose the timing of a chord change that comes right after it.
Keep the motion coming from your wrist rather than your whole forearm. A wrist-driven strum is faster to control and easier to soften or push harder from one section to the next, which matters here given how much this song leans on the contrast between the quiet verse and bridge and the fuller chorus and outro.
A metronome app or click track is genuinely worth using here rather than trusting your internal sense of tempo, particularly below full speed. Setting it to a slow, steady click and matching your strums to it, even loosely at first, catches the kind of gradual speeding up or slowing down that is nearly impossible to hear in yourself without an external reference.
Changing Between Chords Without Losing the Beat
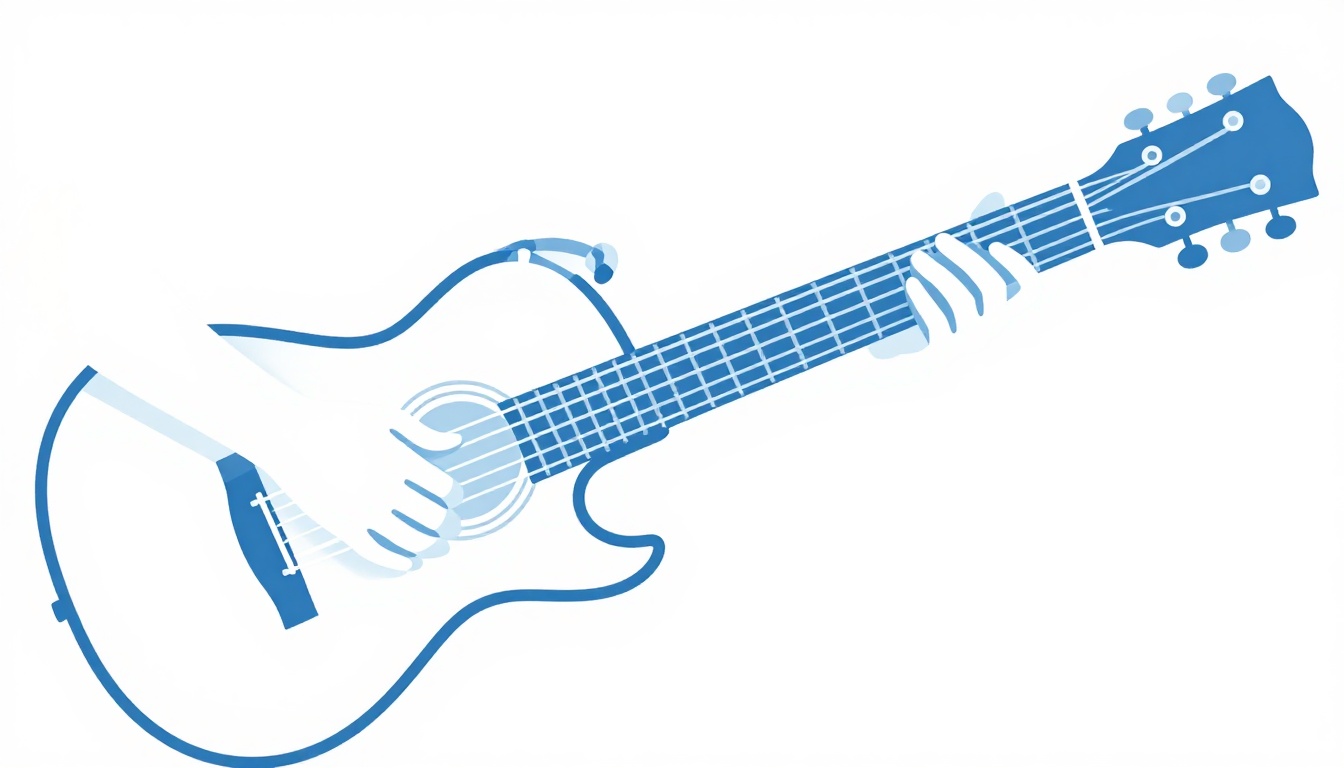
None of these shapes are difficult to hold on their own. What makes "Everlong" feel hard the first few times through is the speed of the changes, particularly D to Bm and back, since both involve your fingers crossing several strings in a short window.
Two things help more than anything else:
- Practice the change in isolation, just D to Bm and back, on its own, at a slow tempo, before adding the rest of the progression.
- Look for the fingers that stay close to the same string across the change. Moving the smallest distance possible, rather than lifting your whole hand and resetting it, is what makes a fast change eventually feel automatic.
For the D to Bm change specifically, notice that your index finger goes from the 2nd fret of the 3rd string in D straight to the barre position at the 2nd fret in Bm, a small shift rather than a full reset. Anchoring your index finger on that fret while the rest of your hand reshapes around it is faster than lifting the whole hand off the neck and placing it down again from scratch.
The G to Bm change works the same way in reverse: your ring finger sits at the 3rd fret on the low E string for G and needs to travel to the 4th fret on the D string for Bm, a short move across two adjacent strings rather than a long jump. Once you notice these small anchor points across the whole progression, the changes stop feeling like four separate hand positions and start feeling like one hand shape sliding and reshaping itself.
A Practice Routine for This Song
Start with the chord progression alone, no riff, at a slow tempo, until D-Bm-G-Bm feels automatic under your fretting hand. Add the pre-chorus D-A change next, since it is the easiest transition in the song and a good confidence builder. Only after both of those are solid should you attempt the drop D riff, since it asks your fretting hand to work in a completely different part of the neck than the open chords do.
A realistic first week looks like: chords only, slow tempo, for the first few sessions; drop D tuning and the riff's two positions in isolation next; then the full song at a reduced tempo, gradually working up toward 158 BPM. If you are building this into a short daily habit rather than one long session, the homepage has more on structuring focused fifteen-minute practice blocks that actually stick.
Spread across a week, that plan breaks down roughly like this:
| Days | Focus |
|---|---|
| 1 to 2 | D-Bm-G-Bm verse progression alone, slow tempo, no riff |
| 3 to 4 | Add the pre-chorus (D-A) and chorus (Bm-G-D, ending D-A-G) |
| 5 | Drop D tuning setup and the riff's two fret positions in isolation, no strumming pattern yet |
| 6 | The riff's actual strumming pattern, still slow, looped two bars at a time |
| 7 | Full song, reduced tempo, chords and riff together for the first time |
Do not treat day 7 as a finish line. It is the first time you are allowed to play the whole thing slowly and imperfectly, not the point where it should already sound like the record.
What to Listen for While You Practice
Put the original recording on alongside your practice sessions and listen for three specific things rather than just the melody. First, notice exactly which beat each chord change lands on, since guessing at the timing from memory is where most players drift. Second, listen for how sharply the volume changes between the quiet bridge and the chorus that follows it, a bigger jump than most players assume until they listen for it directly. Third, pay attention to how consistent the downstrokes sound in the riff, evenly spaced even though the pattern itself is syncopated. Training your ear on these three things speeds up everything else in this section.
Playing It on Acoustic
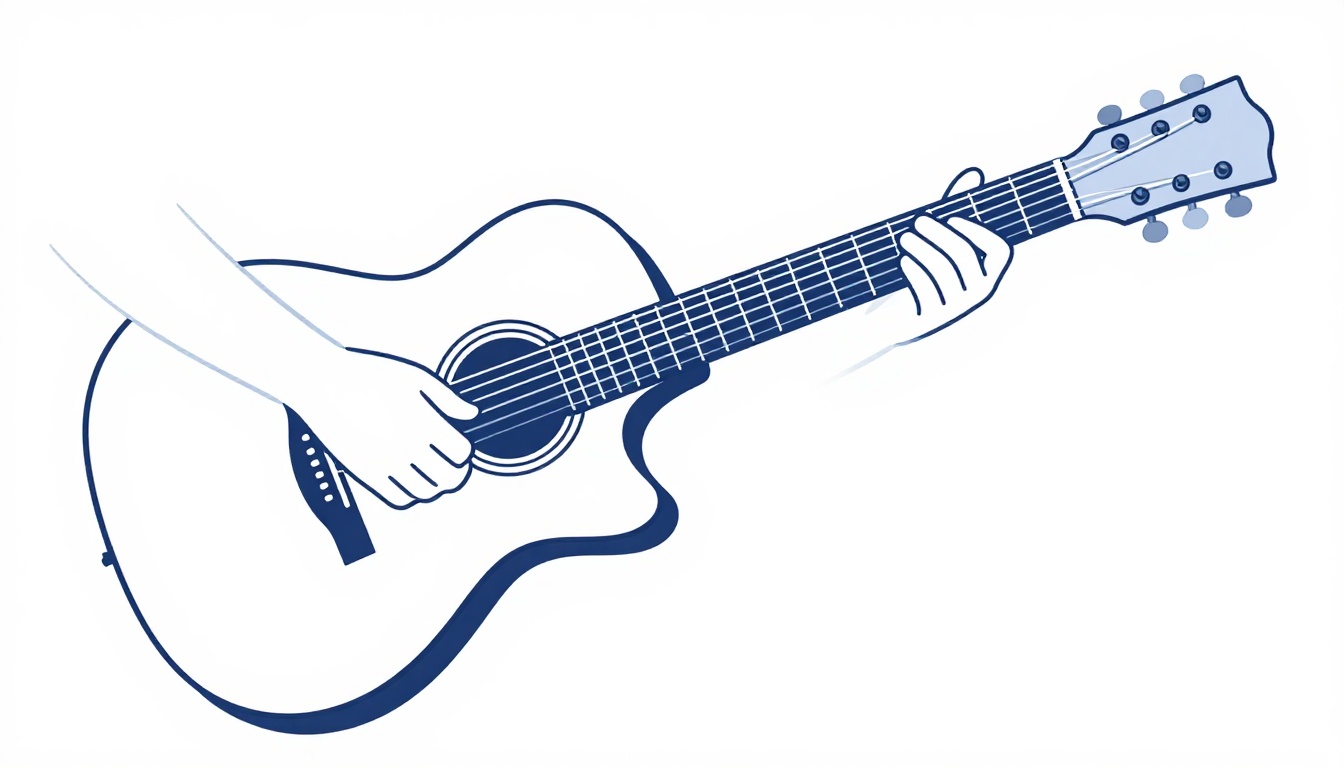
The riff and chords both translate to acoustic guitar without changes, drop D tuning included. The main difference is tone rather than technique: the picked riff loses some of the sustain an electric guitar with distortion naturally provides, so leaning slightly harder into your pick attack and letting chords ring a beat longer helps close that gap. Fingerpicking the riff instead of using a pick is also a common acoustic approach, since it gives you more control over which strings ring and which stay quiet.
The dynamic range between the quiet bridge and the full chorus also tends to matter more on acoustic than electric, since you do not have an amp or pedal doing any of the volume work for you. Everything the recording gets from distortion and volume knobs, you get purely from how hard you strum or pick, which makes the wrist-driven, controllable strumming covered earlier even more worth building on an acoustic guitar specifically.
Common Mistakes Beyond the Riff
A few issues show up repeatedly outside of the riff itself, mostly around technique and pacing rather than fingering the wrong shape.
Barring With a Flat Wrist
The Bm chord asks your index finger to press across two strings at once at the 2nd fret while your other three fingers hold their own shape further up the neck. A flat, straight wrist makes that barre weaker and more prone to buzzing, especially on the high E string. Angling your wrist slightly forward, so the side of your index finger rather than its flat underside presses the strings, gives you more clamping force with less strain.
Treating the Bridge Like Another Verse
The quiet section loses its impact if it is strummed with the same intensity as the verse. Deliberately playing softer here is what makes the eventual build back to full volume land.
Forgetting to Recheck Drop D Mid-Session
Dropped strings drift out of tune faster than strings at standard pitch, especially on guitars with older strings. If the riff sounds progressively worse through a practice session, check the 6th string again before assuming it is a technique problem.
Practicing the Whole Song at Full Speed Every Time
It is tempting to always run the song at 158 BPM because that is how it is supposed to sound. If you cannot yet play a section cleanly at half that tempo, playing it fast just repeats the same sloppy movement faster. Slow, accurate repetition is what builds the muscle memory that eventually holds up at full tempo, not the other way around.
Frequently Asked Questions
Do I need drop D tuning to play this song?
Only if you want the actual riff. The chord progression alone (D, Bm, G, A) works fine in standard tuning and is how most beginners learn the song first.
Is "Everlong" hard for a beginner?
The chord progression is approachable, four chords repeated in a simple pattern. The intro riff is the harder part, mostly because of the timing and the higher fret positions, not because any single shape is difficult.
Why do some tabs call the chord Bm and others call it Bsus2 or B5?
The recording never clearly states the 3rd of that chord, so different transcribers fill in the gap differently. All three are reasonable, and Bm is the easiest starting point for most players.
Do I need a capo?
No. The song is played without a capo in every version covered here, whether drop D or standard tuning.
Can I play the riff with a pick and the chords with fingerstyle in the same song?
Yes, and many players do exactly that, switching to fingerstyle for the softer verse and bridge sections and back to a pick for the louder chorus and outro.
What tempo should I practice at first?
Well under 158 BPM. Half tempo or slower is normal while you are still building the chord changes and the riff's fret shifts, and speeding up should come after accuracy, not before it.
Does the acoustic version use a different tuning?
No, acoustic performances of this song typically keep the same drop D tuning as the electric version.
Why does my chorus sound thinner than the recording?
Most likely because the recording layers a distorted power-chord guitar part underneath the chords you are strumming. Playing the chorus as B5-G5-D5-A5 power chords instead of full open chords gets you closer to that heavier texture.
How long does it usually take to learn this song?
The chord version is realistic within a week of short daily sessions if you already know open chords D, G, and A and are comfortable with a barre shape for Bm. The drop D riff adds another week or two on top of that, since it depends on timing and hand position rather than raw chord knowledge.
Is the riff fingerpicked or strummed on the original recording?
Strummed with downstrokes. It is easy to assume a riff this intricate must be fingerpicked, but the original part is played with a pick, all downstrokes, which is part of what gives it that driving, percussive feel rather than a softer fingerstyle texture.
Can I play this on an electric guitar without distortion?
Yes. The intro riff and verse are clean on the original recording anyway, so a clean electric tone is closer to the source than an overdriven one. Distortion only enters during the louder chorus and outro sections, and even then a light overdrive rather than heavy distortion matches the record more closely than a fully saturated tone.
What if my guitar does not stay in tune well when I drop the 6th string?
Recheck the string after a few minutes of playing rather than assuming it will hold from a single tuning. Some guitars, especially ones with older strings or a nut that has not been lubricated in a while, take a few stretch-and-retune cycles before a dropped string settles at its new pitch. Stretching the string gently by hand after tuning down, then retuning, usually speeds this up.
Should I learn the riff or the chords first?
The chords first, in almost every case. They teach the song's structure and get you singing along quickly, and the fretting-hand skills you build on the open chords, clean changes, consistent strumming, transfer directly into learning the riff afterward. Starting with the riff before the chords are solid usually means struggling with two hard things at once instead of one.
Do all three guitarists on the recording play the same chords?
Not exactly. The parts interlock rather than duplicate each other, one carrying the picked riff, another holding rhythm chords, and a third adding the heavier layer during the louder sections. That is a large part of why the recorded arrangement sounds fuller than any single guitar part played alone.
GuitarLowKey
Ready for fifteen focused minutes?
Open the web app and train the change that is blocking your song.