
How to Play the G# Guitar Chord (Every Shape, No Buzzing)
The G# guitar chord has no open-string shape. Here is the barre version most players use, an easier alternative, and how to stop the buzzing.

To play the G# chord on guitar, barre your index finger across the 4th fret of all six strings, then add your middle finger on the 5th fret of the 3rd (G) string, your ring finger on the 6th fret of the 5th (A) string, and your pinky on the 6th fret of the 4th (D) string. Mute nothing, strum all six strings. That is the shape almost every player reaches for, and this post covers everything around it: why G# has no open version, easier partial and thumb-over shapes, a capo shortcut, the barre position further up the neck, why it buzzes, and every chord built on the same root, G#m, G#m7, G#7, G#maj7 and G#sus4.
| String | Fret | Finger |
|---|---|---|
| 6 (low E) | 4 | 1 (barre) |
| 5 (A) | 6 | 3 |
| 4 (D) | 6 | 4 |
| 3 (G) | 5 | 2 |
| 2 (B) | 4 | 1 (barre) |
| 1 (high E) | 4 | 1 (barre) |
What "G#" Means, and Why It's the Same Chord as Ab
G# (G sharp) is the note one half step, one fret, above G. On a guitar neck, a sharp and the flat that sits at the exact same fret are the same pitch, just spelled two different ways. G# and Ab are what music theory calls enharmonic equivalents: identical strings, identical frets, identical sound, different name. You will see this chord written as G# in some songbooks and Ab in others, and neither is wrong.
The name that gets used usually follows the key signature of the song. Keys built around sharps, E major, B major, A major, tend to call this chord G#. Keys built around flats, Ab major, Eb major, Db major, call it Ab. If you are reading a chord chart and it says Ab, use everything in this post, the shapes are identical.
| Chord tones | Note names |
|---|---|
| Root | G# (or Ab) |
| Major 3rd | B# (or C) |
| Perfect 5th | D# (or Eb) |
Notice the 3rd is written as B#, not C, when the chord is spelled as G#. That looks unusual because B# and C are the same key on the guitar, but proper chord spelling keeps every letter name, G, B and D, exactly once, so the chord looks and functions correctly on paper even though your fingers do not care either way.
String names and numbers, so the tables above make sense
Every fret and finger listed in this post refers to the six strings by both number and name, so it helps to have this settled before going further.
| String number | Name | Standard tuning pitch |
|---|---|---|
| 6 | Low E | E |
| 5 | A | A |
| 4 | D | D |
| 3 | G | G |
| 2 | B | B |
| 1 | High E | E |
Strings are numbered from thinnest to thickest, so the 1st string is the high E string nearest the floor when the guitar is in playing position, and the 6th string is the thick low E string nearest the ceiling. Standard tuning, low to high, is E-A-D-G-B-E. Fret numbers count from the nut, the strip of material at the very top of the neck where the strings first make contact, so "the 4th fret" means the fourth space down the neck, not the fourth metal wire. Finger numbers follow the usual convention: 1 is the index finger, 2 is the middle finger, 3 is the ring finger, and 4 is the pinky.
Why G# Has No Open-String Shape
Every easy chord you already know, C, G, D, A, E, works because at least a few of the six open strings happen to land on notes that belong to the chord. An open G chord uses the open D, G and B strings for free, and only needs three fretted notes to complete the shape. G# major is built from G#, B# (C) and D#. None of the six open strings, E, A, D, G, B, E, is one of those three notes, so there is no way to build a G# chord using any open string. Every practical version of this chord has to be built entirely from fretted notes.
This is exactly the same problem F, Bb and Eb run into, and for the same reason: none of those roots line up with an open string either. G# just happens to be one of the chords most beginners meet later, after they already know C, G, D, A and E, so it tends to arrive as a surprise the first time a song calls for it.
Reading a G# chord diagram
Every table in this post can also be drawn as a vertical chord diagram, and it helps to know how to translate between the two if you come across one in a songbook or an app. The vertical lines represent the six strings, low E on the left and high E on the right, and the horizontal lines represent frets, with the nut at the top unless a number beside the diagram tells you it starts higher up the neck. A dot on a line marks where a finger goes, an "X" above a string means do not play it, and an "O" means play it open.
For the G# barre shape, a diagram would show a curved line or a straight bar across the 4th fret, covering all six strings, with three more dots stacked at frets 5 and 6 for the middle, ring and pinky fingers. Once you can read one diagram, you can read all of them, the layout is the same convention across every chord in every key.
Is G# a hard chord to learn?
It is harder than the open chords you learned first, but not because the shape itself is unusually difficult. It is hard because it is very likely the first, second or third barre chord you ever attempt, and a barre chord asks your hand to do something genuinely new: one finger has to replace the nut, applying even pressure across all six strings at once, while the rest of your hand holds a completely different shape on top of it. Every skill involved, the flat finger, the thumb counter-pressure, the independence of the other three fingers, is a skill you have not needed yet.
The honest comparison is F, usually the very first barre chord a new player meets. G# uses the identical hand shape, just three frets higher up the neck. If you can already play F cleanly, you already know how to play G#, you are only relearning where your hand goes. If you cannot yet play F cleanly, working on G# and F at the same time is not wasted effort, since fixing the barre technique on one fixes it on the other.
The Root 6 Barre Shape, Finger by Finger
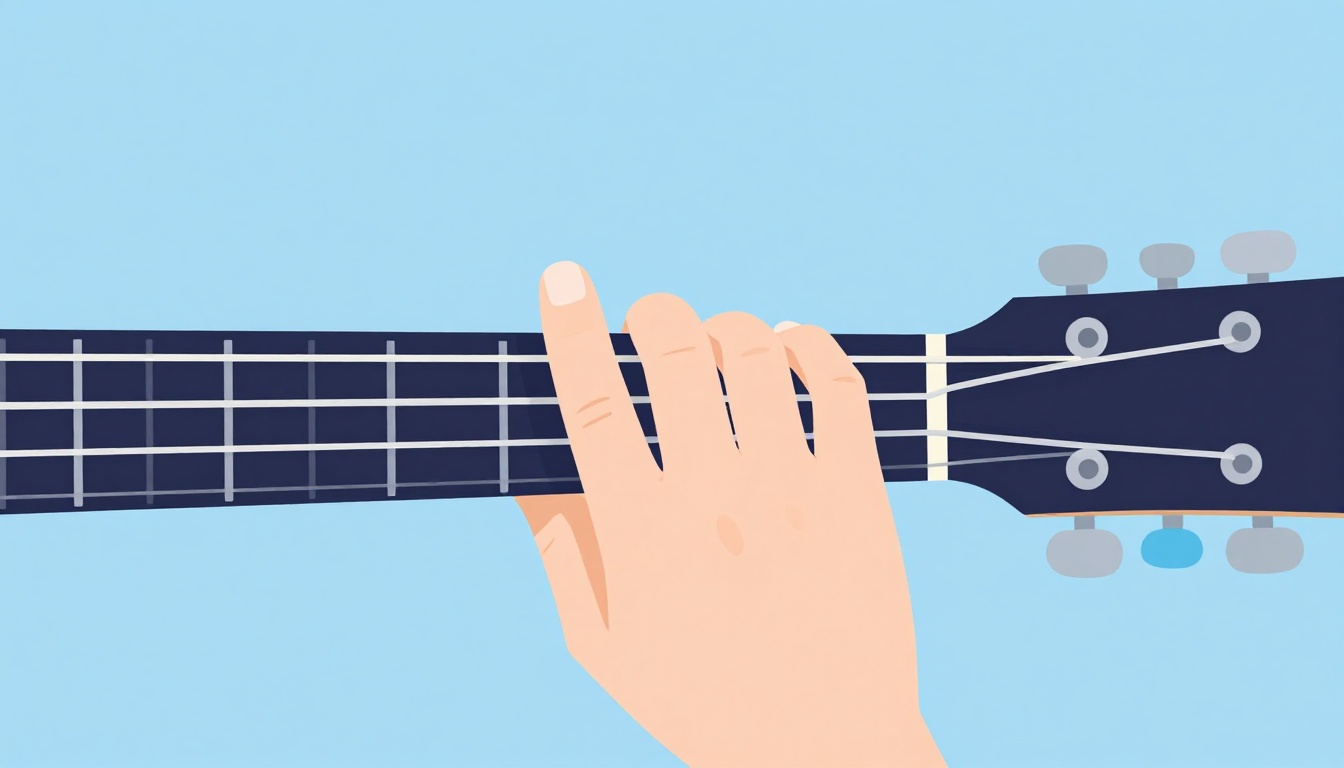
The shape in the opening table is called a root 6 barre chord because the lowest note, the root, sits on the 6th string. It is a moved version of the open E major shape, which is why guitarists call it an "E-shape barre chord." Here is what each finger is doing and why.
Your index finger lies flat across all six strings at the 4th fret, acting as a movable nut. This alone gives you the root (G#) on the low E string, the 5th (D#) on the B string, and the root again (G#) on the high E string, three of the six notes, for one finger.
Your middle finger presses the 3rd (G) string at the 5th fret, one fret past the barre, giving you the major 3rd (C, spelled B#). Your ring finger presses the 5th (A) string at the 6th fret, two frets past the barre, giving you the 5th (D#). Your pinky presses the 4th (D) string at the 6th fret, also two frets past the barre, giving you the root again, an octave up.
Every note has a job: root, 5th, root, 3rd, 5th, root, reading from the low E string to the high E string. Nothing is wasted and nothing is optional, which is why a barre chord that is missing even one of these fingers usually produces an audibly wrong or muted note rather than just a quieter chord.
The Two Movable Shapes Behind Every Barre Chord
The shape above is not really "the G# shape," it is the E-shape barre pattern, and it produces a different chord depending only on which fret you put it on. There is a second movable pattern, the A-shape barre, built from the open A chord instead, with its root on the 5th string. Once your hand knows both shapes, you already know every major chord on the neck, you are only ever choosing a fret.
| Fret | E-shape barre (root on 6th string) | A-shape barre (root on 5th string) |
|---|---|---|
| 1 | F | Bb |
| 2 | F# | B |
| 3 | G | C |
| 4 | G# | C# |
| 5 | A | D |
| 6 | A# | D# |
| 7 | B | E |
| 8 | C | F |
| 9 | C# | F# |
| 10 | D | G |
| 11 | D# | G# |
| 12 | E | A |
Read the table by matching the shape to the fret. The E-shape barre at fret 4 is G#, which is the version this post opened with. The A-shape barre at fret 11 is also G#, a different fingering for the exact same chord, further up the neck. Slide either shape to a new fret and the fingering never changes, only the root note printed on the chord chart does.
The A-Shape Version Further Up the Neck
Once the fret-4 shape feels solid, there is a second, fuller way to play G#, built on the A-shape pattern instead, rooted on the 5th string.
| String | Fret | Finger |
|---|---|---|
| 6 (low E) | Muted | - |
| 5 (A) | 11 | 1 (barre) |
| 4 (D) | 13 | 3 |
| 3 (G) | 13 | 4 |
| 2 (B) | 13 | 2 |
| 1 (high E) | 11 | 1 (barre) |
Mute the low E string with the underside of your barre finger and strum from the A string down. This shape is a bigger stretch than the fret-4 version, since your middle, ring and pinky fingers all land on the same fret, two frets past the barre, rather than being staggered the way they are in the E-shape. Most players find it harder to hold cleanly, and use it only when a song is already sitting up near the 11th fret and moving there is faster than jumping all the way back down to fret 4.
G# vs G and A: the chords that are easy to mix up
Because the E-shape barre is movable, G# sits immediately next to two other chords you likely already know, one fret below it and one fret above it. That closeness is exactly why it is easy to land on the wrong one.
| Fret | Chord (E-shape barre) |
|---|---|
| 3 | G |
| 4 | G# |
| 5 | A |
G major, at the 3rd fret, is often the first E-shape barre chord players get comfortable with, since it sits lower on the neck where the frets are wider and more forgiving. A major, at the 5th fret, is a common one too. G# sits in between both, one fret up from G and one fret down from A, which means a hand that has memorized "the barre chord goes about here" by feel, rather than by counting, will regularly miss by exactly one fret in either direction. When a G# comes out sounding like G or A, the shape was almost certainly right and the fret was not. Count from the nut every time until the fret becomes as automatic as the shape already is.
An Easier Way In: the Partial Top-String Version
If a full six-string barre is still out of reach, there is a genuinely easier version of the same chord that only asks your index finger to flatten across two strings instead of six.
| String | Fret | Finger |
|---|---|---|
| 6 (low E) | Not played | - |
| 5 (A) | Not played | - |
| 4 (D) | 6 | 3 |
| 3 (G) | 5 | 2 |
| 2 (B) | 4 | 1 (barre) |
| 1 (high E) | 4 | 1 (barre) |
Strum only the top four strings, D, G, B and high E. This is exactly the top of the full barre shape with the low E and A strings left out, so it contains the same notes, root, 3rd, 5th and root, just without the low root doubled on the bottom string. It will sound thinner than the full six-string version because there is no bass note under it, but it lets you build the finger independence for a barre chord without needing your whole hand to hold one yet.
Using Your Thumb to Make the Barre Easier
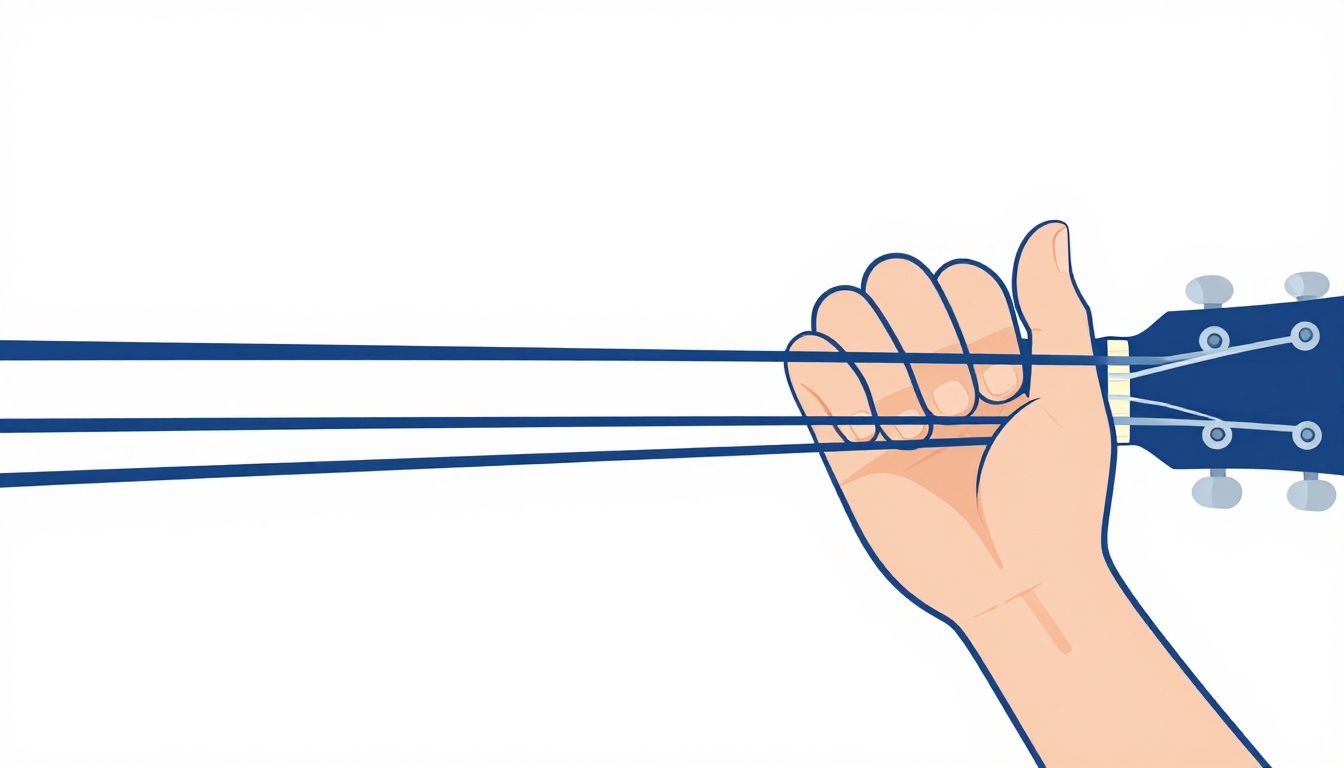
There is a third route in that many experienced players use without thinking about it: let your thumb reach over the top of the neck and fret the root note on the low E string, freeing your index finger from ever needing to barre all six strings.
For G#, that means your thumb frets the low E string at the 4th fret (the root), while your index finger only has to hold a small barre across the B and high E strings, also at the 4th fret, with your middle and ring fingers on the G and D strings exactly as in the partial version above. The chord that comes out is the same one, now with a proper bass note underneath it, and the demand on your index finger drops from a six-string barre to a two-string one.
This is not a beginner's cheat. Plenty of experienced guitarists, especially in blues and rock styles, use thumb-over fretting on E-shape chords like this one as their normal technique, not a stepping stone. The trade-off is that it needs a neck profile your thumb can actually reach around, which depends on your guitar and your hand, so try it and judge for yourself whether it feels secure rather than assuming it will or will not work.
The Capo Shortcut: Playing G# with an Open Chord Shape
There is one more way in that avoids a barre completely: a capo. Clip a capo onto the 1st fret and play an open G major shape behind it, the ordinary three-finger G chord you already know. Because the capo raises every open string by one half step, the same G shape now rings out as G#.
| String | Open G shape (behind the capo) | Finger |
|---|---|---|
| 6 (low E) | 3 | 2 |
| 5 (A) | 2 | 1 |
| 4 (D) | Open | - |
| 3 (G) | Open | - |
| 2 (B) | 3 | 3 |
| 1 (high E) | 3 | 4 |
This is a genuine shortcut, not a trick that only half works. The trade-off is that every other chord in the song has to be played as if the capo were the nut, so a song that also needs, say, an A chord now needs you to play a G-shape fretted behind the capo instead, since a G shape one half step up is A. A capo only helps if you are willing to re-think every chord in the song relative to the new capo position, not just the one you found hard.
This trade-off is exactly why the capo shortcut works best on songs where every chord happens to be a sharp chord with a friendly open shape sitting one fret below it, F#, G#, C#, D#, since a capo on the 1st fret turns F, G, C and D shapes into all of them at once. If the song mixes sharp chords with ordinary open chords like C or D that do not need help, a capo forces you to relearn the easy chords too, which usually costs more than it saves.
Why Your G# Chord Is Buzzing or Not Ringing
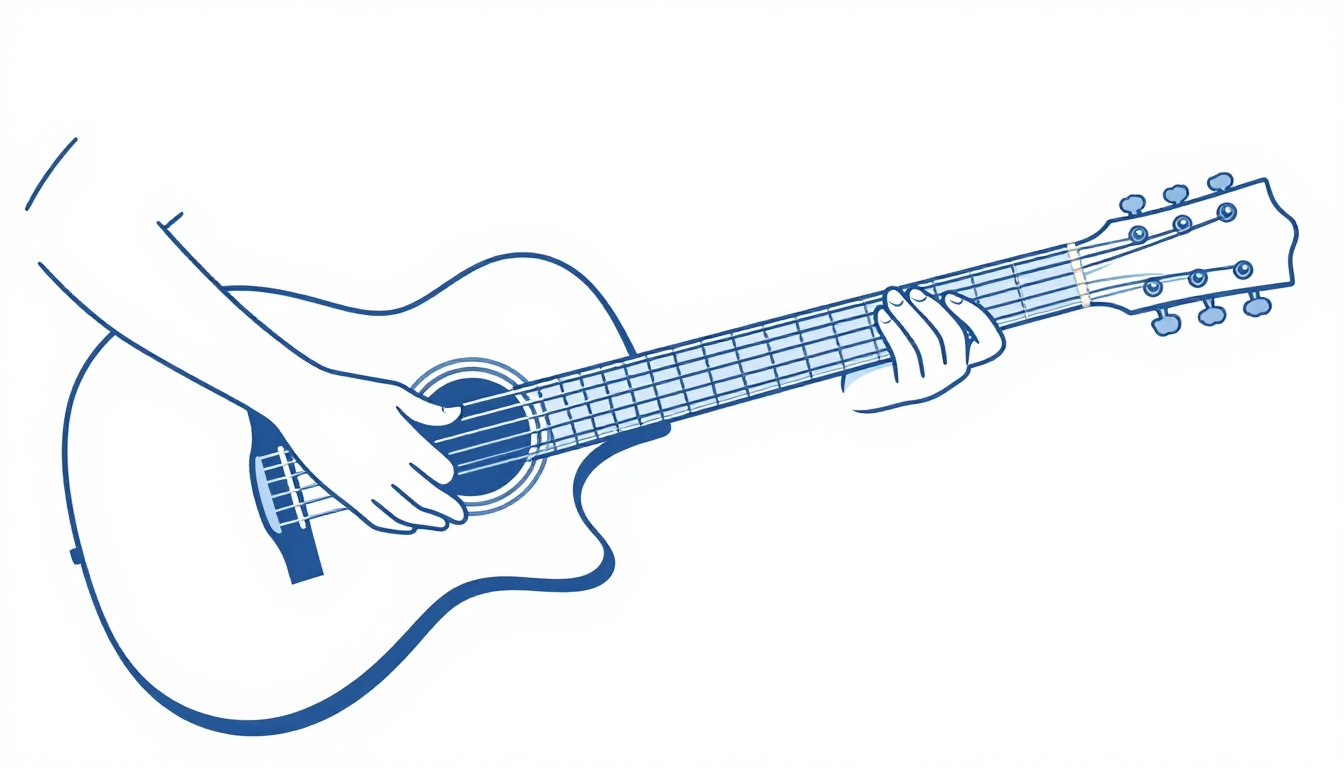
A barre chord fails in more specific ways than an open chord, because one finger is doing the work of what used to be a nut. Work through these one at a time.
Your barre finger is curled instead of flat
The index finger needs to lie almost flat across the strings, using the side of the finger rather than the fleshy pad, so that the bony ridge along its length presses evenly. A curled finger presses hardest in the middle and leaves the strings near your other fingers too loose to ring.
Your barre finger is not close enough to the fret
Press the barre as close to the fret wire as you would for any single note, right behind it. A barre planted in the middle of the fret space needs far more pressure to avoid buzzing than one placed right up against the fret.
Your thumb is in the wrong spot
Your thumb should sit on the back of the neck, roughly behind your middle finger, pushing forward to create a clamp with your index finger. A thumb that has crept over the top of the neck, a habit left over from open chords, robs the barre of the counter-pressure it needs.
One of your other fingers is leaning into a neighboring string
Because your middle, ring and pinky fingers are close together in this shape, it is easy for one to lean sideways and mute the string next to the one it is supposed to be fretting. Check each string on its own by picking it slowly and listening for a dead thud instead of a clear note.
You are pressing harder than you need to
Once the shape rings cleanly, backing off the pressure slightly, just enough to keep every note clear, saves your hand from fatigue during a full song. A death grip is not a fix, it is a sign the barre itself is not positioned correctly yet.
The guitar itself is working against you
If every barre chord buzzes no matter how carefully you place your fingers, and open chords are fine, the guitar's setup may be the actual cause rather than your technique. Strings sitting unusually high off the fretboard demand more finger strength than they should, and a neck with too much forward bow can cause buzzing partway up the neck even with a textbook barre. This is worth ruling out with a second player or a shop if every barre chord feels disproportionately hard compared to how your open chords feel, since no amount of practice fixes a setup problem.
G# Minor (G#m): the Full Barre Shape
Change one note in G# major and you get G# minor, built from G#, B and D#. The full barre shape uses the same fret-4 hand position as G# major, with one finger removed.
| String | Fret | Finger |
|---|---|---|
| 6 (low E) | 4 | 1 (barre) |
| 5 (A) | 6 | 3 |
| 4 (D) | 6 | 4 |
| 3 (G) | 4 | 1 (barre) |
| 2 (B) | 4 | 1 (barre) |
| 1 (high E) | 4 | 1 (barre) |
The only difference from G# major is the 3rd (G) string. In the major shape, your middle finger presses it at the 5th fret to get the major 3rd. Here, you leave that string on the barre note instead, which gives you the minor 3rd (B) for free. One fewer finger to place, and the chord that comes out is minor rather than major.
The Easy Three-String G#m Shape
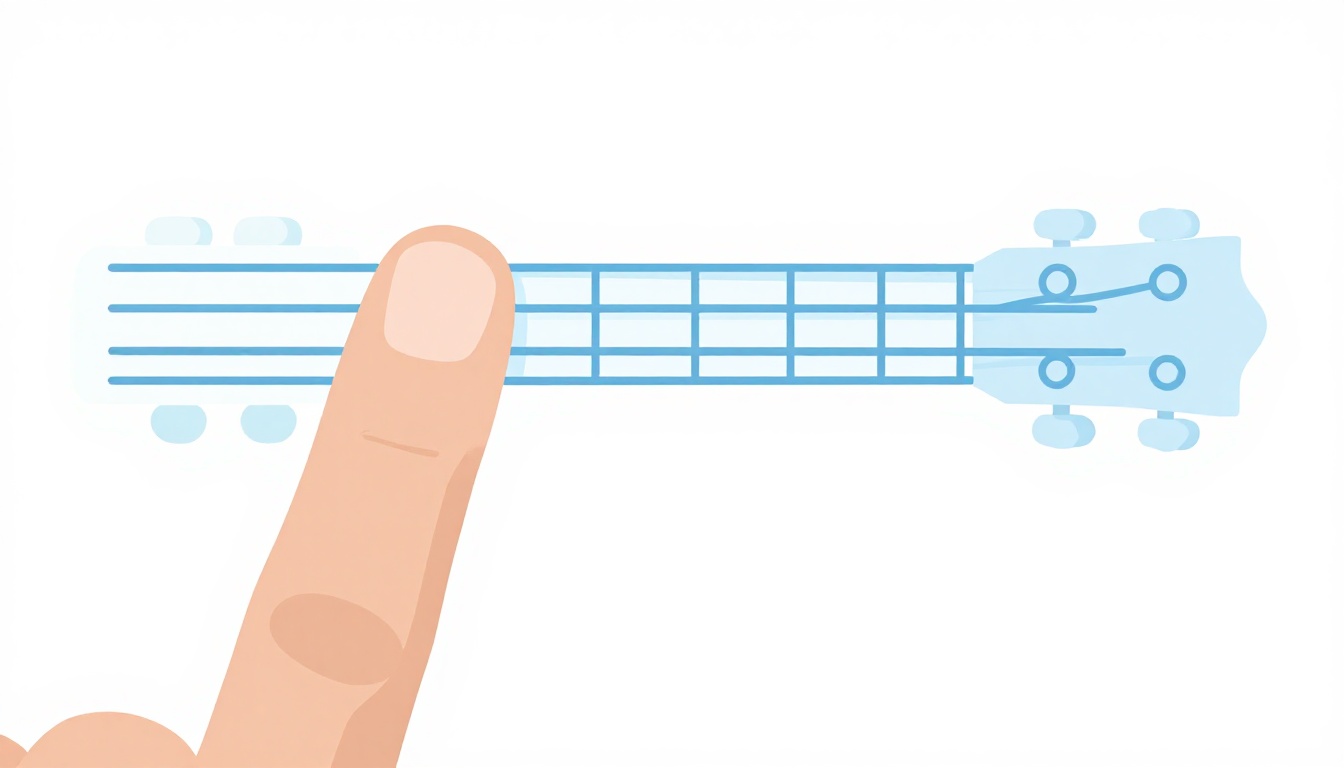
G# minor also has a genuinely simple version that many players reach for before they can hold a full six-string barre: lay your index finger flat across only the top three strings, G, B and high E, at the 4th fret.
| String | Fret | Finger |
|---|---|---|
| 3 (G) | 4 | 1 (barre) |
| 2 (B) | 4 | 1 (barre) |
| 1 (high E) | 4 | 1 (barre) |
Strum only those three strings. It contains the same three notes as the full chord, the minor 3rd (B), the 5th (D#) and the root (G#), just without a bass note. Because it is a three-string mini-barre rather than a six-string one, it is far more forgiving on a hand that is still building barre strength, and it is a genuinely usable voicing on its own, not just a stepping stone.
G#m7: the Two-Finger Shape
G#m7 combines the minor 3rd with a minor 7th, built from G#, B, D# and F#, and it happens to be one of the easiest chords in this entire post despite the intimidating name. Start from the G#m full barre shape above and simply lift your pinky off the fretboard.
| String | Fret | Finger |
|---|---|---|
| 6 (low E) | 4 | 1 (barre) |
| 5 (A) | 6 | 3 |
| 4 (D) | 4 | 1 (barre) |
| 3 (G) | 4 | 1 (barre) |
| 2 (B) | 4 | 1 (barre) |
| 1 (high E) | 4 | 1 (barre) |
Only two fingers are doing anything at all: the barre itself and your ring finger on the A string. Everything else the chord needs, the minor 3rd, the 5th and the minor 7th, comes from the barre alone. If the full G#m or G# major shapes have felt like a lot to hold at once, this is the version to build confidence on first, since it asks the least of your hand while still being a real, commonly used chord in its own right.
G#7: the Dominant Seventh Version
G#7 adds a minor 7th (F#) to the G# major triad, giving you G#, B#, D# and F#, the tense, unresolved sound that wants to move somewhere else. It uses the same fret-4 hand position as G# major again, minus the pinky.
| String | Fret | Finger |
|---|---|---|
| 6 (low E) | 4 | 1 (barre) |
| 5 (A) | 6 | 3 |
| 4 (D) | 4 | 1 (barre) |
| 3 (G) | 5 | 2 |
| 2 (B) | 4 | 1 (barre) |
| 1 (high E) | 4 | 1 (barre) |
Compare this to the G# major shape at the top of the post: the only change is the 4th (D) string, which drops from the 6th fret back down to the barre note at the 4th fret. That single change turns the root, an octave up, into the minor 7th (F#) instead, and the chord goes from major to dominant with one finger lifted.
G#maj7: the Major Seventh Version
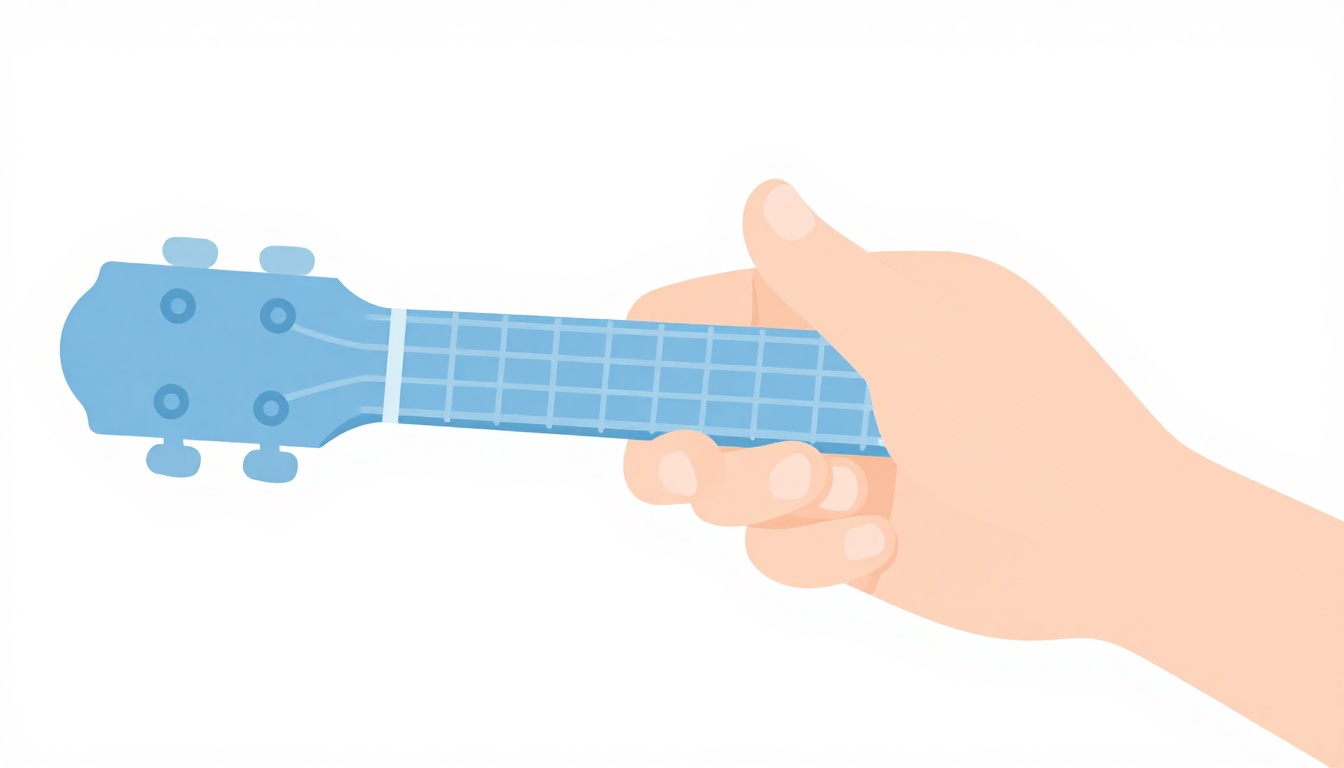
G#maj7 keeps the same four notes as G#7 but swaps the minor 7th (F#) for a major 7th (G natural), a half step higher, giving you G#, B#, D# and G. Where G#7 sounds restless, G#maj7 sounds smooth and a little wistful, the sound under a lot of soft jazz and singer-songwriter chord progressions.
| String | Fret | Finger |
|---|---|---|
| 6 (low E) | 4 | 1 (barre) |
| 5 (A) | 6 | 3 |
| 4 (D) | 5 | 4 |
| 3 (G) | 5 | 2 |
| 2 (B) | 4 | 1 (barre) |
| 1 (high E) | 4 | 1 (barre) |
This shape asks your pinky to press the D string at the 5th fret, one fret short of where it sits for plain G# major, while your ring finger stays on the 6th fret of the A string exactly as it does in the major and dominant shapes. The 4th string is the only string that changes between the three chords, which makes it worth isolating and practicing on its own: 6th fret for major, 4th fret (the barre, no separate finger) for dominant 7, 5th fret for major 7.
G#sus4: the Suspended Version
G#sus4 swaps the major 3rd (B#) for the 4th (C#), built from G#, C# and D#, giving you the same unresolved, waiting sound that any sus chord has, without a barre position any different from the shapes you already know. It uses the E-shape barre again, with the middle finger moved one fret higher than it sits for G# major.
| String | Fret | Finger |
|---|---|---|
| 6 (low E) | 4 | 1 (barre) |
| 5 (A) | 6 | 3 |
| 4 (D) | 6 | 4 |
| 3 (G) | 6 | 2 |
| 2 (B) | 4 | 1 (barre) |
| 1 (high E) | 4 | 1 (barre) |
Compare this to G# major: every finger is in the exact same place except the middle finger on the 3rd (G) string, which moves from the 5th fret up to the 6th fret, joining the ring and pinky fingers on the same fret line. That single move is the entire difference between a resolved G# major and a suspended G#sus4, and it makes the two chords a natural pair to practice moving between, since the shape barely changes shape at all.
Where G# Actually Shows Up in a Key
G# major is not usually the chord a song is built around, it tends to show up as a visitor. In the key of E major, the notes are E, F#, G#, A, B, C#, D#, which makes G# minor, not G# major, the chord that naturally belongs there.
| Scale degree | Chord (key of E major) |
|---|---|
| I | E |
| ii | F#m |
| iii | G#m |
| IV | A |
| V | B |
| vi | C#m |
| vii° | D#dim |
G# major itself is more at home as the V chord in the key of C#, the dominant that wants to resolve down to a C# major or C# minor chord.
| Scale degree | Chord (key of C# major) |
|---|---|
| I | C# |
| ii | D#m |
| iii | E#m (Fm) |
| IV | F# |
| V | G# |
| vi | A#m |
| vii° | B#dim (Cdim) |
This is why you will run into G# major far more often in songs written in or around C#, or in sections that briefly borrow that key's harmony as a secondary dominant, than as a chord a song simply sits on for long.
G# minor has its own home too: it is the relative minor of B major, sharing every note in its key signature, which is why a song built around B major chords will frequently swing through G#m as its darker, sadder counterpart.
A Real Example: the Ab/G# Power Chord
You do not need to look far to find G# in a well-known riff, just under its other name. The opening riff of "Smells Like Teen Spirit" by Nirvana is built from four power chords, F5, Bb5, Ab5 and Db5, and that Ab5 is the exact same pitch as a G#5 power chord, just spelled with flats to match the rest of the riff. A power chord drops the 3rd entirely and keeps only the root and the 5th, which is why it is written with a 5 rather than a plain chord letter.
| String | Fret | Finger |
|---|---|---|
| 6 (low E) | 4 | 1 |
| 5 (A) | 6 | 3 |
| 4 (D) | Not played | - |
Play just the root (low E string, 4th fret) and the 5th (A string, 6th fret), muting or leaving out everything else. It is the simplest possible version of this chord, no barre and no major or minor decision required, which is exactly why power chords are usually the first place a new player meets this root note without realizing it.
Changing Between G# and the Chords Around It
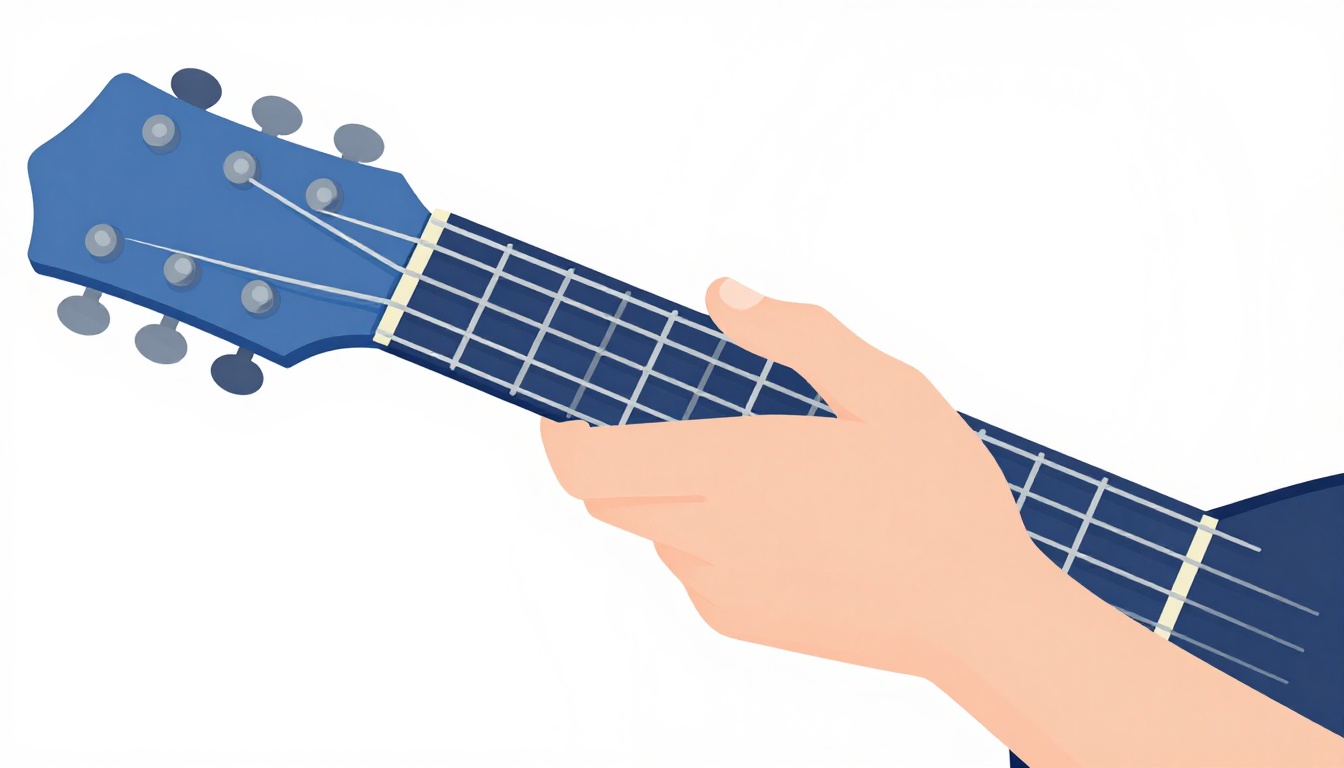
The shape is rarely the hard part once your hand knows it. The hard part is arriving at G# in time and leaving it without a gap in the strum. Because G# usually appears next to other barre or capo-based chords rather than easy open ones, practice it as a pair with whichever neighbor it actually shows up next to in your song, most often C# or C#m, F#, or B.
A useful drill: hold the G# barre shape, then slide the whole hand up two frets to A# without lifting your fingers off the strings, keeping the same shape and the same finger spacing. Because it is a movable shape, this costs you nothing extra to learn, it is the same muscle memory at a new fret. Do this slide slowly at first, checking that the chord still rings cleanly the instant it lands, before trying it at tempo.
A related drill worth building is the chromatic walk-up, sliding the same barre shape one fret at a time. This is the technique behind a lot of classic rock turnarounds, where a G chord climbs to A by passing through G# on the way.
e|--4--5--
B|--4--5--
G|--5--6--
D|--6--7--
A|--6--7--
E|--4--5--
    G#   A
Play the G# shape, let it ring for a full beat, then slide the entire hand up one fret to A without changing the shape at all. The fret numbers move, the fingering does not, which is the entire point of learning barre chords as movable shapes rather than as one-off memorized positions.
Common Mistakes Beginners Make With G#
Looking for an open-string shortcut that does not exist
It is worth accepting early that no amount of searching will turn up a genuinely easy open-string G# chord, because the notes it needs simply are not available on any open string. Time spent hunting for a secret easy version is better spent on the partial or thumb-over shapes above, which are real shortcuts rather than imaginary ones.
Jumping straight to the full six-string barre
Starting with all six strings before your hand has the strength for it usually produces a chord that buzzes on two or three strings at once, which is discouraging in a way that learning the shape gradually is not. Building up through the partial version and the mini-barre shapes first, then adding the remaining strings once those ring clean, gets to a solid six-string barre faster than repeatedly failing at it from the start.
Squeezing the neck instead of positioning the fingers correctly
More pressure is a natural instinct when a chord will not ring, but it tires the hand out fast without fixing anything if the barre finger is not flat, not close enough to the fret, or missing thumb counter-pressure from behind the neck. Fix the position first, and use only as much pressure as that position actually needs.
Never checking the 3rd (G) string on its own
The 3rd string is the one note in this shape most players accidentally deaden with a stray finger, since it sits in the middle of the hand where the middle finger has to reach past the barre without touching its neighbors. Pick it by itself every time you check the chord, not just as part of a full strum.
Practicing the shape in isolation and never in a chord change
A G# that rings perfectly when nothing else is happening can still fall apart the moment it has to arrive in time after a different chord. Treat "sounds clean" and "arrives in time" as two separate skills, and practice both, not just the one that is easier to test while sitting still.
Playing G# on a Left-Handed Guitar
Everything in this post describes a right-handed guitar, fretted with the left hand and strummed with the right. On a left-handed guitar, the whole instrument is mirrored, so the string order is reversed, the low E string sits where the high E string would be on a right-handed guitar, and every fretting task in this post is done with the right hand instead. The fret numbers, the finger numbers, and the relationships between shapes, an E-shape barre at fret 4, an A-shape barre at fret 11, do not change at all. Only which physical hand does the fretting and which does the strumming flips, so read every table here by string number and name rather than by which side of the guitar it looks like it is on.
Building Strength and a Realistic Timeline
Building barre chord strength away from the guitar
Barre chords ask for a kind of sustained finger pressure that open chords never demand, and that pressure genuinely improves with repetition, separate from learning the shape itself. A few minutes of dedicated strength work between practice sessions helps the shape stick sooner.
Simple squeezing exercises, closing your hand around a soft ball or a rolled-up sock and holding for a few seconds before releasing, build the same finger and forearm strength a barre chord relies on. So does practicing the barre shape itself with no guitar at all, resting your fretting hand on a tabletop edge and pressing down as if you were fretting, which lets you feel exactly where the pressure in your index finger is landing without worrying about buzzing strings at the same time.
None of this replaces time spent actually fretting the chord on the guitar, but it is a genuinely useful supplement on days when your fingertips need a break from the strings but your hand still wants to work.
How long it realistically takes to get G# clean
There is no fixed number of days that applies to every player, since it depends on how much you already play, how often you practice, and how much tension you are carrying in your fretting hand to begin with. What is consistent across almost everyone learning their first few barre chords is the shape of the progress, not the speed of it: the first attempts buzz on most strings, then buzz on fewer strings as the thumb and finger position settle in, then ring clean sometimes, then ring clean reliably. Each stage genuinely does come before the next one, there is no way to skip from buzzing everywhere to ringing clean every time without passing through "ringing clean sometimes" first.
If G# still buzzes after a week of short daily practice, that is not unusual and not a sign you are doing something fundamentally wrong, it usually means the hand has not built the specific strength and position memory yet, not that the technique described in this post needs to be different. Keep the daily sessions short and consistent rather than occasional and long, since barre chord strength responds better to five minutes every day than to thirty minutes once a week.
Every G# chord in this post, at a glance
| Chord | Notes | What changes from G# major |
|---|---|---|
| G# major | G#, B# (C), D# | The full root 6 barre shape |
| G# minor | G#, B, D# | 3rd (G) string stays on the barre instead of fretting the 5th fret |
| G#m7 | G#, B, D#, F# | Minor shape with the pinky lifted off the D string |
| G#7 | G#, B# (C), D#, F# | 4th (D) string stays on the barre instead of fretting the 6th fret |
| G#maj7 | G#, B# (C), D#, G | 4th (D) string moves to the 5th fret instead of the 6th |
| G#sus4 | G#, C#, D# | 3rd (G) string moves to the 6th fret instead of the 5th |
Every one of these chords comes from the same starting hand position, with a single finger added, removed or shifted by one fret. Learning them as variations on one shape, rather than six separate chords, is the fastest way to make all of them stick.
A Practice Routine for Today
You do not need an hour to make real progress on this chord, ten focused minutes will move the needle if you spend them on the right things in the right order.
| Minutes | Focus |
|---|---|
| 0 to 2 | Fret the full barre shape, strum, and listen string by string for anything muted or buzzing. Adjust your thumb and finger angle after each attempt. |
| 2 to 5 | Play only the easier partial version, the top four strings. Focus on the small two-string barre ringing cleanly on its own before adding the middle and ring fingers. |
| 5 to 7 | Try the G#m7 two-finger shape and the G#sus4 shape back to back, since both borrow directly from the full barre and reinforce the same hand position with less to hold. |
| 7 to 10 | Change between G# and whichever chord follows it in a song you are learning, counting out loud on each beat so the change happens in time rather than whenever your hand catches up. |
Repeat this for a few days before expecting the full six-string version to ring cleanly every time. Barre chord strength genuinely builds with repetition in a way that finger placement on open chords does not, so a G# that buzzes on day one and rings clean by day four is the normal path, not a sign anything is being done wrong.
FAQ
Is G# the same as Ab on guitar?
Yes. G# and Ab are the same pitch and the same fret, just written with a sharp or a flat depending on the key of the song. Every shape in this post works for either name.
Why is there no easy G# chord?
None of the six open strings, E, A, D, G, B, E, land on a note that belongs to G# major (G#, B#, D#), so the chord has to be built entirely from fretted notes rather than using any open string as a shortcut.
What is the easiest way to play G#?
The partial top-string version, fretting only the D, G, B and high E strings with a small two-string barre, is the easiest full-sounding option. The capo trick, clipping a capo to the 1st fret and playing an open G shape, avoids a barre entirely but changes every other chord in the song too.
What is the difference between G# and G#m?
One note. G# major uses the major 3rd (B#, or C), and G#m uses the minor 3rd (B) instead. In the barre shape, that is the difference between fretting the 3rd (G) string at the 5th fret or leaving it on the barre.
Why does my G# chord sound muted on one string?
Almost always a neighboring finger leaning into the string next to the one it is meant to fret, or the barre finger sagging in the middle instead of staying flat. Pick each string on its own to find exactly which one is dead, then check the finger closest to it.
What notes are in G#7 and G#maj7?
G#7 is G#, B#, D# and F#. G#maj7 is G#, B#, D# and G. The only difference is the 7th, F# for the dominant version, G natural for the major 7th version, which on guitar comes down to a single string moving one fret.
Where does G# come from in a song?
Most often as the V chord resolving to C#, or as G# minor, the relative minor of B major and the iii chord in the key of E major. It also turns up under its enharmonic name, Ab, in flat-key songs and in power chord riffs.
Can I use a capo instead of learning the barre?
Yes, capo the 1st fret and play an open G shape for the full chord. The trade-off is that every other chord in the song now has to be played relative to the capo instead of the open neck, so it only saves effort if you rework the whole song, not just this one chord.
GuitarLowKey
Ready for fifteen focused minutes?
Open the web app and train the change that is blocking your song.