
Under the Bridge Guitar Tab: Chords, Riff, and Capo
The full chord shapes for the Under the Bridge intro, verse, chorus, and outro, with and without a capo, plus fixes for buzzing barre chords.

The fastest route into "Under the Bridge" is a capo on the 2nd fret and two open chord shapes, C and E, looped back and forth for the intro. That gets the riff's sound without a single barre chord. The version John Frusciante actually plays on the record skips the capo and uses the same two shapes barred at the 2nd fret instead, C-shape and E-shape, which sound as D and F# major. Both are covered below, chord by chord, along with the verse, chorus, and outro that follow.
"Under the Bridge" sits in the key of E major at a slow 84 beats per minute, with the bridge and outro sliding into A minor. Almost every difficulty guitarists run into with this song traces back to one of three things: the wrong chord shape for the intro, a barre chord that will not ring clean, or rushing the tempo because the song feels simpler than it sounds. All three get sorted out section by section below, with a table for every chord shape so nothing is left to guesswork.
Song Basics at a Glance
Here is everything you need before picking up the guitar.
| Detail | Value |
|---|---|
| Key | E major (bridge and outro shift to A minor) |
| Tempo | Around 84 BPM |
| Tuning | Standard, E-A-D-G-B-E |
| Capo | Optional, 2nd fret (easy version), none needed for the barre-chord version |
| Main chords | D, F#, E, B, C#m, A, F#m, Emaj7 |
| Time signature | 4/4 |
Two legitimate ways to play this song exist because two different things are being reproduced. Frusciante's actual recorded part uses barre chords with no capo, C-shape and E-shape voicings moved up the neck. Most beginner lessons instead put a capo on the 2nd fret and use the same shapes in their easy, open position, which sounds identical but needs no barre strength at all.
Where the Song Came From
Anthony Kiedis wrote the lyrics to "Under the Bridge" as a poem during a period of loneliness and addiction, not intending it for the band. Producer Rick Rubin found the poem in Kiedis's notebook and pushed him to bring it to Red Hot Chili Peppers, even though Kiedis initially felt it was too personal and did not fit the band's usual sound. The song was recorded in 1991 at The Mansion studio in Los Angeles for the album "Blood Sugar Sex Magik" and released as a single in February 1992.
Frusciante built the music around chords deliberately chosen to feel warmer and more hopeful than the lyrics, contrasting the words rather than matching them. He has pointed to Jimi Hendrix's playing on "Little Wing" as an influence on the intro's chord voicings, and to Marc Bolan of T. Rex for the technique of moving a chord into its major seventh, the Emaj7 that colors the verse. The song became the band's highest-charting single, reaching number two on the Billboard Hot 100.
The Gear Behind the Recording
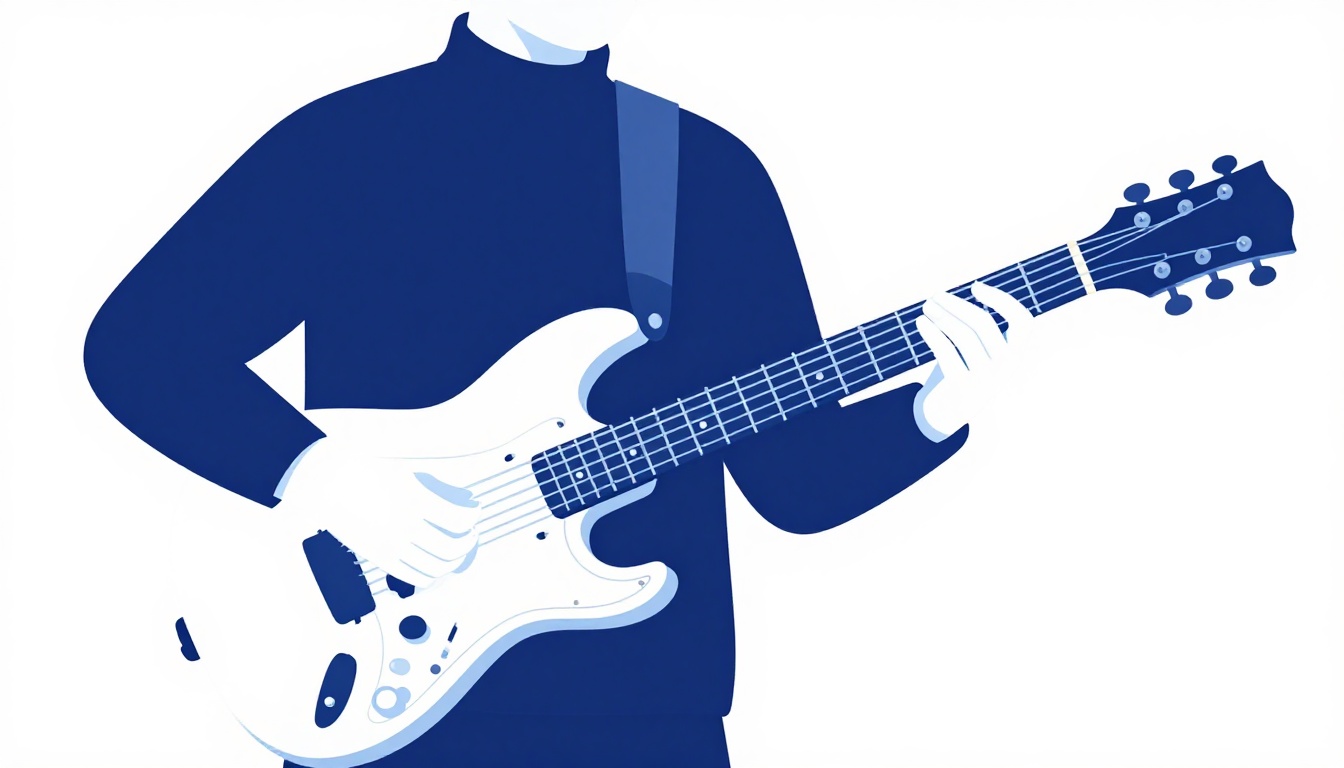
Frusciante recorded most of "Blood Sugar Sex Magik" on a 1958 sunburst Stratocaster, and that guitar is generally credited as the main instrument on "Under the Bridge" itself, run through two Marshall amp heads at once, a guitar head for edge and a bass head for low end and punch, with a DOD stereo chorus pedal splitting the signal between them. Some of the overdubbed parts reportedly used a Fender H.O.T. practice amp instead, and quite a bit of the album's drive came from overdriving the mixing board directly rather than from a distortion pedal. The Fender Jaguar seen in the song's music video is generally understood to have been used mainly for that video and for some overdubs, not as the main tracking guitar.
None of this gear is required to play the song well. It explains why a bedroom recording through a modeling amp or a basic practice amp will never sound identical to the record, two blended amp tones and a vintage Stratocaster are a specific, hard-to-copy combination, but the chords, the riff, and the dynamics are the same regardless of what you are plugged into.
Two Different Skills, Not One Song
Treat the barre-chord version and the capo-2 version as two separate ways of arriving at the same destination rather than one correct version and one cheat. Plenty of guitarists play this song for years with a capo and open shapes and it sounds exactly right. The barre-chord route is a later upgrade once your hand has the strength for it, not a requirement to "really" know the song.
The Intro Riff, Shape by Shape
The intro loops two chords, back and forth, fingerpicked with notes left to ring into each other rather than strummed as a block. Frusciante's version plays them as barre chords using the CAGED system: the "C shape" barred at the 2nd fret, which sounds as D major, followed by the "E shape" barred at the 2nd fret, which sounds as F# major.
| Chord as it sounds | CAGED shape used | Barre fret |
|---|---|---|
| D major | C shape | 2nd fret |
| F# major | E shape | 2nd fret |
The D Chord (C Shape, Barred at Fret 2)
This takes the open C chord's finger pattern and slides the whole shape up so the barre sits at the 2nd fret, with your other fingers keeping the same relative spacing they hold in an open C.
| String | Fret | Finger |
|---|---|---|
| 6 (low E) | Muted | - |
| 5 (A) | 5 | 4 |
| 4 (D) | 4 | 3 |
| 3 (G) | 2 | 1 (barre) |
| 2 (B) | 3 | 2 |
| 1 (high E) | 2 | 1 (barre) |
The F# Chord (E Shape, Barred at Fret 2)
This is the open E chord's shape moved up two frets, with a full barre across all six strings at the 2nd fret standing in for the nut.
| String | Fret | Finger |
|---|---|---|
| 6 (low E) | 2 | 1 (barre) |
| 5 (A) | 4 | 3 |
| 4 (D) | 4 | 4 |
| 3 (G) | 3 | 2 |
| 2 (B) | 2 | 1 (barre) |
| 1 (high E) | 2 | 1 (barre) |
Both shapes share the same barre position, which is exactly why the riff moves between them so smoothly. Your index finger stays anchored across the 2nd fret the whole time, and only your other three fingers reshape between the two chords.
Why It Is Fingerpicked, Not Strummed
Strumming these two chords as full blocks gets you the harmony but loses what makes the riff recognizable, the individual notes ringing into each other with small hammer-ons and pull-offs woven through. Pick the notes of each chord separately in a rolling pattern, low string to high, and let each one keep sounding as the next comes in, rather than cutting one off to start the next.
Playing the Intro With a Capo Instead
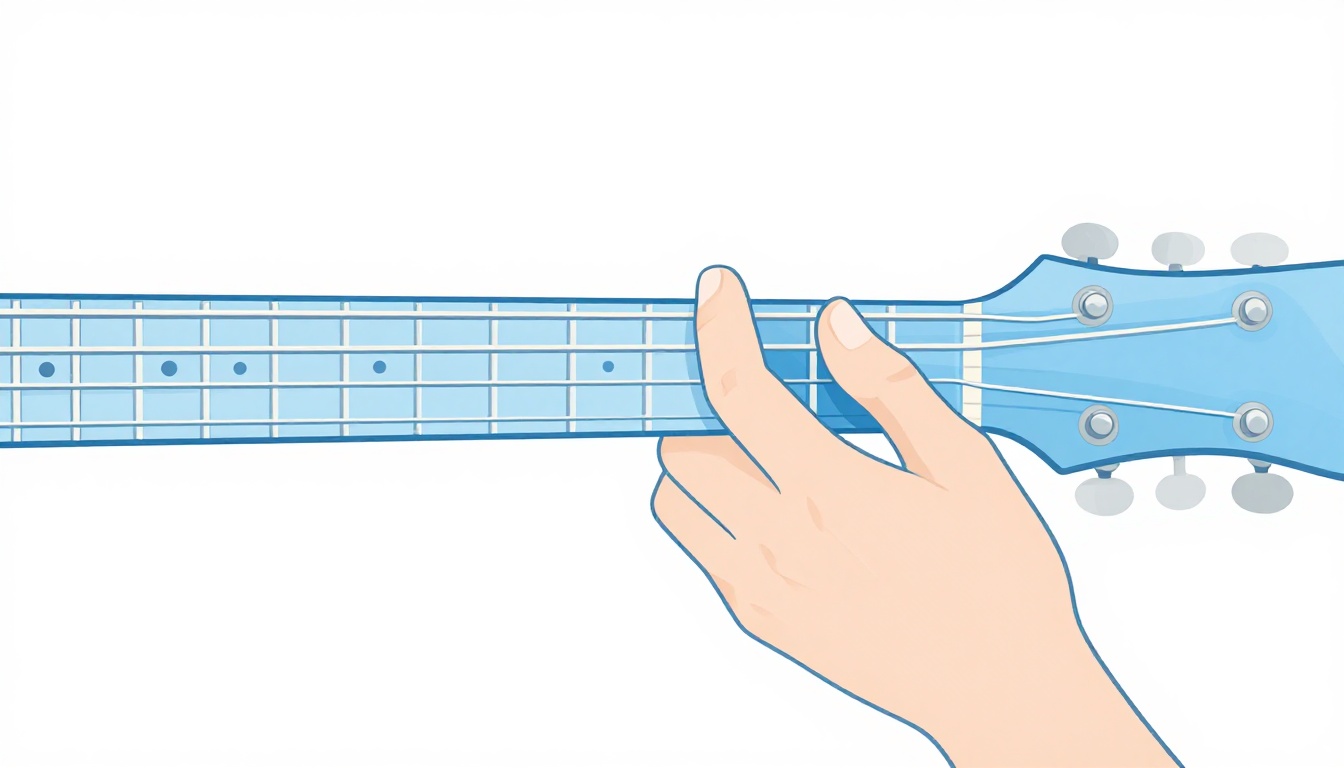
If barring at the 2nd fret is not comfortable yet, put a capo there and play the same two chords in their easy, open-position shapes. The capo raises every open string by two semitones, so an open C chord under a 2nd-fret capo sounds exactly like the barred D above, and an open E chord sounds exactly like the barred F#.
| Chord shape to play | Fret position | Sounds as (with capo 2) |
|---|---|---|
| Open C | Capo 2 | D major |
| Open E | Capo 2 | F# major |
Open C Shape
| String | Fret | Finger |
|---|---|---|
| 6 (low E) | Muted | - |
| 5 (A) | 3 | 3 |
| 4 (D) | 2 | 2 |
| 3 (G) | Open | - |
| 2 (B) | 1 | 1 |
| 1 (high E) | Open | - |
Open E Shape
| String | Fret | Finger |
|---|---|---|
| 6 (low E) | Open | - |
| 5 (A) | 2 | 2 |
| 4 (D) | 2 | 3 |
| 3 (G) | 1 | 1 |
| 2 (B) | Open | - |
| 1 (high E) | Open | - |
Every fret number in both tables is counted from the capo, not from the nut, since the capo now acts as a movable nut. This is the version most beginners reach for first, and there is nothing lesser about sticking with it. It gets you the exact same chord tones as the barred version, just with a lower barrier to entry while your fretting hand is still building strength.
Getting the Barre Chords to Ring Clean
If you are working on the no-capo version and the D or F# shape sounds muted or buzzy, it is almost always one of these.
Your Barre Finger Is Flat Instead of Angled
A flat index finger presses unevenly across six strings, and the strings under the gaps between your finger bones tend to go dead. Roll your index finger slightly onto its side, so the firmer, bonier edge makes contact with the strings instead of the soft pad, and angle your wrist forward rather than keeping it flat against the neck.
You Are Not Pressing Close Enough to the Fret Wire
Barre chords are less forgiving of finger placement than open chords. Press as close to the fret wire as you can without landing on top of it, especially with your barring finger, since a barre placed in the middle of the fret space needs noticeably more pressure to ring clean than one placed right behind the wire.
Your Thumb Is in the Wrong Spot
For a barre chord, your thumb should sit roughly behind your first or second finger on the back of the neck, pushing forward to help your index finger clamp down evenly. A thumb that has drifted too high over the top of the neck, a habit that works fine for open chords, will not give you enough counter-pressure for a clean barre.
You Are Trying to Fret All Six Strings With Equal Force
Some strings in a barre naturally need more pressure than others, particularly the ones under the gaps between your knuckles. Play through the chord one string at a time, plucking each individually, and identify exactly which strings are dying so you know where to focus your barre finger's pressure rather than squeezing harder everywhere at once.
Building Barre Chord Strength for This Song
If the D and F# barre shapes in the intro are the first real barre chords you have tried, do not expect them to ring cleanly on day one. Barre chord strength is built the same way any other hand strength is, through short, repeated practice rather than one long session of gripping as hard as possible.
A useful drill outside of this song entirely is fretting a plain barre at the 1st fret (an F major shape, using the E-shape voicing) and checking, string by string, which ones ring clean and which do not. Move that same barre up to the 3rd fret and repeat the check. Because the string tension and spacing change slightly as you move up the neck, practicing the barre in a few different positions builds a more transferable strength than only ever practicing it at the 2nd fret where this song happens to sit.
| Practice fret | Chord shape (E-shape barre) | What it trains |
|---|---|---|
| 1st fret | F major | Barre strength where string tension is highest |
| 2nd fret | F# major | The exact shape this song uses |
| 3rd fret | G major | Barre strength slightly further up the neck |
Five minutes of this kind of isolated barre practice, done daily, tends to produce results faster than trying to force the barre clean inside the context of a full song, where you are also thinking about the fingerpicking pattern and the chord changes at the same time.
The Verse Chords
The verse moves through four chords, E, B, C#m, and A, the I, V, vi, and IV of the key of E major. This is the same familiar chord family behind a huge number of pop and rock choruses, just used here at a much slower tempo and with a softer touch.
| Section | Chord 1 | Chord 2 | Chord 3 | Chord 4 |
|---|---|---|---|---|
| Verse | E | B | C#m | A |
| Chord | Meaning in the key of E |
|---|---|
| E | I (the home chord) |
| B | V |
| C#m | vi |
| A | IV |
Play each chord for roughly a full bar, keeping your strumming or picking hand moving in gentle, even motion. The verse in the original recording is quiet and restrained, closer to fingerpicked than strummed, so resist the urge to dig in hard here even once the chords feel comfortable. This is a song where dynamics matter more than in almost any other beginner-friendly rock song, and the verse only works if it stays noticeably quieter than what comes later.
The B Chord's Barre Can Be Swapped
If a full B barre chord (root on the 5th string, 2nd fret) is still out of reach, a simplified B played as a two or three note partial voicing higher up the neck, or even a B7 in its open-adjacent shape, gets you through the verse while your barre strength develops. Neither is a wrong answer while you are still building up to the full shape.
Why the Verse Sometimes Uses Emaj7 Instead of Plain E
Listen closely to the recording and the E chord in the verse does not stay a plain E the whole time. It moves briefly through Emaj7, brightening the chord for a beat before settling back or continuing on to the next chord. This is the technique Frusciante has cited borrowing from Marc Bolan of T. Rex, taking a major chord and walking one note up by a half step into its major seventh before resolving.
| Chord | What changes from E |
|---|---|
| E major | Root chord, no alteration |
| Emaj7 | The open high E string's neighbor note moves, adding the major 7th (D#) into the chord |
You do not need to chase this exactly to sing along with the song, but adding it in gives the verse the same lift the record has instead of sitting flat on plain E the whole time. Try lifting one finger off your open E shape by a single fret for a beat, then returning to the full E chord, and listen for that brighter, slightly unresolved color before it settles.
The Chorus
The chorus adds a new chord, F#m, and cycles through a tight four-chord pattern with a noticeably syncopated feel compared to the straighter verse.
| Section | Chord 1 | Chord 2 | Chord 3 | Chord 4 |
|---|---|---|---|---|
| Chorus | F#m | E | B | F#m |
In the key of E major, that is ii, I, V, ii, a common turnaround shape but one that lands with more tension here because of where the accents fall. The chorus is played with a lift in energy and a distinctive off-beat emphasis, an accent that lands slightly ahead of where a plain down-up strum would put it, rather than a simple loud version of the verse's pattern.
Getting the Off-Beat Feel
Rather than accenting beat one the way most strumming naturally wants to, listen for the recording's emphasis landing just after the beat, giving the chorus its slightly pushed, urgent feel against the still-slow overall tempo. Practicing with the original track playing underneath you is far more effective for locking this in than counting it out on paper, since it is a feel more than a formula.
The Bridge and Outro: Sliding Into A Minor
Where the verse and chorus stay in E major, the song's bridge and outro shift the tonal center to A minor, its relative minor's neighbor, giving the song's ending a different color from everything before it. The chords most commonly used here are A, C, G, and F, often voiced as Am, C, G6, and Fmaj7.
| Section | Chord 1 | Chord 2 | Chord 3 | Chord 4 |
|---|---|---|---|---|
| Bridge/Outro | A (or Am) | C | G (or G6) | F (or Fmaj7) |
That is i, III, VII, VI in A minor, a common minor-key progression that feels like it is climbing and falling at the same time. This is also the section of the song most associated with the recording's other layer, a choir that enters underneath the guitar on the outro, thickening the sound well beyond what a single guitarist can reproduce alone. Do not expect a solo acoustic or electric version to sound as full as the record here. That is the choir doing work, not a guitar part you are missing.
Why This Section Sounds Unfamiliar the First Time
If the chorus and verse felt approachable but the outro trips you up, that is expected. It is genuinely a different key center from everything before it, not just a variation on the same four chords. Give yourself separate practice time for this section rather than assuming it will fall into place automatically once the rest of the song is solid.
Why Some Tabs List Slightly Different Chords
Search around for this song's chords and you will find small disagreements everywhere. One tab calls the outro's A chord "Am," another just calls it "A." One writes "G," another writes "G6." One writes "F," another writes "Fmaj7." None of these disagreements mean one source is wrong and another is right.
Most of them come down to what a single added or dropped note does to a chord's name, not a genuinely different chord being played. A plain G major becomes a G6 when a single extra note, the 6th of the scale, rings alongside it, something that happens naturally with certain open voicings and fingerings even when the player is not consciously "adding a 6th." The same logic applies to F versus Fmaj7, and to the verse's E versus Emaj7 covered earlier. A transcriber listening closely to which notes ring, versus one focused on the underlying harmony, will reasonably write these chords down differently.
The practical takeaway is that you do not need to chase one "correct" version among these. Playing the plain triad (A, G, F) instead of the extended version (Am, G6, Fmaj7) will not sound wrong, it will just sound slightly plainer than the record. Add the extra color notes once the basic progression and timing are solid, not before.
| Plain version | Extended version | What changes |
|---|---|---|
| G | G6 | An added 6th degree rings alongside the triad |
| F | Fmaj7 | An added major 7th rings alongside the triad |
| E | Emaj7 | An added major 7th rings alongside the triad, covered earlier in the verse |
The opening chord of the outro gets written as both "A" and "Am" across different sources too, which is a separate kind of disagreement, a genuine major-versus-minor reading rather than an added color note. Since the outro sits in A minor, Am is the more theory-consistent choice, and it is the version this post uses, but you will see plain A written just as often.
Full Song Structure
Seeing the whole arrangement in order helps before trying to play start to finish, since the sections repeat in a specific sequence rather than a simple loop.
| Order | Section | Chords |
|---|---|---|
| 1 | Intro | D - F# (barred, or capo 2 with open C - E) |
| 2 | Verse 1 | E - B - C#m - A |
| 3 | Chorus | F#m - E - B - F#m |
| 4 | Verse 2 | E - B - C#m - A |
| 5 | Chorus | F#m - E - B - F#m |
| 6 | Bridge | Shifts toward A minor |
| 7 | Outro | A - C - G - F (looped, choir enters) |
Not every performance or cover follows this exactly, some repeat the chorus an extra time or extend the outro further, but this is the shape most transcriptions and the original recording agree on.
Full Chord Shape Reference
Every chord this song uses, in one place, for whichever version you are playing. Strings are numbered 1 to 6, thinnest to thickest, and fingers are numbered 1 to 4, index to pinky, in every table below.
A Note for Left-Handed Players
Every string and fret reference in this post assumes a right-handed guitar held in the standard way, fretting hand on the neck, strumming or picking hand over the body. If you play a left-handed, reverse-strung guitar, mirror the string numbers in every table here (string 6 becomes string 1 and so on) rather than the fret numbers, which stay the same either way.
E Major (Open)
| String | Fret | Finger |
|---|---|---|
| 6 (low E) | Open | - |
| 5 (A) | 2 | 2 |
| 4 (D) | 2 | 3 |
| 3 (G) | 1 | 1 |
| 2 (B) | Open | - |
| 1 (high E) | Open | - |
B Major (Barre, 2nd Fret)
| String | Fret | Finger |
|---|---|---|
| 6 (low E) | Muted | - |
| 5 (A) | 2 | 1 (barre) |
| 4 (D) | 4 | 3 |
| 3 (G) | 4 | 4 |
| 2 (B) | 4 | 2 |
| 1 (high E) | 2 | 1 (barre) |
C# Minor (Barre, 4th Fret)
| String | Fret | Finger |
|---|---|---|
| 6 (low E) | Muted | - |
| 5 (A) | 4 | 1 (barre) |
| 4 (D) | 6 | 3 |
| 3 (G) | 6 | 4 |
| 2 (B) | 5 | 2 |
| 1 (high E) | 4 | 1 (barre) |
A Major (Open)
| String | Fret | Finger |
|---|---|---|
| 6 (low E) | Muted | - |
| 5 (A) | Open | - |
| 4 (D) | 2 | 1 |
| 3 (G) | 2 | 2 |
| 2 (B) | 2 | 3 |
| 1 (high E) | Open | - |
F# Minor (Barre, 2nd Fret)
| String | Fret | Finger |
|---|---|---|
| 6 (low E) | 2 | 1 (barre) |
| 5 (A) | 4 | 3 |
| 4 (D) | 4 | 4 |
| 3 (G) | 2 | 1 (barre) |
| 2 (B) | 2 | 1 (barre) |
| 1 (high E) | 2 | 1 (barre) |
E Major Seventh (Emaj7)
| String | Fret | Finger |
|---|---|---|
| 6 (low E) | Open | - |
| 5 (A) | 2 | 2 |
| 4 (D) | 1 | 1 |
| 3 (G) | 1 | 1 |
| 2 (B) | Open | - |
| 1 (high E) | Open | - |
This is the same open E shape with your middle finger lifted off the 4th fret of the D string and your index finger flattened slightly to also catch the 1st fret of the D string, brightening the chord for the beat or two the verse uses it.
A Minor (Open)
| String | Fret | Finger |
|---|---|---|
| 6 (low E) | Muted | - |
| 5 (A) | Open | - |
| 4 (D) | 2 | 2 |
| 3 (G) | 2 | 3 |
| 2 (B) | 1 | 1 |
| 1 (high E) | Open | - |
C Major (Open)
| String | Fret | Finger |
|---|---|---|
| 6 (low E) | Muted | - |
| 5 (A) | 3 | 3 |
| 4 (D) | 2 | 2 |
| 3 (G) | Open | - |
| 2 (B) | 1 | 1 |
| 1 (high E) | Open | - |
G Major (Open)
| String | Fret | Finger |
|---|---|---|
| 6 (low E) | 3 | 2 |
| 5 (A) | 2 | 1 |
| 4 (D) | Open | - |
| 3 (G) | Open | - |
| 2 (B) | Open | - |
| 1 (high E) | 3 | 3 |
F Major (Barre, 1st Fret)
| String | Fret | Finger |
|---|---|---|
| 6 (low E) | 1 | 1 (barre) |
| 5 (A) | 3 | 3 |
| 4 (D) | 3 | 4 |
| 3 (G) | 2 | 2 |
| 2 (B) | 1 | 1 (barre) |
| 1 (high E) | 1 | 1 (barre) |
If a full F barre is still difficult, a simplified F using only the top four strings, dropping the low E and A strings out of the chord entirely, is a common and fully usable substitute in the outro.
Why Your Version Does Not Sound Like the Record
Beyond barre chord buzz, a few other issues show up repeatedly with this song specifically.
You Are Playing It Too Fast
At 84 BPM this is a slow song, and it is tempting to speed it up because the chord changes themselves are not technically difficult once you know the shapes. Resist that. Most of what makes this song sound right is the space between the notes, not how quickly you can move between chords.
You Are Strumming the Intro Instead of Picking It
A full strummed block chord in the intro loses the individual, ringing quality that makes the riff recognizable in the first place. Break the chords into their individual notes and let them ring into each other instead.
The Dynamic Contrast Is Missing
If the verse, chorus, and outro are all played at the same volume and intensity, the song loses the build that makes it work. The verse should sit back and quiet, the chorus should lift, and the outro should feel like it is opening up into something bigger, even without a choir behind you.
You Skipped the Capo Decision Entirely
Playing the "D" and "F#" chords as open D and F# shapes without either a capo or a barre puts them in the wrong octave and voicing entirely, and an open F# chord is barely playable to begin with. Pick one of the two documented approaches, capo 2 with open shapes, or no capo with barre shapes, rather than guessing at a third option.
Why Slow Songs Are Harder to Keep in Time Than Fast Ones
At 84 BPM, it is tempting to assume this song is easier to keep time with than something fast, since there is more time between beats to react. In practice, slow tempos are often harder to hold steady, because there is more room to drift without noticing, and small timing errors that would be masked by a fast song's density are exposed by all the empty space around each note here.
A metronome is worth using specifically because of this, more than it would be for a faster, busier song. Set it to 84 BPM and play just the verse's chord changes against it, listening for whether your chord change lands exactly on the click or drifts slightly ahead or behind. Most beginners drift ahead without realizing it, rushing toward the next chord out of eagerness rather than staying locked to the beat.
If straight quarter notes at 84 BPM feel too slow to lock onto, some metronome apps let you subdivide the click into eighth notes at the same tempo, giving your ear more frequent reference points without actually changing the song's speed. This is a useful training tool for the first week or two, even if you eventually stop needing it once the tempo feels internalized.
A Fingerpicking Pattern for the Intro and Verse
A simple thumb-and-fingers approach works well for both the intro riff and the softer parts of the verse. Use your thumb for the lowest note that is not muted in each chord, then your index, middle, and ring fingers for the next three strings up, picked in a rolling sequence rather than all at once.
| Finger | String role |
|---|---|
| Thumb | Lowest sounding string in the chord |
| Index | Next string up |
| Middle | Next string up |
| Ring | Highest string used in the chord |
Roll through the fingers in order, low to high, rather than plucking two or three at the same instant, and let each note ring rather than damping it as the next one sounds. This rolling motion, more than any specific chord shape, is what gives the intro its recognizable character.
Strumming vs Fingerpicking: When to Use Which
Fingerpicking suits the intro and the quieter parts of the verse, where individual ringing notes carry the song's character. A soft, controlled strum works fine for the verse too if fingerpicking is still new to you, as long as you keep the dynamic low and even. The chorus is where a fuller strum earns its place, since the song's one real lift in energy happens there. Save your most controlled, gentle touch for the bridge before the outro opens back up.
There is no rule against playing the entire song strummed rather than fingerpicked, especially while you are first learning the chord changes. Add fingerpicking to the intro and verse once the chord shapes themselves are automatic, rather than trying to learn new picking-hand technique and new chord shapes in the same pass.
Easier Versions for Beginners
If the full barre-chord intro is the sticking point, the capo-2 open-shape version covered earlier is not a downgrade, it is the standard beginner route and sounds identical. If the B chord in the verse and chorus is the harder shape, a partial B voicing using just the top three or four strings, or a B7 in its easier open-adjacent shape, keeps the harmony intact while you build up to the full barre.
For the C#m chord in the verse, a simplified two-finger voicing on the inner strings, dropping the lowest note entirely, is a common shrunk-down version that still carries the chord's essential sound. None of these simplifications are permanent. Most players who start on the easier versions move to the full shapes naturally once their fretting hand has built up enough strength from playing other songs.
Changing Between Chords Without Losing the Feel
None of the individual shapes here are especially difficult to hold. What makes the song feel harder than it looks is keeping the same slow, steady feel through every chord change, especially in the intro where your barre finger has to stay anchored while your other fingers reshape around it.
Two things help more than anything else:
- Practice the intro's D-to-F# change on its own, at a slow tempo, before adding the fingerpicking pattern on top of it.
- Notice that your barre finger does not move at all between D and F# in the no-capo version, since both shapes barre the same fret. Only your other three fingers need to reshape, which is a much smaller movement than resetting your whole hand.
For the verse's E-to-B change, anchor on the fact that both chords share the same general hand shape one string over, which shortens the distance your hand needs to travel compared to treating each chord as a completely separate shape.
Playing It on Acoustic vs Electric
The chords and riff both translate to acoustic guitar without any changes, capo included. The main difference is tone rather than technique: the original recording uses a clean electric tone with some reverb, so an acoustic version will sound a little drier and more intimate by comparison, which suits this song's mood well. Fingerpicking the intro on acoustic tends to sound especially close to the spirit of the original, even without matching the exact tone.
On electric, keep the gain low or off entirely for the verse and intro. This is not a distorted song outside of maybe a touch of warmth in the chorus, and heavy distortion works against the dynamic contrast that makes the arrangement work.
A Practice Routine for This Song
Start with the verse chords alone, E-B-C#m-A, at a slow tempo, until the changes feel automatic. Add the chorus's F#m-E-B-F#m next, since it reuses two chords you already know. Only after both of those are comfortable should you tackle the intro riff, since it asks for either a barre chord or a capo decision plus a fingerpicking pattern, both new skills layered on top of each other.
| Days | Focus |
|---|---|
| 1 to 2 | Verse progression (E-B-C#m-A), slow tempo, strummed |
| 3 to 4 | Chorus progression (F#m-E-B-F#m) added on top |
| 5 | Intro chord shapes in isolation, either capo-2 open shapes or no-capo barre shapes |
| 6 | Intro fingerpicking pattern, slow, looped |
| 7 | Full song, reduced tempo, all sections together for the first time |
If you are building this into a short daily habit rather than one long session, the homepage has more on structuring focused fifteen-minute practice blocks that actually stick.
What to Listen for While You Practice
Play along with the original recording and pay attention to three things beyond the melody. First, notice how quiet the verse actually is compared to what feels natural to strum, it is quieter than most players assume until they listen closely. Second, listen for the chorus's off-beat push rather than trying to count it out mathematically. Third, notice how the outro thickens with the choir, and do not judge your own solo version against that fuller sound.
Common Mistakes Beyond the Chords Themselves
Rushing the Intro's Fingerpicking
Because the chord shapes are simple once memorized, it is tempting to speed through the intro's picking pattern. The pattern is meant to feel unhurried and spacious, and rushing it undercuts the entire mood the song is built on.
Choosing a Third, Undocumented Version of the Intro Chords
Some tab sources online mislabel the intro as different chords entirely, since the riff's individual picked notes can be interpreted more than one way if you are only listening for isolated notes rather than looking at the underlying shape. Sticking with the CAGED-based C-shape and E-shape barre approach, or its capo-2 open-shape equivalent, keeps you aligned with how the part is actually built.
Treating the Whole Song at One Dynamic Level
This is worth repeating because it is the single most common issue with this specific song: if the verse, chorus, bridge, and outro are all strummed or picked at the same volume, the song loses the shape that makes it work as a recording. Deciding on the dynamic contrast early, rather than trying to add it after the chords are memorized, saves you from having to unlearn a flat version later.
Singing While You Play It
This is a vocal-driven song, and the guitar part is deliberately simple enough to support singing rather than compete with it. If you plan to sing along, work the chord changes to the point where your fretting hand needs no conscious thought before adding your voice on top. Trying to learn the chords and the vocal melody in the same pass usually means neither one gets your full attention.
The verse melody sits mostly on long, held notes over a slow-moving chord bed, which is forgiving for a beginner singer, there is no need to rush a line before the next chord change arrives. The chorus moves faster and covers a wider vocal range, so if your voice is still finding its footing, spend extra time there specifically rather than assuming the whole song is equally easy to sing.
Breathing is worth planning deliberately in the chorus and outro, where the phrasing is denser. Mark, even mentally, where you plan to breathe before you start singing through a full take, rather than discovering mid-line that you have run out of air. This matters more in a slow song like this one than in a fast song, since there is nowhere to hide a rushed, badly timed breath.
The Song's Legacy
"Under the Bridge" became Red Hot Chili Peppers' highest-charting single, reaching number two on the Billboard Hot 100, and has been certified six times platinum in the United States. Rolling Stone included it on its list of the 500 Greatest Songs of All Time. None of that changes how you should play it, but it explains why so many different tab and lesson sources exist for this one song, and why they occasionally disagree on small details like a chord's exact voicing. When a song has been transcribed thousands of times by thousands of different guitarists, small variations are inevitable, and the versions covered in this post reflect the readings most sources agree on.
Frequently Asked Questions
Do I need a capo for this song?
No, but it helps if barre chords are still difficult. A capo on the 2nd fret with open C and E shapes gets you the exact same chords as the no-capo barred version.
What key is "Under the Bridge" in?
E major for the verse and chorus, shifting to A minor for the bridge and outro.
Is this song hard for a beginner?
The individual chord shapes are approachable, especially with a capo. What makes it feel harder than it looks is the slow tempo and the dynamic control needed to make the quiet sections actually sound quiet.
Why do some tabs call the intro chords "D and F#" and others just show open shapes?
Both describe the same sound. "D and F#" names the chords as they actually sound, while an open-shape tab assumes you have a capo on the 2nd fret, which raises open C and E shapes up to sound like D and F#.
What tempo should I practice at?
The song sits around 84 BPM, and slower than that is fine while you are still learning the chord changes and fingerpicking pattern. Speed is not the goal here the way it might be for a faster rock song.
Do I need to fingerpick, or can I strum the whole thing?
You can strum the entire song, especially while first learning the chords. Fingerpicking the intro and verse gets you closer to the original recording's character once the chord shapes feel automatic.
Why does the outro sound thinner when I play it alone?
The recorded outro layers a choir underneath the guitar. A single guitarist will always sound comparatively sparse in that section, and that is expected rather than a sign you are doing something wrong.
Is the E chord in the verse ever anything other than plain E major?
It sometimes moves briefly into Emaj7, a technique that brightens the chord for a beat before resolving. It is a nice detail to add once the basic progression is solid, not something you need from day one.
Can I play this song without ever learning a barre chord?
Yes. The capo-2 version uses only open chord shapes for the intro, and the verse and chorus chords, while some involve a barre, all have simplified alternatives covered earlier in this post.
How long does it usually take to learn this song?
The verse and chorus are realistic within a week or two of short daily sessions if you already know open chords and are comfortable with a capo. The intro's fingerpicking pattern and the barre-chord version, if you choose to learn it, add extra time on top since they depend on feel and hand strength rather than just memorizing shapes.
What guitar and amp did John Frusciante use on the original recording?
Most of the album leans on a 1958 sunburst Stratocaster through two Marshall amp heads, one for edge and one for low end, blended with a stereo chorus pedal. A Fender Jaguar appears in the song's music video and is generally understood to have been used mainly for overdubs rather than as the main tracking guitar.
Does the chorus use a different strumming pattern than the verse?
It uses the same general down-up motion, but with more attack and a distinct off-beat accent that gives it a pushed, urgent feel compared to the verse's steadier, softer pattern. The chord shapes do not change how you strum, the dynamic and accent do.
Is there a solo in this song?
No. "Under the Bridge" does not have a lead guitar solo section. The guitar part throughout is built entirely from the chord shapes covered in this post, which is part of why it works so well as a first song to learn on rhythm guitar.
Why does my C#m sound muddy in the verse?
Most likely the barre at the 4th fret is not pressing evenly, the same issue covered earlier for the B and F# shapes. Check each string individually, since C#m's barre sits on a slightly wider stretch than the other barre chords in this song and is easy to under-press on the outer strings.
GuitarLowKey
Ready for fifteen focused minutes?
Open the web app and train the change that is blocking your song.