
D#m Guitar Chords: Every Way to Play D Sharp Minor
Every practical D#m guitar chords shape, a capo trick that skips the barre entirely, why it buzzes, and how to switch into D#m without losing the beat.

D#m is built from the notes D#, F#, and A#, and none of them ring open on a standard-tuned guitar, so the chord is almost always played as a barre. The two shapes you will actually use are a six-string barre rooted on the low E string at the 11th fret, and a five-string barre rooted on the A string at the 6th fret. There is also a genuine shortcut: clip a capo on the 1st fret and play an open Dm shape behind it, and it sounds as D#m without a full barre at all. Every version, every fix for the buzz, and every way to change into and out of this chord smoothly is below.
The D#m chord, string by string
This is the most commonly taught shape, a six-string barre built on the low E string, using the same finger pattern as an open E minor chord slid up the neck. "Finger" uses standard numbering: 1 is your index finger, 2 is your middle finger, 3 is your ring finger, 4 is your pinky.
| String | Fret | Finger |
|---|---|---|
| 6 (low E) | 11 | 1 (barre) |
| 5 (A) | 13 | 3 (ring) |
| 4 (D) | 13 | 4 (pinky) |
| 3 (G) | 11 | 1 (barre) |
| 2 (B) | 11 | 1 (barre) |
| 1 (high E) | 11 | 1 (barre) |
Lay your index finger flat across all six strings at the 11th fret, pressing firmly enough that every string rings. Then add your ring finger on the 5th string (A) two frets ahead, at the 13th fret, and your pinky right next to it on the 4th string (D), also at the 13th fret. The 3rd, 2nd, and 1st strings are covered by the barre alone, no extra fingers needed. Strum all six strings.
This is exactly the open E minor chord shape (low E, A, D, G, B, E played 0-2-2-0-0-0), just moved up the neck with a barred index finger standing in for the nut. Every fret you slide that shape to changes the chord, and at fret 11 the root note lands on D#.
What makes D#m a minor chord
A chord's name comes from the notes stacked on top of its root. D#m is a triad: the root (D#), a minor third above it (F#), and a perfect fifth above the root (A#). Swap that minor third for a major third and you would have F#♭♭ instead of F# regular, which would make the chord D# major, not D# minor. That one note, the third, is the entire difference between a chord that sounds bright and one that sounds unsettled or melancholy.
| Interval | Note | Semitones from root |
|---|---|---|
| Root | D# | 0 |
| Minor 3rd | F# | 3 |
| Perfect 5th | A# | 7 |
You do not need to memorize interval math to play the chord, but it explains why certain notes appear more than once across the shapes above. In the six-string barre shape, D# appears on three different strings (the 6th, 4th, and 1st), F# appears once (3rd string), and A# appears twice (5th and 2nd strings). Doubling the root and fifth while keeping a single minor third is standard practice in guitar chord voicings, it reinforces the chord's foundation without muddying the note that actually defines it as minor.
D#m or Ebm: why the same chord has two names
D#m and Ebm are the same three notes on the guitar, D# and Eb are two names for one pitch, and so are F#/Gb and A#/Bb. Which name you see in a chord chart or a song usually depends on the key signature of the piece, not on anything about the guitar itself.
Sharp names (D#, F#, A#) tend to show up when the surrounding key uses sharps, for example in the key of B major or F# major. Flat names (Eb, Gb, Bb) tend to show up when the surrounding key uses flats. In practice, Eb minor is the more commonly printed spelling of the two, mostly because Eb minor's relative major (Gb major) and its practical uses in flat-heavy keys come up more often in printed sheet music than D# minor's does. That said, D#m is not rare, and you will run into it in guitar tabs, chord charts, and songwriting apps regularly, especially for material written by guitarists rather than transcribed from piano sheet music.
Whichever name you see, your hands do the same thing. If a chart says Ebm and another says D#m for the same song, that is not a mistake, it is the same chord written two different ways.
Building the root 6 barre shape correctly
The six-string shape above is the one most players learn first because it is the most "complete," it uses every string and puts the root note on the low E string, which is easy to find and easy to hear as the bass note. Getting it clean comes down to four things happening at once.
First, your index finger needs to press every one of the six strings at the 11th fret with even pressure. Uneven pressure is the single most common cause of a barre chord that half-works, ringing clearly on some strings and buzzing or going silent on others. Roll your index finger very slightly onto its outer edge rather than laying it fully flat. The edge of the finger is bonier and presses more effectively with less overall force than the soft pad.
Second, your thumb needs to sit on the back of the neck, roughly behind your index finger, not creeping up over the top. A thumb that climbs over the neck pulls your palm in toward the fretboard and flattens your fingers, which is the opposite of what a clean barre needs.
Third, your ring finger and pinky need to land squarely on the 13th fret without also brushing the strings your index finger is already covering. Since they are only two frets ahead of the barre, there is not much room, so keep both fingers arched and coming down close to vertical.
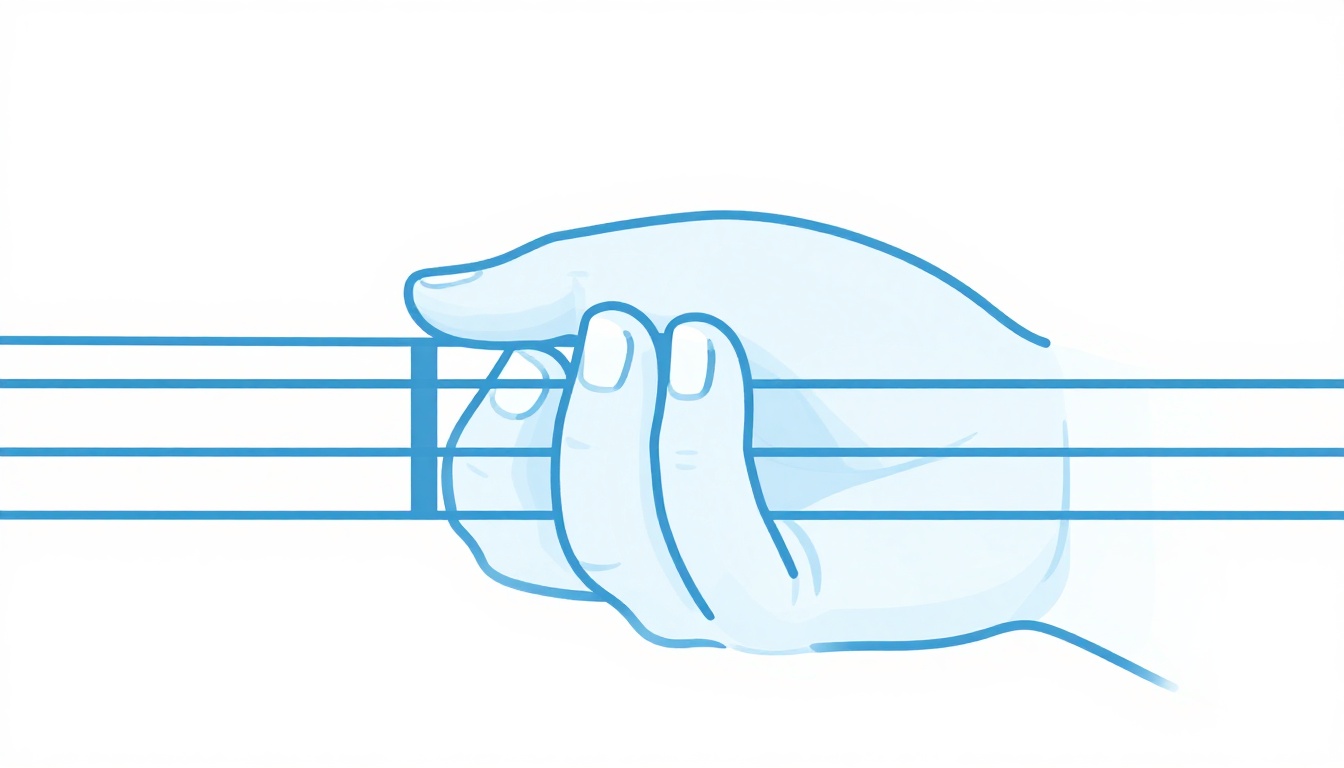
Fourth, check your overall hand angle. A wrist that is bent too far in either direction changes how much force actually reaches the strings versus how much gets absorbed by your own joints. A slightly lower wrist, with your elbow relaxed rather than pinned to your side, usually transmits pressure more efficiently.
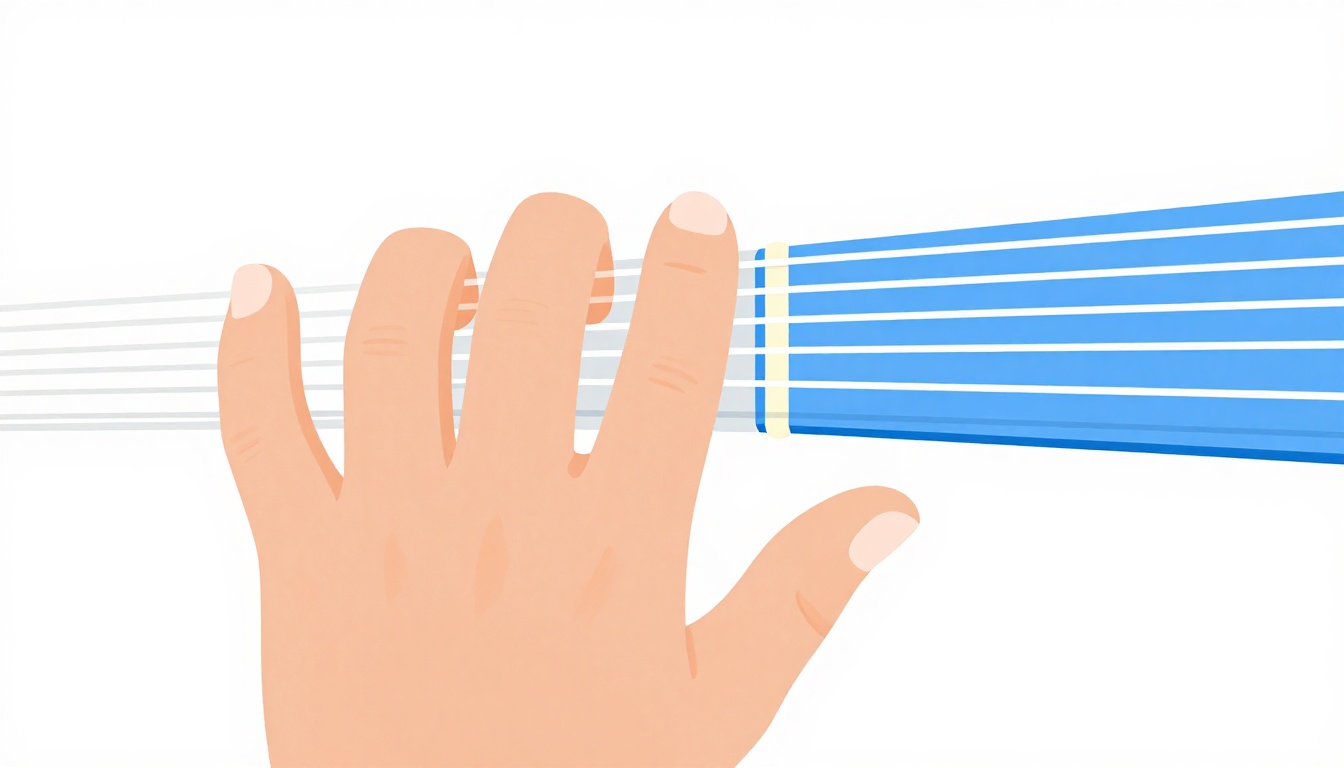
Barre chords are a genuinely different physical skill from open chords, closer to a specific type of grip strength than to normal fretting. If this shape does not sound clean on your first attempts, that is completely normal and not a sign you are doing something fundamentally wrong. For more general troubleshooting on barre technique beyond this specific shape, Wikipedia's overview of the barre chord covers the mechanics of the technique across different instruments and tunings.
The root 5 shape: a second way to play D#m
The second common shape roots the chord on the 5th string (A) instead of the low E, using the same finger pattern guitarists use for the open A minor chord. This version leaves the low E string muted rather than played.
| String | Fret | Finger |
|---|---|---|
| 6 (low E) | Muted | - |
| 5 (A) | 6 | 1 (barre, root) |
| 4 (D) | 8 | 3 (ring) |
| 3 (G) | 8 | 4 (pinky) |
| 2 (B) | 7 | 2 (middle) |
| 1 (high E) | 6 | 1 (barre) |
Barre your index finger across the top five strings at the 6th fret (you can let it rest lightly on the low E string too, it just should not be played, so mute it with the underside of your index finger or simply avoid striking it when you strum). Your ring finger goes on the 4th string (D) at the 8th fret, your pinky right beside it on the 3rd string (G), also at the 8th fret, and your middle finger fills in the 2nd string (B) at the 7th fret.
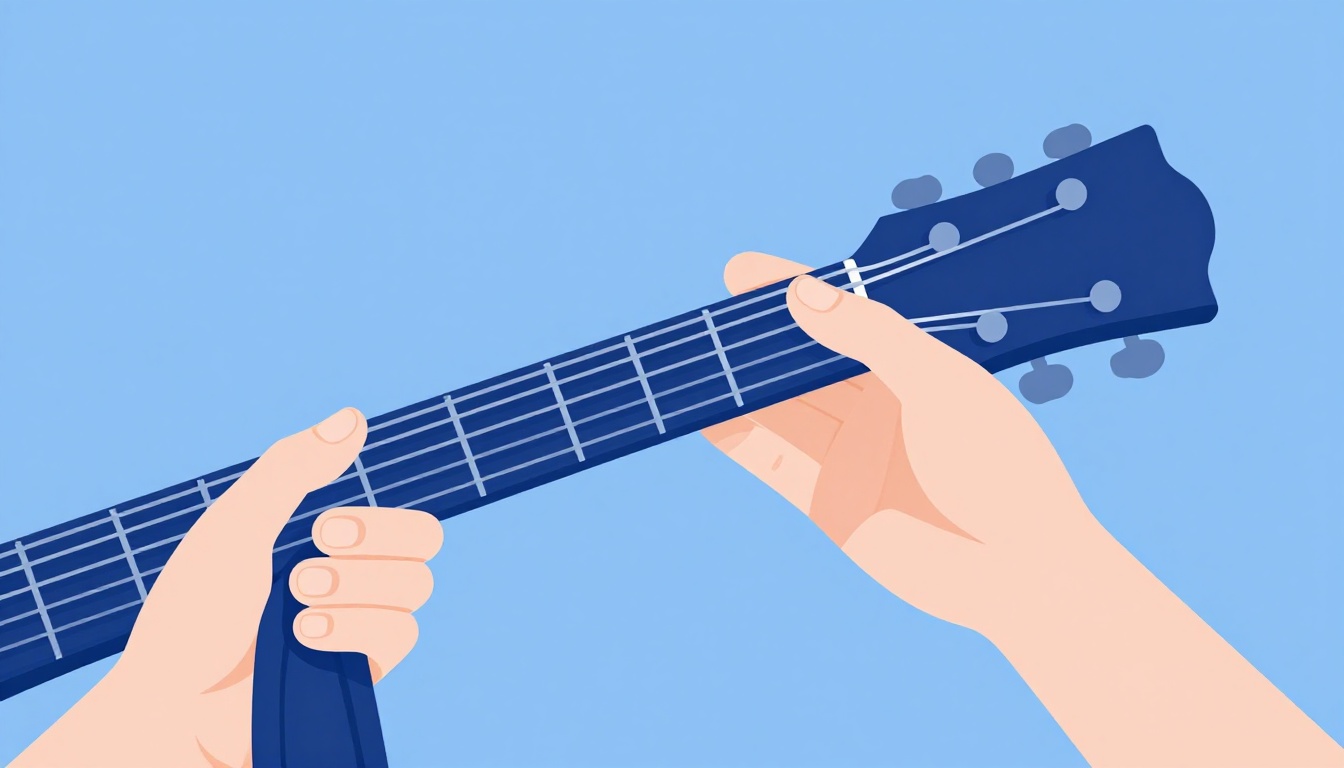
This shape is identical, finger for finger, to how most players learn the Bm chord (a very common barre chord in open-position songbooks), just moved two frets further up the neck. If you already know Bm, D#m in this shape is simply Bm slid up by two frets. This is one of the genuinely useful shortcuts in guitar: once your hand has learned one minor barre shape, every other minor chord using that shape is the identical hand position at a different fret.
Which of the two shapes should you use? The root 6 shape at fret 11 sits higher up the neck, where the frets are closer together and, on many guitars, slightly easier to press cleanly. The root 5 shape at fret 6 sits in a more comfortable middle section of the neck but asks your ring and pinky fingers to land precisely on adjacent strings at the same fret, which some players find fiddlier than the spread-out root 6 shape. Try both and use whichever your hand takes to faster, there is no wrong answer, they produce the identical set of notes.
The easiest way in: the capo trick with a Dm shape
If a full barre chord is still out of reach for your hand, there is a genuinely useful workaround that most chord charts do not mention: clip a capo onto the 1st fret and play an open D minor chord shape. Because a capo shifts every note up by however many frets it covers, an open Dm shape played behind a capo on the 1st fret sounds exactly as D#m, using nothing but three fingers and no barre at all.
| String | Fret (counted from the capo) | Finger |
|---|---|---|
| 6 (low E) | Muted | - |
| 5 (A) | Muted | - |
| 4 (D) | Open | - |
| 3 (G) | 2 | 2 (middle) |
| 2 (B) | 3 | 3 (ring) |
| 1 (high E) | 1 | 1 (index) |
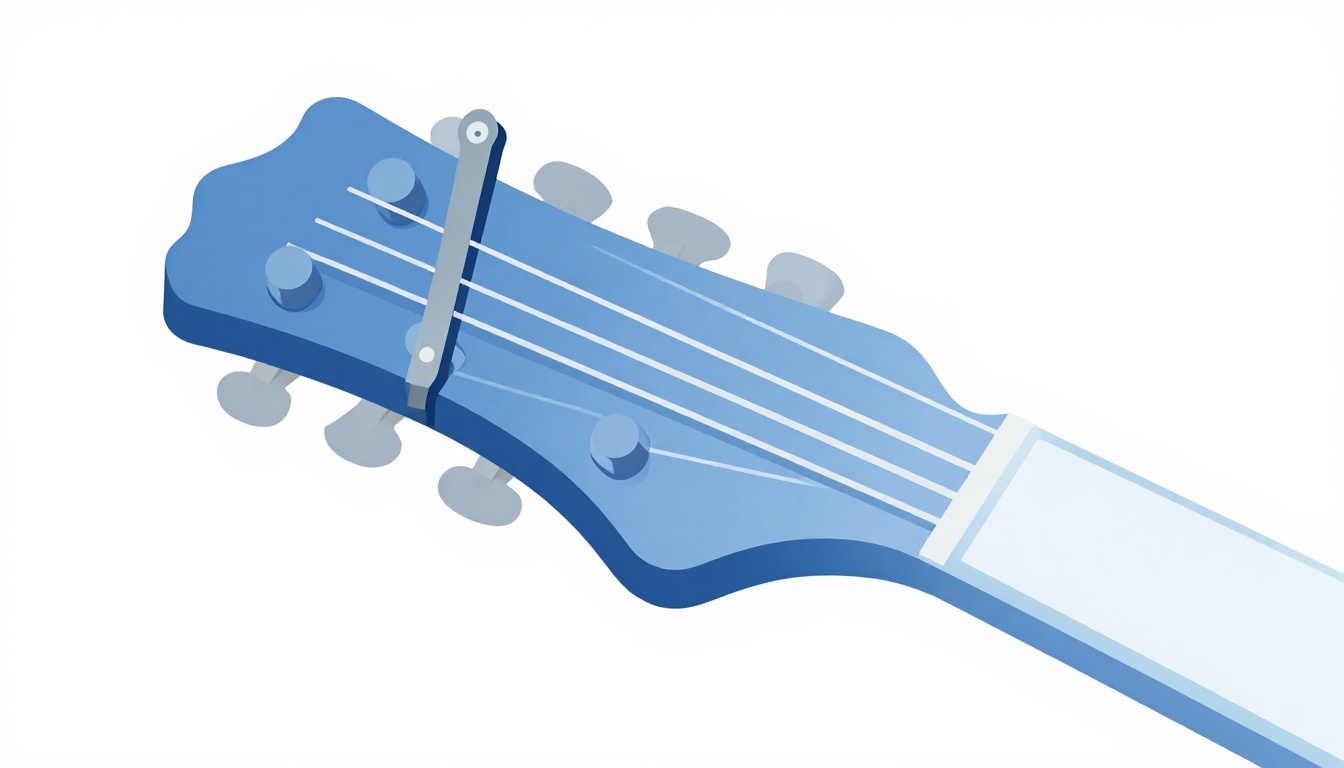
Clip the capo on so it sits just behind the 1st fret wire, pressing firmly enough that every string rings clearly when picked open. Then finger the shape exactly as you would an open Dm chord: index finger on the high E string one fret up from the capo, middle finger on the G string two frets up from the capo, ring finger on the B string three frets up from the capo, and the D string left open. Mute or simply avoid the low E and A strings.
This is not a compromise or a "beginner cheat" you will need to unlearn later, professional players use capos constantly, for exactly this reason: certain keys are far more comfortable to play in open-chord shapes than in barre chords, and a capo lets you access those shapes anywhere on the neck. The only real trade-off is that you need a capo with you, and the voicing is different (fewer notes, no doubled root on the low string) from the full barre shapes above.
Playing the Dm shape once the capo is on
The shape itself is worth understanding on its own, separate from the capo trick, because it is one of the first chords most beginners learn and it comes up constantly in open position (without a capo, it is D minor, one of the most common chords in beginner songbooks).
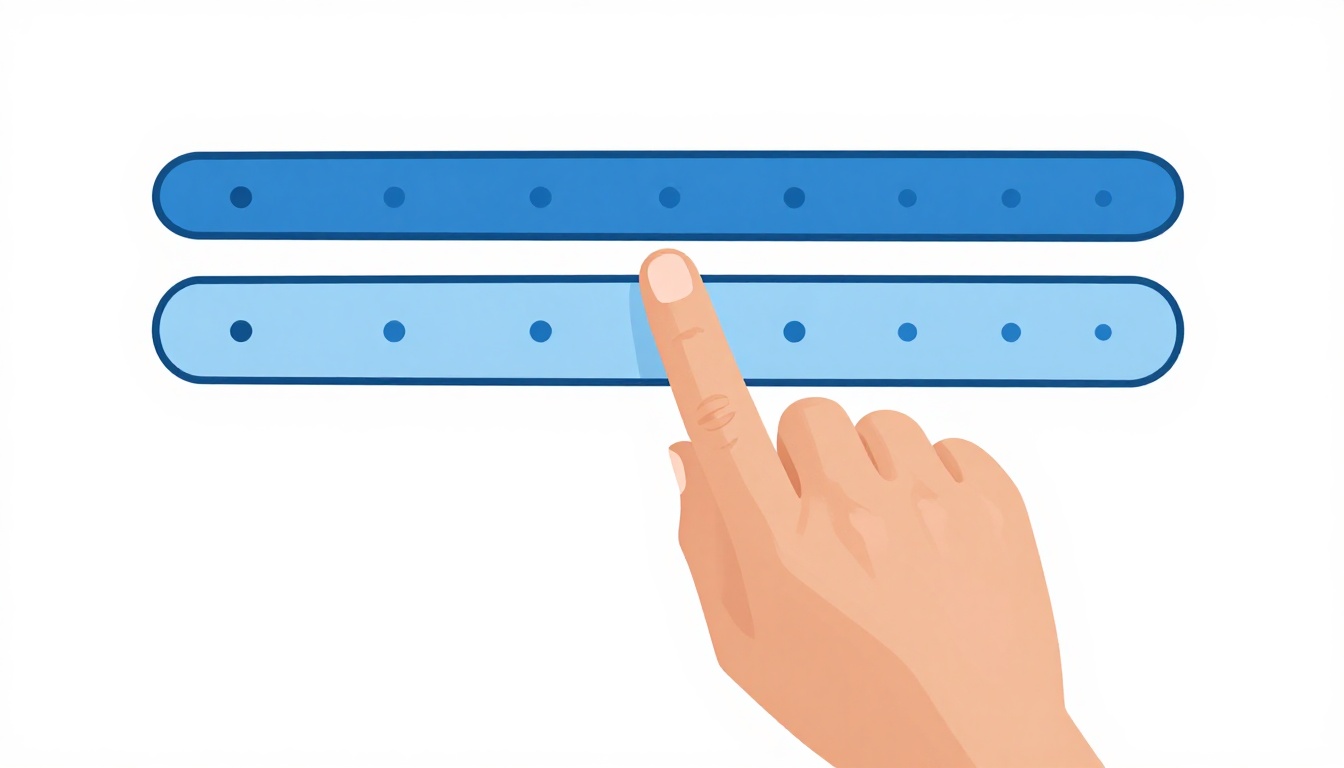
Place your fingers in this order: middle finger first, since the G string note is not adjacent to the other two and benefits from being anchored early. Then your index finger on the high E string, and finally your ring finger on the B string, which sits at the highest fret of the three and often needs the most correction once the other two fingers are down. Check each string individually by picking it on its own. If the B string sounds muted, your ring finger has likely drifted and is brushing the neighboring high E string, angle it more vertically. If the G string sounds thin, your middle finger may not be pressing close enough to the fret wire.
Because this shape only involves three fingers on three strings, it is significantly faster to change into and out of than either barre shape, which matters a lot if D#m shows up mid-song between faster-moving chords.
Why the capo trick works for any minor chord, not just this one
It is worth understanding why clipping a capo on and playing an open shape produces a completely different chord, because once you see the pattern it applies far beyond D#m.
A capo does exactly what your index finger does in a barre chord: it presses down every string at once at a single fret, raising the pitch of each open string by however many frets it covers. Play an open Dm chord with no capo and you get D minor. Add a capo at the 1st fret and every note in that same Dm shape rises by one semitone, which turns D into D#, F into F#, and A into A#, exactly the three notes D#m is built from. Move the same capo to the 2nd fret instead and the identical Dm shape becomes Em (E, G, B). Move it to the 3rd fret and it becomes Fm.
This means the open Dm shape, combined with a capo, gives you access to every minor chord on the guitar, not just D#m, simply by choosing which fret the capo sits on. The same principle applies to any open chord shape: an open Am shape behind a capo produces a different minor chord at each fret, an open C shape produces a different major chord at each fret, and so on. Professional guitarists use this constantly, not as a beginner shortcut but as a genuine tool for finding a comfortable hand shape in an otherwise awkward key.
The trade-off, and the reason full barre shapes still matter, is that a capo is one more piece of gear you need on hand, it changes the open strings available to you for other chords in the same song, and if a song moves through several unrelated keys, you may need to remove or reposition the capo mid-song, which is not always practical. Barre shapes work everywhere, all the time, with nothing extra attached to the guitar.
A three-finger mini version for tight chord changes
There is a smaller, barre-free version of D#m that works without a capo too, useful when you need to grab the chord quickly or when you are strumming lightly and do not need the full six-string sound. It uses only the top three strings, taken from the same fret positions as the root 5 shape above.
| String | Fret | Finger |
|---|---|---|
| 3 (G) | 8 | 3 (ring) |
| 2 (B) | 7 | 2 (middle) |
| 1 (high E) | 6 | 1 (index) |
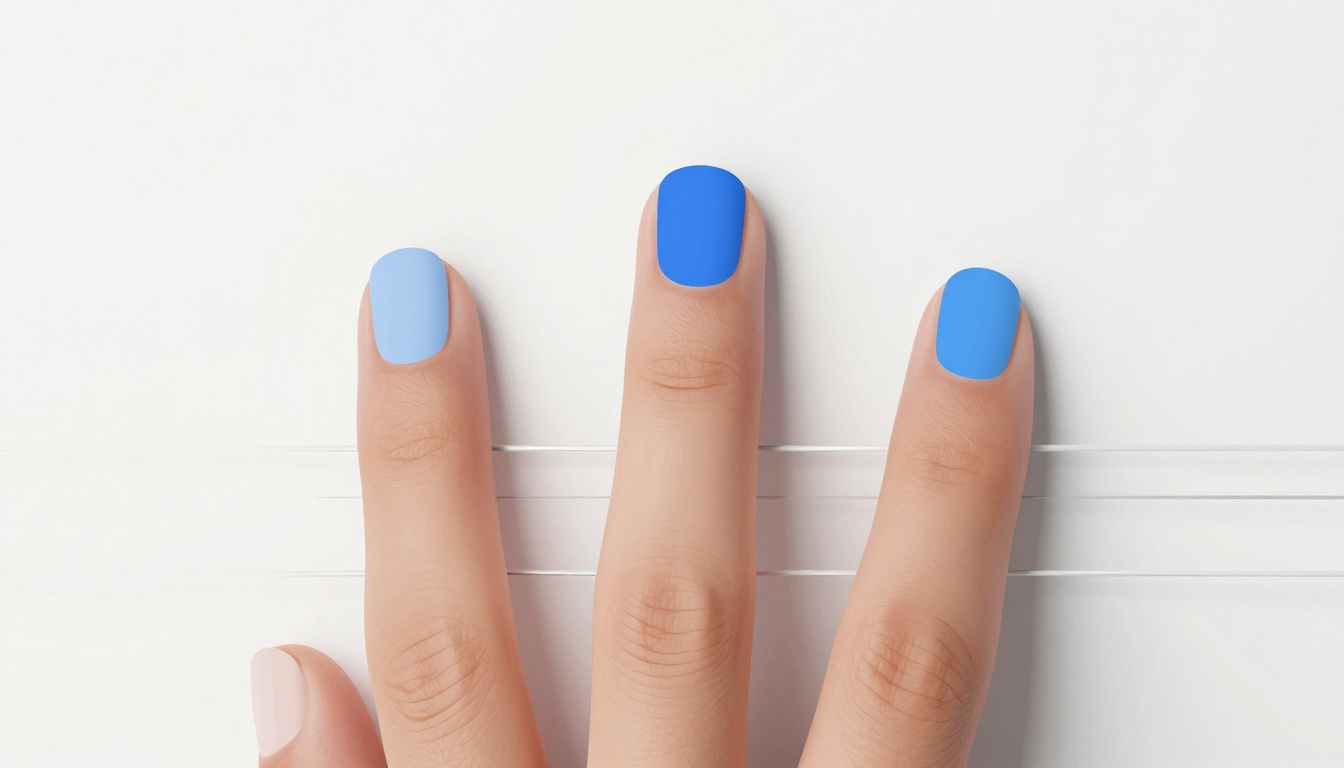
Each finger presses exactly one string, no barring required, which makes this shape considerably faster to grab mid-song than either full barre version. The trade-off is that you lose the low, full sound a six-string barre gives you, this version is thinner and works best for light strumming, fingerpicking, or as a quick substitute when a song only briefly touches D#m before moving on. It is not a replacement for learning the full barre shapes, but it is a legitimate tool once you understand what it is doing.
Why your D#m barre chord is buzzing or sounds dead
This is the section that actually decides whether you keep working on this chord or give up on it. A barre chord that buzzes or goes dead on certain strings almost always traces back to one of five specific, fixable causes. Work through them one at a time.
Your index finger is too flat
If your index finger lies completely flat against the fretboard, the soft, fleshy part of the finger absorbs pressure unevenly across its length, and whichever string sits under the thinnest or least-pressured section of the finger buzzes or dies. This is the single most common reason a barre chord sounds incomplete.
Roll your index finger slightly onto its outer edge, the side closer to your thumb. The edge of the finger is bonier and firmer than the pad, and it distributes pressure more evenly across all six strings with less overall effort from your hand.
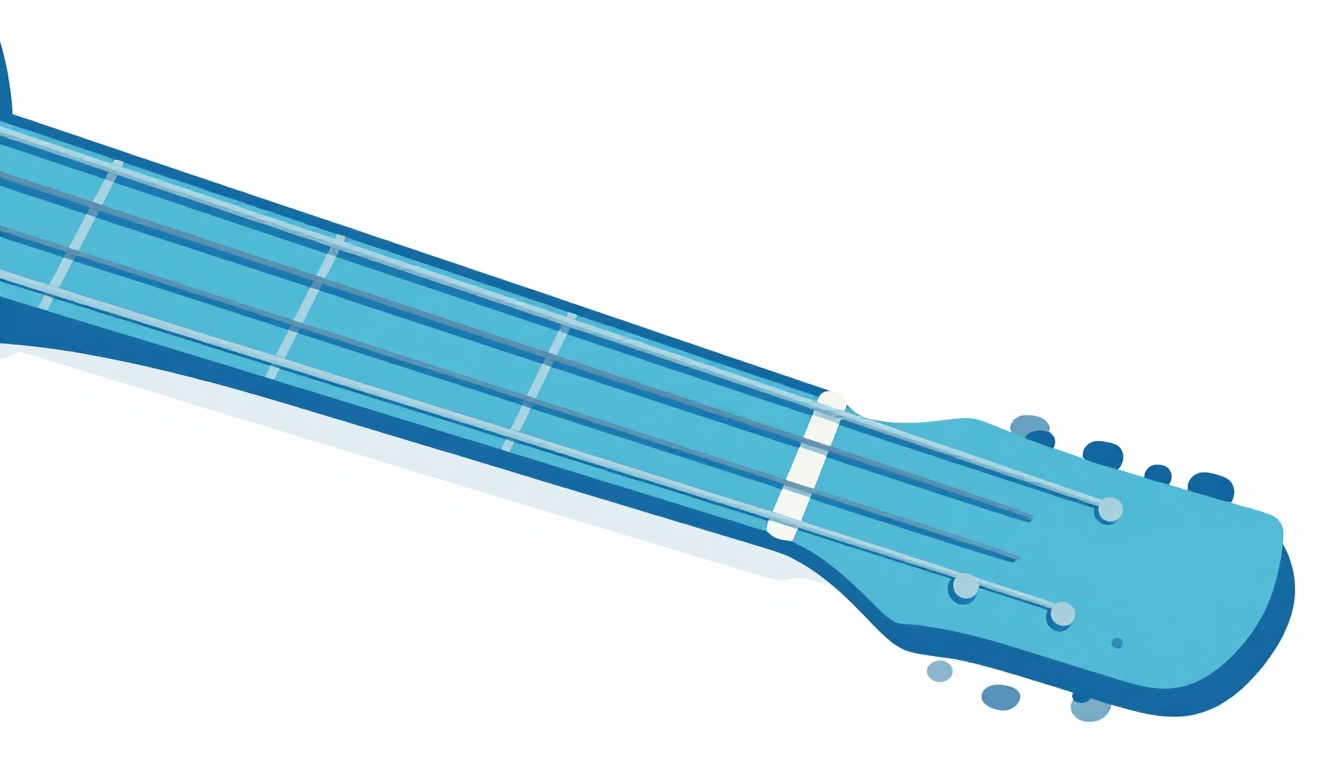
Your index finger isn't rolled onto its edge
This sounds like the same fix as above, but it is worth separating because the correction is specific: it is not just about flattening less, it is about actively rotating the finger. Picture turning your index finger about a quarter turn toward the headstock, so you are pressing with the side of the fingertip rather than the center of the pad. Players who fix "flatness" by simply pressing harder in the same flat position tire out fast and still get inconsistent results. Rotating the finger fixes the underlying leverage problem instead of trying to force through it.
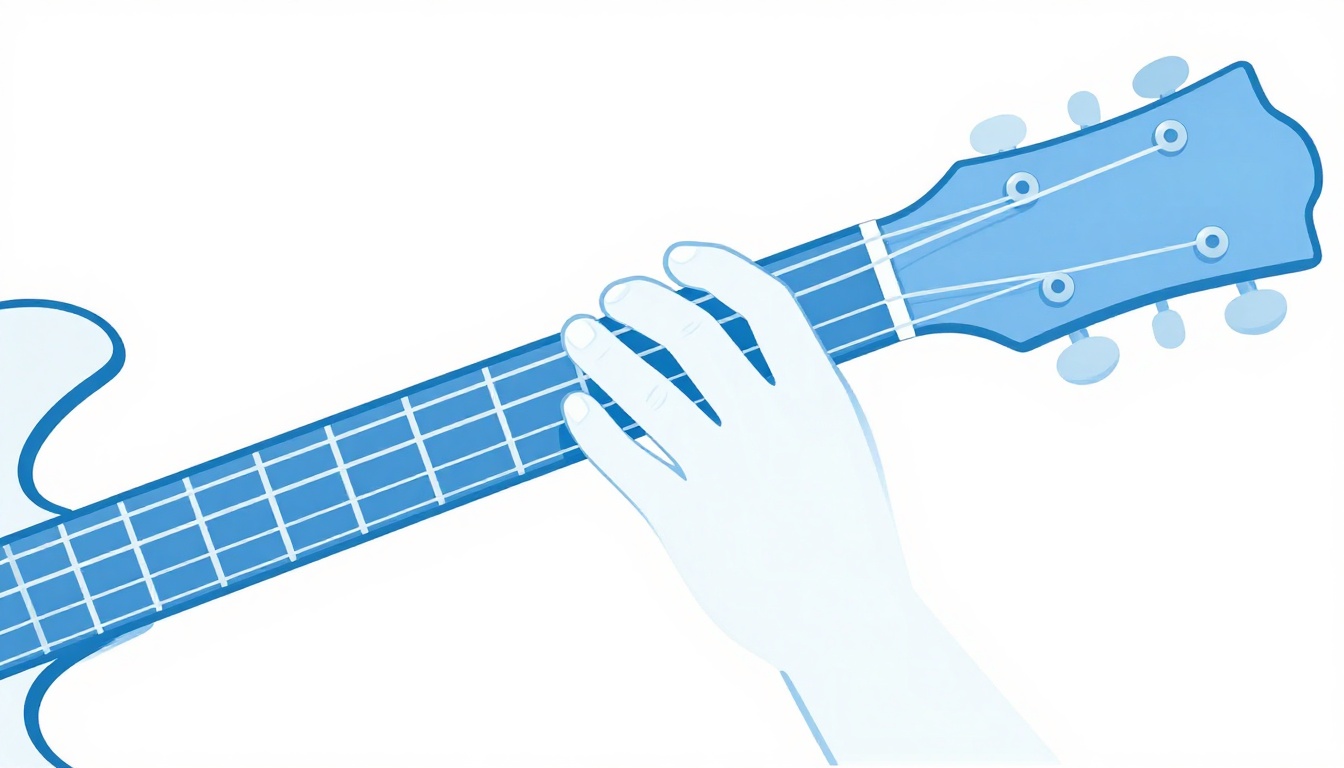
Your thumb is riding too high on the neck
Check where your thumb sits on the back of the neck. If it has crept up so it is visible over the top edge, peeking out above the fretboard, it is pulling your whole hand into a position where your fingers come down flatter than they should. Bring your thumb back down to roughly the middle of the back of the neck, generally somewhere behind your index or middle finger. This alone fixes a surprising amount of barre chord buzz, because it changes the angle everything else works from.
One string is collapsing under a neighboring finger
On the root 5 shape especially, your ring and pinky fingers sit close together on adjacent strings at the same fret. It is easy for one of them to lean slightly and mute the string next to the one it is meant to fret. Pick each fretted note individually and listen. If the D string (4th) sounds fine but the G string (3rd) is dead, your pinky likely needs to arch more or shift its contact point slightly. The same check applies to the middle finger on the B string in that shape, since it sits directly between the barre and the ring/pinky pair and can easily brush a neighbor.
You're not pressing hard enough yet
Sometimes every element of technique is correct, the finger is rolled, the thumb is positioned well, the angle is right, and the chord still buzzes because the hand simply has not built the specific strength a barre chord demands yet. This is common and temporary. Barre chords require sustained pressure across multiple strings at once, which is a different demand than fretting a single note, and that strength builds with repetition, not instantly. If everything else checks out and it still buzzes, the fix is time, not a technique adjustment.
Getting the wrist and hand position right
Beyond the finger-by-finger fixes above, your overall wrist and arm position sets the baseline for how much pressure actually reaches the strings versus how much gets lost to an inefficient angle.
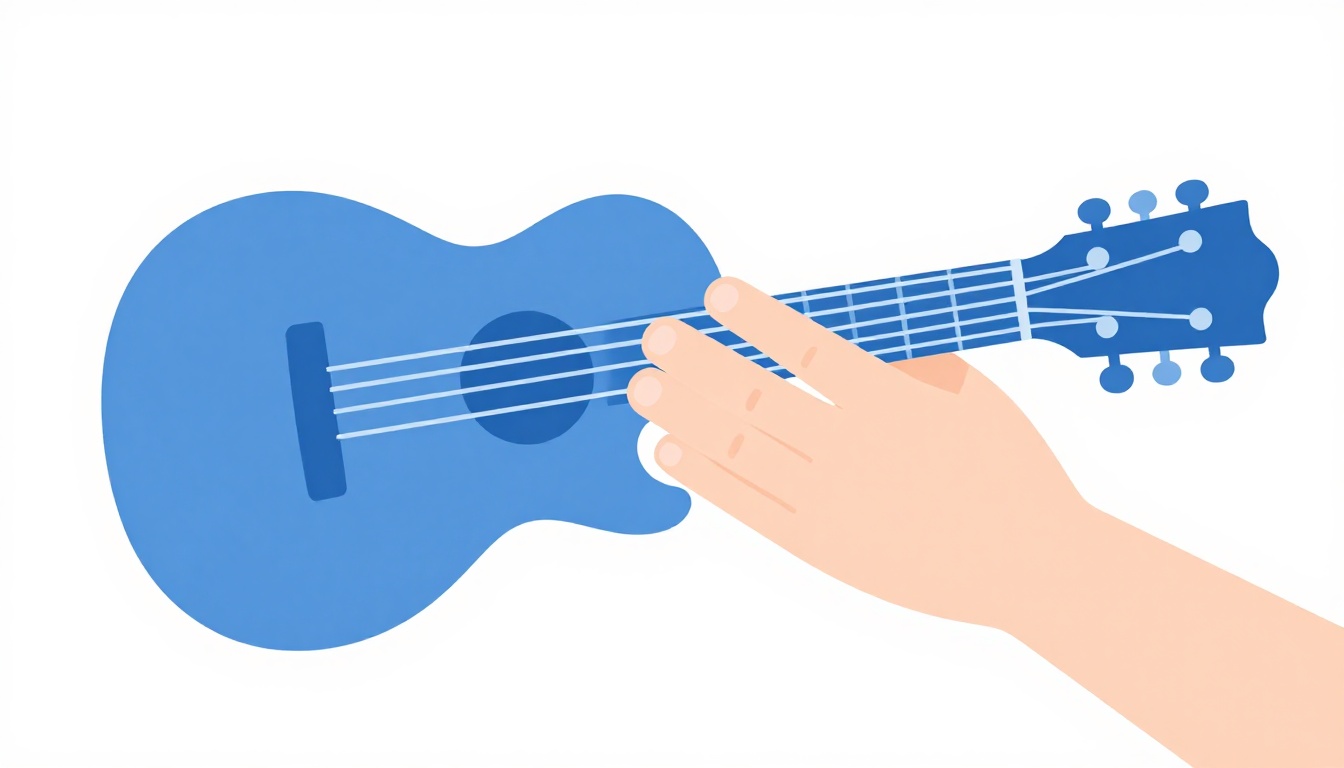
Keep your wrist slightly bent outward, away from the neck, rather than collapsed inward toward it. A wrist that collapses inward, so your palm nearly touches the back of the neck, forces your fingers into a flatter angle and makes it much harder to get the arch each finger needs. Your elbow should hang relatively naturally at your side rather than pinning tightly against your ribs, which restricts the whole arm's ability to rotate into position.
It also helps to check your guitar's position generally. If the neck is angled too low, close to horizontal, gravity works against your fretting hand's ability to press efficiently. Tilting the headstock up somewhat, whether you are sitting or standing, tends to make barre chords noticeably easier to hold.
Building the strength to hold a barre chord
If you are new to barre chords in general, not just this one, it is worth knowing that the strength and finger independence they require is trained, not something your hand either has or does not. A few concrete things speed that up.
Practice the barre alone before adding the other fingers. Lay your index finger across all six strings at any comfortable fret and pick through each string one at a time, adjusting pressure and position until every one rings clearly, with no other fingers involved yet. This isolates the hardest part of the shape and lets you focus entirely on it.
Hold shorter than you think you need to. Fretting a barre chord for two or three seconds at a time, resetting, and doing it again trains the specific muscles involved without exhausting your hand before it has built any capacity. Long, forced holds when the hand is not ready tend to build tension and bad habits rather than strength.
Move the barre around. Practicing the exact same fret over and over trains one specific position. Sliding the same shape to different frets, even without naming the resulting chord, builds a more general, transferable version of the skill.
Expect weeks, not days. Most players report a noticeable jump in barre chord control within two to four weeks of short, regular practice, not because the chord itself changes but because the hand's strength and muscle memory catch up. If your hand hurts sharply (not just tired) while attempting a barre, stop and rest, sharp pain is your hand telling you to back off, dull fatigue is normal.
Does your guitar's setup make D#m harder than it needs to be?
If you have worked through every technique fix above and D#m still buzzes no matter what your hand does, the problem may not be your technique at all. It is worth ruling out the guitar itself before assuming the fault is entirely yours.
String height (action). Every guitar has strings sitting some distance above the frets, called the action. Higher action means every finger, especially a barre, needs more force to press a string all the way down to the fret. A guitar with high action can make a barre chord genuinely, physically harder than the identical chord on a guitar with lower action, no matter how good your technique is. If barre chords feel dramatically harder on your guitar than they look in videos of other players, high action is a common, fixable culprit, and it is generally worth having a guitar technician check and adjust, since doing it yourself without the right tools risks damaging the instrument.
String gauge. Thicker strings need more force to fret than thinner ones. Beginners are sometimes handed a guitar strung with heavier strings than necessary, which makes every chord, barre chords especially, harder than it needs to be while you are still building hand strength. Lighter gauge strings are easier to press down, at some cost to tone and volume, and many new players find them a reasonable trade while their hands develop.
Electric versus acoustic. Electric guitars are typically strung with lighter strings and set up with lower action than acoustic guitars, partly because their thinner, narrower necks and different string tension make it practical to do so. If you are learning D#m on an acoustic and finding it noticeably harder than you expected, that is a real, physical difference, not just a perception, electric guitars are generally easier to barre chord on, especially for a beginner hand.
New strings versus old strings. Old strings that have lost their brightness also tend to feel stiffer and less responsive under the fingers over time as grime builds up in the windings, which can make fretting, barre chords included, feel more effortful than it should. If your strings have been on the guitar for many months of regular play, that is worth ruling out too.
None of this means technique does not matter, it still does, and most players' barre chord struggles are genuinely about hand position and pressure rather than the instrument. But if you have checked your finger angle, thumb position, and pressure carefully and D#m still will not ring clean, a quick look at the guitar itself is a reasonable next step before assuming your hand is the only variable.
Where D#m sits in a key
D#m rarely shows up on its own, it is usually one chord inside a progression built around a key, and knowing which keys it belongs to helps you predict what other chords are likely to sit alongside it.
D#m is the relative minor of F# major, meaning the two keys share the exact same notes, just built from different starting points. Any progression written in F# major can be recast starting from D#m and it will use the same set of chords. D#m is also the ii chord (the second scale-degree chord) in the key of C# major, and the iii chord in the key of B major.
| Key | D#m's role | Other common chords in that key |
|---|---|---|
| D# minor | i (the tonic, "home" chord) | G#m, A#m, F#, B |
| F# major | vi (relative minor) | F#, B, C#, D#m |
| C# major | ii | C#, D#m, F#, G#, A#m |
| B major | iii | B, C#m, D#m, E, F# |
If you come across D#m in a song and want to guess what else might be in the progression, checking whether the surrounding chords match one of these families is a faster route than guessing at random.
Chord progressions that use D#m
A few genuinely common progression patterns, built from standard music theory rather than any single song, show how D#m tends to get used in practice.
In the key of D# minor itself, a i, iv, v progression gives you D#m, G#m, A#m, one of the most fundamental minor-key movements across almost every genre. A i, VI, VII gives you D#m, B, C#, a very common minor-key pop and rock movement (the same shape, structurally, as Am, F, G in A minor, just transposed).
As the vi chord in F# major, D#m often appears in a vi, IV, I, V pattern: D#m, B, F#, C#, one of the most widely used chord cycles in popular music generally, just voiced in this particular key.
As the ii chord in C# major, D#m commonly leads into a ii, V, I movement: D#m, G#, C#, a progression borrowed directly from jazz harmony but common in other genres too, where the ii chord sets up tension that the V chord resolves through the I.
These are patterns, not prescriptions, plenty of music uses D#m outside of them entirely. But if you are trying to work out a song by ear and you have found D#m, checking whether the next chord fits one of these families is a reasonable first guess.
Scales for soloing over D#m
If you want to improvise or solo over a D#m chord rather than just strum it, the most direct starting point is the D# natural minor scale, sometimes also approached through the D# minor pentatonic scale (a simplified five-note version that is considerably easier to learn first) or, for a more textured, modal sound, the D# Dorian or D# Phrygian modes.
Scales are their own deep topic with their own fretboard patterns, well beyond what a chord-focused guide like this one can properly cover. If soloing over D#m specifically is what you are after, that deserves its own dedicated walk-through of the actual fretboard patterns rather than a summary paragraph here.
D#m compared to the chords it gets confused with
A handful of chord names look or sound close enough to D#m that they are worth telling apart clearly, especially if you are reading a chord chart quickly and want to be sure you are grabbing the right shape.
D#m versus Dm. These share almost nothing beyond the letter. Dm is D minor, built from D, F, and A, a full step lower than D#m's D#, F#, and A#. They are unrelated chords that happen to look similar in text. The Dm shape is what gets borrowed for the capo trick earlier in this guide, but the capo is what turns it into D#m, the open Dm shape by itself is simply a different chord.
D#m versus D#. D# on its own (no "m") means D# major, built from D#, G, and A#. The middle note is the only difference from D#m: a major third (G, the pitch guitar chord charts use in place of the technically correct but rarely written F double-sharp) instead of a minor third (F#). One note changes, and the emotional character of the chord changes with it.
D#m versus D#dim. D#dim (D# diminished) shares its root and minor third with D#m, D# and F#, but flattens the fifth, using A instead of A#. Diminished chords have a tense, unresolved quality quite different from a standard minor chord, and they are used far less often, generally as a brief passing chord rather than a chord a song settles into.
D#m versus D#m7. D#m7 takes the full D#m triad, D#, F#, A#, and adds a fourth note, C#, a minor seventh above the root. It is a genuinely different, though closely related, chord, more common in jazz, soul, and softer pop arrangements where a smoother, less plain sound is wanted. If a chart specifically calls for D#m7, playing plain D#m in its place is close but not exact, since you are missing that added note.
D#m versus D#m6. D#m6 replaces or adds a major sixth (B#, more commonly seen written as C in casual chord charts) rather than the minor seventh D#m7 uses. It has a distinct, slightly brighter flavor than D#m7 despite both being built by adding one note to the base triad. It is less common than D#m7 but does turn up, particularly in jazz-influenced writing.
The pattern across all of these: the difference between chords that share most of a name usually comes down to one single note, most often the third (major versus minor) or an added extension (a 6th or 7th on top). Once you can hear that one-note difference, telling related chords apart by ear gets considerably easier.
Changing between D#m and other chords smoothly
Knowing the shape is rarely the hard part once you have put in the practice above, the hard part is getting into and out of it at tempo without a dead beat while your hand repositions. A few specific transitions come up often enough to be worth practicing on their own.
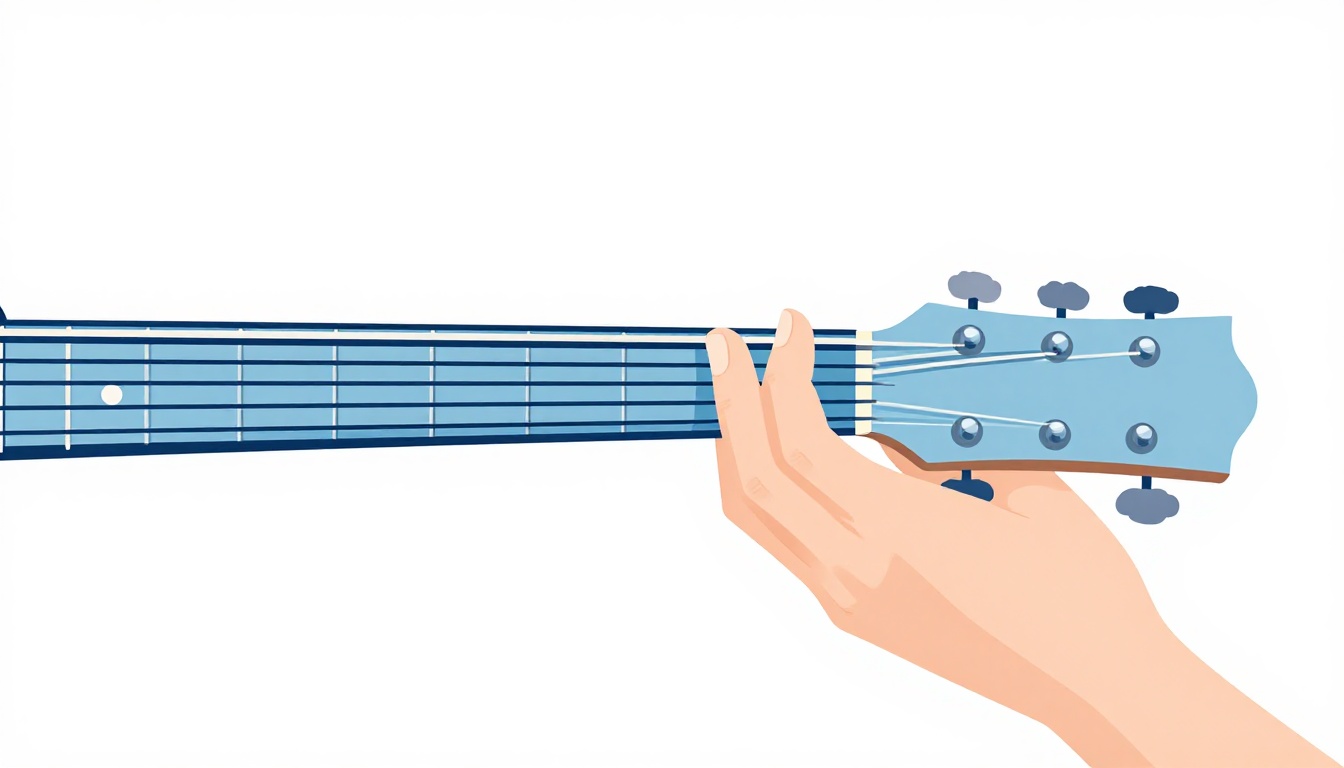
Moving from D#m to F# (in the root 6 shape, this means sliding the entire barre, fingers included, from fret 11 to fret 9, since F# major uses the identical shape as an E major barre chord) is one of the easier changes, because the hand shape barely changes, only the position on the neck does, and both the barre and the extra fingers move together as a unit.
Moving from D#m to B major is a bigger jump if you are using the root 5 D#m shape (fret 6) and a root 5 B major shape, since B major in that position sits at fret 2, a four-fret slide. Practicing this specific jump slowly, watching your hand lift cleanly off the strings and land as one unit rather than finger by finger, prevents the buzzy, half-formed chord that comes from fingers arriving at slightly different times.
Moving from the capo'd Dm shape into another open chord is generally the fastest of all these transitions, since you are working with familiar open-position fingerings rather than sliding a barre, which is part of why the capo trick is worth learning even if you can already play the full barre shapes.
Moving from D#m to G#m (the i to iv movement common in D# minor progressions) using root 6 shapes means sliding the entire barre from fret 11 down to fret 4, a bigger jump than the F# change above. Because both chords use the identical finger pattern, the trick is to move the whole hand as one rigid unit rather than letting any single finger lead, if your index finger arrives at fret 4 slightly before your ring and pinky catch up, you will hear a brief, messy scrape before the chord settles.
Moving from D#m to A#m (the i to v movement) is a smaller slide, from fret 11 to fret 6 in root 6 shapes, or you can switch shape families entirely and use a root 5 A#m shape at fret 1, right next to the root 5 D#m shape at fret 6. Which option is faster depends on where your hand already is when the change happens in the song, sometimes staying in one shape family and sliding is quicker, sometimes hopping to the other family is.
In all of these, the fix for a messy change is almost never "practice the individual chords more." It is practicing the change itself, in isolation, slowly, over and over, until the specific motion between those two exact shapes is memorized on its own.
Playing D#m in a fingerpicking pattern
Not every use of D#m is a strummed barre chord. In fingerstyle playing, you fret the same shapes covered above and simply pluck the strings individually or in a set pattern rather than strumming across all of them at once, which changes what you need from the chord.
A common basic pattern, using the root 6 barre shape, plucks the low E string (root, D#) with your thumb first, then the D string, G string, and B string in sequence with your remaining fingers, skipping the A string and high E string on the way up, then reversing back down. Because a fingerpicked chord sustains each note individually rather than all at once in a single strum, any string that is buzzing or muted becomes far more obvious than it would in a fast strum, where a weak note can hide inside the overall sound. This makes fingerpicking a genuinely useful diagnostic tool even if you mostly plan to strum: play the shape fingerstyle first, slowly, and you will hear exactly which string, if any, still needs work.
The root 5 shape works the same way, starting the thumb on the A string (the root in that shape) instead of the low E, since the low E is muted and not part of the chord in that voicing. The capo'd Dm shape is particularly friendly to fingerpicking, since it was likely one of the first shapes you fingerpicked as a beginner in its original D minor form, and the capo does not change the plucking pattern at all, only the pitch.
Common mistakes beyond buzzing
A few habits show up often enough in players working on D#m specifically that they are worth naming directly.
Trying to learn the full six-string barre before the hand has any barre chord experience at all. If D#m is your very first barre chord, consider practicing an easier barre shape first, or lean on the capo trick above while your hand builds general barre strength, rather than getting frustrated at a chord that happens to sit at an awkward fret for a total beginner.
Strumming through a change before the new chord shape is actually formed. This produces a scratchy, unclear strum right on the beat where the chord changes, which is often mistaken for a strumming problem when it is really a timing problem in the fretting hand. Slowing the whole progression down until the chord is fully formed before the strum arrives fixes this faster than practicing the strum pattern alone.
Assuming a barre chord needs maximum force. More pressure than necessary tires the hand fast and does not actually produce a cleaner sound past a certain point, since buzzing is almost always a positioning problem, not a strength problem, once your hand has built baseline strength at all.
A practice routine for D#m
Something concrete to do today, rather than a vague instruction to "practice more."
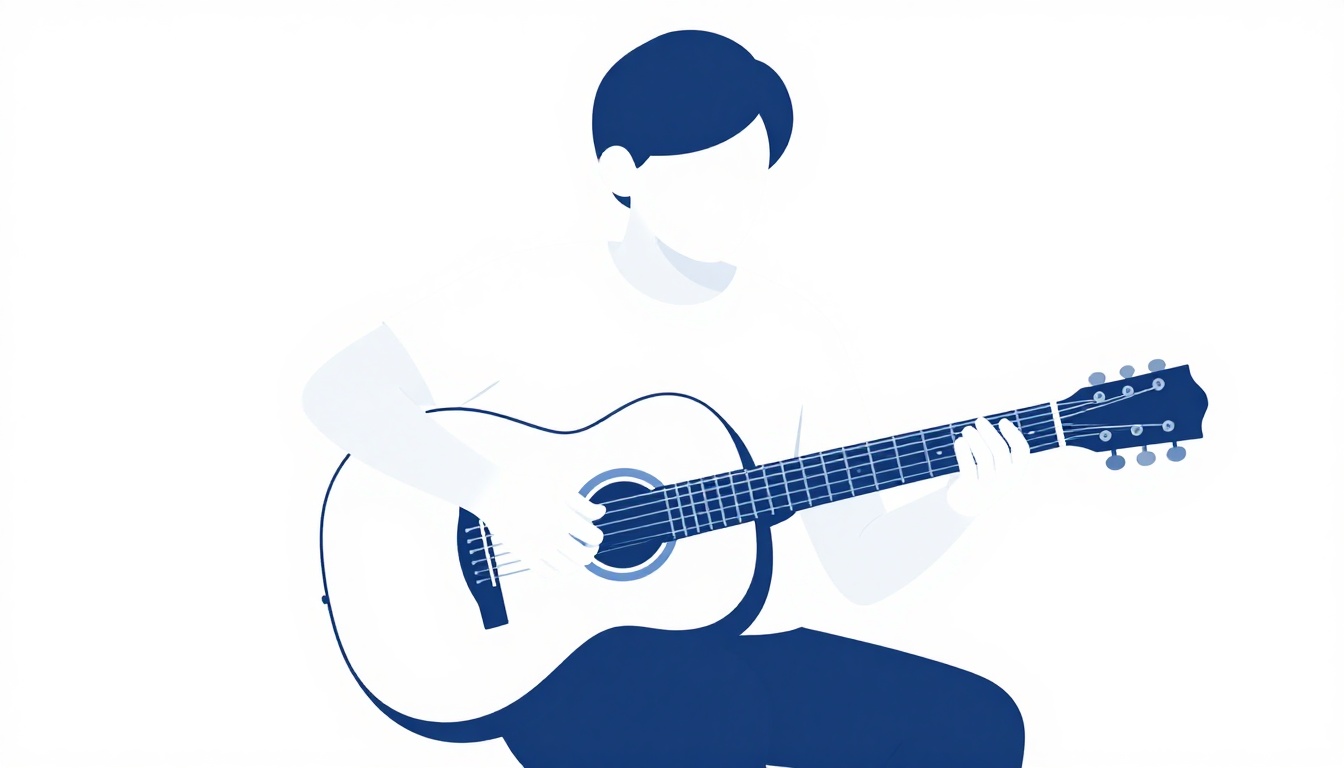
Spend the first few minutes on the barre alone, no other fingers, picking through all six strings one at a time at the 11th fret until each rings cleanly, adjusting your index finger's angle and your thumb position as you go. Then add the ring and pinky fingers and repeat the same string-by-string check.
Next, fret the full chord and strum it slowly four times, resting your hand completely between each strum. This teaches your hand to form the shape from scratch repeatedly, rather than holding it continuously, which better matches how the chord actually gets used in a song.
Then pick one transition, D#m to F# is a good first choice since the shape barely changes, and practice moving between the two chords slowly, at a tempo slow enough that every note rings cleanly on both sides of the change. Speed comes later, accuracy first.
Finally, if the full barre is still not cooperating, spend the last few minutes on the capo trick or the three-string mini version instead, so the session ends with a version of the chord that actually sounds right. Ending on something that works, rather than something that still buzzes, matters more for staying motivated than it might seem.
Ten to fifteen minutes of this, most days, moves faster than longer, less frequent sessions, mostly because your hand needs repeated short exposure to build the specific strength a barre chord asks for, not one long grinding session.
Frequently asked questions
Is D#m the same as Ebm?
Yes. D# and Eb are two names for the same pitch, and the full chord, D#m and Ebm, uses the identical three notes and the identical shapes on the guitar. Which name shows up in a chord chart depends on the key of the song, not on anything different about how you play it.
Can you play D#m without a barre chord?
Yes, using a capo. Clip a capo on the 1st fret and play an open Dm chord shape behind it, and it sounds as D#m. There is also a three-string mini version, using only the top three strings at frets 6, 7, and 8, that avoids barring entirely, though it produces a thinner sound than the full barre shapes.
What is the easiest D#m shape for a beginner?
For most beginners, the capo trick (capo on the 1st fret, open Dm shape) is the easiest starting point, since it uses only three fingers and no barre at all. Once you are comfortable with barre chords generally, the root 5 shape at the 6th fret is often slightly easier to hold than the root 6 shape at the 11th fret, since the frets are a bit wider apart in that position.
Why does D#m sound sad or unsettled compared to D# major?
The difference comes down to a single note, the third. D#m uses a minor third (F#) above the root, while D# major would use a major third instead. That one interval is largely responsible for the emotional character listeners associate with minor versus major chords generally.
What is D#m7, and is it different from D#m?
D#m7 adds a fourth note, a minor seventh (C#), on top of the D#m triad. It is a related but distinct chord, generally used for a smoother, jazzier sound rather than the plainer D#m triad. If a chord chart specifically says D#m7, playing plain D#m instead will sound close but not identical, since you are missing that fourth note.
Why do some chord charts show D#m at a completely different fret than others?
Because D#m is a movable barre shape, it can technically be played using either the root 6 pattern (rooted at fret 11) or the root 5 pattern (rooted at fret 6), and both produce the correct chord. Different charts and different apps sometimes default to different shapes, neither is more "correct" than the other.
Do I need a capo to play D#m properly?
No, a capo is a shortcut, not a requirement. The full barre shapes work on any guitar with no capo at all. The capo trick exists specifically to make the chord accessible before your hand has built barre chord strength, or as a genuinely faster option mid-song if you already have a capo on for another reason.
Is D#m a common chord in songs?
It shows up less often than chords like Em, Am, or G, mostly because fewer songs are written in keys that call for it. But it is a completely standard, regularly used chord, particularly in songs written in F# major, C# major, or B major, or in D# minor itself.
If a full barre chord still feels out of reach while you work on D#m, it is worth building general chord-shape confidence on easier ground first. The open C chord uses no barre at all and is a good place to build the finger independence that makes barre chords like this one click faster once you come back to them.
GuitarLowKey
Ready for fifteen focused minutes?
Open the web app and train the change that is blocking your song.