
The E Major Scale on Guitar: Open Position, Fret by Fret
The E major scale in open position with exact frets and fingers, why it is one of the easiest keys on guitar, and how to move it up the neck.

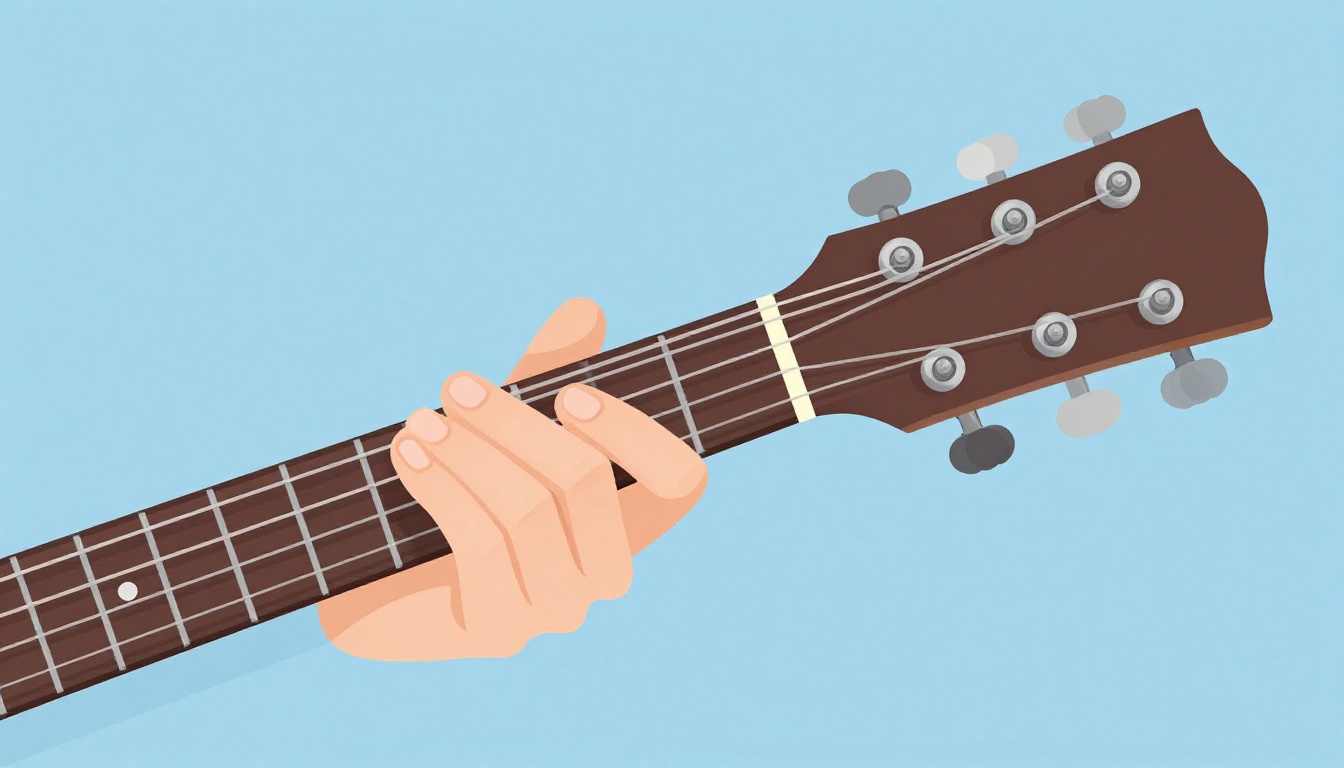
The E major scale is E, F#, G#, A, B, C#, and D#, and on guitar it is one of the few major scales you can play a full two octaves without ever leaving open position, because both outer strings are already tuned to the root note. The pattern below uses your index finger on the 1st fret, middle finger on the 2nd fret, and pinky on the 4th fret, with no notes falling on the 3rd fret anywhere in the shape.
Standard Tuning and Why This Scale Fits It So Well
Everything in this post assumes standard tuning, low string to high string:
| String | 6 | 5 | 4 | 3 | 2 | 1 |
|---|---|---|---|---|---|---|
| Note | E | A | D | G | B | E |
Notice that the 6th, 5th, and 1st strings are already tuned to E, A, and E, three of the seven notes in the E major scale, and the 2nd string is a B, a fourth. That is not a coincidence you need to work around, it is the reason the open-position shape earlier in this post needs so little fretting: the guitar's own tuning already hands you several of the scale's notes for free. Compare that to a scale built on, say, F, where none of the open strings match a note in the key, and the same shape would need to be built entirely from fretted notes with no open strings to lean on.
Warming Up Before You Play This Scale
A cold hand will fumble a shape it can play perfectly once warm, so spend a minute or two before scale practice on simple movement rather than jumping straight into the pattern:
- Finger taps, no strings: rest all four fingers of your fretting hand lightly on the neck, one per fret across four consecutive frets, and lift and tap each one individually, index through pinky, without pressing hard enough to sound a note.
- Chromatic crawl: on any single string, play frets 1, 2, 3, and 4 in order with index, middle, ring, and pinky, then shift up a string and repeat. This is not part of the E major scale itself, it is pure finger independence work that makes the scale's pinky-heavy 4th-fret notes easier once you get to them.
- Wrist and finger stretches: a few seconds of gently extending your fingers backward and rotating your wrist, away from the guitar, reduces the stiffness that makes a stretch like the 1st-to-4th-fret span in this scale feel tighter than it needs to.
None of this needs more than two or three minutes, and it pays for itself the moment the scale's own stretch stops feeling like the first stretch of the session. If you are still building basic fretting-hand comfort, it is worth spending time on that first, since a scale is far easier to learn once your hand is no longer fighting the guitar itself; our full guide to getting started covers that groundwork.
What the E Major Scale Is Made Of
Every major scale is built from the same recipe of whole steps and half steps: whole, whole, half, whole, whole, whole, half. Starting on E and following that pattern gives you:
| Degree | 1 | 2 | 3 | 4 | 5 | 6 | 7 | 8 (octave) |
|---|---|---|---|---|---|---|---|---|
| Note | E | F# | G# | A | B | C# | D# | E |
| Step to next | Whole | Whole | Half | Whole | Whole | Whole | Half | - |
Four of those seven notes carry sharps: F#, G#, C#, and D#. That is what people mean when they say E major "has four sharps", and it is the key signature you would see if this scale were written on a staff. None of that changes how the scale feels under your fingers, but it explains why chord charts and other lessons for songs in E major keep naming sharped notes instead of their flat equivalents (Gb instead of F#, for example) even though a Gb and an F# sit on the exact same fret.
The half steps land between the 3rd and 4th degrees (G# to A) and between the 7th and 8th degrees (D# to E). Those two spots are where your fretting hand moves only one fret instead of two, and they are worth noticing early because they are what makes a scale sound like a scale rather than a run of evenly spaced notes.
The E Major Scale in Open Position
This is the version to learn first, because it uses the open strings as anchor points and needs no stretch beyond four frets.
| String | Open | 1st fret | 2nd fret | 3rd fret | 4th fret |
|---|---|---|---|---|---|
| 6 (low E) | E (root) | - | F# | - | G# |
| 5 (A) | A | - | B | - | C# |
| 4 (D) | - | D# | E | - | F# |
| 3 (G) | - | G# | A | - | B |
| 2 (B) | - | - | C# | - | D# |
| 1 (high E) | E (octave) | - | - | - | - |
Read left to right, string by string, and you get every note of the scale twice over, low E to high E, with the octave landing back on the open 1st string.
Playing It in Order, One String at a Time
Ascending, the fingering runs like this:
- 6th string (low E), open: E
- 6th string, 2nd fret: F# (middle finger)
- 6th string, 4th fret: G# (pinky)
- 5th string (A), open: A
- 5th string, 2nd fret: B (middle finger)
- 5th string, 4th fret: C# (pinky)
- 4th string (D), 1st fret: D# (index finger)
- 4th string, 2nd fret: E (middle finger)
- 4th string, 4th fret: F# (pinky)
- 3rd string (G), 1st fret: G# (index finger)
- 3rd string, 2nd fret: A (middle finger)
- 3rd string, 4th fret: B (pinky)
- 2nd string (B), 2nd fret: C# (middle finger)
- 2nd string, 4th fret: D# (pinky)
- 1st string (high E), open: E
That is fifteen notes, two full octaves plus the starting root, played entirely in the first four frets. Coming back down, play the same fifteen notes in reverse, 1st string open E down to 6th string open E.
Reading This Scale From Tab
If you come across this scale written out as tab rather than as the table above, the format is the same information laid out differently. Tab uses six horizontal lines, one per string, read bottom to top as low E to high E, with a number on a line telling you which fret to press on that string. A "0" means play the string open. Reading left to right through a line of tab for this scale would show you the same sequence as the fifteen steps above: a 0 on the bottom line, then a 2, then a 4, moving up to the next line for a 0, and so on. There is no separate skill to learn here beyond matching the number to the fret and the line to the string; if you already have the shape from the table above, a tab version of the same scale should look immediately familiar rather than like new material.
Finding the Root Note Anywhere on the Neck
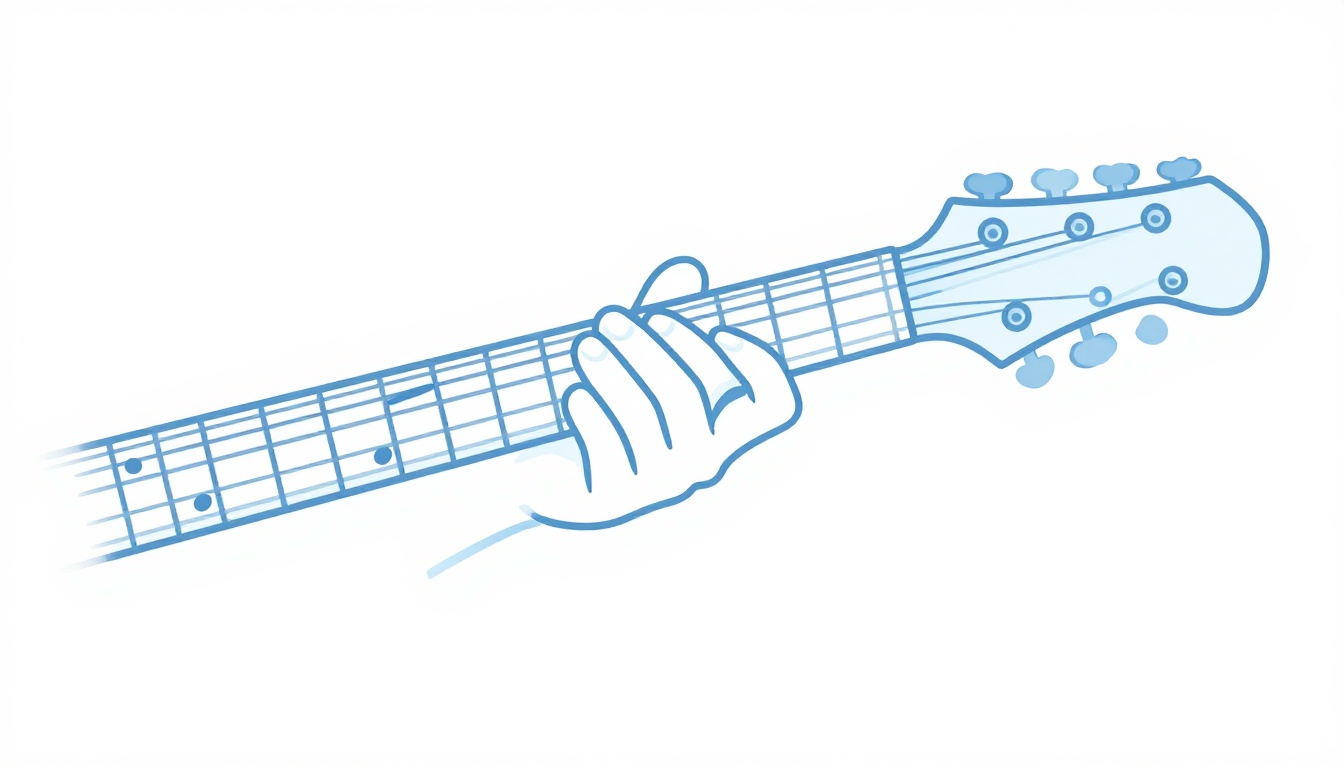
The dot markers inlaid into most guitar necks, usually at the 3rd, 5th, 7th, 9th, and 12th frets, are a shortcut for locating E on the two low strings without counting frets from the nut every time:
| Fret | 6th string (low E) | 5th string (A) |
|---|---|---|
| 3 | G | C |
| 5 | A | D |
| 7 | B | E |
| 9 | C# | F# |
| 12 | E (octave) | A (octave) |
Two of those are worth memorizing on sight: the 7th fret of the 5th string is E, and the 12th fret of either low string is the same note as its open string, one octave higher. Once you can find E instantly at the open 6th string, the 7th fret of the 5th string, and the 12th fret of both, you have three separate starting points for building the scale shape elsewhere on the neck, not just the one in open position.
Why the 3rd Fret Sits Empty
If you look at the table again, no string uses the 3rd fret. That is not a simplification for beginners, it is just where the notes land. On the 6th string, the 3rd fret is G natural, which is not in E major (the scale needs G#, one fret higher). The same thing happens on the 5th string (3rd fret is C natural, the scale needs C#) and the 4th string (3rd fret is F natural, the scale needs F#). Every open-string major scale skips whichever fret would give it the "wrong" natural note instead of the sharp the key actually calls for, and in E major that consistently happens to be the 3rd fret. It is a useful pattern to notice once, because once you see why the gap is there, the shape stops looking random.
Fingering the Open Position Shape
The finger assignment for this scale is unusually clean: index finger (1) on every 1st-fret note, middle finger (2) on every 2nd-fret note, pinky (4) on every 4th-fret note. The ring finger (3) never gets used, because nothing in the shape falls on the 3rd fret.
That is good news and a small trap at the same time. It is good news because it removes a decision, you always know which finger a note needs just from its fret number. It is a small trap because new players sometimes reach for the ring finger out of habit on the 4th-fret notes, since the ring finger is what most other shapes ask for at that distance. Train the pinky here on purpose. It is the finger that benefits most from scale practice, since it gets the least use elsewhere, and skipping it in favor of a stretched-out ring finger will cost you later on shapes that genuinely need all four fingers independent.
Keep your thumb roughly behind the 2nd fret on the back of the neck, not hooked over the top, and keep your fingers curled so each one comes down on its fingertip, close to (but just behind) the fret wire rather than on top of it. That is what lets a 4th-fret note played by a stretched-out pinky ring as cleanly as a 1st-fret note played by the index finger.
Moving the Same Shape Up to the 12th Fret
Because a standard guitar neck repeats itself every twelve frets, the exact shape you just learned reappears, unchanged, starting twelve frets higher. Add twelve to every fret number in the open-position table and you get the same scale, one octave up, with no open strings involved:
| String | 12th fret | 13th fret | 14th fret | 16th fret |
|---|---|---|---|---|
| 6 (low E) | E (root) | - | F# | G# |
| 5 (A) | A | - | B | C# |
| 4 (D) | - | D# | E | F# |
| 3 (G) | - | G# | A | B |
| 2 (B) | - | - | C# | D# |
| 1 (high E) | E (octave) | - | - | - |
The finger logic shifts by the same twelve frets: what was the index finger's job at fret 1 is now the index finger's job at fret 13, and so on. This is the fastest way to get a second, higher-register version of the scale under your fingers without learning a new pattern from scratch, and it is a useful demonstration of the bigger idea behind movable shapes: learn the relationships between the notes once, and the same relationships work anywhere on the neck. The same principle is what makes movable scale shapes on bass guitar work too, since the underlying logic of shifting a pattern by a fixed number of frets does not change from one stringed instrument to another.
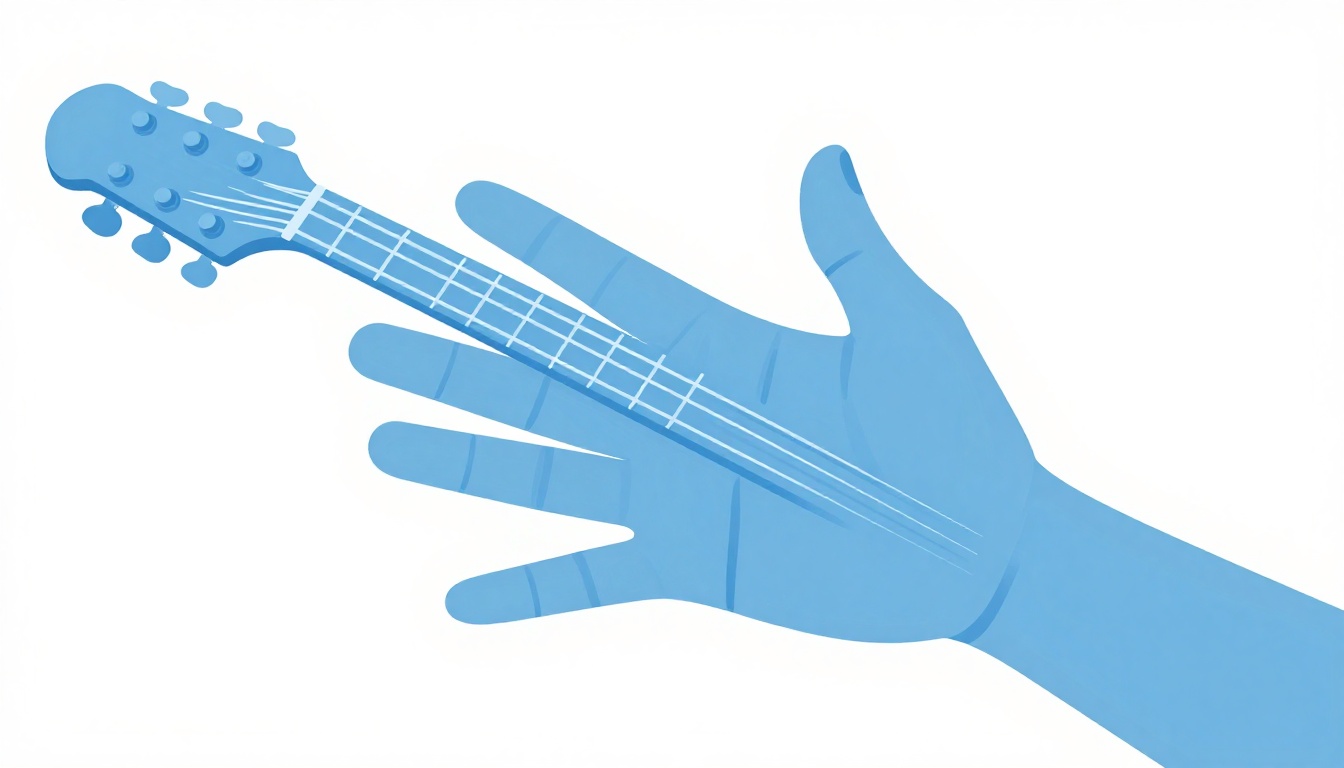
Most players will not need to go looking for this shape until well after the open position feels automatic, but it is worth knowing it exists, if only so a 12th-fret scale run in a video or a tab does not look like unfamiliar territory the first time you see it.
Why E Major Is One of the Easiest Keys on Guitar
E major lines up with the guitar in a way most keys do not, because four of its seven notes, E, A, B, and E again, sit on open strings. That is the 6th string, the 5th string, and the 2nd string, plus the 1st string repeating the root an octave up. No other common major key gets that many open strings for free; G major and D major each get three, and keys further from E on the circle of fifths get fewer still.
That is also why so many rock, blues, and folk songs default to E: barre chords are easier to grip in this key because at least part of the chord is often already open, full-sounding open chords are available for the I, IV, and V (E, A, and B, discussed below), and scale runs like the one above stay in reach without much of a stretch. If you have noticed that E-based songs tend to feel more forgiving under your fingers than songs in, say, F or B, this is why.
The Chords Built From the E Major Scale
Stack every other note of the scale in thirds, starting from each degree in turn, and you get a chord for every note in the key. These are the seven diatonic chords of E major:
| Degree | I | ii | iii | IV | V | vi | vii° |
|---|---|---|---|---|---|---|---|
| Chord | E | F#m | G#m | A | B | C#m | D#dim |
| Built on | E | F# | G# | A | B | C# | D# |
Three of those are major (E, A, B), three are minor (F#m, G#m, C#m), and one, built on the 7th degree, is diminished (D#dim). This pattern of major-minor-minor-major-major-minor-diminished is the same in every major key; only the letter names change. If a song is in the key of E major, these seven chords are the ones most likely to show up in it, and any chord outside this list is a deliberate borrowed or passing chord rather than a mistake in your ear.
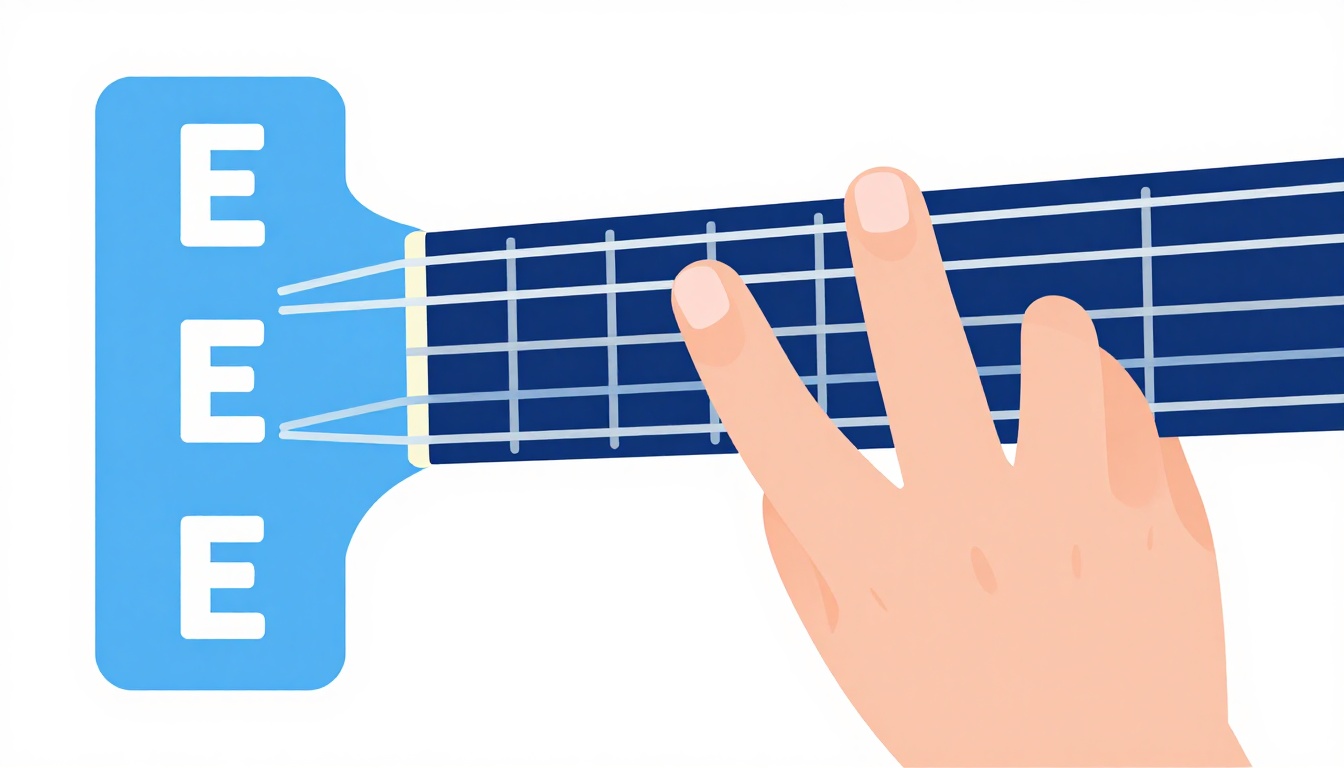
The open E major chord itself uses three fretted notes: index finger on the 1st fret of the 3rd string (G string), middle finger on the 2nd fret of the 5th string (A string), and ring finger on the 2nd fret of the 4th string (D string), with all six strings strummed. Every note in that chord, E, G#, and B, comes directly from the scale you just learned; the chord is simply the scale's 1st, 3rd, and 5th degrees played together instead of one after another.
Chord Progressions Built in E Major
Knowing the seven diatonic chords lets you predict which progressions will sound "at home" in this key before you even try them:
- I-IV-V (E-A-B): the backbone of a huge share of blues, rock, and folk songs. All three chords are open shapes in this key, which is part of why it turns up so often.
- vi-IV-I-V (C#m-A-E-B): a common pop progression, starting on the relative minor before resolving back to the major tonic.
- ii-V-I (F#m-B-E): shorter and more common in jazz and R&B, moving from the minor chord built on the 2nd degree through the dominant to home.
- I-vi-IV-V (E-C#m-A-B): the classic doo-wop progression, cycling through the tonic, its relative minor, and back through IV and V before repeating.
None of these are the only options, but they are the progressions most likely to already sound familiar the first time you play them in this key, because your ear has almost certainly heard all three shapes before, just not necessarily labeled by their scale degrees.
E Major Scale vs. E Major Pentatonic
The E major pentatonic scale is a five-note subset of the full scale: E, F#, G#, B, and C#. It keeps the 1st, 2nd, 3rd, 5th, and 6th degrees and drops the 4th (A) and the 7th (D#).
| Scale | Notes | Note count |
|---|---|---|
| E major (full) | E, F#, G#, A, B, C#, D# | 7 |
| E major pentatonic | E, F#, G#, B, C# | 5 |
Those two missing notes, the 4th and the 7th, are the ones most likely to sound momentarily unresolved if you land on them and stop, so removing them gives you a scale where almost any note you land on sounds settled. That makes the major pentatonic version easier to improvise with early on, since there is no "wrong" note to accidentally emphasize, at the cost of the tension the two missing notes would otherwise add. A common approach is to learn the pentatonic version first for soloing, then bring in the 4th and 7th once you have a feel for where the pentatonic notes sit, which turns the five-note scale back into the full seven-note one you already know from open position.
E Major and Its Relative Minor, C# Minor
Every major scale has a relative minor built on its 6th degree, using the exact same seven notes but treating a different one as home. For E major, that is C# minor: C#, D#, E, F#, G#, A, B. Play those seven notes and you are playing the identical set of pitches as the E major scale, just starting and resolving on C# instead of E.
This matters in practice because a song that sounds sad or unresolved rather than bright and settled may still be built from the same scale shape you already learned, just centered on a different note. If you already know the open-position E major shape above, you already know the C# minor scale too, in the same fret positions, you just need to train your ear to hear C# as the "home" note instead of E.
E Major vs. E Minor (Same Root, Different Scale)
Do not confuse the relative minor above with E minor itself. E minor shares E major's root, but it is a different scale, not the same notes recentered. Line them up and only three notes change:
| Degree | 1 | 2 | 3 | 4 | 5 | 6 | 7 |
|---|---|---|---|---|---|---|---|
| E major | E | F# | G# | A | B | C# | D# |
| E minor (natural) | E | F# | G | A | B | C | D |
The 3rd, 6th, and 7th degrees each drop by one fret: G# becomes G, C# becomes C, D# becomes D. Everything else, the root, 2nd, 4th, and 5th, stays exactly the same fret. That single-fret shift on three notes is also the entire difference in sound between a major and a minor key sharing the same root, the major 3rd (G#) is what makes E major sound bright, and lowering it to a minor 3rd (G) is most of what makes E minor sound darker. If you already have the open-position E major shape from earlier in this post under your fingers, you can hear this difference directly: play the shape as written, then lower every G#, C#, and D# by one fret, and compare the two runs back to back.
Playing the Scale in Melodic Patterns
Running straight up and down the scale is the right place to start, but it is not how the scale usually shows up in actual solos or melodies. A common next step is playing the scale in groups of two or three notes instead of one long run, which breaks the straight line into something more musical:
- Thirds: instead of playing note 1, then note 2, then note 3 in order, skip every other note: 1st and 3rd together in sequence, then 2nd and 4th, then 3rd and 5th, and so on up the scale. This is one of the most common ways guitarists turn a scale into a melodic line rather than a warm-up exercise.
- Groups of three, then repeat from the second note: play the first three notes of the scale, then start the same three-note pattern again from the second note, then again from the third, climbing the scale in overlapping fragments rather than one continuous line.
- Skipping a string: rather than moving strictly string by string, deliberately skip from the 6th string to the 4th, or the 5th to the 3rd, using only the notes that are already part of the shape you know. This is harder for the picking hand and worth leaving until the plain ascending and descending version feels automatic.
None of these patterns require new notes, they are the same fifteen notes from the open-position shape, reordered. That is a useful thing to know before you go looking for separate "advanced" scale material: a large amount of what makes a scale sound musical rather than mechanical is the order you play its notes in, not additional notes you have not learned yet.
Adjusting the Shape for Smaller Hands or a Left-Handed Setup
The open-position shape asks for a maximum stretch of three frets, index on the 1st fret to pinky on the 4th, which is manageable for most hands but can feel tight for players with a smaller hand span or less finger independence so far. If the stretch feels strained, there is no rule against sliding your index finger back so it sits just behind the 1st fret rather than pressing right against the fret wire; the smaller the gap between where your finger lands and the fret itself, the less total stretch the rest of your hand needs to cover the same four frets. It is also fine to take the two-octave version in two separate passes rather than one continuous reach, resetting your hand position between the lower octave (6th, 5th, and 4th strings) and the upper one (3rd, 2nd, and 1st strings), until the full stretch becomes comfortable on its own.
For a left-handed guitar strung and played as a mirror image of a standard right-handed instrument, every fret number, string number, and finger assignment in this post applies exactly as written, since "string 6" and "string 1" refer to pitch (low E and high E), not to which side of the neck they sit on. Nothing about the shape itself changes; only its physical orientation relative to your body does.
Common Mistakes When Learning This Scale
Most of the issues that show up while learning this particular shape trace back to one of a handful of habits, each easy to fix once you know to look for it.
Reaching With the Ring Finger Instead of the Pinky
Covered above, but worth repeating because it is the single most common habit to correct: every 4th-fret note in the open-position shape belongs to the pinky, not the ring finger, even though the ring finger can physically reach it.
Rushing Past the Half Steps
The two half-step moves, G# to A and D# to E, are only one fret apart, and it is easy to blur through them at speed before the shape is solid. Slow down specifically at those two spots until your fretting hand registers them as a shorter move than the whole-step jumps around them.
Confusing Sharps for a Different, Harder Scale
Seeing four sharps in the key signature sometimes makes players assume E major must be a "harder" or more advanced key than something like C major, which has none. On guitar, the opposite is closer to true, since the open strings do most of the work for you. The sharps affect how the scale is named and written, not how difficult it is to physically play.
Starting Every Practice Rep From the 6th String
It is tempting to always begin on the low E string and never practice starting mid-scale. In real playing, and especially in soloing, you will often enter and exit the scale from the middle of a phrase, not from the root. Practice starting on B, on G#, or on any other scale tone, not only on E, so your hand and ear both know the shape from more than one entry point.
Treating the 12th-fret Shape as a Separate Scale to Memorize
New players sometimes learn the open-position shape, then later learn the 12th-fret version as if it were unrelated content. It is the same shape, moved twelve frets to the right. Recognizing that connection saves real memorization time.
Muting Adjacent Strings Inconsistently
Because this shape mixes open strings with fretted notes on neighboring strings, it is easy to let a string ring on that should not be sounding yet, especially the open 2nd or 3rd string catching under a finger reaching for the string next to it. Rest the side of your fretting finger lightly against the string immediately below the one you are actually playing, the same light-touch muting habit that keeps open chords clean, and check occasionally by playing the scale slowly while watching for any note that rings longer than you intended.
Practicing Only Ascending, Never Descending First
It is common to nail the scale going up long before it feels equally solid coming back down, since most practice naturally starts at the root and climbs. Descending uses the same notes but asks your fingers to release and land in the reverse order, which is a genuinely different coordination task, not just the ascending version played backward from memory. Give the descending direction its own dedicated repetitions rather than treating it as an afterthought tacked onto the top of an ascending run.
How This Scale Connects to the Open E Chord
The open E major chord and the E major scale are not two separate pieces of information, they are the same set of notes used two different ways. The chord takes the 1st, 3rd, and 5th notes of the scale, E, G#, and B, and sounds them together. The scale takes all seven notes and sounds them one after another. That is why a scale run built from this shape will always sound "at home" resolving onto the open E chord: the ear already expects E, G#, and B to belong together, because it just heard them in sequence a moment before.
This is also the practical reason to learn scales alongside chords rather than treating them as unrelated skills. A player who knows the E major scale can look at an unfamiliar chord in the key, say F#m, and immediately place it as built from the scale's 2nd, 4th, and 6th degrees, which speeds up learning every new chord that shows up in a song written in this key.
The same logic extends past a plain triad. A four-note chord like Emaj7 adds the scale's 7th degree, D#, on top of the E, G#, and B already in the open E chord, which is why the two chords sound closely related rather than like two unconnected shapes that happen to share a letter name. Recognizing that an extended chord is usually just the triad plus one more scale degree makes new chord shapes far less intimidating the first time you meet them in a chart.
A Practice Routine for the E Major Scale
Fifteen minutes is enough if it is focused:
- Two minutes, no metronome. Play the open-position scale ascending and descending, slowly, watching your fretting hand. The goal here is accuracy, not speed, index on every 1st fret, middle on every 2nd fret, pinky on every 4th fret.
- Five minutes with a metronome, slow. Set a comfortable tempo, around 60-70 beats per minute, one note per click. Play the full fifteen-note ascending and descending run several times without stopping, even if you have to slow the tempo further to keep it clean.
- Three minutes on the half steps. Isolate G#-to-A on the 3rd string and D#-to-E on the 4th string, back and forth, until the shorter distance feels physically different from a whole step under your finger.
- Three minutes starting from a different note each time. Start the scale on B, then on C#, then on F#, ascending a few notes and back. This builds the entry-and-exit flexibility that pure root-to-root repetition does not.
- Two minutes on the open E chord. Strum it a few times and notice how it relates to the scale you just played, the 1st, 3rd, and 5th notes ringing together.
Repeat that sequence daily rather than doing one long session once a week. A shape like this one becomes automatic through short, consistent repetition, not through occasional long practice blocks.
How the Routine Should Change Over Two Weeks
The five steps above work as written from day one, but what you should expect from each of them shifts as the shape settles in:
- Days 1-4: expect hesitation, especially around the pinky-on-4th-fret notes and the two half steps. Keep the metronome slow, even slower than 60 beats per minute if needed, and prioritize hitting the correct fret and finger over playing in time.
- Days 5-9: the shape should start to feel like one continuous motion rather than fifteen separate decisions. This is the point to nudge the metronome up in small steps, five beats per minute at a time, only once the previous tempo feels genuinely relaxed rather than merely achievable.
- Days 10-14: the ascending and descending run should need little conscious thought, which frees up attention for the parts that build on it, starting from different notes, the melodic patterns above, and soloing over the I-IV-V progression.
If you are still hesitating heavily on day nine or ten, that is a sign to hold the tempo where it is rather than push forward, not a sign anything is wrong. The two-week frame is a rough expectation, not a deadline.
Using the Scale to Start Soloing in E Major
If a song is in E major, or built from the I-IV-V progression above (E-A-B), the open-position scale you learned is already a usable soloing tool, not just an exercise. A simple starting approach: play short phrases of three to five notes drawn from the scale, always ending back on E, G#, or B (the notes of the E major chord itself), since those are the notes that will sound resolved against the underlying chords. Avoid ending a phrase on D# or A, the 7th and 4th degrees, until your ear is comfortable with how they sound, for the same reason they were left out of the pentatonic version above.
Once phrases ending on chord tones feel natural, start experimenting with the two half steps as places to add tension right before resolving, since G# sliding into A, or D# sliding into E, are both classic small moves that guitarists lean on across genres.
Targeting the Right Notes Over Each Chord
The I-IV-V progression (E-A-B) covered earlier gives you three different chords to solo over, and each one has its own triad drawn from the scale:
| Chord | Triad (1-3-5) |
|---|---|
| E | E, G#, B |
| A | A, C#, E |
| B | B, D#, F# |
While the underlying scale does not change between these three chords, since all three chords come from the same E major scale, which notes sound most "at rest" does shift with the chord playing underneath. A phrase that resolves onto G# will sound settled over an E chord but slightly more active over an A or B chord, where G# is not one of the three core tones. A simple exercise: play the same short phrase from the scale three times in a row, once over each chord of the progression, and listen for how the same notes take on a different weight depending on what is ringing underneath them.
Training Your Ear Alongside Your Hand
Playing a scale accurately and hearing it are two separate skills that develop at different speeds, and it is easy to end up able to do the first without much of the second. A direct way to close that gap: sing or hum the note name as you play each one of the fifteen notes in the open-position shape, out loud, even quietly. It will feel awkward at first, and your pitch does not need to be perfect, the goal is connecting what your hand is doing to what your ear is hearing rather than letting the two run on separate tracks. Once that feels natural, try the reverse: sing the scale first, note by note, then check yourself against the guitar to see how close you got before you fretted a single note. This is slower than pure repetition-based practice, but it is what eventually lets you hear a G# and know where it sits on the neck without hunting for it.
How E Major Compares to Other Open-Position Keys
E major is guitar-friendly, but it is not alone. A major and G major both benefit from open strings as well, just fewer of them:
| Key | Open strings available in the scale | Open-position stretch |
|---|---|---|
| E major | 6th, 5th, 2nd, 1st (E, A, B, E) | Frets 0-4, no 3rd fret |
| A major | 5th, 1st (A, E, used as the 3rd) | Frets 0-4, similar layout |
| G major | 6th, 3rd, 1st (G, G, E as the 6th) | Frets 0-3, tighter shape |
The pattern is the same across all of them: open strings that happen to already be scale tones reduce how much fretting-hand work the scale needs, which is why beginner method books tend to introduce G, A, D, and E major scales before keys like B or F#, where almost nothing lines up with an open string. D major sits in between, with two open strings (D and the open high E acting as its 6th degree) giving it a similarly gentle open-position layout without matching E major's four.
None of this makes E major objectively "better" than the others, since every key eventually gets used somewhere in real music and a full player ends up comfortable in all of them. It does explain why E, A, D, and G tend to be the first four major scales most beginner method books teach, in roughly that order of how many open strings each one gets to borrow.
Beyond Open Position: Why Other Shapes Exist
The open-position shape in this post is not the only place to play E major on the neck, and once you start looking at scale charts online you will likely run into references to five different movable positions, often tied to the CAGED system, each covering a different stretch of frets with two or three root notes apiece. The idea behind having five is coverage: between them, they let you play the E major scale starting from almost anywhere on the fretboard, not only from the open strings, which matters once you are soloing over a chord shape that is already sitting up around the 7th or 9th fret and do not want to jump back down to fret 1 to find the scale.
You do not need all five to start playing real music in this key. The open-position shape and its twelve-frets-higher repeat, both covered earlier in this post, already give you two full octaves in two different registers, along with the landmark E notes at the 7th fret of the 5th string and the 12th fret of both low strings. That is enough to solo over an E major song for a long time before the gap between those two shapes becomes a real limitation worth filling with a third.
Checking That You Are Actually Playing E Major
A quick way to sanity check the shape once you have it down: play the scale slowly and stop deliberately on the 3rd note, G#, then strum the open E major chord as a comparison. G# is the note that separates E major from E minor, discussed earlier, so if that note sounds like it clashes against the chord rather than sitting inside it, something in the shape has drifted, most often a G natural creeping in at the wrong fret instead of the G# the scale actually calls for. The same check works using the open E chord as a drone: let it ring, then play through the scale over it one note at a time, and every note should sound like it belongs, since all seven are diatonic to the same key as the chord.
If a note does clash, work backward through the open-position table rather than guessing: find the fret in question, check it against the note the table says belongs there, and compare it to the fretboard note map from earlier in this post. Nine times out of ten the error is a single fret, either a ring finger substituted for a pinky at the 4th fret, or a note played a fret low because a finger landed on the natural instead of the sharp next to it.
Frequently Asked Questions
Is the E major scale hard to learn compared to other major scales?
No, it is one of the easier ones specifically because of how many open strings line up with its notes. The four sharps in its key signature describe how the scale is written and named, not how physically demanding it is to play.
Do I need to know the E major scale to play songs in E?
Not strictly, plenty of guitarists play entire songs from chord shapes alone without naming a single scale degree. But knowing the scale makes it much faster to understand why a given chord belongs in the song, to improvise a fill between chord changes, and to transpose what you are playing into a different key later.
What is the difference between the E major scale and the E major chord?
The chord is three notes from the scale, the 1st, 3rd, and 5th degrees (E, G#, and B), played at the same time. The scale is all seven notes played one after another. They share the same underlying material.
Why does this scale use sharps instead of flats?
By convention, a major scale is spelled so each letter name from A to G appears exactly once, without skipping a letter or using it twice. Starting on E and following that rule naturally produces F#, G#, C#, and D# rather than their flat equivalents, even though, say, G# and Ab sit on the same fret.
Can I play the E major scale using a pick, fingers, or both?
Either works. A pick tends to make even, driving eighth-note runs easier to keep consistent at speed, while fingerpicking gives you more control over dynamics between notes. Practice the shape with whichever technique you actually use in your playing, since the fretting-hand pattern does not change either way.
How long will it take before this scale feels automatic?
There is no fixed timeline, but most players stop having to consciously think about finger assignment within a few weeks of short daily practice, faster than that if you are already comfortable with another open-position scale like G or D major. Consistency matters more than session length.
Is the E major scale the same as the E blues scale or E minor pentatonic?
No, those are built from E minor, not E major, and share only some notes with it. E major, E major pentatonic, and E minor pentatonic are three related but distinct scales that happen to share a root letter; do not assume a shape learned for one transfers directly to another without checking the actual notes.
What songs use the E major scale or the key of E major?
Because E is one of the most guitar-friendly keys, a large number of rock, blues, and folk songs are written in it or use the I-IV-V (E-A-B) progression drawn from it. Rather than naming specific recordings, the more useful habit is to listen for songs that lean heavily on open E, A, and B chords, since those are strong evidence the song sits in this key.
GuitarLowKey
Ready for fifteen focused minutes?
Open the web app and train the change that is blocking your song.