
How to Play the Em7 Guitar Chord, Step by Step
The one-finger way to play the Em7 guitar chord, five voicings up the neck, and exactly what changes when you add the seventh to Em.

To play the Em7 chord on guitar, leave your low E, D, G, B and high E strings open, press your middle finger on the 2nd fret of the A string (5th string), and strum all six strings. That single finger is the whole shape. Everything below covers the fuller voicings your hand will want once it can do more, exactly what changes when you add the seventh to a plain Em, and how to move in and out of the chord without stalling the song around it.
String names, numbers, and standard tuning
Before the shape itself, it helps to have the six strings straight, since every fret number and finger placement in this post refers to them by both name and number.
| String number | Name | Standard tuning |
|---|---|---|
| 6 | Low E | E |
| 5 | A | A |
| 4 | D | D |
| 3 | G | G |
| 2 | B | B |
| 1 | High E | E |
Guitar strings are numbered thinnest to thickest, so the 1st string is the thinnest string, the high E, and the 6th string is the thickest, the low E. This can feel backwards at first, since your fretting hand usually meets the low E string first when you look down at the neck, but the numbering follows pitch, not the order your eye reaches them.
Standard tuning, low to high, is E-A-D-G-B-E. Every fret and finger position in this post assumes your guitar is in standard tuning. If your open strings are not producing those exact notes, none of the fret numbers below will land on the notes described here, so it is worth checking your tuning with a tuner before troubleshooting a chord that will not ring clean.
The open Em7 chord, string by string
Here is the full shape as a table. "Finger" uses standard numbering: 1 is your index finger, 2 is your middle finger, 3 is your ring finger, 4 is your pinky.
| String | Fret | Finger |
|---|---|---|
| 6 (low E) | Open | - |
| 5 (A) | 2 | 2 (middle) |
| 4 (D) | Open | - |
| 3 (G) | Open | - |
| 2 (B) | Open | - |
| 1 (high E) | Open | - |
Em7 is built from four notes: E (the root), G (the minor third), B (the perfect fifth), and D (the minor seventh). Every open string in the shape above supplies one of them. The low E and high E strings both give you the root, the open A string's 2nd fret gives you the fifth (B), the open D string gives you the seventh (D), the open G string gives you the third, and the open B string doubles the fifth. Five of the six strings are doing nothing but ringing open, which is exactly why this is one of the easiest chords with a seventh in it that you will ever fret.
Some teachers show this with your index finger instead of your middle finger. Both work, and the note that comes out is identical either way. This post uses the middle finger because of what it sets up later: the standard open Em chord most players learn first frets that same A string note with the middle finger and adds a ring finger on the D string's 2nd fret. Learn Em7 with your middle finger from the start and the two chords become the same hand shape with one finger added or removed, not two shapes you have to memorize separately.
Which strings to strum
Strum all six strings, low E through high E. This is one of the rare open chords where nothing needs to be muted or skipped. Every string, fretted or open, belongs to the chord, so a full, careless strum across all six is not just acceptable here, it is the correct way to play it.
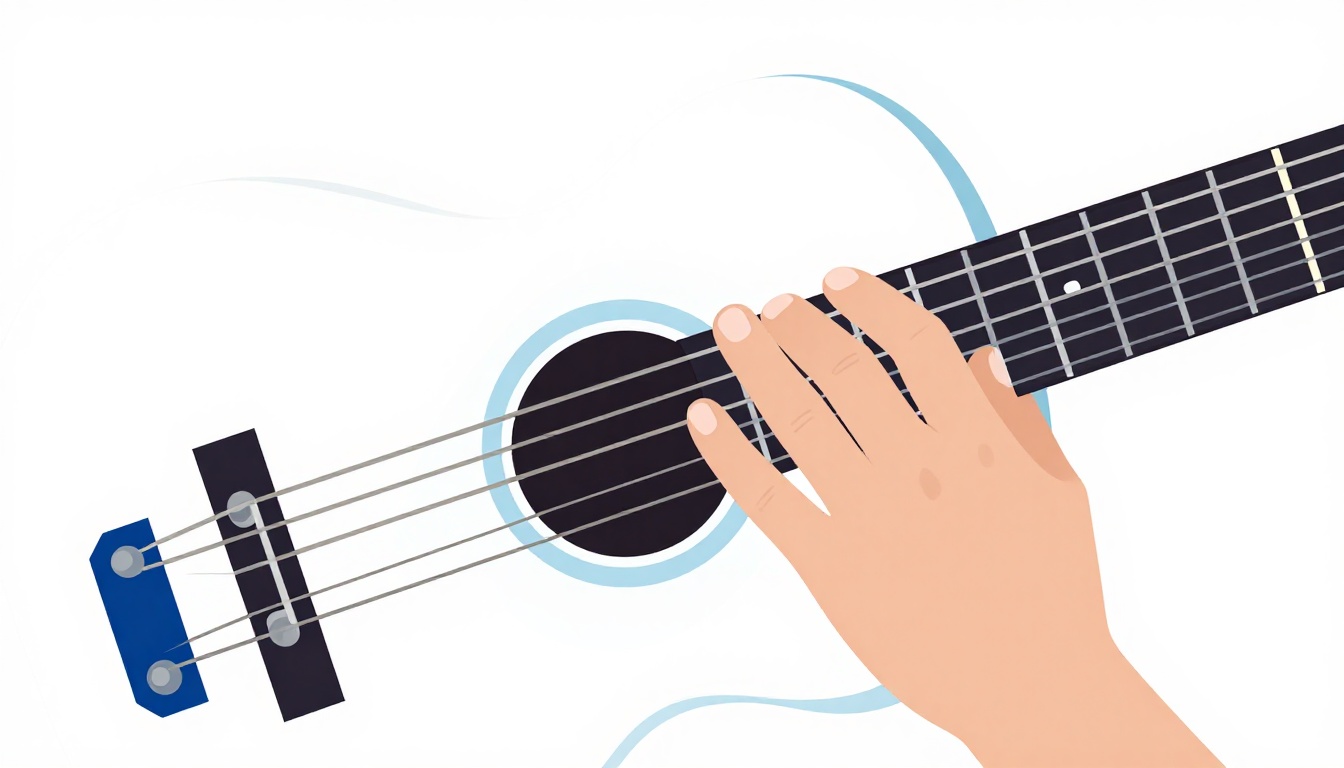
That makes Em7 a good chord to practice your strumming technique on while your fretting hand is still catching up elsewhere in a song. You can focus entirely on the rhythm of your strumming arm, without also having to aim your pick around a string you need to avoid, the way you do with chords like C or D that leave out the low E string.
Why your Em7 is buzzing or sounds dead
With only one string fretted, there is really only one string that can go wrong, but it goes wrong in the same handful of ways any fretted note does. Work through these one at a time rather than guessing.
Your finger is too flat
If your middle finger lies flat across the neck instead of coming down on its tip, the side of that finger can brush against the neighboring D string and choke it before it has a chance to ring. Since the open D string is the note that gives Em7 its seventh, a muted D string quietly turns your Em7 back into a plain Em without you noticing why.
Fix it by curling your middle finger so it comes down close to vertical, touching the A string only at the tip. Check your thumb too. A thumb that creeps up over the top of the neck pulls your fingers flatter to compensate, so keep it roughly behind your middle finger on the back of the neck instead.
You are too far from the fret
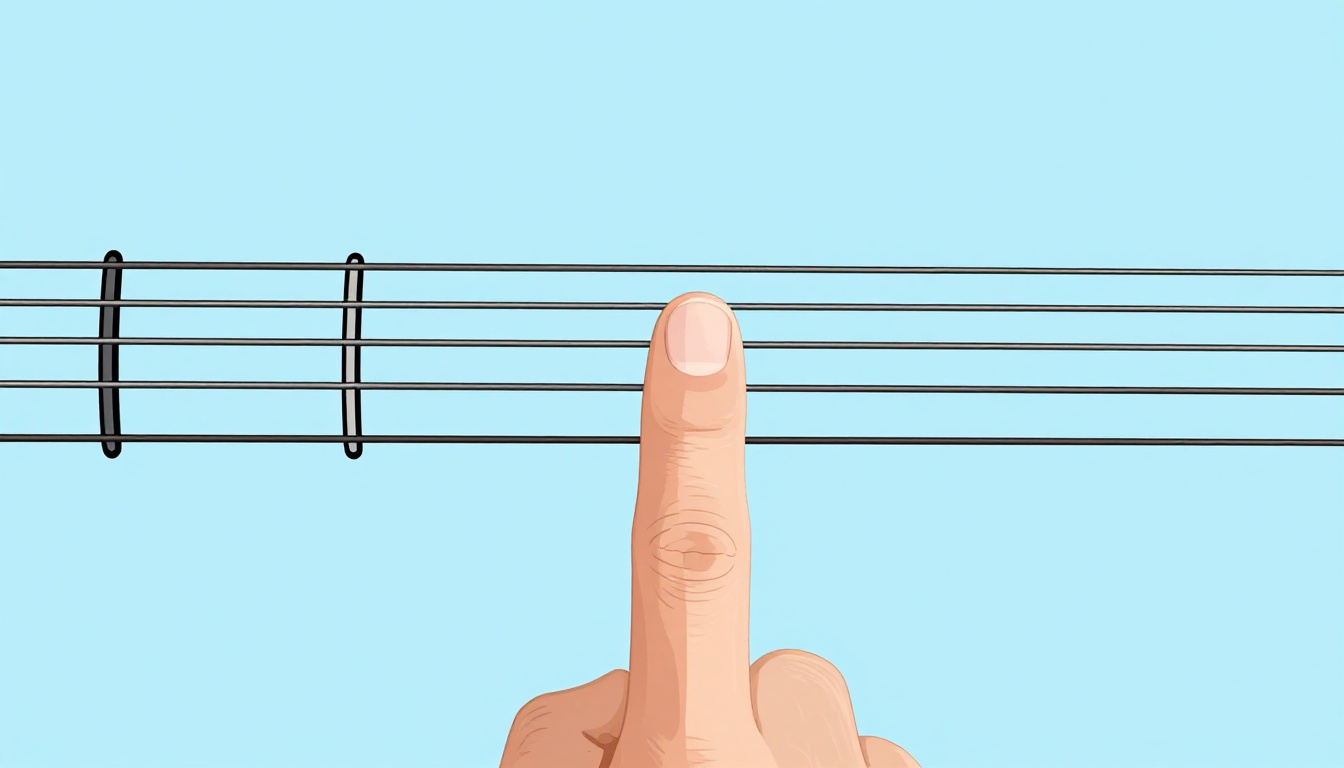
Fret numbers count the space between two metal fret wires, not the wire itself. Pressing right up against the fret wire, on the side closer to the guitar's body, takes far less force to get a clean note than pressing in the middle of that space or near the nut side of it. If your fingertip sits in the middle of the "2nd fret" space rather than hugging the fret wire itself, you will need noticeably more pressure to avoid a buzz, and your hand will tire faster for no reason.
Move your fingertip until it sits just behind the fret wire, then pick the A string on its own and listen. A cleanly placed finger next to the fret wire often rings out with barely any pressure at all.
Not enough downward pressure
Even with a good arch and good fret placement, a string needs a minimum amount of downward force before it stops buzzing against the fret in front of it. New players often under-press because the muscles involved have not built the specific strength yet, and the middle finger, while stronger than the ring finger or pinky for most people, still needs training the first few weeks.
There is no shortcut here except repetition. Fret the A string on its own, pick it, and listen. If it buzzes, add pressure gradually until it stops, then remember what that specific amount of force felt like. You are training a precise amount of pressure into muscle memory, not just holding a shape.
You are muting a string you should not touch
Because only one finger is doing the work, it is easy for that finger to lean back and rest against the open D string, or for the side of your hand to brush the open G or B string without you feeling it happen.
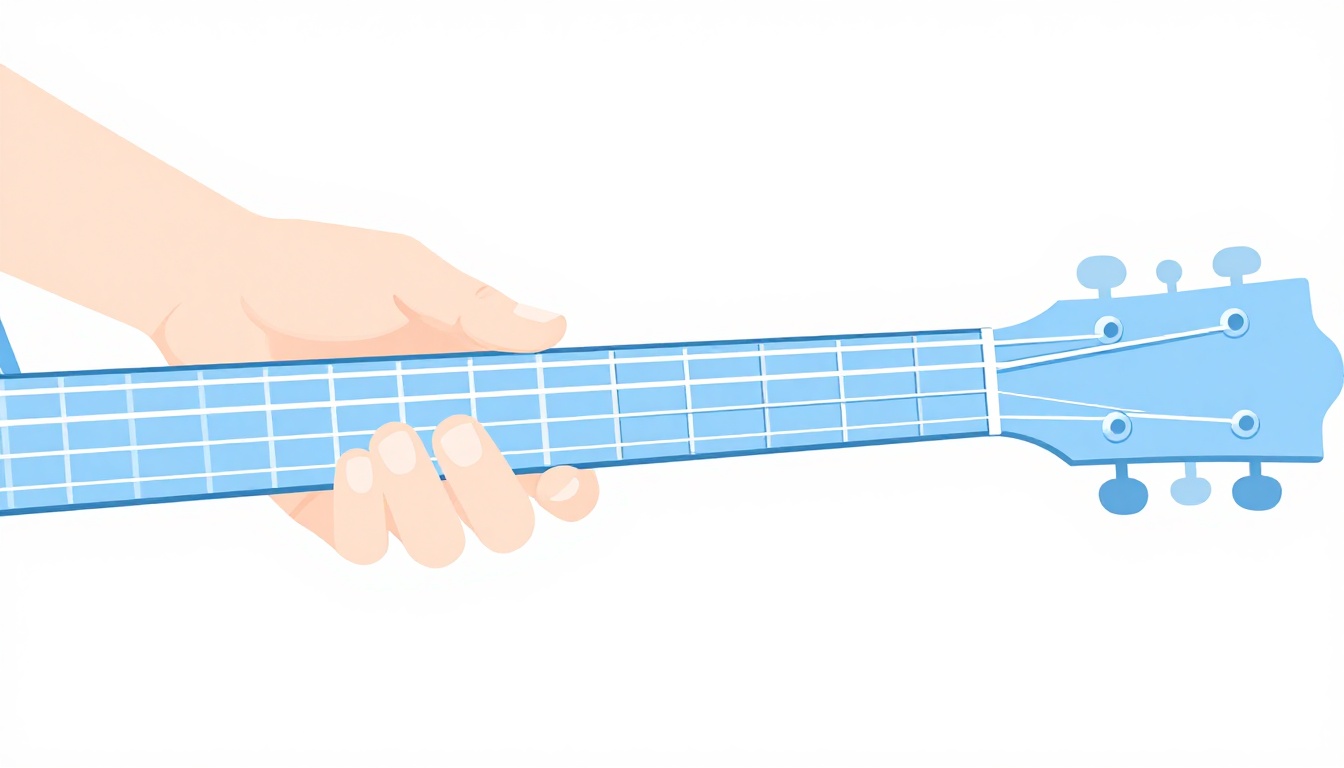
Pick each open string, the low E, D, G, B, and high E, one at a time while your middle finger holds its position on the A string. Every one of them should ring exactly as it does with your fretting hand off the guitar entirely. If any of them sounds shorter or duller than usual, adjust the angle of your middle finger, or the position of your palm, until every open string clears completely.
Your middle finger has not built independence yet
A guitar chord usually asks several fingers to hold their ground while the others move. Em7 flips that: it asks one finger to hold its ground while the rest of the hand does nothing at all, which sounds easy and mostly is, but some new players tense the fingers they are not using out of habit, curling them up or pressing them lightly into strings they should be leaving alone.
Practice relaxing your other three fingers while your middle finger holds the shape. Let them hover loosely near the neck rather than clenching into a fist. This matters more once you start adding the fuller Em7 voicings further down this post, where all four fingers are doing something and none of them can afford to tense up the other three.
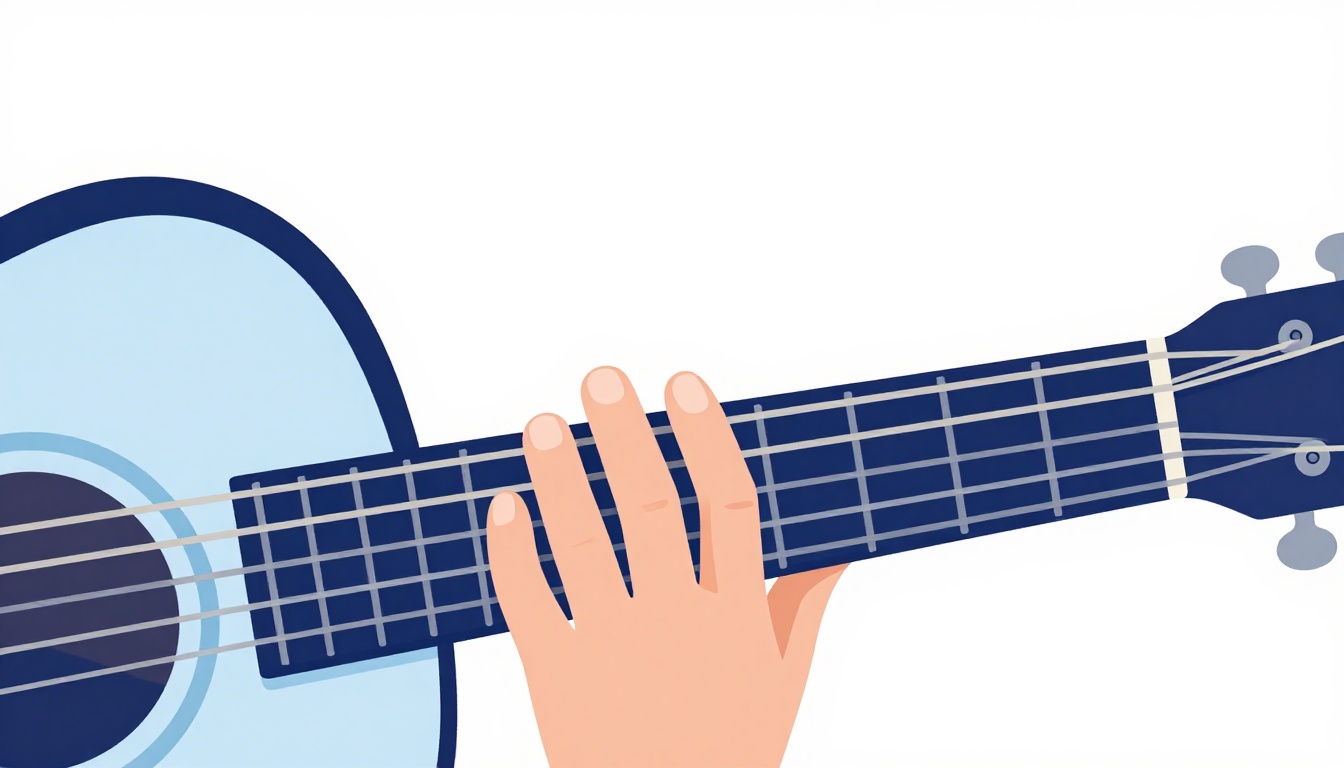
The one-finger version most beginners miss
Because the one-finger shape above (middle finger, A string, 2nd fret, everything else open) uses the same finger and fret as the first two notes of the standard open Em chord, it is worth stating plainly: this is not a simplified or "easy" version of Em7 that trades away some of the sound. It is a complete, correctly voiced Em7, containing all four notes of the chord (E, G, B, D), and it is the version most working guitarists reach for by default. You are not settling for less by playing it this way.
Some players use their index finger instead of the middle finger for this shape, especially if they are about to slide into a different chord that needs the middle finger free. Either finger produces an identical sound, so use whichever one sets up your next chord change more smoothly.
This is also a genuinely good chord for small hands or limited finger flexibility, since only one knuckle needs to bend and no stretch across frets is required at all. If a chord like C or F leaves your hand feeling physically taxed by the stretch, use Em7 as a rest position between practicing those bigger shapes, a chord you can hold comfortably while giving overworked tendons a break without stopping your practice session altogether.
The fuller four-finger Em7 voicing
Once the one-finger shape feels solid, this version fills out the same chord with all four fingers, giving it a denser, more defined sound that some players prefer for slower or more exposed passages, where a single open string can feel thin.
| String | Fret | Finger |
|---|---|---|
| 6 (low E) | Open | - |
| 5 (A) | 2 | 1 (index) |
| 4 (D) | 2 | 2 (middle) |
| 3 (G) | Open | - |
| 2 (B) | 3 | 3 (ring) |
| 1 (high E) | 3 | 4 (pinky) |
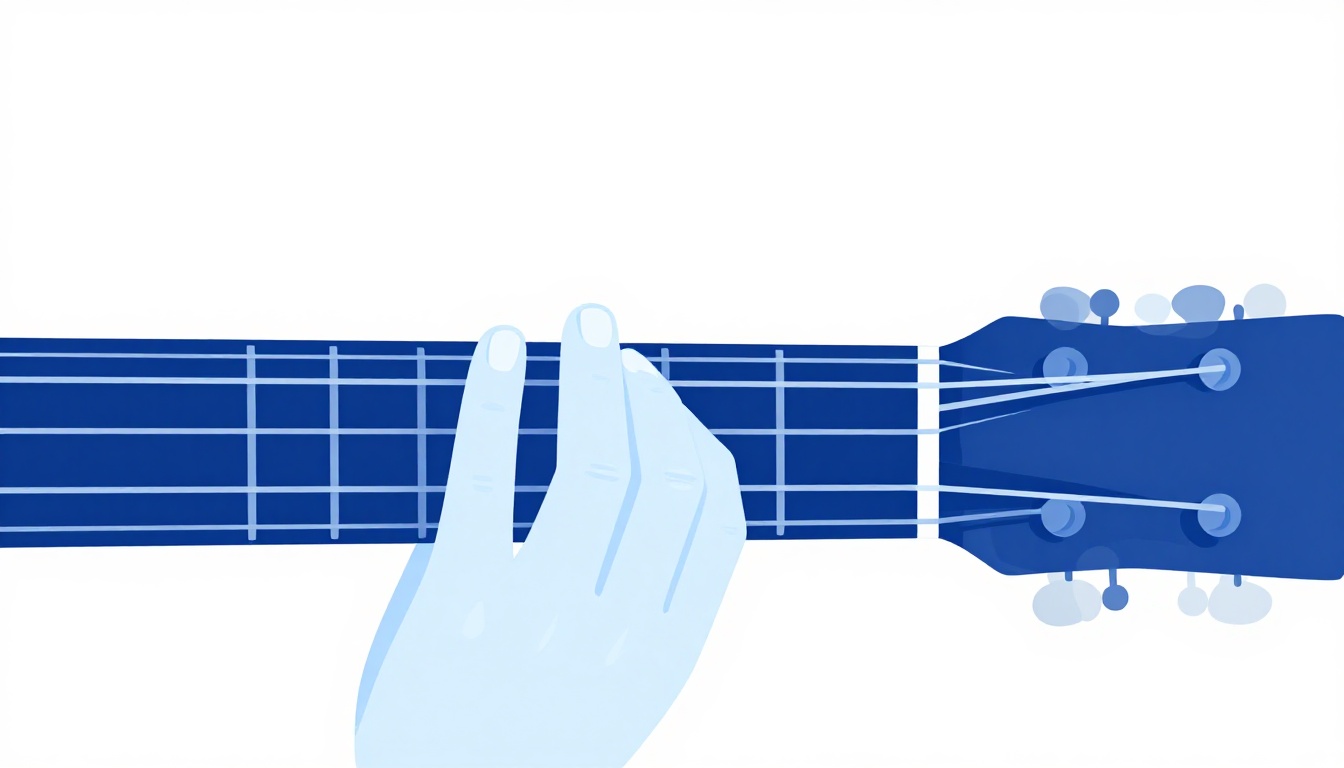
Build it from the bottom up. Index finger first, on the 2nd fret of the A string. Then middle finger, 2nd fret of the D string, right next to it. Then ring finger, 3rd fret of the B string, and pinky, 3rd fret of the high E string, moving together as a pair one fret further along. The G string stays open in the middle of the shape.
This voicing is harder to hold cleanly than the one-finger version, mostly because the ring finger and pinky have to arch over the open G string without touching it. If either of them presses down even lightly on the G string, you will mute a note that is doing real work in the chord. Practice the pinky and ring finger's placement on their own first, picking the B and high E strings without the index and middle fingers involved, before trying to hold all four fingers down together.
Em vs Em7: what actually changes
The standard open Em chord most players learn first uses the middle finger on the A string's 2nd fret and the ring finger on the D string's 2nd fret, with every other string left open. Compare that to the one-finger Em7 shape from earlier in this post, and the difference is exactly one finger: lift the ring finger off the D string, let it ring open instead, and Em becomes Em7.
Musically, that single open D string is the minor seventh, the note that softens Em's plain minor triad into something less resolved and more suspended-sounding. A minor triad like Em has a settled, finished quality. Add the minor seventh and the chord stops feeling finished, it feels like it is reaching toward whatever comes next, which is why Em7 shows up so often as a chord you pass through on the way somewhere else, rather than one you land on and stay.
Because the shapes are one finger apart, they are also a useful pair to alternate between mid-strum. Holding the one-finger Em7 shape and tapping your ring finger down onto the D string's 2nd fret and back off, in time, turns a static Em into a small, controlled bit of movement inside the chord, a common folk and pop guitar technique that costs you nothing extra to learn once both shapes are separately solid.
A fuller voicing without the low string
The two shapes above both use the open low E string, which gives the chord a big, resonant bottom end. Sometimes you do not want that, particularly if you are playing alongside a bass player who already has the low E covered, or you want the chord to sit higher and lighter in a mix. This voicing skips both the low E and A strings entirely.
| String | Fret | Finger |
|---|---|---|
| 6 (low E) | Not played | - |
| 5 (A) | Not played | - |
| 4 (D) | 2 | 1 (index) |
| 3 (G) | 4 | 3 (ring) |
| 2 (B) | 3 | 2 (middle) |
| 1 (high E) | 3 | 4 (pinky) |
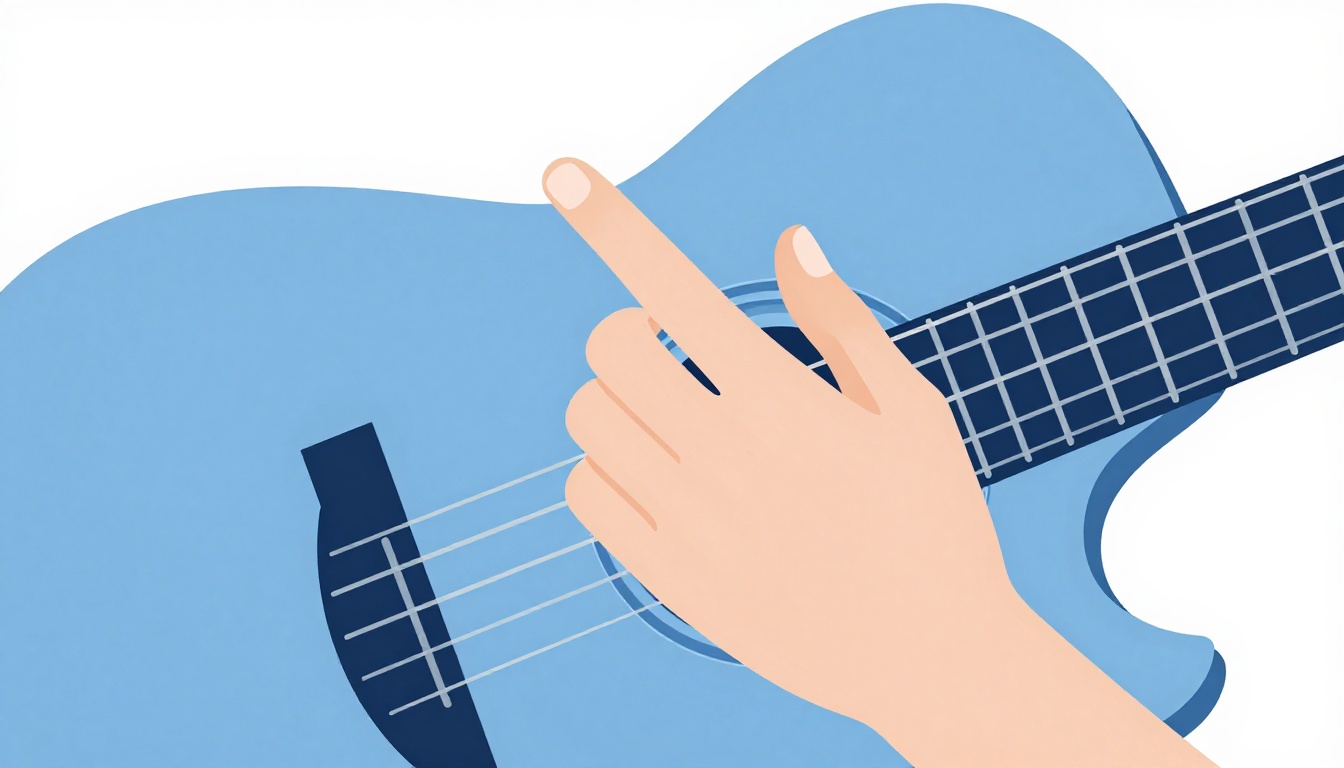
Anchor your index finger on the D string first, then build the middle, ring, and pinky fingers around it in a small cluster on the B, G, and high E strings. Strum from the D string up through the high E string only, keeping your strumming hand away from the low E and A strings entirely, or lightly resting a spare part of your fretting hand across them to mute them if your strumming gets loose.
This is a genuinely different color of the same chord, not a workaround. Because it leaves out the low, resonant open strings, it sounds tighter and more articulate, which suits fingerstyle picking patterns or any part of a song where you want Em7 to sit back rather than fill the whole low end.
Fingerpicking Em7
Because every note in the open Em7 shape belongs to the chord, it is also a good chord for practicing basic fingerpicking. There is no open string you need to avoid and no awkward fret you need to skip while your picking hand finds its pattern, unlike chords such as C or D that leave strings out.
A simple starting pattern uses your thumb (T) for the low E string and your index (I), middle (M), and ring (R) fingers for the D, G, and B strings, with your ring or index finger covering the high E string on the way back up.
| Beat | String | Picking finger |
|---|---|---|
| 1 | 6 (low E) | Thumb |
| 2 | 4 (D) | Index |
| 3 | 3 (G) | Middle |
| 4 | 2 (B) | Ring |
| & | 1 (high E) | Ring or index |
Play the low E string alone on the first beat, then roll up through the D, G, and B strings one at a time, landing on the high E string last. Keep your thumb anchored to the low E string only, and let your fingers handle everything above it. This separation, thumb low, fingers high, is the foundation most fingerpicking patterns are built on, and Em7's fully open, fully chord-tone shape makes it a forgiving place to build that habit for the first time.
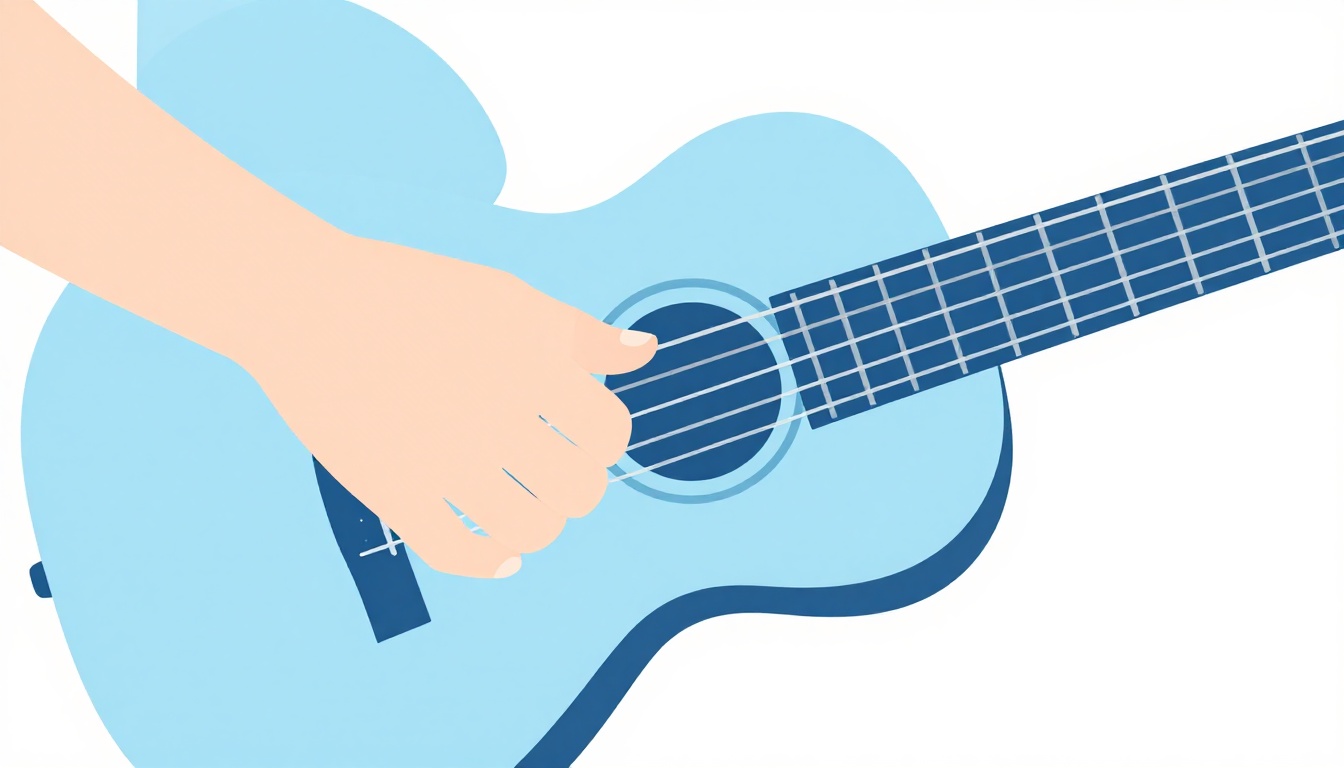
Once that basic roll feels steady, try breaking the pattern up: thumb on the low E, then straight to the high E and B strings before filling in the D and G strings on the way back down. Because there is no wrong note to land on inside this shape, every string is either a chord tone or an open string that belongs, it is a safe chord to experiment with different picking orders on before trying the same experiments on a chord with strings you actually need to avoid.
If you play with a pick rather than bare fingers, a slower rolling strum from the low E string up to the high E string, rather than a single fast downstroke across all six, gets you a similar effect without switching technique entirely. Angle the pick slightly and let it travel across the strings over roughly half a second instead of striking them all at once, and the chord opens up in a way a single hard strum never quite achieves.
The Em7 barre chord at the 7th fret
Every open-position Em7 voicing above depends on open strings, which means none of them can move up the neck to a different key. A barre chord fixes that by replacing the open strings with your index finger flattened across the neck, letting you carry the same shape anywhere on the fretboard. This version sits at the 7th fret.
| String | Fret | Finger |
|---|---|---|
| 6 (low E) | Not played | - |
| 5 (A) | 7 | 1 (index, barre) |
| 4 (D) | 9 | 3 (ring) |
| 3 (G) | 7 | 1 (index, barre) |
| 2 (B) | 8 | 2 (middle) |
| 1 (high E) | 7 | 1 (index, barre) |
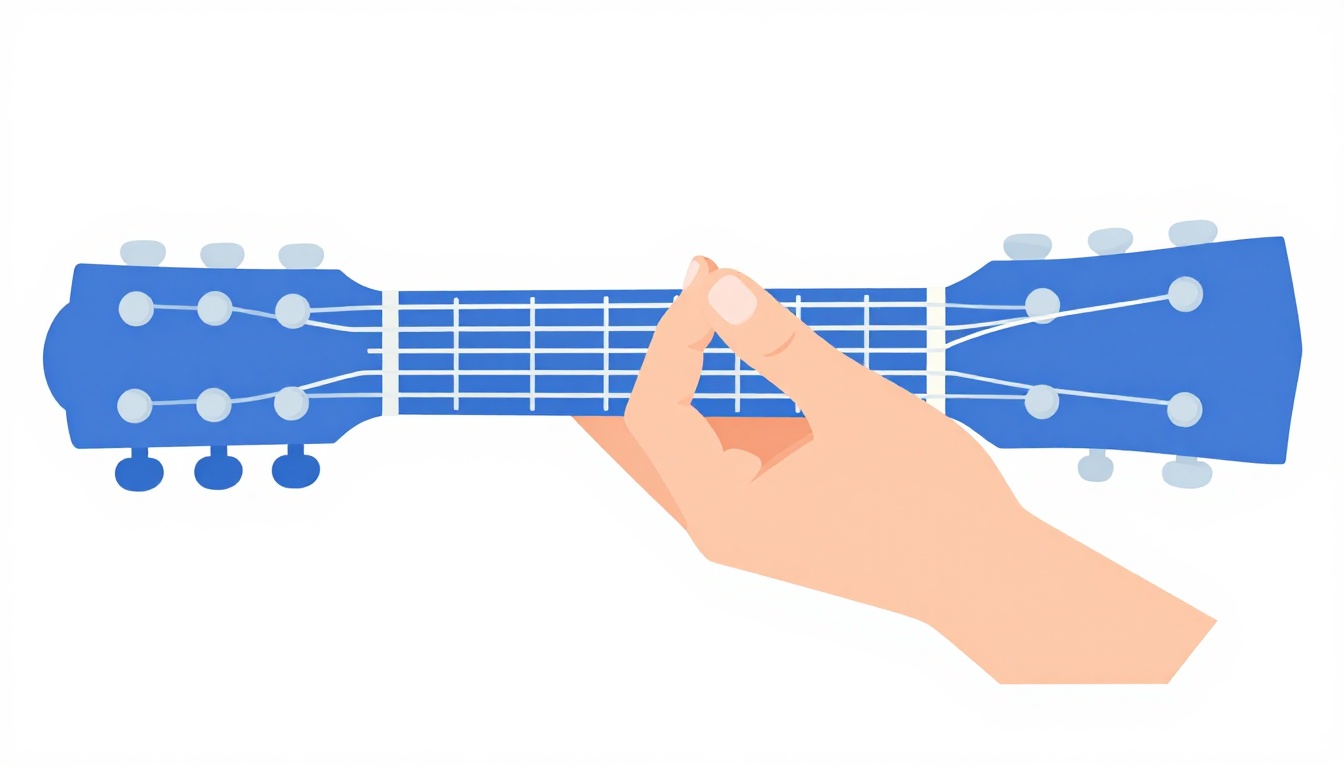
Lay your index finger flat across the A, G, B, and high E strings at the 7th fret, keeping the low E and D strings free for your other fingers. Then place your ring finger on the D string's 9th fret and your middle finger on the B string's 8th fret. Strum from the A string up through the high E string, leaving the low E string out entirely.
Barre chords are hard on new hands, and this one is not a gentle introduction to the technique. If your index finger cannot yet hold a clean barre across four strings, the mid-neck voicing in the previous section gives you a similar higher-up-the-neck sound with a much easier grip. Come back to this barre shape once basic barre chords elsewhere in your practice, like F or Bm, are already starting to ring cleanly.
Em7 further up the neck
Barre shapes are not the only way to move Em7 higher. These two voicings sit even further up the fretboard, in registers you will mostly reach for when a song's melody or another instrument is already occupying the lower strings.
The 9th fret area voicing
| String | Fret | Finger |
|---|---|---|
| 6 (low E) | Not played | - |
| 5 (A) | Not played | - |
| 4 (D) | 9 | 2 (middle) |
| 3 (G) | 9 | 3 (ring) |
| 2 (B) | 8 | 1 (index) |
| 1 (high E) | 10 | 4 (pinky) |
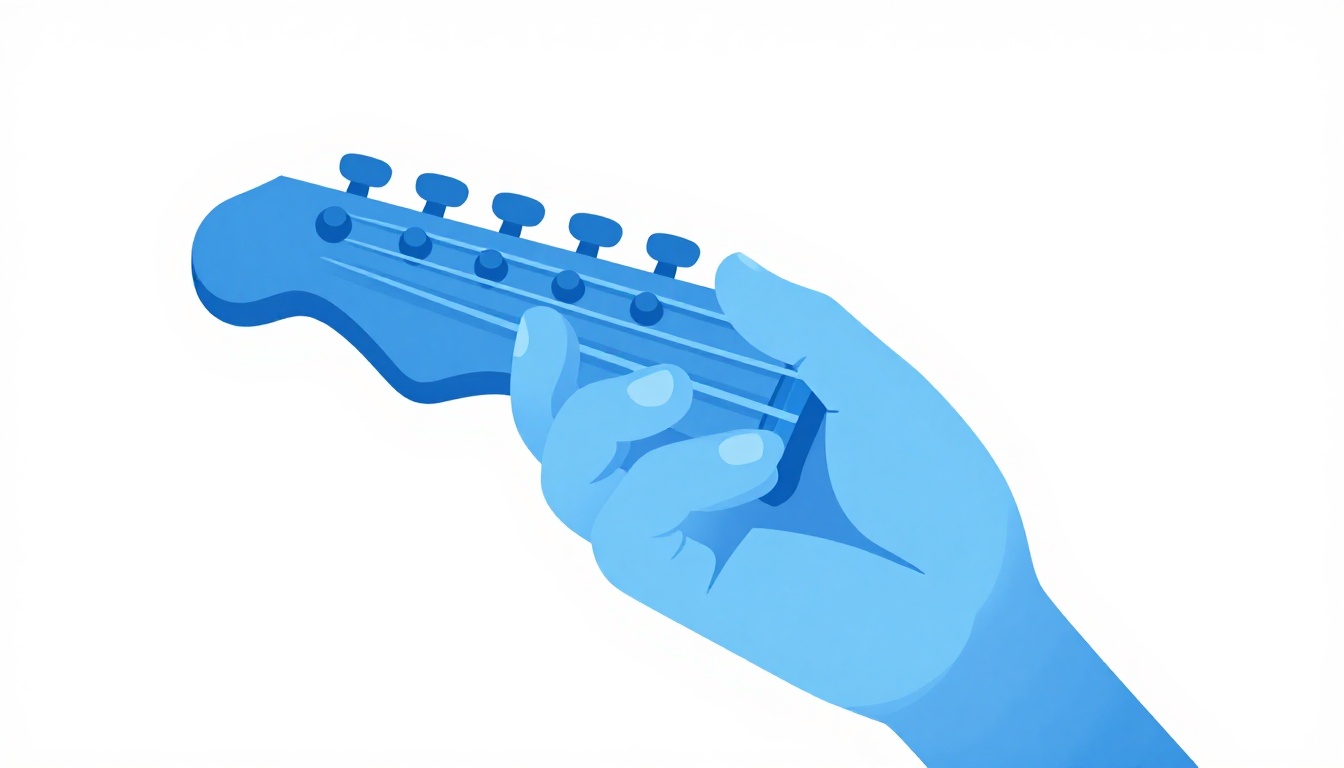
Set your index finger down first, on the B string's 8th fret, since it is the lowest fret in the shape and gives your other fingers a reference point. Middle and ring fingers land next to each other on the D and G strings at the 9th fret, and your pinky reaches to the high E string's 10th fret. Strum from the D string up through the high E string.
The 12th fret octave voicing
The 12th fret is the octave point on every string, meaning each open string's note repeats there exactly one octave higher. That makes this voicing easy to reason about: it is the same notes as an open Em7 chord, just shifted up twelve frets, with the A string left out because its open note (A) is not part of Em7 and would clash if it rang at the octave too.
| String | Fret | Finger |
|---|---|---|
| 6 (low E) | 12 | 1 (index) |
| 5 (A) | Not played | - |
| 4 (D) | 12 | 2 (middle) |
| 3 (G) | 12 | 3 (ring) |
| 2 (B) | 12 | 4 (pinky) |
| 1 (high E) | Not played | - |
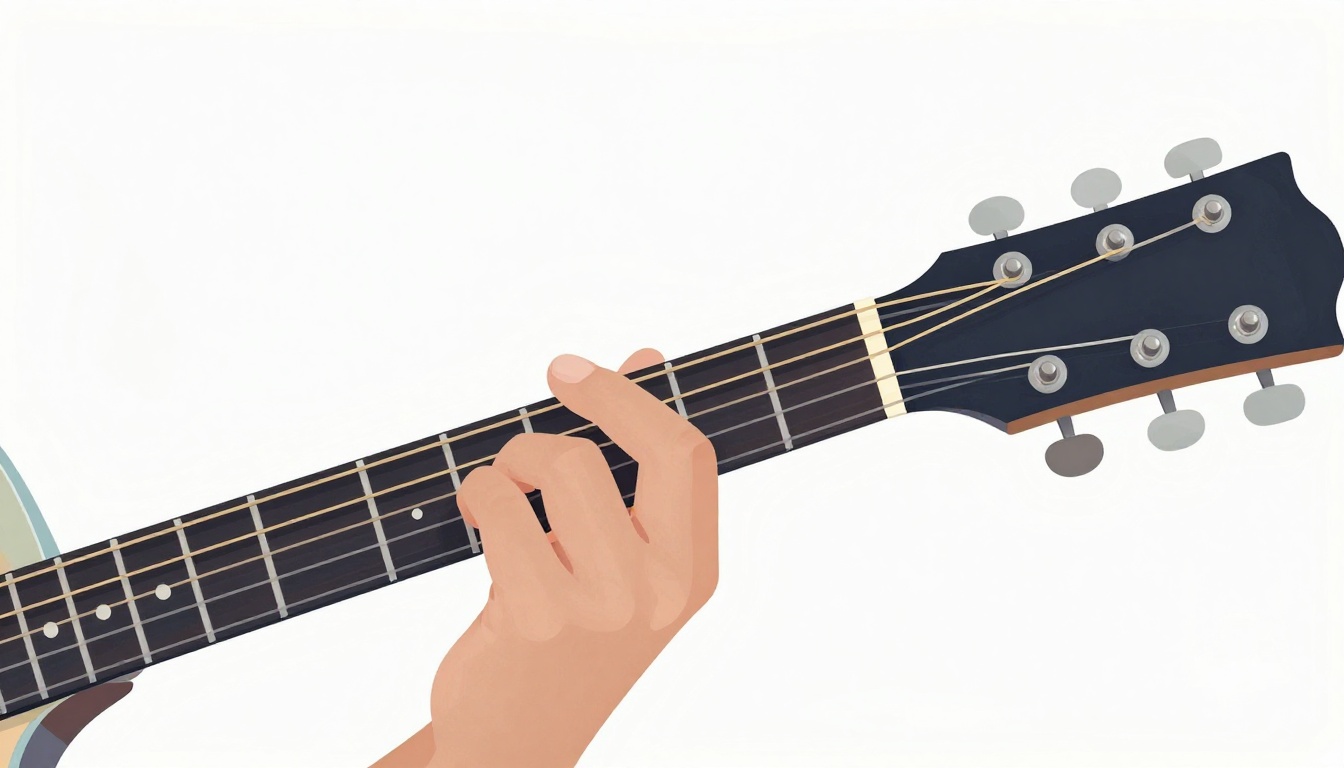
This one is a stretch to reach comfortably on an acoustic guitar, where the body gets in the way of your fretting hand at the 12th fret. It is more practical on an electric guitar with a cutaway, or as a chord you arpeggiate one note at a time rather than strum as a block.
Where Em7 fits in a key
Em7 is not just a standalone shape, it is a chord that shows up predictably inside several common keys, built naturally from the notes already in those keys' scales.
| Key | Em7's role | Why |
|---|---|---|
| G major | vi7 (the relative minor, with a seventh) | E is the 6th note of the G major scale, and G, B, D are all diatonic to it |
| C major | iii7 | E is the 3rd note of the C major scale |
| D major | ii7 | E is the 2nd note of the D major scale |
That last one is why Em7 shows up so often right before or after a D chord in folk and pop progressions written in the key of D or G. A ii7 chord has a natural pull toward the V chord that follows it (A, in the key of D), and songwriters lean on that pull constantly, even when they are not thinking about roman numerals at all, just following what sounds right by ear.
Knowing this does not change how you finger the chord, but it changes how you predict what is coming. If you see Em7 in a chord chart and the key signature suggests G or D major, there is a good chance a C, D, A, or G chord is nearby, and you can start anticipating the shift with your fretting hand a half second before the chart tells you to move.
Common chord progressions built around Em7
Knowing the shape is one thing. Recognizing it inside a real progression, and anticipating what chord is likely to come next, is what actually makes it useful once you are playing full songs rather than isolated chords.
| Progression | Chords in order | Where Em7 sits |
|---|---|---|
| I-V-vi7-IV in G major | G, D, Em7, C | The turn after the V chord, right before the progression drops back to the IV |
| vi7-IV-I-V in G major | Em7, C, G, D | The same four chords, starting from Em7, a common shape for a verse that leads into a brighter chorus |
| ii7-V-I in D major | Em7, A, D | A turnaround borrowed from jazz harmony, where Em7's natural pull toward the V chord (A) does most of the work |
The first two rows are the same four chords in a different order, and between them they cover a large share of pop, folk, and worship guitar parts written in the key of G. If you already know G, C, and D, learning Em7 alongside them effectively unlocks both of these progressions at once, since you are not learning a new chord in isolation, you are filling in the one piece missing from a shape you can already mostly play.
The third row works differently. A ii-to-V movement is one of the strongest, most commonly used chord motions in Western music, borrowed directly from jazz harmony, and guitarists lean on a simplified version of it constantly without necessarily knowing the theory term for it. Play Em7 followed by A, and your ear will want to hear D next almost automatically, because that pull is built into the notes themselves, not something a songwriter has to manufacture.
Try playing through all three rows slowly, one chord per bar, and listen for how differently Em7 behaves depending on what surrounds it. Following a D chord, it sounds like a soft landing. Leading into a C or an A, it sounds like a launchpad. Same shape, same four notes, a different job depending on where it sits.
Changing into and out of Em7
The shape is rarely the hard part. The hard part is getting into it and out of it without a gap in the sound, and Em7's shapes actually make several common transitions easier than they would be with a plain Em, because fewer fingers are doing the moving.
Em7 to G
Standard open G places your middle finger on the low E string's 3rd fret, your index finger on the A string's 2nd fret, and your ring finger on the high E string's 3rd fret, with the D, G, and B strings open. Coming from the one-finger Em7 shape, your middle finger has to travel from the A string's 2nd fret down to the low E string's 3rd fret, a short move to a neighboring string, while your index and ring fingers land fresh. Practice that single middle-finger jump on its own, back and forth, before adding the other two fingers.
Em7 to C
The standard open C chord uses your ring finger on the A string's 3rd fret, your middle finger on the D string's 2nd fret, and your index finger on the B string's 1st fret. None of these reuse Em7's middle finger position directly, which makes this one of the less forgiving changes: all three fingers are landing in new places at once. Slow the change down and place the ring finger first, since its stretch to the 3rd fret is the least forgiving part of the shape, exactly as it is when building C on its own. If you want the full breakdown of that shape, including why it buzzes and how to fix it, see how to play the C chord on guitar.
Em7 to D
Standard open D uses your index finger on the G string's 2nd fret, your middle finger on the high E string's 2nd fret, and your ring finger on the B string's 3rd fret. Coming from Em7's single middle finger on the A string, every finger is landing fresh again, but the good news is that D's three fingers cluster tightly together on adjacent strings near the same frets, so once your hand learns the D shape as a unit, the change becomes one hand movement rather than three separate finger placements.
Em7 to Am
Standard open Am uses your middle finger on the D string's 2nd fret, your ring finger on the G string's 2nd fret, and your index finger on the B string's 1st fret, with the low E string muted. This is a close cousin of the Em7 to C change in terms of difficulty, three fresh finger placements, but the muted low E string is worth calling out separately: unlike Em7, which wants every string ringing, Am needs that low E string kept quiet, so build the habit of lightly resting your thumb over the top edge of the neck to mute it as your hand arrives in the Am shape.
Em7 to A
Standard open A places your index, middle, and ring fingers all on the 2nd fret, across the D, G, and B strings respectively, with the low E muted, the A string open, and the high E string open. Because all three fingers land on the same fret, this change rewards moving your whole hand as one block rather than placing fingers one at a time, once you already know the A shape well enough to think of it as a single unit instead of three individual notes.
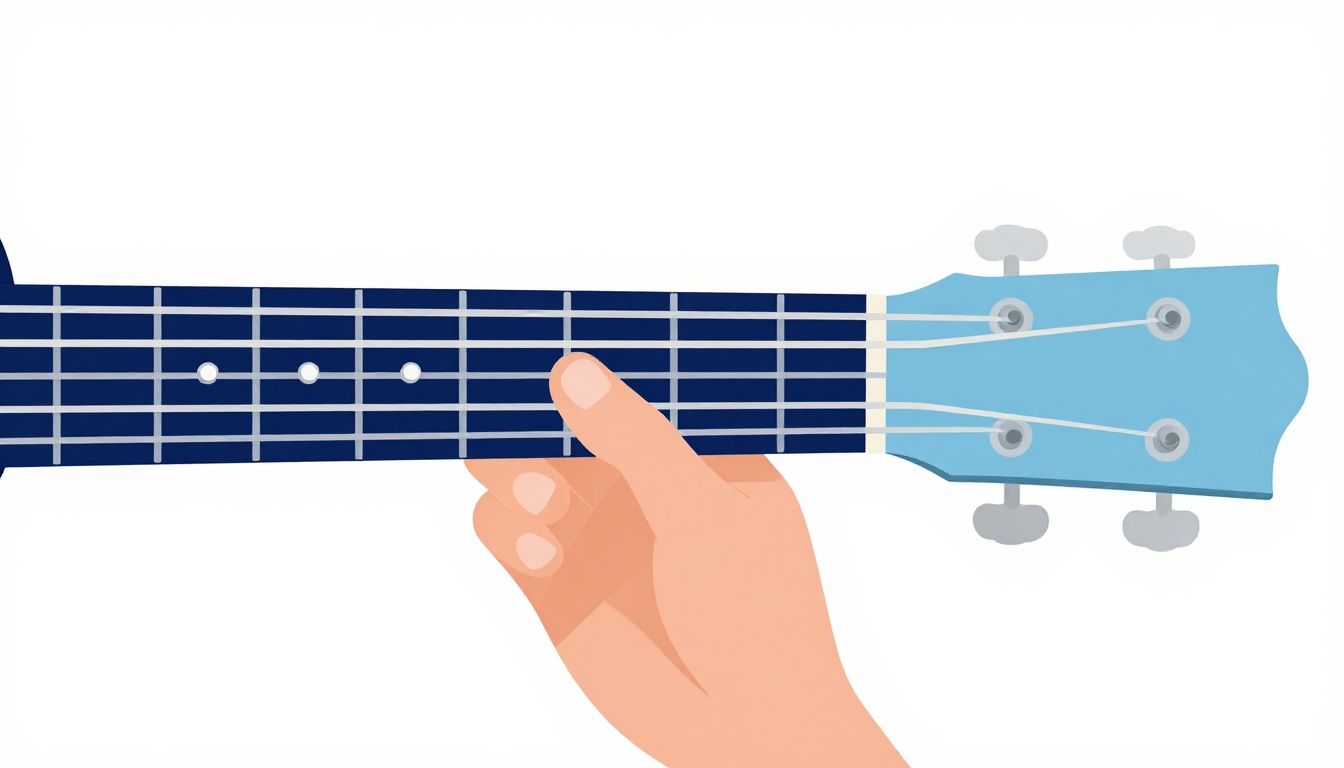
For all five of these changes, the same practice method works. Fret Em7, then the target chord, back and forth slowly with a full stop between each one, checking that every string rings clean before moving on. Only once that is reliable should you add rhythm, playing Em7 for a full bar and then changing on the beat, gradually tightening the gap until there is none.
Em7 vs Em6, Em9, and Emadd9
A handful of other E minor chords look similar to Em7 on a chord chart and get confused with it often enough to be worth separating clearly.
Em6 replaces Em7's minor seventh (D) with a major sixth (C#), giving the chord a brighter, jazzier lean than Em7's darker seventh. It is a different chord entirely, not a simplified or extended version of Em7, and swapping one for the other in a song will noticeably change the color of that moment.
Em9 takes the full Em7 chord (E, G, B, D) and adds a ninth (F#) on top. Every Em9 voicing contains an Em7 inside it, which is why Em9 chord shapes often look like an Em7 shape with one extra finger added higher on the neck.
Emadd9 is different again: it adds the ninth (F#) directly to the plain Em triad (E, G, B), without including the seventh (D) at all. It sounds brighter and less "unresolved" than Em9 for exactly that reason, the missing seventh removes the pulling, reaching quality that the seventh gives a chord.
Em7b5 (also written Em7♭5 or E half-diminished) lowers the fifth (B) down to Bb, changing the chord's formula from Em7's root, minor third, fifth, minor seventh to root, minor third, flat fifth, minor seventh. That flattened fifth gives it a tense, unstable sound that plain Em7 does not have, and the two get mixed up constantly because their names are so close on a page. Em7b5 shows up almost exclusively as a ii chord leading into a V7 in a minor key, a specific jazz function that plain Em7 is not built for, so treat the "b5" as a completely different instruction, not a variation you can skip.
If a chord chart just says "Em" with nothing after it, do not substitute Em7 automatically. They share three of their four notes and often sound fine swapped in a pinch, but the seventh changes the chord's function, particularly right before a chord change, so treat Em7 as its own choice rather than a fancier way to spell Em.
Where Em7 shows up in real songs
Em7 is common enough in folk, pop, and rock guitar parts that you will run into it constantly once you know the shape, rather than needing to hunt for practice material. One of the clearest, most widely taught examples is Oasis's "Wonderwall," where the verse progression (played with a capo at the 2nd fret) moves through Em7, G, Dsus4, and A7sus4, with Em7's single fretted note making it the easiest of the four shapes to land on cleanly at tempo.
Beyond that specific example, Em7 tends to appear anywhere a songwriter wants a minor chord that feels like it is moving toward something rather than settling, which is most often right before a IV or V chord in a progression, or as a softer substitute for a plain Em in a verse that wants to feel less final. Folk and singer-songwriter guitar parts lean on it constantly for exactly that reason, and it is common in jazz and blues rhythm playing as well, where seventh chords are the default rather than the exception.
Em7 on acoustic vs electric guitar
The shape does not change between instruments, but how it behaves does, and it is worth knowing what to expect before you assume something is wrong with your playing rather than with the instrument's natural character.
On an acoustic guitar, the open low E and A strings ring loudly and for a long time, giving the one-finger Em7 shape a big, wide, resonant sound that fills the space between chord changes. This is part of why it works so well as a strumming chord for singer-songwriter and folk material, since the open strings do a lot of the work without you needing to do anything fancy with your picking or strumming hand.
On an electric guitar, especially with any amount of gain or distortion, that same resonance behaves differently. Overdrive makes open strings ring out more aggressively and for longer, and it also picks up unwanted noise from strings you are not deliberately playing far more readily than a clean acoustic tone does. If you are playing Em7 through a distorted or overdriven amp, pay closer attention to muting the strings you are not actively using between strums, resting the side of your strumming hand lightly across the strings during the gaps in a rhythm part, since a distorted amplifier will happily amplify a stray buzz or ring that a clean acoustic tone would mostly hide.
Clean electric tone sits closer to acoustic in how forgiving it is, though without the acoustic's natural volume and sustain from the body and soundhole, an electric Em7 played clean can sound comparatively thin unless you lean into the fuller four-finger voicing or the higher-neck voicings from earlier in this post to fill out the sound.
Common mistakes beyond buzzing
A few habits show up specifically with Em7 that are not really about buzzing or muted strings, but about how the chord gets used.
Strumming it like a chord that needs muting. Because so many other open chords ask you to skip the low E or A string, some players carry that habit into Em7 and hold back their strum out of reflex, even though every string belongs here. Double-check your strumming hand is actually reaching all six strings.
Treating the one-finger version as a shortcut. As covered earlier, the single-finger Em7 shape is not a simplified stand-in, it is the complete chord. Players sometimes rush to learn a "fuller" voicing under the impression the easy version is somehow incomplete, when the real reason to learn the four-finger voicing is tone and control, not correctness.
Losing the seventh on fast changes. When switching quickly between Em and Em7 (or tapping the ring finger on and off the D string, as described earlier), it is easy for the timing to slip so the seventh either arrives late or gets clipped short. Slow the tap down until it lands exactly on the beat before speeding it back up.
Confusing it with Em6, Em9, or Emadd9 from a chart. Covered in detail above, but worth repeating here: read the chord symbol carefully rather than assuming any E minor chord with extra letters after it is close enough to Em7 to substitute freely.
Ignoring how the room or amp changes the sound. As covered above, the same shape can sound thin on a clean electric tone or messy through heavy distortion. Adjust your muting technique and voicing choice to the instrument and tone you are actually playing through, rather than assuming a technique that works well on one always transfers directly to the other.
A practice routine for today
Fifteen minutes is enough to make real progress on this chord if you spend it deliberately rather than just strumming through a song on repeat.
- Five minutes on the shape alone. Fret the one-finger Em7, strum all six strings, and listen for any string that sounds muted or buzzed. Isolate and fix it using the causes listed earlier in this post before moving on.
- Five minutes on one transition. Pick a single change, Em7 to G is a good place to start, and repeat it slowly with a full stop between chords. Once ten changes in a row ring clean, add a metronome at a slow tempo and change on the beat.
- Five minutes on the fuller voicing. Work on the four-finger Em7 shape from earlier in this post, building it one finger at a time from the bottom string up, and checking that the ring finger and pinky are not muting the open G string in the middle of the shape.
Repeat this same fifteen minutes for a few days before adding a second transition or trying the barre version. Progress on a chord like this comes from consistency across several short sessions, not from one long session where your hand gets tired and your form starts to slip.
FAQ
Is Em7 easier than Em? For most beginners, yes. The most common open Em7 shape uses only one finger, while standard open Em uses two. If you already know Em, dropping the ring finger to get Em7 is a smaller change than it might look on paper.
Can I use Em7 instead of Em anywhere in a song? Often, but not always. They share three of four notes, so they usually sound fine swapped in, but the added seventh changes how the chord pulls toward whatever comes next, so a chart that specifically calls for Em rather than Em7 is sometimes making a deliberate choice about that pull.
Why does my Em7 sound the same as my Em? This almost always means the open D string, which supplies the seventh, is being muted, usually by a finger leaning back into it or a flat finger angle. Work through the buzzing and muting section above, focusing specifically on whether the D string rings clearly on its own.
Do I need to barre Em7 to play it in other keys? Only if you want the exact same voicing to move to a different root note. If you just need a minor seventh chord somewhere else on the neck, it is often easier to learn that chord's own open or barre shape rather than transposing Em7's shape by ear.
What is the difference between Em7 and E7? They share the same seventh, but Em7 is built from a minor triad (E, G, B) with a minor seventh added, while E7 is built from a major triad (E, G#, B) with a minor seventh added. The G versus G# is the difference between a minor chord and a major one, so despite the similar names, Em7 and E7 sound distinctly different, one darker and one brighter.
Why do some chord charts show Em7 with four fingers and others with one? Both are correct voicings of the same chord, just arranged differently across the strings. Simpler charts aimed at beginners tend to show the one-finger version because it is easier to learn first, while charts aimed at more advanced players sometimes show fuller voicings because they suit a specific tone or playing style.
How do I stop my hand from cramping while holding Em7? With only one finger fretting a note, cramping in this specific chord is usually caused by unnecessary tension in the fingers that are not being used, or by squeezing your thumb too hard against the back of the neck. Relax the fingers you are not using and check that your thumb is providing support rather than a death grip.
Does Em7 still use the same fingering with a capo on? Yes. A capo shifts every open chord's pitch up without changing the shape your fretting hand makes, so Em7 played with a capo on the 2nd fret still uses the same finger and fret positions described in this post, it just sounds a whole step higher than it would without the capo.
Should I learn Em7 before or after I can already play Em? Either order works. Most players find it easier to learn Em first, since it introduces the habit that Em7's one-finger shape then simplifies. If Em7 happens to be the first minor chord you are learning, that is fine too, since the one-finger version is genuinely one of the easiest chords on the guitar regardless of what you already know.
Does Em7 sound different on acoustic versus electric guitar? Yes, though the shape and fingering stay identical. Acoustic guitars give the open strings in Em7 a big, resonant sustain, while electric guitars, especially with gain or distortion, need more careful muting between strums to avoid unwanted ringing from strings you are not actively playing.
GuitarLowKey
Ready for fifteen focused minutes?
Open the web app and train the change that is blocking your song.