
How to Restring a Guitar (Acoustic, Electric, and Classical)
Step-by-step instructions for restringing acoustic, electric, and classical guitars, plus winding, stretching, and fixing buzz after a restring.

To restring a guitar, loosen and remove the old string, feed the new one through the bridge (a bridge pin on an acoustic, a saddle or tailpiece on an electric, a tied knot on a classical), thread the other end through the tuning post, wind it on with two to four wraps, bring it up to pitch, then stretch it by hand and retune until it holds. The exact steps at the bridge and the tuning post change depending on what kind of guitar you own, and getting those details right is the difference between strings that hold tune for weeks and strings that go flat every time you play. Here is the full process for every common bridge and tuner type, plus why new strings buzz, slip, or won't stay in tune, and how to fix each one.
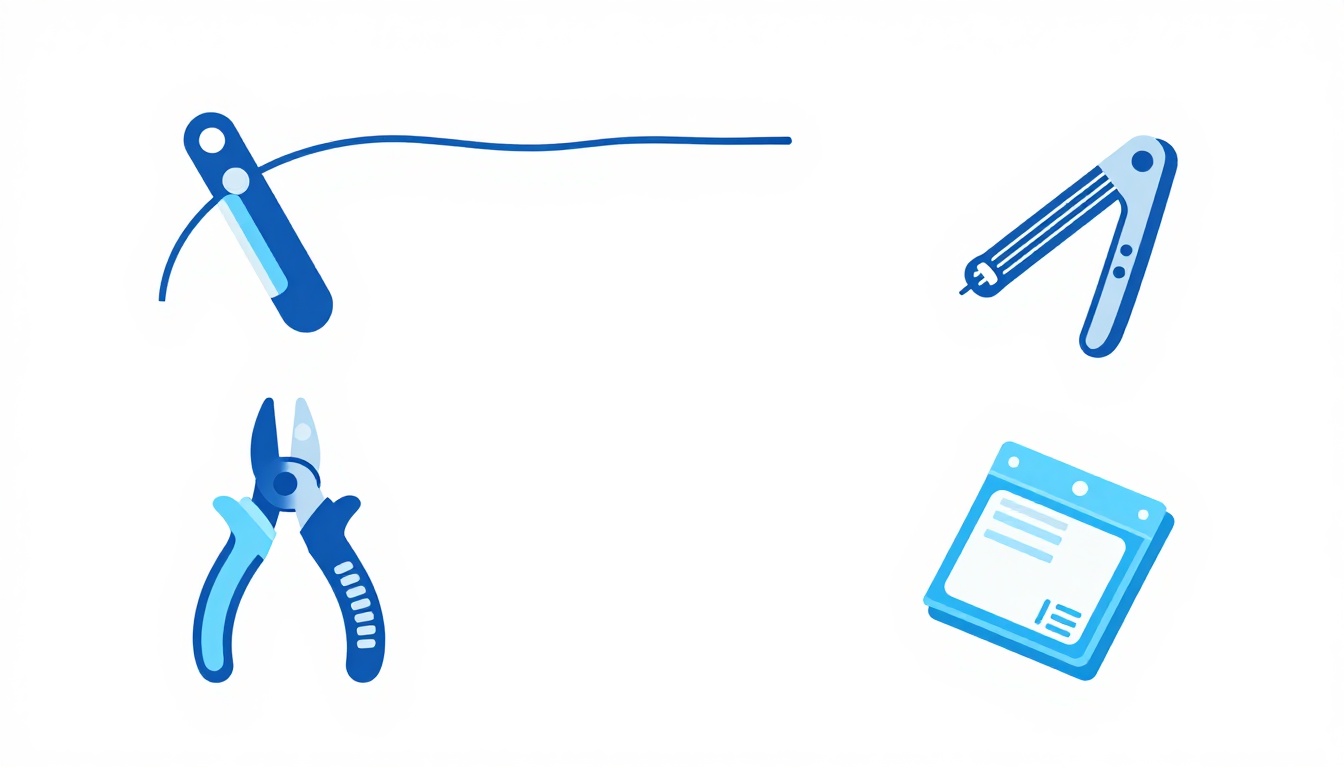
What You Need Before You Start
You do not need a workshop, but a few cheap tools turn a 45-minute fight into a 10-minute job.
| Tool | What it's for | Optional? |
|---|---|---|
| New strings (correct type and gauge) | The actual replacement | No |
| Wire cutters or string cutters | Trimming old strings and excess new string | No |
| String winder | Spins the tuning peg fast instead of by hand | Optional, but saves real time |
| Guitar tuner (clip-on, pedal, or phone app) | Bringing each string to pitch | No |
| Soft cloth or towel | Protects the top from dropped tools and bridge pins | Optional |
| Bridge pin puller | Removes stubborn acoustic bridge pins | Optional, a winder with a notch works too |
| Small screwdriver or coin | Loosens locking tuner posts, if your guitar has them | Only if you have locking tuners |
Buy strings by their actual gauge and type, not just "a set of strings." An acoustic wants bronze or phosphor bronze wound strings; an electric wants nickel-plated steel; a classical guitar wants nylon and silver-plated copper, never steel. Putting steel strings on a classical guitar can pull the bridge clean off, because the top is built for far less tension than steel produces.
Work on a clean table or your lap, with the guitar face up. If you are worried about scratching the top, lay a folded towel across your lap or the table first. String ends are sharp once trimmed, so keep your fingers away from the cut edge until you know where it is.
Step 1: Loosen and Remove the Old Strings
Turn each tuning peg in the direction that lowers the pitch, listening or watching a tuner as you go, until the string has no tension left and moves freely. Do this one string at a time rather than yanking a slack string off a peg under partial tension, which is how strings whip and catch a knuckle.
Once a string is fully slack, you have two ways to take it off. You can unwind it completely from the tuning post by hand, which is slower but keeps the string in one piece if you ever want to reuse it temporarily. Or you can cut it in the middle, over the sound hole or pickups, with wire cutters, then pull the two shorter pieces free from the post and the bridge separately. Cutting first is faster and is what most techs do, because a slack string still under a little bit of tension can be awkward to fully unwind cleanly.
At the bridge end, the removal method depends on the guitar:
- Acoustic with bridge pins: once the string is slack, pull straight up on the bridge pin. If it's stuck, use a bridge pin puller or the notched slot on most string winders, and rock it gently rather than prying at an angle, which can chip the pin or scratch the bridge.
- Electric with a fixed bridge or Tune-o-matic: the string usually just slides back out through the bridge or tailpiece once it's slack.
- Electric with a tremolo (Stratocaster-style): push the loose string back through the bridge from the front, or pull it out the back of the body where the ball end sits.
- Classical (nylon): unwind the knot at the bridge by hand; there's no pin to remove.
Keep the old strings until the new set is fully installed and tuned. If a new string turns out to be a bad gauge or breaks during setup, you'll want a working string to fall back on rather than an open slot.
Step 2: Clean the Guitar While the Strings Are Off
This step is optional but worth the two extra minutes, because the fretboard is never more accessible than with all six strings off. Wipe the neck and fretboard with a dry microfiber cloth to lift dust and sweat buildup from the wood or finish. If your fretboard is unfinished wood (common on many acoustics), a small amount of dedicated fretboard conditioner can be wiped on and off at this point, though it isn't required every time you change strings. Wipe down the top and around the bridge as well, especially if you can see grime built up under where the strings used to sit. Avoid spraying any cleaner directly onto the guitar; put it on the cloth first.
How to Restring an Acoustic Guitar (Bridge Pins)
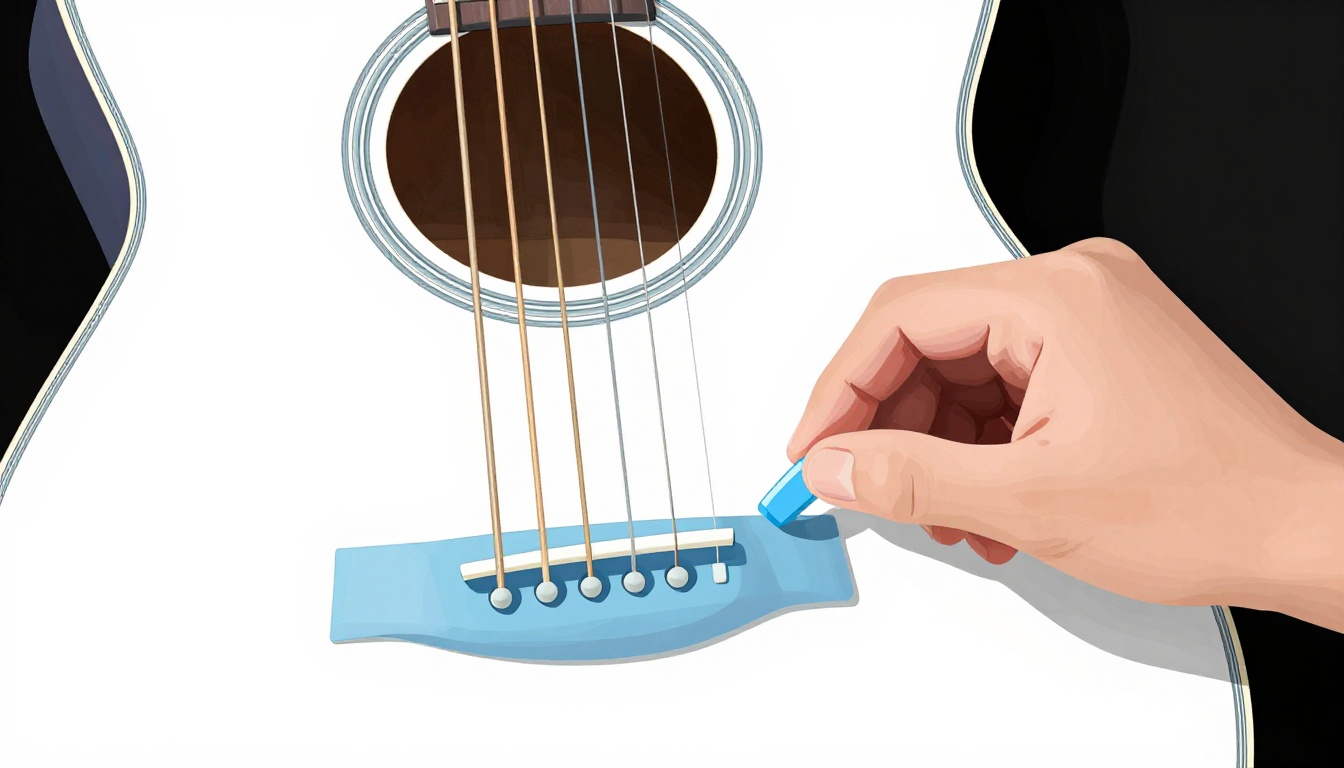
Most steel-string acoustics anchor each string with a bridge pin, a small tapered peg that holds the string's ball end inside the bridge. Work from the thickest string (6th, low E) to the thinnest (1st, high E), one at a time, so you're never guessing which string goes where.
- Drop the ball end of the new string into the bridge pin hole.
- Insert the bridge pin into the same hole, with the pin's grooved side facing the string, and push it down firmly until it seats flush with the bridge.
- Pull up gently on the string while the pin is in place; the ball end should catch against the underside of the bridge plate and stop the pin from popping back out. If the pin lifts out with the string when you pull, the ball isn't seated against the plate yet. Reseat it and try again.
- Guide the string up the neck to its matching tuning post, leaving enough slack (see the slack section below) before you start winding.
- Wind the string onto the post, bring it to rough pitch, then move to the next string.
Bridge pins that won't seat, or that keep popping loose, are almost always a sign the string wasn't fully dropped into the hole before the pin went in, or that the pin's groove isn't lined up with the string. A worn pin with a rounded, undersized taper can also fail to grip; if pins keep popping out across multiple strings, it's worth checking whether the pins themselves need replacing rather than fighting the same pin over and over.

How to Restring an Electric Guitar with a Fixed Bridge or Tune-o-matic
Hardtail electrics (a fixed bridge bolted straight to the body, common on many Telecasters and Les Pauls with a stop tailpiece) and Tune-o-matic setups are the simplest electric bridges to restring, because nothing on the bridge itself needs to be undone.
Fixed/hardtail bridge: feed the string's ball end into the back of the bridge (or through the back of the body on a string-through design) and pull it through until the ball seats against the metal. Guide the string up over the saddle, up the neck, and to its tuning post.
Tune-o-matic with a separate stop tailpiece: this is the setup on most Les Paul-style guitars. The tailpiece is usually not bolted down, only held in place by string tension, so once all the strings are slack it can lift out entirely. If that happens, don't worry, just make sure it's seated back down on its two posts before you start pulling strings tight again. Feed the string's ball end into the back of the tailpiece, pull it forward over the Tune-o-matic bridge saddle, and up to the tuning post. Many players restring one or two strings first, reseat the tailpiece so it's held firmly, then finish the rest, rather than removing every string and leaving the tailpiece to flop loose.
Once the ball end is anchored, treat the rest exactly like any other electric: route the string over the nut, through the correct tuning post, leave slack, and wind.

How to Restring a Stratocaster-Style Tremolo Bridge
A vintage-style or two-point synchronized tremolo (the kind on most Stratocasters) anchors strings through the back of the body, not on top of the bridge.
- Turn the guitar over, or tilt it so you can see the back cavity where the tremolo springs are.
- Feed the string's ball end in from the back of the body, through the hole, so it comes out the front through the bridge saddle. If it's tight going in, a soft touch and a slight wiggle usually gets the ball past the hole; forcing it can scuff the finish around the cavity.
- Once the ball end is through, turn the guitar back over and check that the ball is fully seated against the back plate or claw, not still resting partway up the channel. You'll feel it stop when it's seated correctly.
- Route the string over the saddle, up the neck, through the correct tuning post, and wind as normal.
Change these one string at a time rather than removing all six together. A floating tremolo bridge is balanced by spring tension pulling one way and string tension pulling the other; drop all the string tension at once and the springs win, yanking the bridge back and throwing off the balance you'd otherwise have to reset from scratch. Doing strings one at a time keeps the bridge roughly where it should sit throughout.

How to Restring a Floyd Rose or Locking Tremolo
A Floyd Rose or other locking tremolo adds two extra steps that trip up a lot of players the first time: a locking nut at the headstock, and saddles that clamp the string instead of relying on a ball end.
- Using the correct hex wrench (usually 3mm), loosen the locking nut clamp at the headstock and set it aside; it doesn't need to come off completely, just enough to free the string.
- Unwind and remove the old string from the tuning post as usual.
- On the new string, cut off the ball end entirely with wire cutters. Floyd Rose saddles clamp the bare wire, they don't use the ball at all.
- Insert the cut end into the saddle at the bridge, push it in until it's seated, and use the hex wrench to tighten the saddle's clamp screw. Snug, not overtightened; stripping these screws is a common and avoidable mistake.
- Route the string up to the tuning post, leave slack, wind it on, and bring it toward pitch.
- Repeat one string at a time rather than pulling all six off together, for the same spring-balance reason as any other floating tremolo, and it matters even more here since a Floyd Rose has no strings-off resting position at all.
- Once all six are close to pitch, set the fine tuners at the bridge so roughly two-thirds of their threaded travel is still available in each direction, then tighten the locking nut clamps at the headstock.
- From this point on, do your fine tuning at the bridge's fine tuners, not the headstock pegs. Once the locking nut is clamped down, the string can't move at the nut, and forcing the headstock tuner against a locked string is a fast way to snap it.
Never force these clamp screws. If a screw feels like it's binding rather than tightening, back it off and check that the string is seated straight in the saddle slot before trying again.
How to Restring a Classical (Nylon-String) Guitar
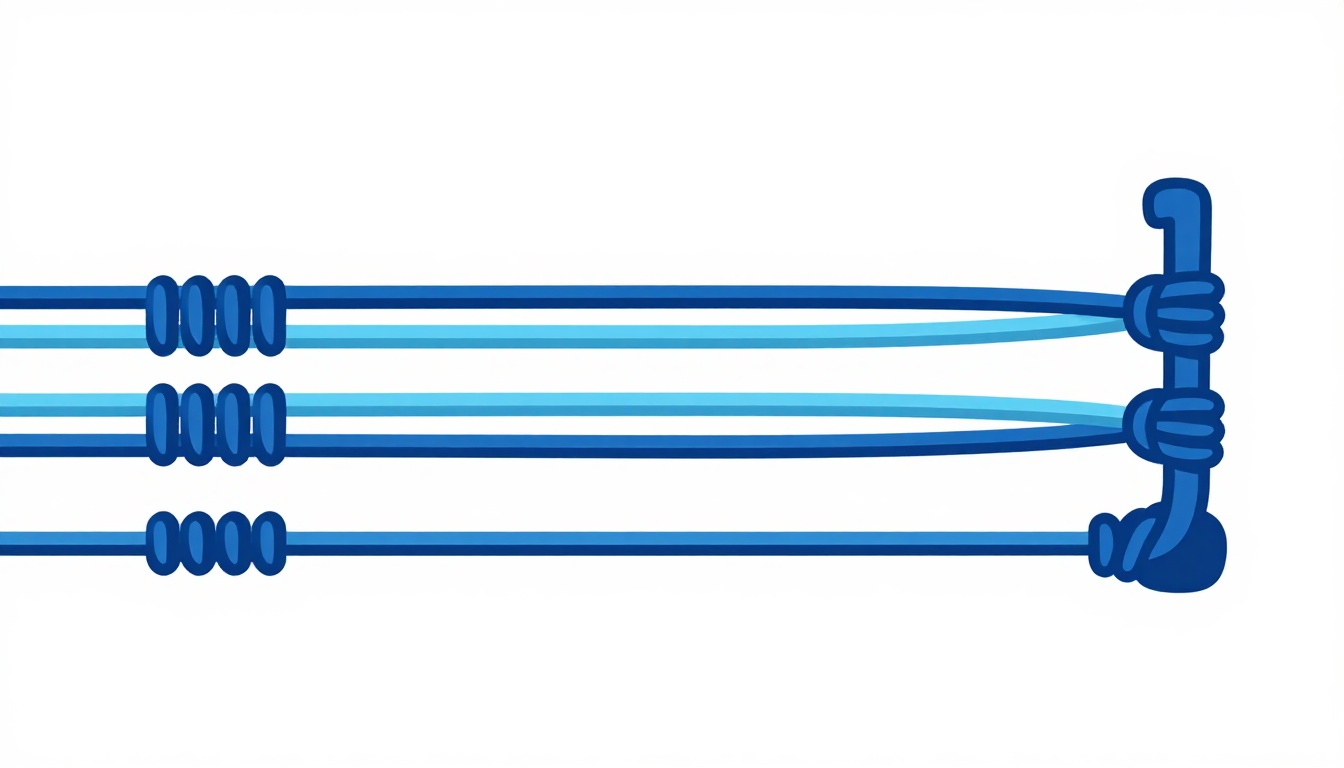
Classical guitars don't use bridge pins or ball ends on either end, standard nylon strings are tied on with a knot at both the bridge and the tuning post. Trebles (the three thinner, plain nylon strings) and basses (the three thicker, wound strings) are tied slightly differently.
At the bridge:
- Pass the string through the hole in the bridge from the front, leaving several inches of tail hanging out the back.
- Loop the tail up and over the main length of string, then back under itself, forming a loop the string can grip.
- For the wound bass strings, one pass through and one loop is usually enough. For the thinner plain trebles, many players thread the string through the bridge hole a second time before looping, for extra grip, since plain nylon is more prone to slipping.
- Pull the tail snug so the knot sits close against the bridge, not dangling loose.
At the tuning post:
- Pass the string through the post hole from the side facing away from the headstock's center, leaving a few inches of slack.
- Wrap the tail around the post and back through the hole itself, then pull it through and let the winding trap it, essentially tying it back on itself.
- As you turn the tuning peg to bring the string to pitch, keep light tension on the tail end with your other hand for the first turn or two, so the knot cinches down around the post instead of slipping.
- Aim for four to six neat wraps on the post before you finish, then trim the excess tail once the string holds.
Nylon strings stretch far more than steel during their first hours on the guitar, so expect to retune classical strings frequently for the first day or two. That's normal and not a sign anything was done wrong.
How to Restring a 12-String Guitar
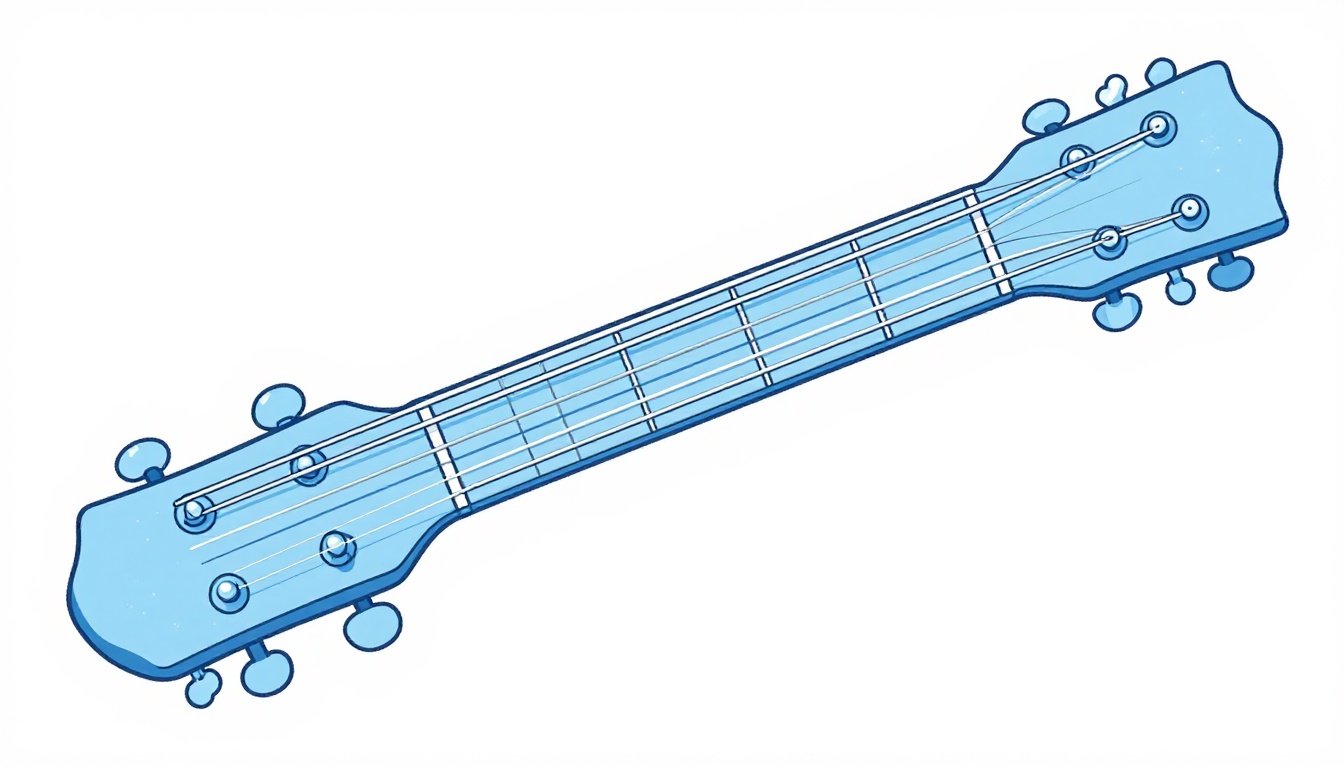
A 12-string guitar doubles each of the six standard strings into a pair, called a course, and those pairs are strung differently depending on which strings they are. Get the pairing wrong and the guitar will still make sound, but it won't sound like a 12-string is supposed to.
- The two thinnest courses, high E and B, are tuned in unison. Both strings in each pair are the same gauge and the same pitch.
- The four thickest courses, low E, A, D, and G, are tuned in octaves. Each pair has one thicker string at the standard pitch and one noticeably thinner string tuned an octave higher, so the pair rings as two different notes that happen to share a name.
Within each octave pair, string order at the nut and bridge matters, and it isn't arbitrary. On almost every 12-string, the thinner octave string sits closer to the middle of the neck (the side you'd naturally strike first strumming downward), with its thicker, standard-pitch partner sitting on the outside. The nut is slotted specifically for this arrangement, with a wider slot for the thicker string and a narrower one right next to it for its octave partner, so if you're ever unsure which string goes where, the nut slots themselves show you the intended order. Restringing a pair backward from how the nut is cut will leave a string sitting awkwardly outside its slot rather than seated in it.
Beyond the pairing, every step in this guide applies the same way: bridge pins or a bridge anchor for each string individually, slack, winding, and stretching, just twelve times instead of six. Because a 12-string carries roughly double the total tension of a six-string at pitch, changing all twelve strings at once is one of the few six-string situations where one-at-a-time really is the more common practice, simply to avoid a large, sudden drop and return in top tension. It isn't strictly required on a modern 12-string with a truss rod, but it's a reasonable extra precaution given how much more tension is involved.
How to Restring a Guitar with Locking Tuners
Locking tuners (common on many higher-end electrics, and available as an upgrade on almost any guitar) replace the wind-and-wrap step with a clamp built into the post itself.
- Loosen the small locking mechanism at the base or top of each tuning post, usually a knurled thumbwheel or a small pin, before you insert the string. You're not removing anything, just opening the clamp.
- Feed the string through the hole in the post. Pull it through until the string runs in a fairly straight, taut line from the post down to the nut, with almost no slack, unlike a standard tuner.
- Holding the string taut with one hand, turn the tuning peg to bring it toward pitch.
- Once the post starts to turn under tension, the internal mechanism grips and locks the string automatically; tighten the locking thumbwheel or dial the rest of the way to clamp it fully.
- Trim the short excess tail. Because there's no winding to bury the tail in, locking tuners typically leave less than an inch to snip off, much less waste than a standard post.
The trade-off for that speed is that locking tuners need almost no slack, the opposite of every other tuner type in this guide, so don't leave a loop of extra string thinking it will help. A string with several loose wraps around a locking post defeats the point of the clamp and can slip.
Which Way to Wind the String, and How Many Wraps
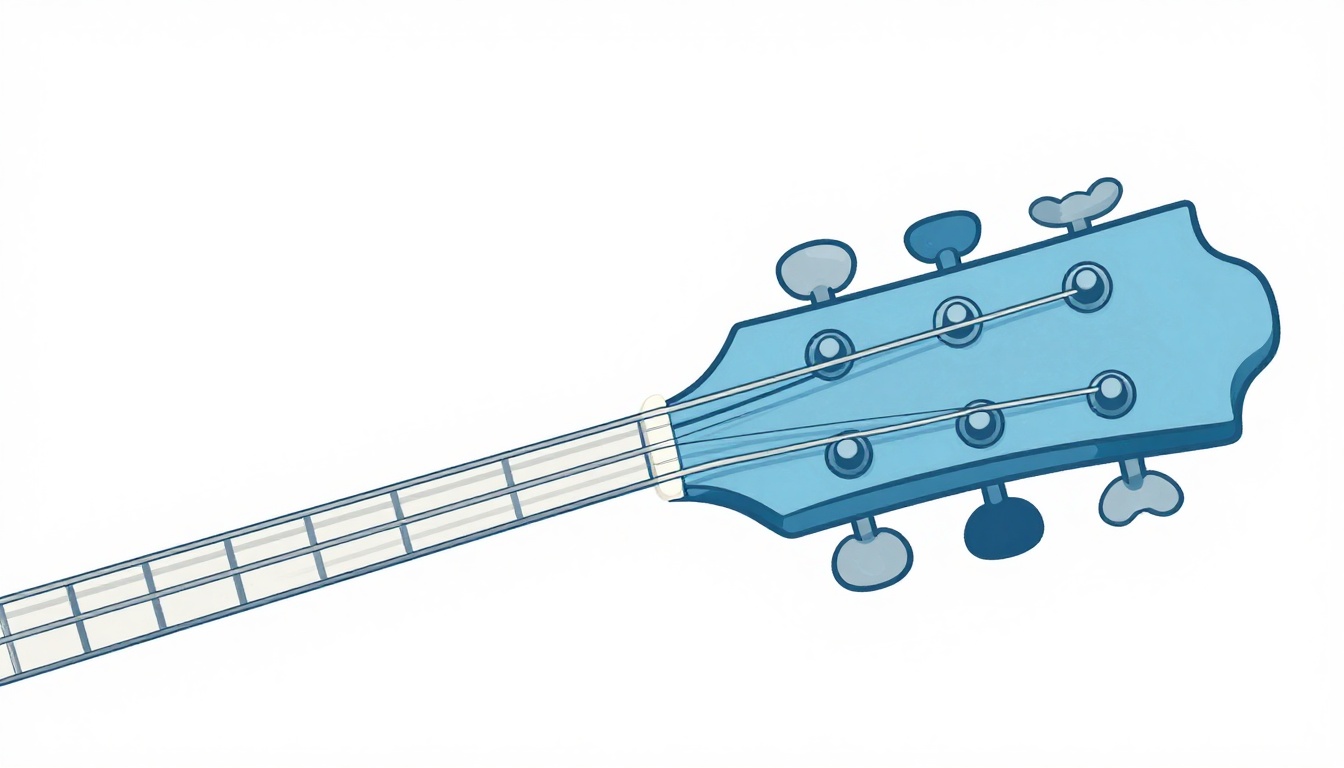
On a standard, non-locking tuning post (the kind on most acoustics and many electrics), winding direction depends on which side of the headstock the post is on, not which string you're working on.
- On a 3-per-side acoustic headstock, the three bass strings (low E, A, D) wind counterclockwise as viewed from the front of the peg, and the three treble strings (G, B, high E) wind clockwise.
- On a 6-in-line electric headstock (like a Stratocaster or Telecaster), every string winds the same direction, since every post faces the same way, typically so the peg turns away from the player when tightening.
Rather than memorizing rules, look at which way the post's hole faces relative to the nut, and wind so the string wraps downward, toward the headstock face, in neat turns stacked on top of each other rather than crossing over themselves. Crossed wraps bind and cause tuning to hang up on itself.
Aim for two to four wraps around the post for wound bass strings, and three to five for the thinner plain strings, which grip the post less on their own and benefit from a few extra turns. Too few wraps and the string can slip under tension; too many and the extra length bunches up and pulls the string off-angle at the nut, which is one of the most common causes of buzz right at the headstock (more on that below).
How Much Slack to Leave Before You Start Winding
Leave too little slack and you won't get enough wraps on the post to hold the string; leave too much and you'll wind on so many loose turns that the string sits too high off the post and pulls at a bad angle. A simple, repeatable measure: with the string fed through the post hole, pull the free end taut up toward the nut, then pinch the string down flat against the fretboard around the 12th to 15th fret. That length back to the post is roughly the right amount of slack for two to four clean wraps on most guitars. Thinner strings can use slightly more slack since they need more wraps; thicker bass strings need less.
If you're restringing a guitar for the first time and aren't sure, it's better to leave a bit too much slack than too little. Extra slack means extra wraps, which look untidy but still hold. Too little slack means you run out of wraps before the string reaches pitch, and you have to start that string over.
Stretching New Strings So They Actually Hold Tuning
New strings go flat repeatedly during their first hour on the guitar, not because anything was installed wrong, but because the string itself is still settling into its final length around the post, the nut, and the bridge or saddle. Skipping this step is the single most common reason a freshly restrung guitar sounds fine at the shop and is noticeably flat by the time you play it later that day.
After a string reaches rough pitch, hook a finger or thumb under it partway up the neck, away from the fretboard, and pull it up and away from the body a moderate amount, not a hard yank, then let it settle back down. Do this two or three times per string, moving to a couple of different spots along its length. You'll hear the pitch drop noticeably the first time you do it; that's the slack you were supposed to pull out now instead of over your next few practice sessions.
Retune after stretching, since the pitch will have dropped. Repeat the stretch-and-retune cycle two or three times per string, and it will stop dropping in pitch each time, which is your sign that string is done. New strings will still drift slightly over the first day or two of playing even after a thorough stretch; that's normal string settling, not a failed job.

Should You Change All the Strings at Once or One at a Time?
For the great majority of guitars, changing all six strings at once is completely fine. The idea that a bare neck will warp or that the bridge will shift permanently once tension is released is largely a myth for any modern guitar with a truss rod; the neck relaxes slightly with no strings on, then returns to its working position once the new strings are back up to pitch. Changing all six together is also faster and lets you clean the fretboard properly, since nothing is in the way.
There are two real exceptions where changing one string at a time genuinely matters:
- Floating tremolo bridges (Stratocaster-style, and especially Floyd Rose). These bridges are held in position by a balance between spring tension inside the body and string tension pulling the other way. Remove all six strings and that balance disappears, letting the springs pull the bridge back out of position, which you'd then have to reset. Keeping at least some strings on at all times, and changing the rest one by one, keeps that balance roughly intact throughout.
- Older acoustics with no truss rod, which are less common today but do still turn up as vintage or budget instruments. Without a truss rod to hold the neck's relationship to the body steady, some players prefer one-at-a-time changes as a simple precaution, even though the risk is genuinely small.
If you're not sure which category your guitar falls into, one string at a time costs you a little extra time and protects you either way, so it's a reasonable default for a first restring.
Choosing the Right String Gauge
Gauge is the string's thickness, usually given as the diameter of the thinnest string in thousandths of an inch, like ".010" or ".012". Thicker strings hold more tension at pitch, which generally means more volume and sustain but more finger effort; thinner strings are easier to fret and bend but slightly quieter and can buzz more easily against frets at very low action.
Acoustic guitar gauges (low E to high E, in thousandths of an inch):
| Set name | High E | B | G | D | A | Low E |
|---|---|---|---|---|---|---|
| Extra light | .010 | .014 | .023w | .030 | .039 | .047 |
| Light | .012 | .016 | .025w | .032 | .042 | .054 |
| Medium | .013 | .017 | .026w | .035 | .045 | .056 |
Electric guitar gauges (low E to high E, in thousandths of an inch):
| Set name | High E | B | G | D | A | Low E |
|---|---|---|---|---|---|---|
| Extra light | .008 | .011 | .014 | .022w | .030 | .038 |
| Regular (9s) | .009 | .011 | .016 | .024w | .032 | .042 |
| Regular (10s) | .010 | .013 | .017 | .026w | .036 | .046 |
"w" marks a wound string. If you're not switching gauges, match whatever came stock on the guitar, which is usually printed on the string packet you last bought, or visible stamped on the original ball ends if you kept one. If you do want to change gauge, especially going up, be aware that a jump of more than about one full set size can be enough to need a small truss rod or intonation adjustment afterward, since the total pull on the neck changes.
Classical guitars use nylon and wound nylon strings measured by tension (light, normal, hard tension) rather than a numeric gauge, since the material and construction differ too much from steel strings for the same measurement to be meaningful.
String Material and Tone: What Bronze, Phosphor Bronze, and Nickel Actually Change
The string material doesn't change how you restring a guitar, every step above is identical, but it does change how the fresh strings sound and how long that sound lasts, which is worth knowing before you buy a set.
Acoustic strings come in two common alloys. 80/20 bronze (roughly 80 percent copper, 20 percent zinc) gives a brighter, more immediate tone with a sparkling top end, but it also tarnishes and dulls faster than the alternative. Phosphor bronze (mostly copper with a small amount of tin and phosphor) trades a bit of that initial brightness for a warmer, more rounded tone, and the phosphor content slows down oxidation, so phosphor bronze strings tend to hold their tone a little longer before sounding dull. Neither is objectively better, 80/20 suits players who want a percussive, cutting strum; phosphor bronze suits players who want a fuller, softer sound, especially for fingerpicking.
Electric strings are almost always steel wound with either nickel-plated steel, the modern standard, giving a bright, well-defined tone, or pure nickel, which gives a warmer, softer output closer to what electric strings sounded like in the 1950s and 60s. Stainless steel is a third, less common option, brighter and more corrosion-resistant than either nickel option, but with a harder feel under the fingers that some players don't like.
Coated strings, available in both acoustic and electric versions, add a thin polymer layer over the winding that keeps sweat, oil, and grime from working into the string as quickly. They cost more per set but last noticeably longer between changes, often several times as long as an uncoated set under the same amount of playing, which matters most if you play daily or gig often. The coating makes a small difference to tone right out of the pack, usually described as slightly less bright than an uncoated string of the same material, but it doesn't change anything about how the string installs.
If you're not sure what's currently on your guitar, the packaging from your last set of strings, or a quick look at the wound strings under strong light, usually tells you: a warm gold-copper color is bronze or phosphor bronze, a duller silver is nickel or steel.
How Often You Should Change Your Strings
There's no single correct interval, it depends on how much you play and how your strings age, but a workable rule for a beginner practicing regularly is to change strings roughly every three months, or sooner if you notice any of the signs below. Someone playing daily, or gigging, often changes strings every few weeks; someone playing casually a couple of times a week can often stretch that to four or five months without much loss.
Watch for these signs rather than counting days:
- Discoloration or rust, especially dark spots or a greenish tint on the wound strings, or a rough, gritty feel when you slide a finger along the string.
- A dull, lifeless tone compared to how the guitar sounded when the strings were fresh, even if you can't pin down exactly what changed.
- Strings going out of tune constantly, in a way that doesn't settle even after a proper stretch, which often means the string's core has fatigued.
- Visible fraying or unwinding, especially near the bridge or where a string crosses a fret heavily, which usually means that string is close to breaking outright.
Wiping strings down with a dry cloth after each practice session, to remove sweat and skin oil, slows all of the above and can meaningfully extend how long a set stays fresh.
Why Your Guitar Buzzes or Won't Stay in Tune After Restringing
A guitar that buzzed or wandered out of tune before you changed strings usually does the same thing afterward, restringing doesn't fix a setup problem. But sometimes a guitar that was fine before genuinely gets worse right after a restring, and that almost always traces back to one of these.
Not enough wraps for the break angle at the nut
The string needs a certain downward angle as it leaves the nut heading to the tuning post, and that angle comes from having enough wraps stacked on the post. Too few wraps flattens that angle, and a string that doesn't press down firmly enough into its nut slot can buzz or rattle there, especially on the thinner treble strings. This is the most common cause of a specific, isolated buzz that appears right after a restring and wasn't there before.
The new string hasn't finished stretching
A string that's still settling drops pitch on its own between plucks, which reads as "won't stay in tune" even though nothing is loose or broken. Give it the full stretch-and-retune routine from earlier in this guide, two or three full cycles, and give it a day of normal playing before deciding something else is wrong.
Loose tuning peg hardware
The tension change from an old, settled string to a fresh one can reveal a tuning peg screw or bushing that was already a little loose but wasn't moving enough to rattle before. Check the small screw on the back or side of each tuning peg and snug it if it turns freely; this is a thirty-second fix that's easy to miss because it has nothing to do with the string itself.
A kinked or defective string
Strings can have a manufacturing flaw, a small kink from the packaging, or a loose spot in the winding, that causes a buzz or a dead, thuddy note no matter how well it's installed. If one specific string sounds wrong while the other five sound fine, and you've already ruled out wraps and stretching, swap that one string for another from the pack or a spare before assuming the guitar itself has a problem.
Action or neck relief that shifted with the new gauge
If you switched to a different string gauge, thicker or thinner than what was on the guitar before, the total pull on the neck changes, which can shift the neck's relief slightly and change how close the strings sit to the frets. A small amount of buzz after a gauge change, particularly a jump to heavier strings, may need a minor truss rod or saddle adjustment rather than anything wrong with the restringing itself. If you kept the same gauge and this still happens, gauge isn't the cause.
Common Mistakes Beginners Make When Restringing
- Trimming the excess string before it's up to pitch. A string that looks done at rough tension can still need another half-turn once you tune it precisely, and a too-short tail can come loose from the post. Bring every string fully to pitch first, then trim.
- Winding wraps that cross over each other. Overlapping wraps bind against one another as the peg turns, which can cause the string to jump slightly in pitch as it releases, right when you're trying to tune precisely.
- Forcing a bridge pin at an angle. Pins are tapered to seat straight down; pushing one in sideways can chip it or mark the bridge, and it usually won't seat well enough to hold the string anyway.
- Skipping the stretch step because the string already reads in tune. It will drop again within minutes of playing. The stretch step exists specifically to remove that slack before it happens during a song.
- Removing all six strings on a floating tremolo without a plan. The bridge will shift, and getting it back to a usable position afterward takes far longer than restringing one string at a time would have.
- Cutting the ball end off a string that isn't a Floyd Rose or similar clamping saddle. Every other bridge type in this guide relies on that ball end to anchor the string; cutting it off by habit from a Floyd Rose routine leaves nothing for the bridge to hold onto.
- Buying strings by feel rather than by gauge or type. A pack that "feels about right" on the shelf can be the wrong material for the guitar, steel on a classical, or a gauge different enough from what the guitar is set up for to cause buzzing or a slack, floppy feel.
When to Restring Before a Show or Recording Session
Timing a restring matters more than most players expect, because fresh strings are at their least stable in the first hour and their most stable after a day or two of normal play. Restring right before you walk on stage, and even a careful stretch won't fully replicate the settling that happens over real playing time, so you're more likely to drift out of tune mid-set than if you'd restrung the night before.
A reasonable rule of thumb: restring at least the evening before anything important, giving the strings a full stretch-and-retune session plus several hours of rest, and ideally some normal playing time, before the performance itself. If a string breaks the day of a show and you have no choice but to restring right before playing, stretch that single string more aggressively than usual, four or five cycles instead of two or three, and expect to retune between songs more than you normally would.
The opposite mistake, waiting too long, carries its own risk. Strings that are old and dull can also break unexpectedly, since a worn string has less structural margin left before it fails. If a set is well past due by the signs covered earlier in this guide, restring several days out rather than gambling on it holding through a show.
What to Do with Your Old Strings
Old strings are recyclable metal, mostly steel, bronze, or nickel, and increasingly there are programs built specifically to take them rather than sending them to a landfill. D'Addario runs Playback, a string recycling program operated with TerraCycle that accepts strings from any brand, not just their own. It works two ways: individual players can mail in a collected batch (a minimum weight applies for the mail-in option), or you can look for a local drop-off center, often at a participating guitar shop, if you don't want to wait to accumulate enough to mail. Collected strings are sorted by material, the metal is melted down into new alloys and the nylon is recycled into industrial plastic.
Short of a formal recycling program, simply setting old strings aside in a small container as you change guitars over months, rather than tossing each set immediately, makes it realistic to build up enough to recycle in one go. However you dispose of them, coil each old string before throwing it out or storing it, loose lengths of cut string wire are sharp and easy to snag a hand or a trash bag on.
A Simple Post-Restring Checklist
Once all six strings are on and roughly at pitch, work through this before you consider the job finished:
- Stretch and retune every string two to three times, working low to high, until each one holds its pitch through a stretch without dropping.
- Check that no wraps are crossed on any tuning post, and that no bridge pin sits higher or lower than the others.
- Trim excess string ends close to the post, leaving roughly a quarter inch so the tail can't work loose, but not so much that it pokes out and catches your hand.
- Play a few open chords, such as the open C chord, and a scale up the neck, listening for any buzz, rattle, or dead string that wasn't there with the old set.
- Give the guitar a final full tune-up, since even a well-stretched set can drift slightly once actual playing puts it through real bends and strums.
- Set the guitar aside for a few hours if you can, then retune once more before your next real practice session. New strings keep settling for longer than the first ten minutes suggest.
Frequently Asked Questions
Do I need to take all the strings off, or can I do them one at a time?
Either works on most guitars. All at once is faster and makes cleaning easier; one at a time is the safer default on floating tremolo bridges and older acoustics without a truss rod, since it keeps bridge or neck tension more consistent throughout the change.
How long should new strings take to settle?
With a proper stretch, most strings hold pitch within a normal practice session, though some drift over the first day or two of actual playing is still normal. If a string is still dropping noticeably after a full day of playing and multiple stretches, check that it's wound and seated correctly rather than assuming it just needs more time.
Can I reuse a string if I only broke one?
You can put a fresh single string on to match an existing set in an emergency, and many players do exactly that before a gig. It won't sound or feel identical to the rest of the set, since it's newer, but it's a reasonable stopgap until you change the full set.
Why does my new string buzz against a fret when the old one didn't?
Usually one of two things: not enough wraps at the tuning post reducing the break angle at the nut, or a gauge change altering the neck's relief slightly. Both are covered in detail earlier in this guide, and both are quick to check before assuming anything more serious is wrong.
Is it bad to leave a guitar without strings for a while?
No, not for any realistic length of time. The idea that a bare neck warps quickly is exaggerated; a modern guitar with a truss rod handles being unstrung for days without lasting effects. Extremely long-term storage with no strings, for years, is a different situation, but a normal restring pause is not a concern.
Do I need special tools, or can I do this with just cutters and my hands?
Cutters and a tuner are the only true requirements. A string winder saves time but changes nothing about the result; winding by hand works exactly as well, just slower.
What's the difference between coated and uncoated strings for restringing?
Coated strings have a thin polymer layer over the winding that resists dirt and corrosion, so they tend to stay sounding fresh longer between changes. They install exactly the same way as uncoated strings; the coating doesn't change any step in this guide.
My new strings sound brighter or different than the old ones. Did I do something wrong?
No. Fresh strings of any type sound brighter and more resonant than strings that have been played for weeks, simply because dirt, oil, and metal fatigue dull tone over time. That brightness will settle slightly over the first few days of play, which is expected, not a sign of a problem.
Can I restring a guitar without a tuner?
You can get a string roughly to the right pitch by ear, matching it against a fretted note on the string next to it, but a real restring benefits from a proper tuner, since even a small pitch error compounds across six strings and makes chords sound slightly off without an obvious single cause. A clip-on tuner or a free phone app is enough; you don't need anything expensive.
Is it worth keeping a spare set of strings on hand?
Yes. A broken string mid-practice, or the night before something important, is common enough that most regular players keep at least one spare set in their case. It removes the pressure of an emergency store run and means you can restring the moment a string goes rather than waiting.
GuitarLowKey
Ready for fifteen focused minutes?
Open the web app and train the change that is blocking your song.