
How to Play the Bb/A Guitar Chord (No Full Barre Needed)
The Bb/A guitar chord shape, why it is really a Bbmaj7 voicing in disguise, and how it is actually easier to play than the plain Bb barre chord.

To play Bb/A on guitar, mute the low E string, leave the A string open, then press your ring finger flat across the D, G, and B strings at the 3rd fret and your index finger on the high E string at the 1st fret. Strum the top five strings. That single open A string is the whole point of the chord: it puts the note A underneath a Bb chord instead of Bb itself, which is what the slash in "Bb/A" is telling you to do.
The Bb/A chord shape, string by string
Here is the full shape as a table. "Finger" uses standard numbering: 1 is your index finger, 2 is your middle finger, 3 is your ring finger, 4 is your pinky.
| String | Fret | Finger |
|---|---|---|
| 6 (low E) | Muted, do not play | - |
| 5 (A) | Open | - (this is your bass note) |
| 4 (D) | 3 | 3 (ring, barred) |
| 3 (G) | 3 | 3 (ring, barred) |
| 2 (B) | 3 | 3 (ring, barred) |
| 1 (high E) | 1 | 1 (index) |
The notes that come out of this shape are A, F, Bb, D, and F again on the top string. Strip out the repeat and you get four distinct notes: A, Bb, D, and F. That four-note group is worth remembering, because it explains almost everything unusual about this chord, covered in the next few sections.
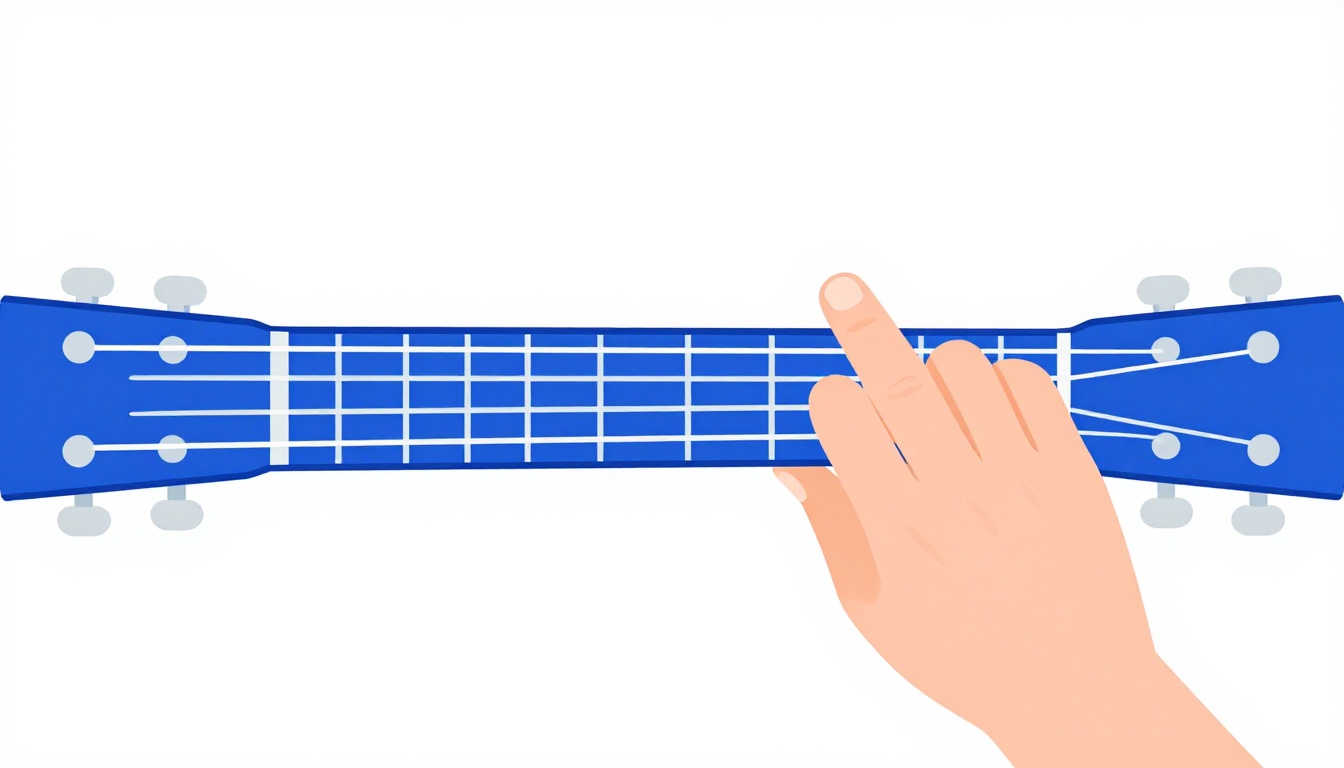
Building the shape one finger at a time
Start with your fretting hand off the guitar entirely and build the chord in this order:
- Mute the low E string. Rest the underside of your index finger lightly against it, or simply plan to avoid it with your strumming hand. It should not sound at all.
- Leave the A string alone. Do not fret it, do not mute it. It rings open, and that open ring is the note A, the bass note the chord is named after.
- Lay your ring finger flat across the 3rd fret, covering the D, G, and B strings at once. This is a small, three-string barre rather than a full six-string one, so it takes far less pressure and far less hand strength than a real barre chord.
- Add your index finger on the 1st fret of the high E string, a single fingertip, not a barre.
- Strum from the A string down through the high E string. Five strings total. The low E stays silent.
Notice what is missing here: there is no full barre across all six strings anywhere in this shape. That is worth sitting with for a second, because most players assume anything with "Bb" in the name automatically means the dreaded six-string barre chord. This one does not. The open A string does the work a barre would otherwise have to do, and the mini barre with your ring finger only has to cover three strings, not six.
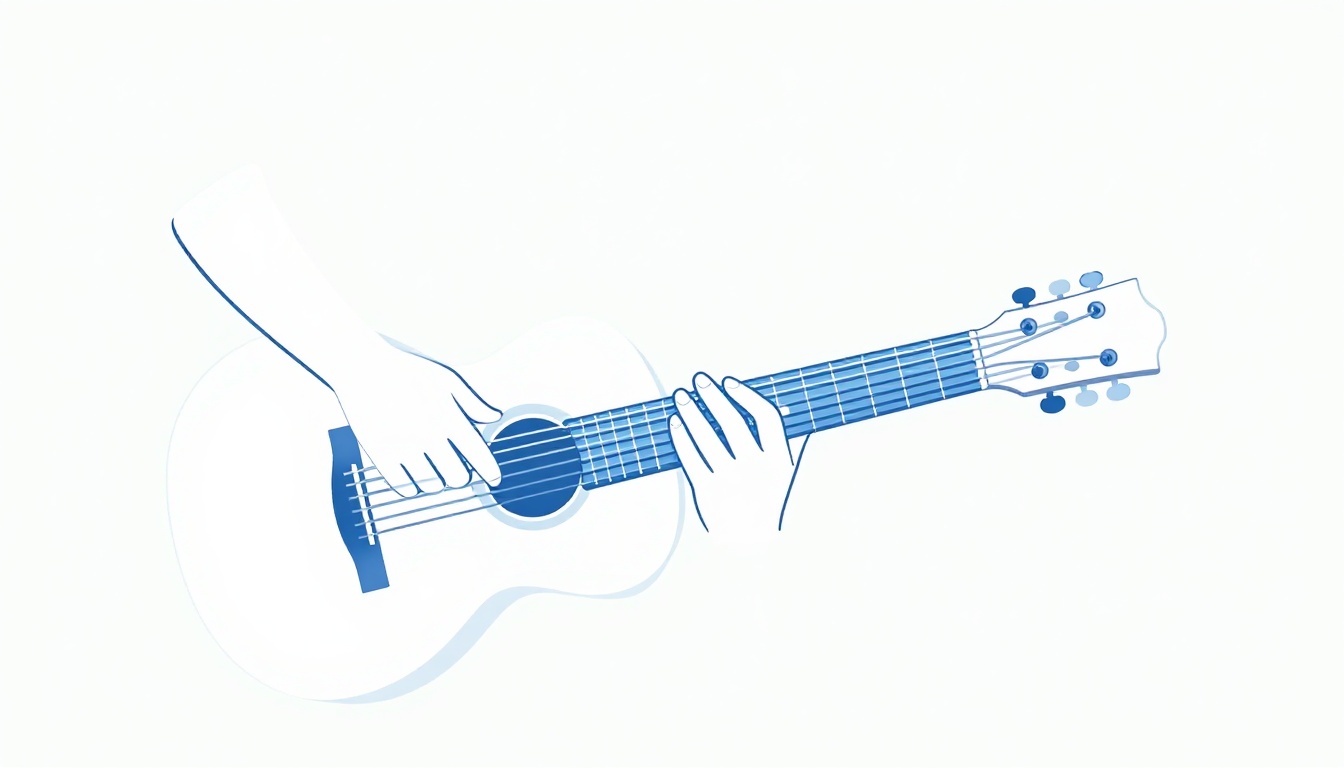
An easier version for a first try
If the three-string mini barre still feels early, here is a version of the exact same chord that swaps it for three separate fingers instead.
| String | Fret | Finger |
|---|---|---|
| 6 (low E) | Muted, do not play | - |
| 5 (A) | Open | - |
| 4 (D) | Open | - |
| 3 (G) | 3 | 2 (middle) |
| 2 (B) | 3 | 3 (ring) |
| 1 (high E) | 1 | 1 (index) |
This version leaves the D string open as well, which removes the barre entirely and spreads the work across three separate fingertips instead of one flattened one. The notes are the same four, A, Bb, D, and F, just rearranged slightly since the D string now rings open instead of fretted. It sounds marginally thinner than the full version, missing one of the two F notes, but it is a genuine, correct way to play Bb/A, not a placeholder you will have to unlearn later.
Use this version while your ring finger is still building the strength and independence a three-string barre asks for, and switch to the fuller version once it starts to feel automatic, usually within a couple of weeks of regular, short practice sessions.
What "Bb/A" actually means
A slash chord is written as "the chord" over "the bass note." The C chord's own slash chord, C/G, works the way most people expect: G is already one of the three notes inside a C major chord, so C/G just tells you which of the chord's existing notes to put on the bottom.
Bb/A is different, and it is worth being honest about why, because it is the exact thing every quick chord-chart lookup skips. A is not one of the notes in a plain Bb major triad. A Bb major chord is built from Bb, D, and F. A is not in that list. So when a chart tells you to play Bb/A, it is not simply reordering a note the chord already has, the way C/G does. It is asking you to add a new note underneath the chord, one that sits a half step below the root.
That note, A, happens to be the major 7th of Bb. Add it to a plain Bb triad and you get Bb, D, F, and A together, which is the exact note set of a Bbmaj7 chord. Put A specifically as the lowest note of that four-note group, and you have what music theory calls the third inversion of Bbmaj7. Chord charts sometimes write that out in full as Bbmaj7/A, and sometimes shorten it to Bb/A, expecting you to already know that "Bb with an A bass" quietly means a Bbmaj7 sound rather than a plain Bb triad with an odd bass note bolted underneath it. Chord inversions work the same way across any four-note chord, not just this one: whichever note lands in the bass, the chord above it keeps its identity, just its weight shifts.
This is the same logic behind the seventh chord shapes covered in our Em7 guide, just approached from the opposite direction. Em7 adds a seventh on top of a familiar triad shape you already know. Bb/A starts from the finished seventh chord and specifies which of its notes goes on the bottom, which is a subtly different way of arriving at a similar four-note idea.
Is Bb/A the same as A#, or a Bbm chord?
No, on both counts, and it is worth clearing this up before it causes a wrong note in the middle of a song.
A# and Bb are the same pitch with two different names, so an "A# chord" and a "Bb chord" are identical, not two different chords that happen to sound alike. If a chart mixes the two spellings across different songs, that is normal and not a mistake, since some keys are conventionally written with sharps and others with flats.
Bb/A is a different situation entirely. Here, the letters A and Bb are naming two different notes a half step apart, not the same note twice. Bb is the chord you are playing, the same Bb, D, F triad found on countless plain chord charts. A is a separate, specific note you are placing underneath it. Confuse the two and swap in an A# where an A belongs, or the other way around, and you have changed which note is actually ringing, not just relabeled it. That half-step gap is small on paper but very audible in practice, since A sits a full step below Bb while A# sits directly on top of it.
Bbm, meanwhile, is an unrelated chord built from Bb, Db, and F, a minor triad rather than a major one. Nothing about Bb/A changes the chord from major to minor. The "Bb" half of "Bb/A" is still the same bright, major-sounding Bb triad underneath, just with that one specific bass note added beneath it. If you see "Bbm/A" on a chart instead, that is a genuinely different, rarer chord, covered briefly in the FAQ below.
Why the Bb/A chord is buzzing or sounds dead
A buzz or a muted, thudding note in this chord almost always comes from one of five specific places. Work through them one at a time rather than guessing.
The mini barre is not making full contact
Your ring finger has to press three strings evenly at the 3rd fret, and it is common for one of the three, usually the string closest to the floor or ceiling of the barre, to get slightly less pressure than the other two. Pick the D, G, and B strings individually while holding the shape and listen for one that sounds thinner or buzzes compared to the other two. Adjust the angle of your finger slightly, aiming for the flattest part of the pad rather than the fleshy side near the knuckle, until all three ring out evenly.
The open A string is ringing thin or slightly out of tune
Because the A string is not fretted at all in this chord, any tuning drift on that string shows up immediately and obviously, in a way it might not inside a fully fretted chord where your ear has more moving parts to sort through. If the bass note of this chord sounds slightly off, check the A string's tuning on its own before assuming your fretting hand is the problem.
Your index finger is muting the high E string by accident
A single fingertip on one string sounds simple, but if the tip of your index finger tips even slightly toward the neighboring B string, it can dampen that string's fretted note without you noticing, since your ring finger is already busy working there too. Pick the high E string on its own and confirm it rings clearly and separately from the B string right next to it.
Not enough pressure across the mini barre
A three-string barre still needs real, even downward force, and a lot of players new to barring anything assume a barre this small does not need as much pressure as a full six-string one. It does, just distributed across fewer strings. If the buzz clears up the moment you press harder and returns the moment you relax even slightly, this is your answer, and it will improve with repetition as your hand builds the specific strength this motion asks for.
The low E string is sneaking into the strum
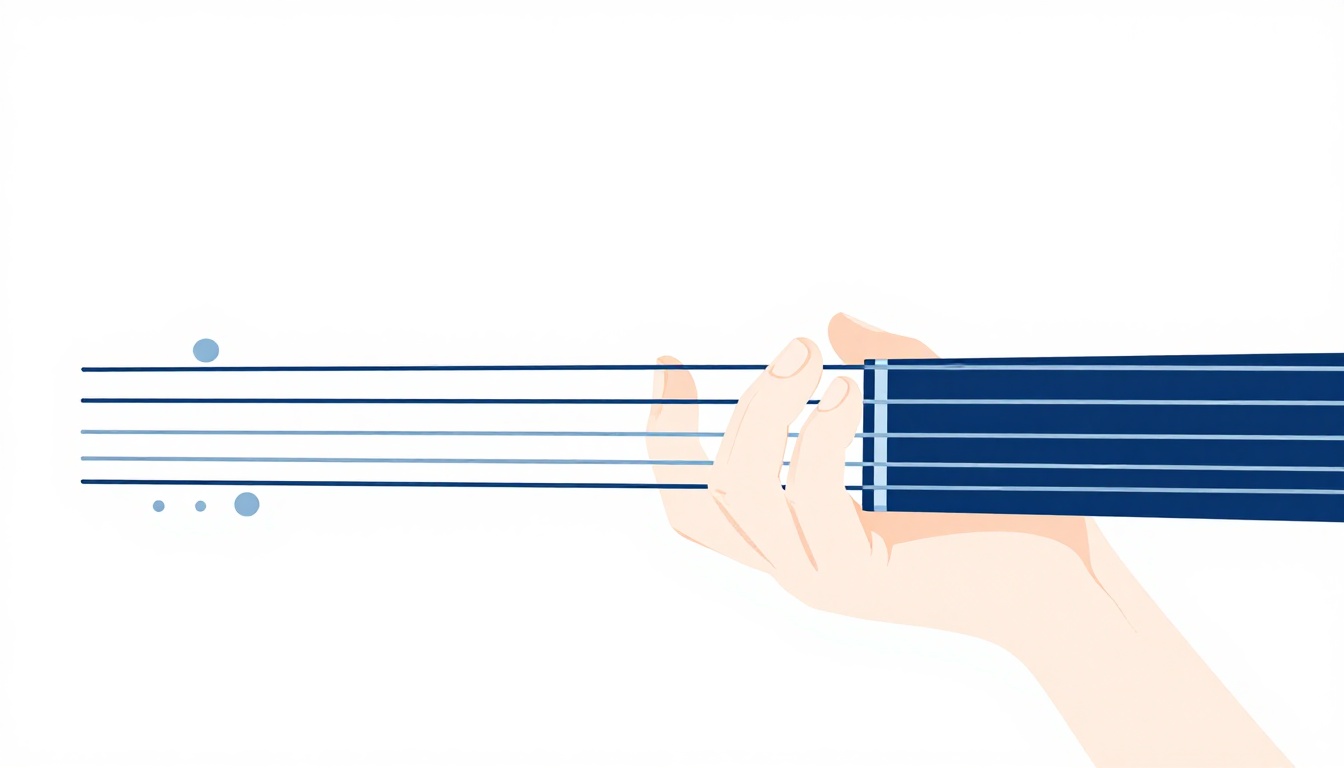
The low E string is not part of this chord at all, and if it rings out underneath the rest of the shape, you get a low, out-of-key thud that muddies everything above it. Aim your strumming hand's downstroke to start on the A string rather than the low E, or let the underside of your ring finger, already reaching up toward the 3rd fret, brush lightly against the low E as a natural mute. Test it deliberately: strum slowly and listen specifically for the very first sound your pick makes contact with, since that is where the low E most often sneaks in.
Bb/A versus just playing plain Bb
If the mini barre is not clicking yet, or you are playing this chord in a full band where a bassist is already covering the walking bass line underneath you, it is completely reasonable to simplify Bb/A down to a plain Bb chord. You lose the specific stepwise motion in the bass, but the chord above it is identical either way, so nothing about the harmony above the bass note actually changes.
This trade-off matters more in some settings than others. Playing solo, where your guitar is the only instrument carrying the bass line, the difference between Bb and Bb/A is usually audible, since it is the only thing telling the listener's ear that the bass is stepping down rather than staying put. Playing in a group where a bass guitar or a piano's left hand is already handling that descending line, simplifying to plain Bb on guitar changes very little, since the note you would have added is already present somewhere else in the mix.
A middle option, useful while you are still building the mini barre's strength: play the easier, three-separate-finger version of Bb/A covered earlier rather than dropping the slash chord altogether. It keeps the bass note and the full four-note sound intact while asking less of your ring finger specifically.
Moving the shape up the neck: barre alternatives
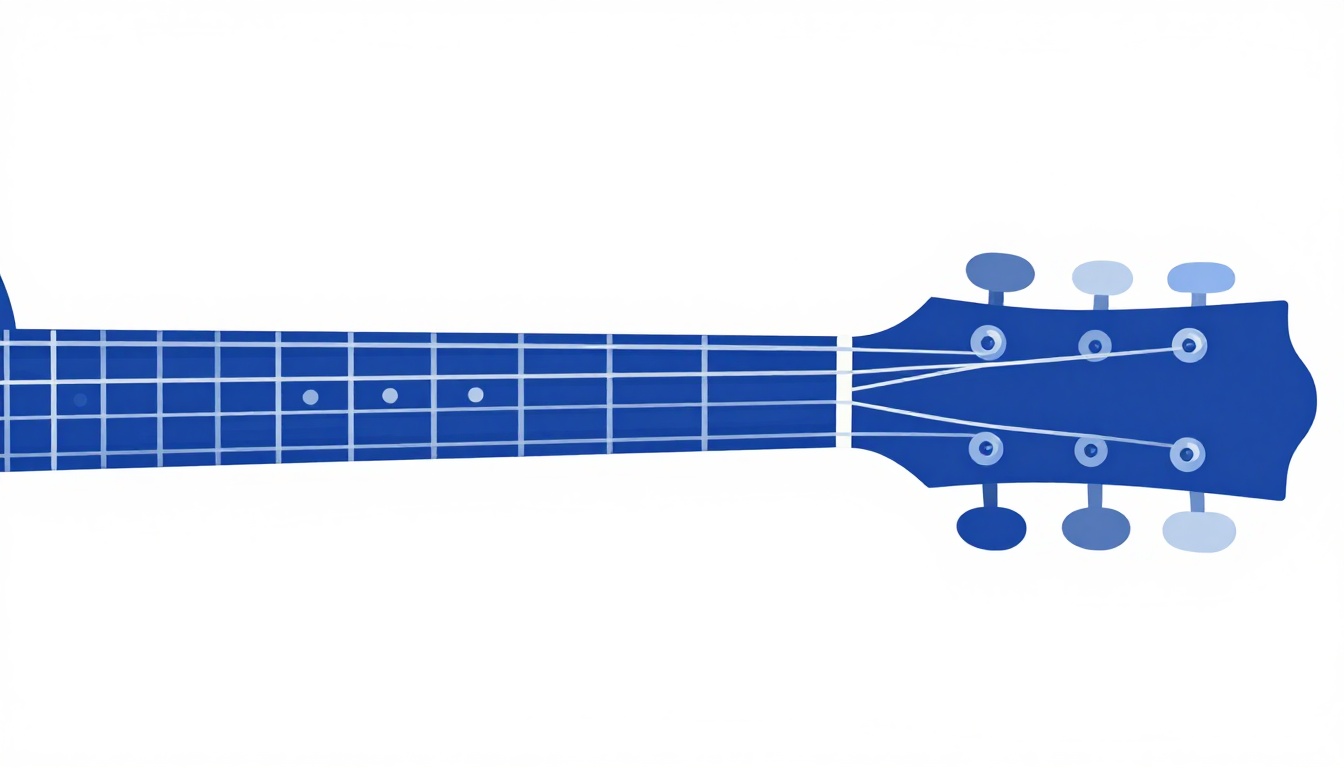
The open-position version above is the easiest way into this chord, but it is not the only one. Once the open shape feels solid, these give you the same four notes further up the neck, useful when a song is already sitting in that part of the fretboard and jumping back down to open position would break the flow.
| Voicing | 6 (low E) | 5 (A) | 4 (D) | 3 (G) | 2 (B) | 1 (high E) |
|---|---|---|---|---|---|---|
| Open position | Muted | Open | 3 | 3 | 3 | 1 |
| Up the neck, version 1 | 5 | 5 | 3 | 3 | 6 | 6 |
| Up the neck, version 2 | 5 | 5 | 3 | 3 | 3 | 6 |
Both up-the-neck versions put the A bass note on the low E string at the 5th fret instead of using the open A string, which is useful when your strumming hand is already anchored higher on the neck and dropping down to strike an open string cleanly would be more disruptive than helpful. Both ask for real stretches across three different fret zones at once, so treat them as a stretch goal for once the open version is second nature, not a starting point.
A compact voicing higher on the neck
There is also a smaller, four-string version that skips the two lowest strings entirely and puts the bass note on the D string instead.
| String | Fret | Finger |
|---|---|---|
| 6 (low E) | Do not play | - |
| 5 (A) | Do not play | - |
| 4 (D) | 7 | 3 (ring, barred with the string below) |
| 3 (G) | 7 | 3 (ring, barred with the string below) |
| 2 (B) | 6 | 1 (index, barred with the string below) |
| 1 (high E) | 6 | 1 (index, barred with the string below) |
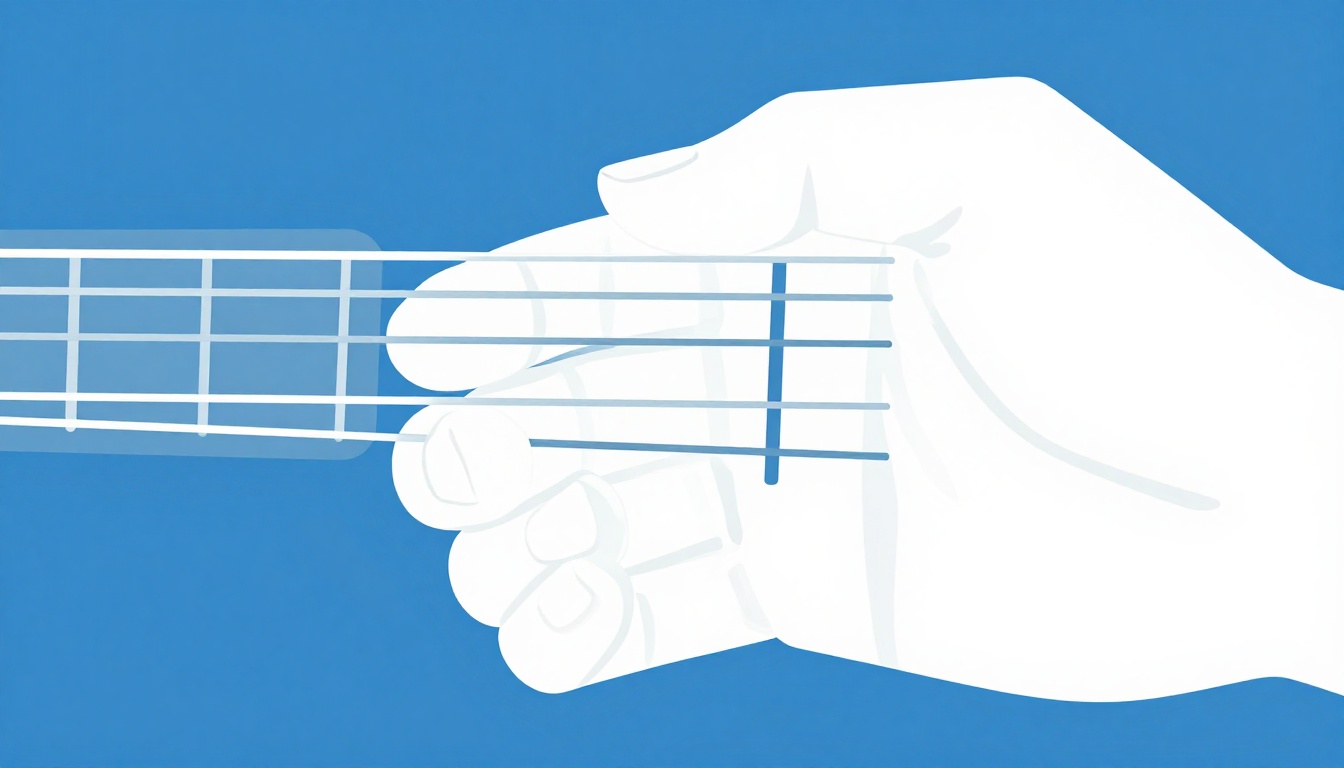
Here the D string carries the bass note, A, and the G, B, and high E strings fill in the rest of the Bbmaj7 sound above it. This shape uses two small two-string barres instead of one three-string barre, which some players find more comfortable since each barre only has to stay flat across a pair of adjacent strings rather than three at once. It is a compact, movable shape, useful once you start exploring voicings further up the neck rather than staying anchored to open position for everything.
Does this chord feel different on an acoustic versus an electric guitar?
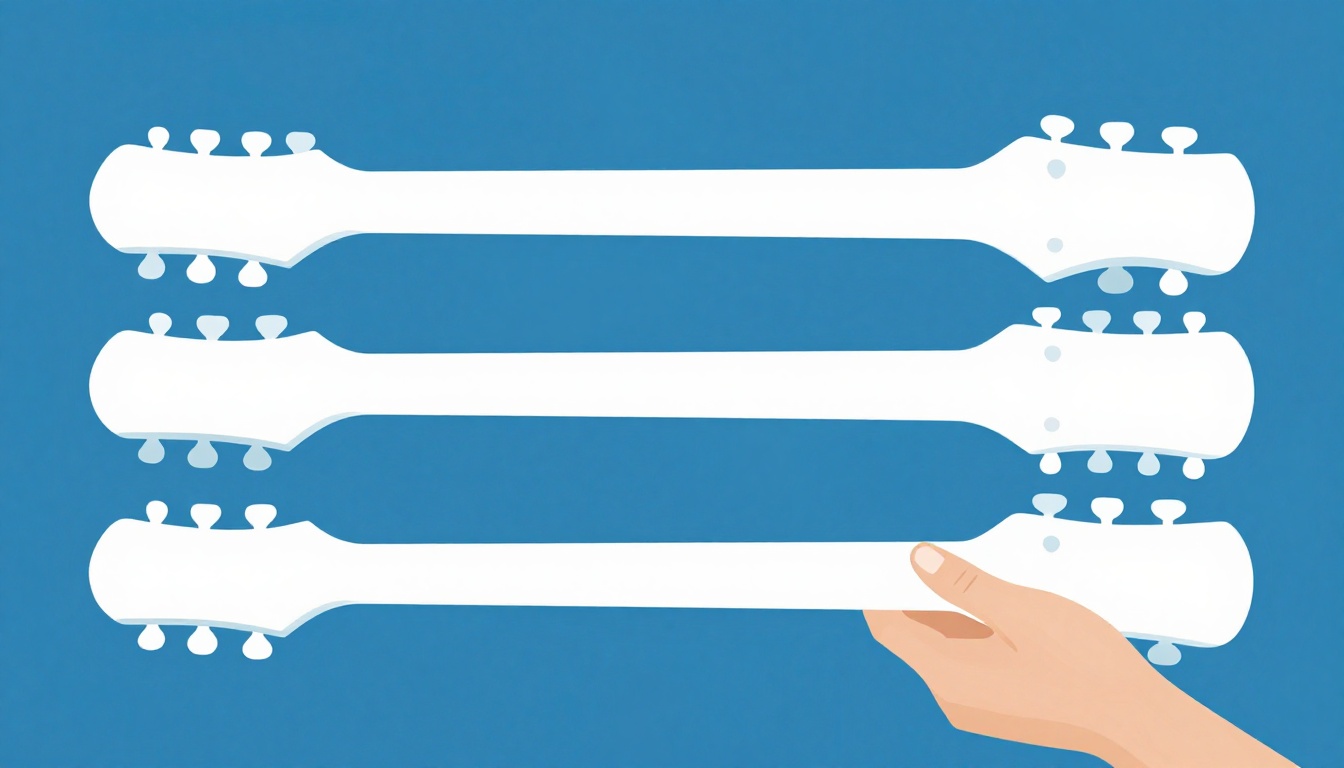
Yes, mainly because of string tension and neck width, and the two differences pull in opposite directions.
Electric guitars typically carry lighter-gauge strings under lower tension than an acoustic, and their action, the height of the strings above the fretboard, is often set lower too. Both of those make the three-string mini barre noticeably easier to fret cleanly, since less downward force is needed to stop a buzz. If you are learning this chord on an electric guitar and it feels easier than a friend's description of it on their acoustic, string tension and action are almost always why, not some difference in your technique.
Acoustic guitars, especially steel-string ones, ask for more finger strength to get the same clean result, since the strings sit under more tension and the action tends to be set a little higher for a fuller, resonant tone. A nylon-string classical guitar splits the difference in its own way: the strings themselves are gentler on the fingertips, but the neck is usually noticeably wider, which gives the mini barre more room to spread across without one string crowding into the next, at the cost of asking your hand to cover more physical distance to do it.
The shape, the fingers, and the frets stay identical across all three instruments. Only the amount of force and reach required changes.
Where the Bb/A chord actually shows up
This is not a chord you reach for on its own. It shows up almost exclusively as a stepping stone inside a chord progression, tying two more familiar chords together.
A descending bass line
The most common version of this: a song holds on Bb, then the bass steps down to A while the chord above still functions as Bb-ish harmony, then continues down to G, often landing on a G minor chord. Written out as chord symbols, that looks like Bb, then Bb/A, then Gm. The ear hears a smooth, connected bass line stepping Bb, A, G, rather than the bass jumping around between unrelated chord roots. This kind of stepwise bass motion is sometimes called a walkdown, and it is the single most common reason Bb/A appears on a real chord chart at all.
A brief passing chord, not a place to settle
On most charts that use it, Bb/A gets a short amount of time, often less than a full measure, rather than a whole verse or chorus built around it. Its job is connective: it exists to smooth the path between the chord before it and the chord after it, not to be a destination a song lingers on. If you find yourself holding Bb/A for several beats and it starts to sound aimless rather than transitional, that is a reasonable sign to check whether the chart actually intends a quicker pass through it.
This particular voicing shows up on published chord charts for real recordings, not just as a theoretical example. The chord chart for XTC's "Knights in Shining Karma," for instance, lists this exact shape, muted low E, open A, 3rd fret across D, G, and B, 1st fret on the high E, as Bb/A. If you search for the chord and land on other charts using different notation, this is what they mean.
Learning to hear it before you see it on a chart
A lot of players only notice this chord exists because they read it on a chart, not because they picked it out by ear first. It is worth training the reverse skill too, since plenty of recordings use this exact walkdown without any chart in front of you at all.
Play a plain Bb chord and let it ring, then switch only the bass note down to A while keeping the same Bb chord shape mentally in place, using the Bb/A voicing from earlier in this article. Listen specifically to what changes: the top of the chord barely moves, but the bottom now feels like it is leaning, pulling toward something rather than sitting still. That leaning feeling is the leading tone at work, discussed in the key of Bb major section below, and it is the single clearest signal that a recording has used this chord rather than staying on plain Bb the whole time.
Once that specific leaning sound is familiar, listen for it specifically in the handful of beats right before a chord changes, since that is almost always where it appears. A song that seems to be simply sitting on Bb for a full measure, but has a small, stepwise dip in the bass right before the next chord arrives, is very likely using Bb/A as a quick passing chord, exactly the kind of brief, connective role covered in the section above. Training your ear to catch that dip is far more useful long term than memorizing any single chord chart, since it lets you transcribe the idea yourself the next time you hear it in a key this article has not covered.
Bb/A inside the key of Bb major
If a song sits in the key of Bb major, the seven notes available are Bb, C, D, Eb, F, G, and A. That last note, A, is the seventh note of the scale, commonly called the leading tone, and it carries a strong pull back up toward Bb, the note directly above it.
| Chord | Roman numeral | Quality |
|---|---|---|
| Bb | I | Major |
| Cm | ii | Minor |
| Dm | iii | Minor |
| Eb | IV | Major |
| F | V | Major |
| Gm | vi | Minor |
| Adim | vii° | Diminished |
The seventh chord of the key, built on that same leading tone A, is A diminished, a chord that on its own sounds tense and unresolved. Bb/A is a lighter-weight way to get a similar pull without introducing a whole separate diminished chord shape: it keeps the familiar, comfortable Bb chord sound on top while the leading tone sits underneath it in the bass, creating tension that resolves naturally back to a plain Bb or slides on down toward Gm, exactly the kind of movement covered in the section above.
The same idea in other keys
Bb/A is one specific example of a pattern that shows up in any major key: the I chord, followed by that same chord with its own leading tone placed underneath it in the bass, followed by the vi chord. Once you can hear what that pattern is doing in Bb major, it becomes easier to recognize on a chart written in a completely different key, even if the chord names themselves look unfamiliar.
In the key of C major, the equivalent move is C, then C/B, then Am, the bass stepping C, B, A rather than Bb, A, G. In the key of G major, it is G, then G/F#, then Em. The chord names change with the key, but the relationship between them does not: a major chord, the same chord with its leading tone in the bass, then the relative minor a step below that. If you already know this pattern by ear from one key, Bb/A is not a new idea to learn so much as a familiar one appearing under an unfamiliar name.
This is also why slash chords like this one tend to cluster around certain keys on real chord charts and not others. A key like Bb major, with a comfortable, common home chord, makes this particular walkdown easy to reach for, while a less common key might express the same musical idea with a different chord entirely, even though the underlying motion in the bass is identical.
Changing from Bb to Bb/A
If you already play Bb using the common open-position barre shape (muted low E, index finger barring the A string and high E string at the 1st fret, ring, middle, and pinky covering the D, G, and B strings at the 3rd fret), the move to Bb/A is smaller than it looks.
| Chord | 5 (A) | 4 (D) | 3 (G) | 2 (B) | 1 (high E) |
|---|---|---|---|---|---|
| Bb (barre) | 1 (index) | 3 | 3 | 3 | 1 (index) |
| Bb/A | Open | 3 | 3 | 3 | 1 (index, single string only) |
The three fingers covering the D, G, and B strings do not move at all between these two chords. The only real change is the A string, fretted for Bb, left open for Bb/A, and the job your index finger is doing, barring two strings for Bb versus fretting just one, the high E, for Bb/A. In practice this means simply lifting your index finger off the A string specifically while keeping it on the high E string, letting the A string ring open the moment you do.
If you learned Bb using the fuller, six-string barre further up the neck instead (rooted at the 6th fret), there is no equally small move to Bb/A from that shape. In that case, it is easier to drop down to the open-position Bb/A voicing directly rather than trying to adapt the six-string barre on the fly.

Changing from Bb/A to Gm
Gm is a natural next stop after Bb/A, continuing that same descending bass line from Bb down through A to G.
| Chord | 6 (low E) | 5 (A) | 4 (D) | 3 (G) | 2 (B) | 1 (high E) |
|---|---|---|---|---|---|---|
| Bb/A | Muted | Open | 3 | 3 | 3 | 1 |
| Gm (barre) | 3 | 5 | 5 | 3 | 3 | 3 |
Two of the four fretted strings, the G and B strings, stay at the same 3rd fret for both chords, which gives your hand a real anchor point to build the change around. What moves is the low E string, silent for Bb/A and now fretted at the 3rd fret for Gm, the A string, open for Bb/A and fretted at the 5th for Gm, and the D string, which shifts from the 3rd fret up to the 5th. Practice landing the G and B strings first as your anchor, then let the rest of the hand fill in around them, rather than trying to place all six points at once.
Changing from Bb/A to F
F, the V chord in the key of Bb major, pairs naturally with Bb/A, and the easy, three-finger version of F shares more with this chord than it first appears.
| Chord | 6 (low E) | 5 (A) | 4 (D) | 3 (G) | 2 (B) | 1 (high E) |
|---|---|---|---|---|---|---|
| Bb/A | Muted | Open | 3 | 3 | 3 | 1 |
| F (easy, three finger) | Do not play | Do not play | 3 | 2 | 1 | 1 |
The D string and the high E string do not move at all between these two chords, both stay at the 3rd fret and the 1st fret respectively either way. What changes is the G string, dropping from the 3rd fret to the 2nd, and the B string, dropping from the 3rd fret all the way to the 1st, plus the A string, which simply goes from open to unplayed rather than needing a new finger. With two of four fretted strings already anchored, this change asks less of your hand than it looks like on paper.
Changing from Bb/A to Eb
Eb, the IV chord in the key of Bb major, is another common destination, especially in progressions that use Bb/A as a brief passing chord between two full chords rather than as part of a straight descending walk.
| Chord | 6 (low E) | 5 (A) | 4 (D) | 3 (G) | 2 (B) | 1 (high E) |
|---|---|---|---|---|---|---|
| Bb/A | Muted | Open | 3 | 3 | 3 | 1 |
| Eb (barre) | Do not play | 6 | 8 | 8 | 8 | 6 |
This change asks your whole hand to relocate rather than pivot around a shared string, since Eb sits several frets further up the neck using a different shape entirely, based on the open A chord form barred at the 6th fret. Practice it as a clean jump: lift the entire Bb/A shape off as one motion, then land the Eb shape as one motion, rather than trying to walk individual fingers there one at a time. A short, deliberate silence between the two while you relocate your hand will sound far better in practice than a rushed, half-formed landing.
Smaller hands and alternate fingerings
If the three-string mini barre with your ring finger is uncomfortable, whether from hand size, flexibility, or a joint that just does not want to flatten that way, the easier version covered earlier in this article, with the D string left open and the G and B strings taken by separate middle and ring fingers, solves the same problem from a different angle. It swaps one barred finger for two independent ones, which some hands manage more comfortably than a barre no matter how small.
Another option: fret the D, G, and B strings at the 3rd fret with your middle, ring, and pinky fingers individually instead of barring any of them with your ring finger alone. This uses three fingers where the main version uses one, but each finger only has to manage a single string, which can feel more secure for a hand still building the coordination a barre requires. Your index finger stays free for the high E string exactly as before, and nothing about the actual notes changes, only how many fingers are doing the work.
Playing Bb/A fingerstyle
The open A string makes this a natural chord to pluck rather than strum, since the bass note is already isolated on its own string, ready for a thumb.
| Finger | String | Note |
|---|---|---|
| Thumb | 5 (A) | A |
| Index | 4 (D) | F |
| Middle | 3 (G) | Bb |
| Ring | 2 (B) | D |
A simple starting pattern: thumb plays the open A string alone first, letting the bass note ring out clearly on its own before the rest of the chord fills in, then index, middle, and ring pluck the D, G, and B strings together or in a quick roll immediately after. The high E string can be left out of a fingerstyle pattern entirely without losing the chord's identity, since it only doubles the F already present on the D string an octave higher. Isolating that open bass note this way is also a good way to check your tuning and your finger placement are both solid, since a plucked single note makes any flaw far easier to hear than it is buried inside a full strum.
Warm-ups that make the mini barre easier
A cold hand fights the three-string barre far more than a warmed-up one, so a minute of warm-up before a session focused on this chord pays for itself.
- Barre press-ups. Lay your ring finger flat across the D, G, and B strings without pressing hard at all, then gradually add pressure until all three ring clean, hold for a few seconds, and release completely. Repeat five times. This trains the specific amount of force the shape needs rather than just holding the position once and hoping it sticks.
- Single-string isolation. Fret only the G string at the 3rd fret with your ring finger, pick it, release, then do the same for the D string and the B string on their own. This confirms each string can ring cleanly under that finger individually before asking all three to do it together.
- Open and close. Make a loose fist with your fretting hand, then spread your fingers as wide as comfortable, five times. This general hand warm-up loosens the tendons that a flat, even barre relies on, even a small three-string one.
None of this needs more than a minute or two, and it is worth doing before any practice session that focuses on this chord specifically, not just as a one-time exercise before you first learn the shape.
Common mistakes beyond buzzing
A few habits show up again and again around this chord, separate from the buzzing causes covered earlier.
Arching the barre finger the way you would a single note
Most guitar instruction, reasonably, teaches you to keep your fingers arched and up on their tips to avoid muting neighboring strings. That habit works against you here. The ring finger's job in this chord is specifically to lie flatter across three strings at once, not to arch away from them. If your Bb/A sounds thin or one of the three barred strings keeps cutting out, check whether old single-note habits are pulling that finger more upright than this particular shape needs.
Forgetting to re-mute the low E after playing plain Bb
If you are alternating between plain Bb and Bb/A in the same song, it is easy to carry over whatever your low E string was doing in one chord into the next without thinking about it. Both chords need that string silent, so this is less about the change itself and more about staying consistent, but it is worth double-checking specifically during a Bb to Bb/A transition, since your attention is already focused on the A string's change and the low E can slip by unnoticed.
Rushing the shape before it is reliable
It is tempting to move on to chord changes the moment Bb/A sounds right once. But a shape that only works when you have several seconds to place each finger carefully will fall apart the instant you need it inside a song's tempo. Spend a few extra days holding the shape, releasing it, and re-forming it from scratch before you start timing changes against a strum.
Pressing far harder than the mini barre actually needs
Once the three strings under your ring finger stop buzzing, more pressure adds nothing except fatigue. A lot of players keep squeezing well past the point a clean note requires, especially on a chord that already feels like it demands extra effort because of the word "barre" in its description. Once you find the pressure the shape needs, that is the ceiling, not a floor to build from.
A practice routine for today
Fifteen focused minutes is enough to make real progress on this chord, in line with practicing guitar in short daily sessions rather than occasional long ones.
- Two minutes: form the Bb/A shape from nothing, five separate times, resetting your hand fully between each one. Check the shape first, the sound second.
- Three minutes: strum the chord slowly and pick each of the three barred notes on the D, G, and B strings individually, using the buzzing section above to fix anything that sounds off.
- Five minutes: practice the change from Bb into Bb/A, since that shared hand position is the version of this chord you will use most often in a real song. Change on a slow, steady four-count, with a full beat of silence between chords rather than rushing.
- Five minutes: once that feels solid, add Gm as a third chord and practice the full Bb, Bb/A, Gm sequence slowly, letting the bass line's downward step, Bb to A to G, become audible rather than just correct.
Repeat this most days rather than saving it for one long weekly session. A three-string mini barre is a physical skill your hand is learning, not a fact to memorize, and it builds through frequent short repetition far more reliably than through occasional marathon practice. Most players notice the shape starting to feel automatic within two or three weeks of daily attention, with the change into and out of it usually being the last piece to feel fully comfortable.
FAQ
Do I need to know a full Bbmaj7 shape to play Bb/A? No. The open-position voicing covered at the top of this article gives you the full Bbmaj7 note set, A, Bb, D, and F, without needing a separate, harder Bbmaj7 shape memorized first. They are built from the same four notes, just usually taught and labeled differently depending on which chord chart you are reading from.
My chord chart just says "Bb," but the recording clearly has a lower note under it. What is going on? This is common, especially with charts transcribed by ear rather than from an official source. If the bass genuinely steps down to A under a chord that still sounds like Bb above it, the chart is likely simplifying Bb/A down to plain Bb for convenience. Playing plain Bb instead is not wrong, it just leaves out that stepwise bass motion, which is a reasonable trade if the mini barre in this chord's full version is still out of reach.
Can I use a capo to make this chord easier? Not usefully. A capo shifts an entire open-position shape up the neck by the same number of frets, but this chord's identity depends specifically on the open A string ringing under a fretted Bb shape, and a capo would fret that A string along with everything else, removing the exact feature that makes this chord what it is.
Is Bb/A a major or minor chord? Major. The "Bb" half of the name refers to a Bb major triad, and nothing about adding the A bass note changes that. What you are hearing is a bright, major chord sound with one extra note underneath it, not a shift into minor.
What is the actual difference between Bb/A and Bbmaj7? In terms of notes, none, both use A, Bb, D, and F. The difference is which note is expected to sit on the bottom. Bbmaj7 usually implies Bb itself stays the bass note, with the other three notes stacked above it in whatever order a given voicing uses. Bb/A specifically calls for A on the bottom, which is why it is sometimes written more precisely as Bbmaj7/A.
Is there a minor version of this, like Bbm/A? It exists on paper, but it is much rarer, because A is not one of the seven notes in the Bb natural minor scale, that scale uses Ab instead. Where Bb/A pulls a note straight from the key of Bb major, Bbm/A would be reaching outside the key entirely, so it shows up far less often and tends to be a deliberate, unusual color choice rather than a common passing chord.
Should I learn plain Bb or Bb/A first? Plain Bb, since it is the far more commonly requested chord across songs in general. That said, do not assume Bb/A will be harder once you get to it: because it trades a full barre for an open string, it is arguably the easier shape of the two once you already have the mini barre technique from other chords.
Why does the open A string sometimes sound out of tune under this chord? Because it is the only unfretted string in the entire shape, any drift in that string's tuning is far more exposed here than it would be in a fully fretted chord, where your ear has more competing information to sort through. Check the A string's tuning on its own if the bass note ever sounds slightly off, before assuming your fretting hand is the problem.
Do I need to mute the low E string every single time? Yes, if you want the chord to sound clean. The low E string is not one of this chord's four notes, and letting it ring adds a low, out-of-key note underneath everything else that muddies the sound rather than adding to it. A light touch from your ring finger's underside, already reaching up toward the 3rd fret, is often enough once it becomes a habit.
GuitarLowKey
Ready for fifteen focused minutes?
Open the web app and train the change that is blocking your song.