
How to Play the C7 Guitar Chord (Every Shape, No Buzzing)
The easy open C7 shape, two barre versions further up the neck, and how to fix the buzz before you use C7 in a blues turnaround.

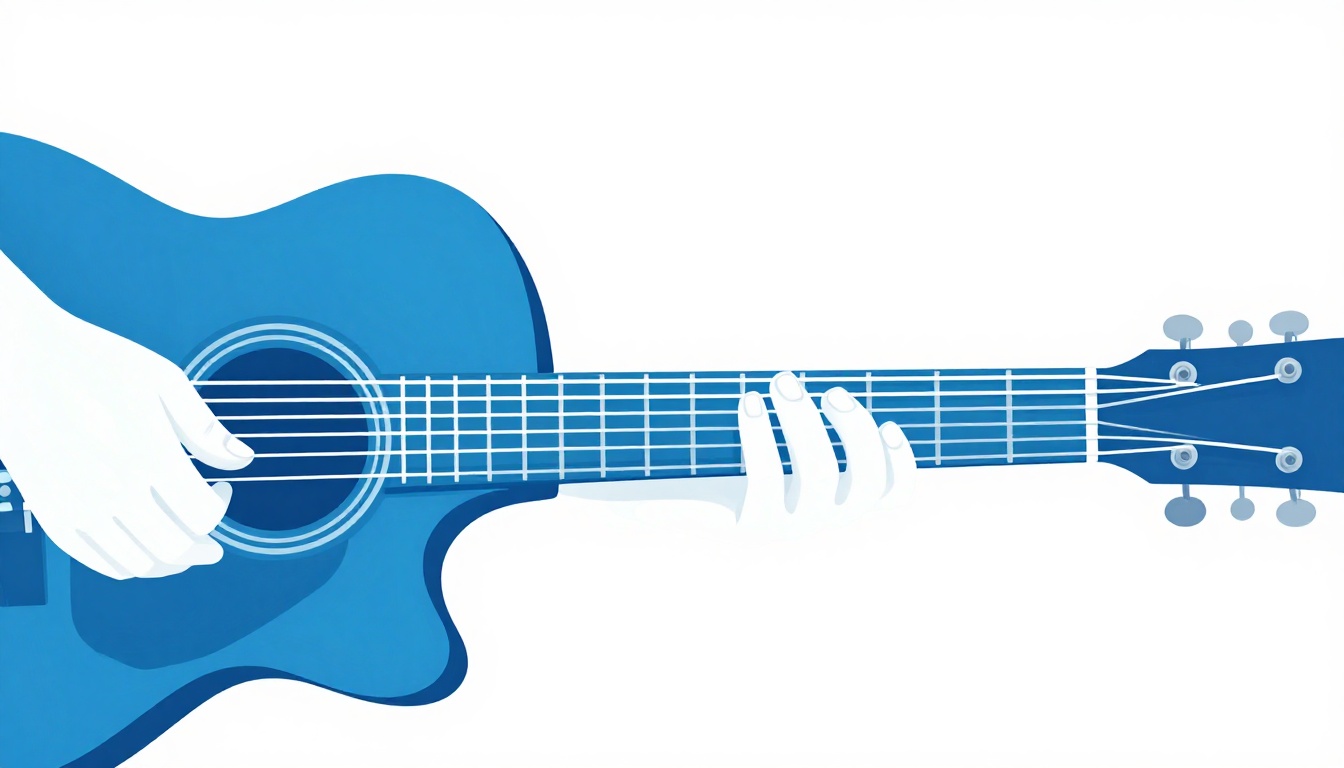
Play an open C chord, then move your pinky onto the third fret of the third string (the G string), the same string that was ringing open a second ago. Everything else stays exactly where it already was. That is C7: ring finger on the third fret of the fifth string, middle finger on the second fret of the fourth string, pinky on the third fret of the third string, index finger on the first fret of the second string, low E string muted, high E string ringing open.
That is the whole answer if you already know open C. If you do not, the next section breaks it down finger by finger, followed by two barre versions further up the neck, a smaller-hand alternative, and fixes for every buzz this chord produces.
C7 is what happens when you take a plain C major chord and stack a flattened seventh on top, and that one extra note changes the chord's whole personality. A plain C major sits still. C7 leans forward, restless, wanting to resolve somewhere else. That pull is why it shows up constantly in blues, in rock and roll, in old standards, and in the turnarounds that end a twelve-bar blues in the key of F. It is also one of the more forgiving seventh chords for a new player to pick up, since three of its four fingers are shapes you already know from plain C.
What Notes Make Up C7
C7 is a dominant seventh chord built from four notes: C, E, G, and Bb. That is a C major triad (C, E, G) with a flattened seventh, Bb, stacked on top. The "seventh" in the chord's name refers to that Bb, the note a minor seventh above the root.
This is different from plain C major, which uses only three notes (C, E, G) spread across the strings. Adding the Bb is what gives C7 its edge. A major chord on its own sounds settled and resolved. Add the flattened seventh and the chord leans forward, unresolved, which is exactly the tension a blues progression wants before it lands back on the tonic.
Here is what each string is actually playing in the open C7 shape, low to high:
| String | Note Played | Role in the Chord |
|---|---|---|
| 6 (low E) | Muted | Not played |
| 5 (A) | C | Root |
| 4 (D) | E | Major third |
| 3 (G) | Bb | Flattened seventh |
| 2 (B) | C | Root, one octave up |
| 1 (high E) | E | Major third, one octave up |
Notice what is missing: the perfect fifth, G, does not appear anywhere in this shape. That is normal for open seventh-chord voicings on guitar. The ear fills in a fifth that is not physically present as long as the root, third, and seventh are all there and in tune, so leaving it out costs the chord nothing.
Looked at as intervals rather than note names, C7 is built the same way as every dominant seventh chord:
| Interval | Note in C7 | Distance from Root |
|---|---|---|
| Root | C | Unison |
| Major third | E | 4 semitones |
| Perfect fifth | G | 7 semitones |
| Flattened seventh | Bb | 10 semitones |
That interval formula, root, major third, perfect fifth, flattened seventh, is what makes a chord a dominant seventh regardless of which letter it is built on. Once it is familiar for C7, the same spacing applies directly to D7, G7, or any other dominant seventh chord, just starting from a different root note.
C7 vs Plain C Major: What Actually Changes
If you already play the open C chord, the change is small and mechanical. In plain C major, the third string (G) rings open. In C7, your pinky lands on that same string at the third fret, turning the open G note into a Bb. Nothing else moves. Your ring finger stays on the fifth string, your middle finger stays on the fourth string, your index finger stays on the second string, and the first string keeps ringing open.
Because three of the four fingers are already in place, C7 is a genuinely useful shape to drill even before you need it in a song, purely as practice for dropping a pinky onto a fret without disturbing three fingers that are already holding their ground. Most of the difficulty in this chord lives in that one small motion, not in the rest of the shape.
C7 vs Cmaj7: Do Not Mix These Up
The names look one letter apart and the confusion is common enough to deal with directly. C7 (sometimes written Cdom7) is a dominant seventh: C, E, G, Bb. Cmaj7 is a major seventh: C, E, G, B, with the seventh left natural instead of flattened.
That single note, Bb against B, changes the chord's whole mood. C7 is restless and bluesy, built to pull toward another chord. Cmaj7 is soft and settled, common in jazz and singer-songwriter voicings, and it does not carry the same forward pull. If a tab or chord chart just says "C7" without "maj" anywhere in it, it means the dominant seventh in this guide, not the major seventh. When in doubt, check the notes: if the chart shows a Bb, it is C7. If it shows a B natural, it is Cmaj7.
The fingerings are different too, not just the note. Cmaj7 is commonly played with the B natural on the second string, first fret lifted off entirely and left open, keeping the shape simpler than C7 rather than adding a finger to it. That is worth knowing if a search result for "C7" turns up a shape that looks unfamiliar next to the one in this guide. It may simply be Cmaj7 under a mislabeled chart.
Tuning Up Before You Play This Chord
C7 relies on one open string, the high E, ringing cleanly against three fretted notes, and it is built low on the neck where any tuning drift is easy to hear and easy to misdiagnose as a fingering problem. Standard tuning, low to high, is:
| String | Note | Common Name |
|---|---|---|
| 6 | E | Low E |
| 5 | A | A |
| 4 | D | D |
| 3 | G | G |
| 2 | B | B |
| 1 | E | High E |
Check your tuning with a clip-on tuner or a tuning app before working on this chord. The fifth string carries the root of the chord in the open shape, so if it drifts flat or sharp the whole chord sounds sour in a way that feels like a fingering mistake but is not one. A chord that sounds "almost right" is worth checking against a tuner before you start hunting for a buzz that is not actually there.
Old strings drift out of tune faster and hold pitch less reliably than fresh ones, and a string that has gone dull or discolored is also more prone to buzzing against the frets regardless of how well it is fretted. If tuning keeps slipping within a single practice session even after you have checked it carefully, worn strings are a more likely explanation than a fretting-hand problem.
The Easiest Way to Play C7
The most common open-position C7 shape uses four fingers, low to high across the strings:
| String | Fret | Finger |
|---|---|---|
| 6 (low E) | Muted | - |
| 5 (A) | 3 | 3 (ring) |
| 4 (D) | 2 | 2 (middle) |
| 3 (G) | 3 | 4 (pinky) |
| 2 (B) | 1 | 1 (index) |
| 1 (high E) | Open | - |
Build it in this order: place your ring finger on the third fret of the fifth string first, since that note is the root and everything else is judged against it. Add your middle finger to the second fret of the fourth string. Add your index finger to the first fret of the second string. Last, reach your pinky across to the third fret of the third string, the string sitting between your middle and index fingers. That last motion is the one beginners fumble, since the pinky has to arch over the fingers already in place without flattening onto the string next to it.
Mute the sixth string with the underside of your fretting-hand thumb or by simply not strumming it, and strum from the fifth string down through the first. Every string you play should ring clearly, and the sixth string should not sound at all.
Why C7 Buzzes or Sounds Muted
C7 fails in a handful of specific, fixable ways. Work through these one at a time rather than pressing harder everywhere, since pressing harder is rarely the actual fix.
The Pinky Flattens Onto the Wrong String
The most common problem in this chord is the pinky note on the third fret of the third string. A pinky that lands flat instead of arched will lean against the second string next to it, killing the ring on your index finger's note or choking its own note halfway through the strum. Curl the pinky so only the very tip touches the string, coming down close to straight rather than at a shallow angle, and check that the second string is still ringing clearly right after you fret the chord.
The Ring Finger Leans Onto the Sixth String
Your ring finger, on the third fret of the fifth string, sits right next to the low E string. If the pad of that finger leans over even slightly, it will deaden the sixth string against the fret, which is harmless if you are muting that string anyway, but it can also drag against the fifth string itself and dull the root note you actually need ringing clearly. Arch the ring finger so it presses straight down rather than at an angle.
The Low E String Rings When It Should Not
Because the sixth string is not part of this chord, letting it ring adds a wrong, muddy low note underneath everything else. Rest the underside of your thumb lightly across the top of the neck to deaden it, or simply aim your strum to start from the fifth string. Either works. What does not work is ignoring it and hoping nobody notices, since an open low E under a C7 chord is one of the more obvious wrong notes a listener can hear.
The Index Finger Presses Too Hard and Bends the Note Sharp
The second string, first fret, only needs enough pressure to seat the string against the fret. Beginners often press far harder than necessary out of habit built on the low E and A strings, and on a thinner string like the B string, extra pressure can bend the pitch slightly sharp, especially if your finger drifts toward the middle of the fret instead of staying close behind it. Ease off until the note rings clean rather than choked or sharp.
One Finger Is Not Committing to Full Contact
Any of the three fretted notes going quiet, buzzy, or muffled usually traces back to that finger not landing squarely on its fret. Check each finger placement one string at a time: fret a single note, pluck it alone, listen for a clean ring, then move to the next string. This isolates exactly which finger is causing the problem instead of guessing at the whole chord.
A Simpler Version for Small Hands or Beginners
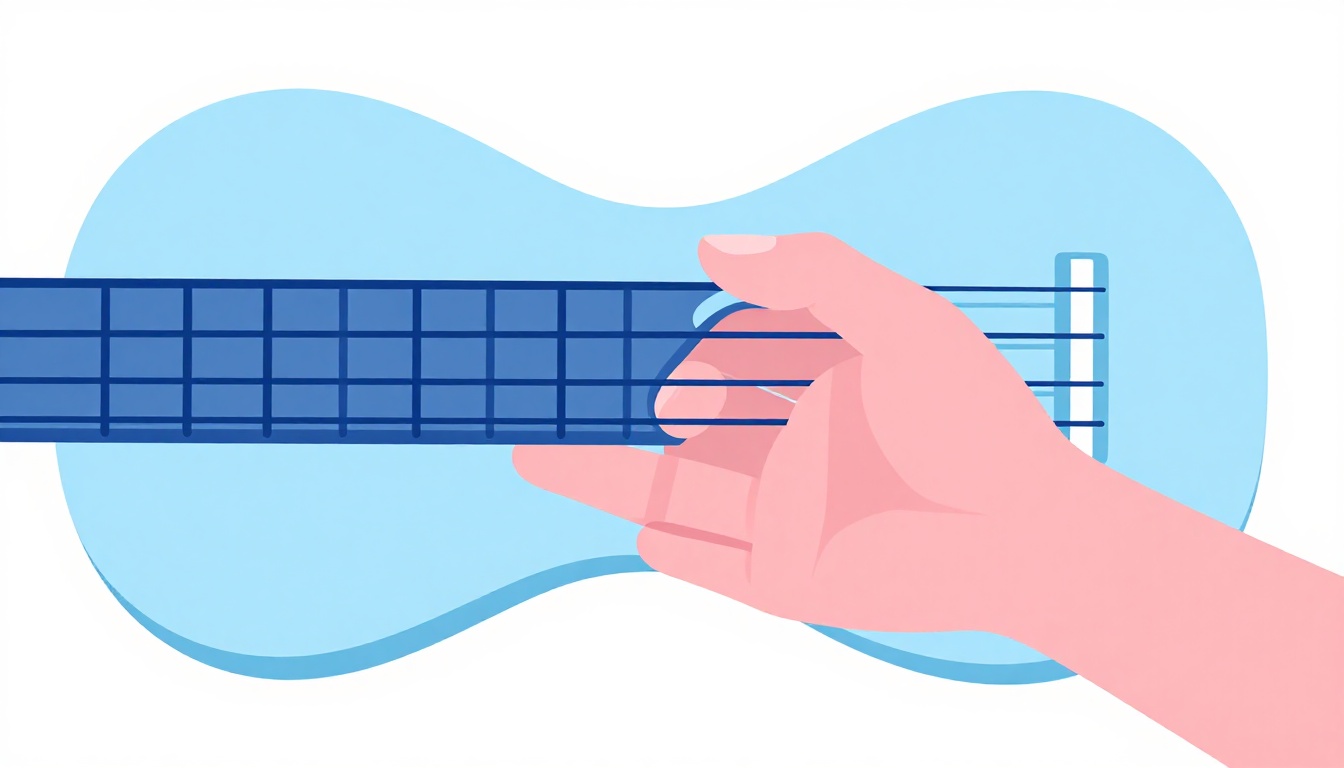
If the four-finger open shape feels cramped, you do not need every note in the chord to get a usable, recognizably bluesy C7 sound. Play just the three inner strings:
| String | Fret | Finger |
|---|---|---|
| 6 (low E) | Muted | - |
| 5 (A) | Muted | - |
| 4 (D) | 2 | 1 (index) |
| 3 (G) | 3 | 3 (ring) |
| 2 (B) | 1 | 2 (middle) |
| 1 (high E) | Muted | - |
This keeps the root, the flattened seventh, and the third, the three notes that actually define a dominant seventh sound, and drops the doubled root and third on the outer strings. It uses only three fingers, none of them stretched over another, which makes it a genuinely easier entry point for a small hand or a first attempt at this chord. The tradeoff is a thinner, tighter sound with less low end, which some players actually prefer for a jazzy comping feel rather than a full strummed chord.

The A7-Shape Barre Version (Third Position)
Once the open shape is comfortable, a movable barre version of C7 opens up the rest of the neck. This one is built on the same shape as an open A7 chord, shifted up so the root lands on C instead of A:
| String | Fret | Finger |
|---|---|---|
| 6 (low E) | Muted | - |
| 5 (A) | 3 | 1 (index, barre) |
| 4 (D) | 5 | 3 (ring) |
| 3 (G) | 3 | 1 (index, barre) |
| 2 (B) | 5 | 4 (pinky) |
| 1 (high E) | 3 | 1 (index, barre) |
Lay your index finger flat across the third fret, covering the fifth, third, and first strings, then reach your ring finger and pinky two frets higher to the fifth fret on the fourth and second strings. The sixth string stays muted, same as the open shape. This voicing is genuinely harder than the open version since it depends on a clean barre, so treat it as a follow-up chord once the open shape rings without buzzing, not a replacement for learning that one first.
The E7-Shape Barre Version (Eighth Position)
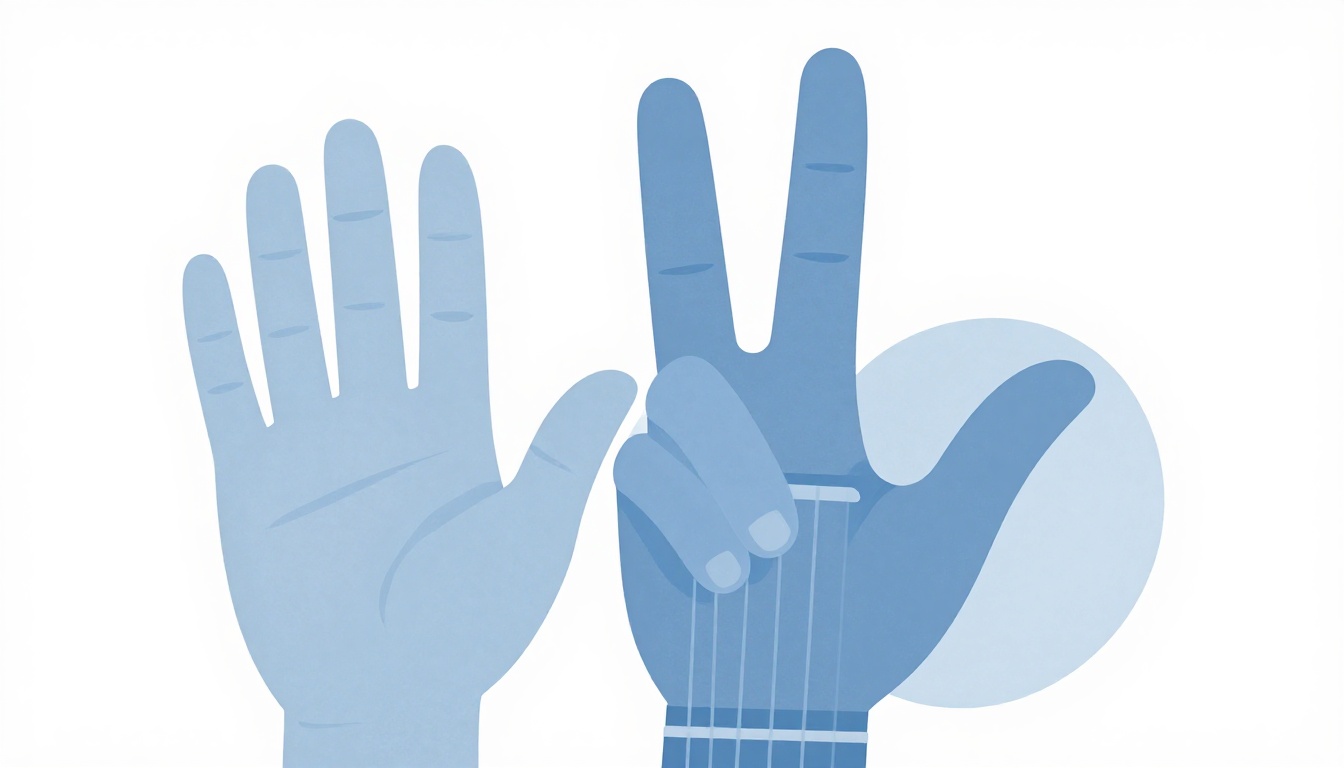
A second movable shape, built on the open E7 chord, gives you C7 further up the neck with the root on the sixth string instead of the fifth:
| String | Fret | Finger |
|---|---|---|
| 6 (low E) | 8 | 1 (index, barre) |
| 5 (A) | 10 | 3 (ring) |
| 4 (D) | 8 | 1 (index, barre) |
| 3 (G) | 9 | 2 (middle) |
| 2 (B) | 8 | 1 (index, barre) |
| 1 (high E) | 8 | 1 (index, barre) |
The index finger barres straight across all six strings at the eighth fret. The ring finger reaches two frets higher on the fifth string, and the middle finger reaches one fret higher on the third string. This is the same shape a lot of players first meet as an open-position B7 chord moved up with a barre added, so if B7 is already familiar, this shape will feel immediately recognizable, just six frets higher and fully barred.
Fixing Buzz on the Barre Shapes
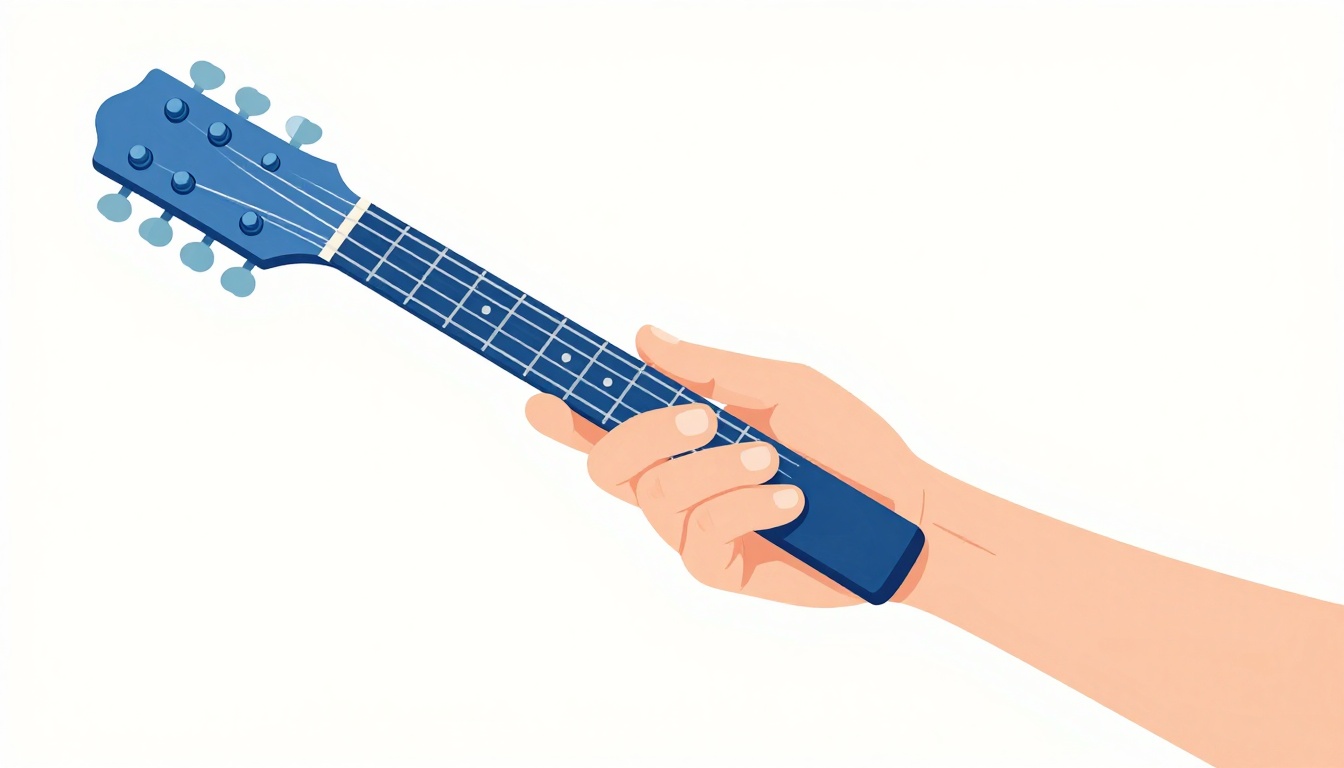
Barre chords fail for different reasons than open chords, and both movable C7 shapes above will expose these fast if any of them are off.
The Barre Finger Is Not Pressing Evenly
A barre only works if the whole length of the index finger presses down with even pressure. It is common for the pressure to taper off toward the pinky side of the hand, leaving the first string buzzing or dead while the fifth and sixth strings ring fine. Roll the index finger slightly onto its side, using the flatter part near the bone rather than the soft pad, and check each string on the barre individually by plucking it alone.
The Thumb Is Too Low Behind the Neck
Barre chords need real counter-pressure from the thumb on the back of the neck, roughly opposite the index finger. A thumb that has crept low, toward the bottom of the neck, or one that is wrapped over the top, gives the barre finger nothing to press against and the chord will buzz no matter how hard the front hand works. Bring the thumb back to the center of the neck, opposite the barre.
The Wrist Is Locked Straight Instead of Angled
A wrist held perfectly straight against the neck tends to push the fretting fingers in at a flat, weak angle. Angling the wrist slightly outward lets the fingers come down more on their tips and lets the barre finger roll onto its stronger edge, both of which add clean pressure without adding strain.
The Guitar's Action Is Working Against You
Some of this is not technique at all. An acoustic guitar with high action (the strings sitting further above the fretboard than they need to) makes any barre chord physically harder to fret cleanly, C7 included, no matter how correct your hand position is. If every barre chord you try buzzes in the same spot regardless of how you adjust your hand, and an open chord like plain C rings fine, that is worth having a guitar tech check, since it may not be a technique problem at all. Electric guitars typically have lower action and lighter strings than acoustics, which is part of why barre chords often feel easier to first learn on an electric.
Why Learn Barre Shapes for a Chord You Already Have Open
The open C7 shape is easier, so it is fair to ask why the barre versions are worth the extra work. The answer is that both barre shapes are movable. Slide the A7-shape barre chord up two frets and it becomes D7. Slide it up further and it becomes any dominant seventh chord on the neck, using the exact same finger pattern. The same is true of the E7-shape barre chord. Learning one movable shape well effectively teaches you every dominant seventh chord in that shape family, which is a far better return on practice time than memorizing twelve separate open-position chords one at a time.
This also means that once either barre shape is solid, you already know how to play C7 an octave higher, which is useful when a song calls for the same chord voiced brighter or when you need to get out of the way of another instrument playing lower down.
How C7 Compares to Other Open Seventh Chords
C7 is not an unusual case among open dominant seventh chords, and seeing how it lines up against its neighbors makes the whole family easier to learn. Every open dominant seventh shape on guitar is built the same way: start from the major chord and either lower one note by a fret or lift a finger off entirely to expose the flattened seventh underneath.
E7 is the simplest example of this. Open E major uses three fingers, and open E7 is what is left after lifting one of them off, dropping to two fingers total. C7 works the opposite way: open C major already uses three fingers, and C7 adds a fourth rather than removing one, since the flattened seventh in C7's shape happens to fall on a string, the third string, that was ringing open in plain C.
G7 follows the same logic from a different direction. Open G major typically uses three fingers spread across the bass strings, and G7 trades one of those for a different finger on the high string to bring in the flattened seventh, landing at three fingers total, similar in difficulty to C7 but with the moving finger on the opposite end of the chord.
The pattern worth remembering across all of these: a dominant seventh chord is never a completely new hand shape to memorize from nothing. It is always the major chord you likely already know, with one note changed. Once that click happens for C7, it happens faster for every other dominant seventh chord after it.
Strumming and Picking Patterns for C7
C7 responds well to a few different right-hand approaches, and which one fits depends on where the chord sits in a song.
For a straightforward blues shuffle, a simple down-up-down-up pattern at a steady tempo, slightly emphasizing the downbeats, gets the chord's restless character across without overcomplicating the right hand while the left hand is still learning the shape. Keep the muted sixth string out of the strum by starting each stroke from the fifth string.
For a more traditional blues feel, many players add a shuffle rhythm, lengthening the first of each pair of eighth notes and shortening the second, which gives the strum a swung, uneven feel instead of a straight, even one. This is worth adding only once the plain even strum is solid, since trying to swing a rhythm you have not locked in straight first usually just sounds unsteady rather than intentionally swung.
For fingerstyle or a quieter arrangement, a thumb-and-fingers approach works well: the thumb alternates between the root note on the fifth string and a higher string to create a steady bass pulse, while the index, middle, and ring fingers fill in the remaining notes on the off-beats. This pulls the same four notes out of the chord more deliberately and at a lower volume than a full strum, useful for a verse that needs to sit back rather than drive forward.
Partial and Slash Variations: C7/E, C7/G, and C7/Bb
Once the standard shape is solid, changing which note sits on the bottom of the chord gives you a different flavor of the same four notes without changing the chord's basic identity. These are written as slash chords: the letter before the slash is the chord, the letter after is the bass note.
C7/E puts the third, E, in the bass instead of the root. This softens the chord slightly and creates a smoother bass line if the chord before or after it also has E in its bass, since the bass note barely has to move.
C7/G puts the fifth, G, in the bass. This is a common voicing in walking bass lines and fingerstyle arrangements, since it lets the bass descend or ascend stepwise through a progression instead of jumping around.
C7/Bb puts the flattened seventh, Bb, in the bass. This one changes the chord's function more noticeably, since a Bb bass note under a C7 chord starts to sound and behave like a Bb6 chord with C added on top, useful in a descending bass line moving from C down toward Bb and F.
None of these require a new shape to memorize the notes, since the four notes of C7 are the same in every case. What changes is which one you deliberately place on the lowest string you play, which usually means picking a different subset of strings or a different fingering entirely to get the intended note on the bottom. These are worth knowing exist rather than worth memorizing right away. Come back to them once the standard shape and both barre versions are solid.
When to Use C7 Instead of Plain C
A plain C major chord is stable. It can end a song and it will sound finished. C7 almost never gets left ringing at the end of anything, because that flattened seventh creates tension that wants to resolve, usually down to F or to another chord a fourth away. Reach for C7 instead of plain C when a progression is meant to feel like it is pulling forward rather than sitting still, which is most of the time in blues, in early rock and roll, and in the turnaround at the end of a twelve-bar blues progression.
Swapping a plain C for a C7 partway through a progression, even briefly, is also a common move in itself. A song can sit on C for a phrase and then pass through C7 right before changing to F, using that one added note to signal the change is coming before it actually happens.

C7 as the I Chord: Blues in the Key of C
C7 is not only a chord that shows up inside someone else's key. A twelve-bar blues in C uses C7 itself as the I chord, moving through C7, F7, and G7 across the form. In that context C7 is not building tension toward another chord in the same way it does as a V chord elsewhere, it is establishing the home key while still carrying the restless, unresolved character a dominant seventh always has. That is part of what makes blues in general sound like it never fully settles even when it returns home: the tonic chord itself is a dominant seventh, not a plain major triad.
This is worth knowing before the next section, which covers the more commonly cited role C7 plays as the V chord in a different key, since a chord chart that lists "C7" could mean either job depending on which key the song is actually in.
C7 as the V Chord: Blues in the Key of F
C7's other common home is as the V7 chord in the key of F major. A standard twelve-bar blues in F moves through F7 (the I chord), Bb7 (the IV chord), and C7 (the V chord), and C7's job in that progression is to build tension that resolves the whole form back to F. This is one of the most common contexts a new player will meet C7 in outside of a straightforward C major song, and it is worth knowing by name, since chord charts for blues in F will simply list C7 without explaining why it is there.
Because C7 relies so heavily on that flattened seventh, it does more of the tension-building work in this progression than a plain C major chord could. Play a I-IV-V progression in F using plain major chords instead of sevenths and the blues feel noticeably flattens out. The sevenths are not decoration in this style, they are load-bearing.
Extending C7: C9 and C13 for Later
Once C7 itself is comfortable, it is worth knowing the chord does not stop there. Jazz and blues players regularly stack further notes on top of the same dominant seventh foundation.
C9 adds the ninth, D, on top of the four notes already in C7 (C, E, G, Bb), giving five notes: C, E, G, Bb, D. It keeps the same restless, dominant character as C7 but with a fuller, slightly more colorful sound.
C13 goes further, adding the thirteenth, A, giving a chord with an even richer, more jazz-flavored texture, though in practice a full six-note chord is rarely played across six strings, most C13 voicings on guitar drop one or two of the middle notes and keep the root, third, seventh, and thirteenth as the notes that define the sound.
Neither of these needs to be learned right now if C7 itself is still new. They exist to show that C7 is a starting point, not a ceiling, and that the same flattened-seventh idea keeps building further once it is second nature.
Songs Built Around C7
C7 shows up across a wide range of styles, not just modern blues. Hank Williams's "Hey Good Lookin'" leans on C7 as part of its chord progression, and the Beatles open "Can't Buy Me Love" on a C7 chord before the verse settles elsewhere. Both are useful reference points if you want to hear how the chord behaves inside a real song rather than in isolation, and both are commonly cited alongside this chord for exactly that reason.
Beyond named songs, any twelve-bar blues in the key of F or the key of C will put C7 directly in your hands, either as the V chord or the I chord depending on the key, which makes practicing blues shuffles one of the most direct ways to get comfortable using this chord in context rather than as an isolated shape you only ever play alone.
Changing Between C7 and the Chords Around It
The shape is rarely the hard part once it rings clean. The hard part is getting into and out of it in time, without a dead beat while your hand resets.
C7 to F. This is the move C7 exists to set up. Using the simplified, no-barre F shape (index finger barring the first and second strings at the first fret, middle finger on the third string second fret, ring finger on the fourth string third fret), your index finger does not move at all, since C7 already has the index finger on the second string, first fret, the same string and fret F needs. Only the middle and ring fingers, and the pinky lifting off, are actually new. Practicing this change slowly, watching for that one finger that stays put while the others reset, saves far more time than practicing the two chords in isolation.
C7 to plain C. The easiest change on this list. Lift the pinky off the third fret of the third string, let it ring open, and you are back to plain C major. This is a good first drill for switching in and out of C7 before attempting harder changes, since three fingers do not move at all.
C7 to G7. Common in blues turnarounds that cycle through several dominant seventh chords in a row. Both chords use four fingers in their open shapes, and neither shares a finger position with the other, so this change is genuinely a full reset. Practice it slowly with a metronome before trying it at song speed.
C7 to Bb7 or F7 (blues in F). If you are playing a twelve-bar blues in F, C7 typically follows Bb7 and resolves to F7. All three are seventh chords, which at least keeps the general hand shape and tension consistent even though the fingerings themselves differ.
Whatever the destination chord, practice the change on its own before trying it inside a full song. Four beats to change is generous. Two beats is a realistic target. One beat is where most working blues shuffles actually live.
Common Mistakes Beginners Make With C7
Confusing It With Plain C and Wondering Why a Song Sounds Wrong
If a chart calls for C7 and you play plain C instead, most listeners will not immediately say something sounds wrong, but a blues or turnaround built around C7 will sound flat and directionless without that seventh doing its job. Get in the habit of checking whether a chart says "C" or "C7" before you strum, since the difference is one finger but the effect is not small.
Trying the Barre Shapes Before the Open Shape Is Solid
Both barre versions of C7 are strictly harder than the open shape. Jumping to them before the open C7 rings cleanly usually means fighting two problems at once, a buzzing barre and an unfamiliar shape, instead of one. Get the open shape clean first.
Strumming All Six Strings
The sixth string is not part of this chord in its open-position voicing, and letting it ring adds a note that does not belong. This is an easy habit to carry over from chords that do use all six strings, and it is worth deliberately checking with a slow strum until muting the low E becomes automatic.
Forcing the Pinky Instead of Arching It
Because the pinky is the newest, weakest finger for most players, the instinct under pressure is to jam it down harder. What actually fixes a buzzing pinky note is arching the finger so only the tip contacts the string, not adding force behind a flat finger.
Skipping the Tuning Check When the Chord Sounds Off
It is tempting to assume any bad-sounding chord is a fingering problem and start hunting for a buzz that is not there. Before adjusting a single finger, pluck the open fifth string on its own and check it against a tuner, since that string carries the root of this chord and a flat or sharp root will make the whole shape sound wrong no matter how clean your fingers land.
Only Practicing the Chord in Isolation, Never in a Progression
A C7 that rings perfectly on its own but falls apart the moment you have to change into or out of it under tempo has only had half the practice it needs. The shape itself is the easy half. Changing into it from another chord, in time, is the half that actually shows up in a real song, and it needs its own dedicated practice rather than an assumption that it will sort itself out once the chord alone is clean.
How Long It Actually Takes to Get Clean
There is no fixed timeline that fits everyone, but there is a realistic pattern most beginners go through with this chord. The finger positions themselves are usually memorized within the first few attempts, since three of the four fingers are already familiar from plain C major. Getting all four strings to ring cleanly at once, particularly the pinky note without deadening its neighbor, typically takes a handful of short practice sessions rather than one long one, since the muscle memory for that specific arch and pressure builds gradually rather than all at once.
Changing into and out of C7 at a usable tempo takes longer than the shape itself, often the bulk of the total practice time this chord asks for. This is normal and not a sign of doing something wrong. The barre versions further up the neck take longer still, since they depend on barre technique that is its own separate skill, one that transfers to every other barre chord once it clicks rather than being specific to C7.
If a practice session ends with the open shape ringing clean even half the time, that is real progress worth counting, not a sign to abandon the chord and come back later. Consistency across several short sessions beats one long session chasing a perfect strum in a single sitting.
A Practice Routine for C7 Today
Spend five minutes on each of these, in order, and you will notice a real difference by the end of the session.
- Isolate each fretted note. Form the chord, then pluck the fifth, fourth, third, and second strings one at a time, listening for a clean ring on each before moving to the next.
- Full strums, slow. Strum the whole chord from the fifth string down, once every two seconds, checking that the sixth string stays silent and every other string rings.
- C to C7 and back. Ten repetitions, lifting only the pinky to switch between plain C and C7, focused on speed and a clean landing rather than volume.
- C7 to F. Ten slow repetitions with a metronome at a comfortable tempo, prioritizing a clean landing on F over speed.
- A twelve-bar blues shuffle in F, if F7 and Bb7 are already familiar, using C7 as the V chord to hear the shape doing its actual job inside a progression.
- One barre attempt. If the open shape rang clean through steps one through four, spend the last few minutes on either barre version, just building familiarity rather than expecting it to ring perfectly yet.
Frequently Asked Questions
What notes are in a C7 chord?
C, E, G, and Bb. That is a C major triad with a flattened seventh, Bb, added on top. The open-position shape most players learn first omits the G (the fifth) and still sounds like a complete C7, since the root, third, and seventh are the notes that define the chord's dominant seventh sound.
Is C7 the same as Cmaj7?
No. C7 is a dominant seventh chord using a flattened seventh, Bb. Cmaj7 is a major seventh chord using the natural seventh, B. The one-note difference gives C7 a restless, bluesy pull and gives Cmaj7 a soft, settled sound. If a chart just says "C7," it means the dominant version unless "maj" appears in the name.
Why does my C7 chord sound muted or buzzy?
Almost always one of a few specific causes: the pinky landing flat on the third fret of the third string instead of arched on its tip, the low E string ringing when it should be muted, the ring finger leaning against the string next to it, or the index finger pressing too hard and bending the note sharp. Isolate each fretted note one string at a time to find which finger is actually causing the problem.
Do I need to play all six strings for C7?
No. The standard open shape only uses five strings, with the low E muted. A simplified three-string version, using just the fourth, third, and second strings, still carries the full harmonic identity of the chord (root, seventh, and third) and is a reasonable starting point if the full shape feels cramped.
What is C7 used for in a song?
Most commonly as a chord that pulls toward resolution rather than one that sits still. It is the V7 chord in the key of F major, making it central to blues progressions in that key, and it also shows up as a way to add bluesy tension to songs that are otherwise built around plain C major.
Are there barre versions of C7 further up the neck?
Yes, two common ones. One is built on the open A7 shape, barred at the third fret with two fingers reaching two frets higher. The other is built on the open E7 shape, barred at the eighth fret with two fingers reaching one and two frets higher. Both are movable, so learning either one gives you every dominant seventh chord in that shape further along the neck.
Why is C7 considered a good beginner chord for blues?
Because three of its four fingers are shapes a player already knows from plain C major, so the jump to C7 is small, while the sound it unlocks (blues turnarounds, twelve-bar shuffles in F, rock and roll progressions) is disproportionately large for that one added finger.
Is C7 the I chord or the V chord in a blues progression?
It depends on the key. In a twelve-bar blues in the key of C, C7 is the I chord, the home chord the progression starts and ends on. In a twelve-bar blues in the key of F, C7 is the V chord, the one that builds tension before resolving back to F. Both are common, so it is worth checking which key a chart is in before assuming C7's role.
What is the difference between C7 and C9 or C13?
C9 and C13 are extensions of the same chord. C7 is four notes: C, E, G, and Bb. C9 adds the ninth, D, on top. C13 goes further and adds the thirteenth, A. All three share the same dominant, unresolved character, they just add color as more notes stack on. None of them need to be learned before C7 itself is comfortable.
Should beginners bother learning the barre versions of C7?
Not right away. The open shape is easier, covers most of what a new player needs, and is worth making solid first. The barre versions are worth coming back to once the open shape rings cleanly, since both are movable and effectively teach every dominant seventh chord in that shape family, a good return on the extra practice they take.
Getting the Change Solid Is the Real Goal
The C7 shape itself, once the pinky lands cleanly, is not the hard part. The hard part, and the part that actually matters in a real song, is moving into and out of it without a dead beat in the middle. Whether that means lifting the pinky back to plain C, reshaping into F for a blues turnaround, or resetting entirely for G7, the shape only earns its place in your playing once the change around it is solid too.
That is also, in the end, what separates a chord you can name from a chord you can actually use. Plenty of players can tell you the notes in C7 without being able to drop into it mid-strum without a pause. The fifteen minutes a day that gets you there is not spent re-learning the shape once it clicks, it is spent on exactly the changes covered above, slowly, until the pause disappears.
GuitarLowKey
Ready for fifteen focused minutes?
Open the web app and train the change that is blocking your song.