
How to Play the E Major Chord on Guitar (Every Version)
The full E major chord shape, why it buzzes on the G string, four easier versions, and how to change into it from A, D and B without stalling.

To play an E major chord on guitar, put your index finger on the 1st fret of the 3rd string (G), your middle finger on the 2nd fret of the 5th string (A), and your ring finger on the 2nd fret of the 4th string (D). Every other string, including both E strings, stays open. Strum all six strings. That is the whole shape, and it is one of the loudest, fullest-sounding chords you will ever play, because four of its six strings ring open.
Everything below covers the finger-by-finger version of that shape, why it buzzes or goes dead on certain strings, three easier versions if your hand is not ready for the full one yet, two barre versions further up the neck, and how to move into and out of E without losing the beat.
| String | Fret | Finger |
|---|---|---|
| 6 (low E) | Open | - |
| 5 (A) | 2 | 2 (middle) |
| 4 (D) | 2 | 3 (ring) |
| 3 (G) | 1 | 1 (index) |
| 2 (B) | Open | - |
| 1 (high E) | Open | - |
String Names and Numbers, Quick Refresher
Every fret number in this post refers to strings by both name and number, so it helps to have the two straight before you fret anything.
| String number | Name | Standard tuning note |
|---|---|---|
| 6 | Low E | E |
| 5 | A | A |
| 4 | D | D |
| 3 | G | G |
| 2 | B | B |
| 1 | High E | E |
String 1 is the thinnest string, the one closest to the floor when you hold the guitar in playing position. String 6 is the thickest, closest to the ceiling. Fret numbers count from the nut, the strip of material at the very top of the neck, so "1st fret" is the first space your finger lands in, not the first metal wire. Fingers are numbered 1 through 4 starting at the index finger, with the thumb noted separately as T when it comes up. This post assumes standard tuning, E-A-D-G-B-E from low to high.
Finger-by-Finger: How to Form the E Major Chord
Build the shape one finger at a time rather than trying to drop all three fingers at once. Rushing the placement is the single biggest reason this chord buzzes for new players.
- Index finger (1st). Place it on the 3rd string (G), 1st fret. Keep the fingertip close to the fret wire, not centered in the middle of the fret space.
- Middle finger (2nd). Place it on the 5th string (A), 2nd fret.
- Ring finger (3rd). Place it on the 4th string (D), 2nd fret, right next to your middle finger.
- Leave everything else open. The 6th string (low E), 2nd string (B), and 1st string (high E) are not fretted at all.
- Strum all six strings, starting from the low E string.
Notice that your middle and ring fingers end up stacked close together on adjacent strings at the same fret. That tight spacing is normal for this chord and is exactly what causes most of the trouble beginners run into, which the next few sections walk through one cause at a time.
E Major vs. E Minor: The One Finger That Changes Everything
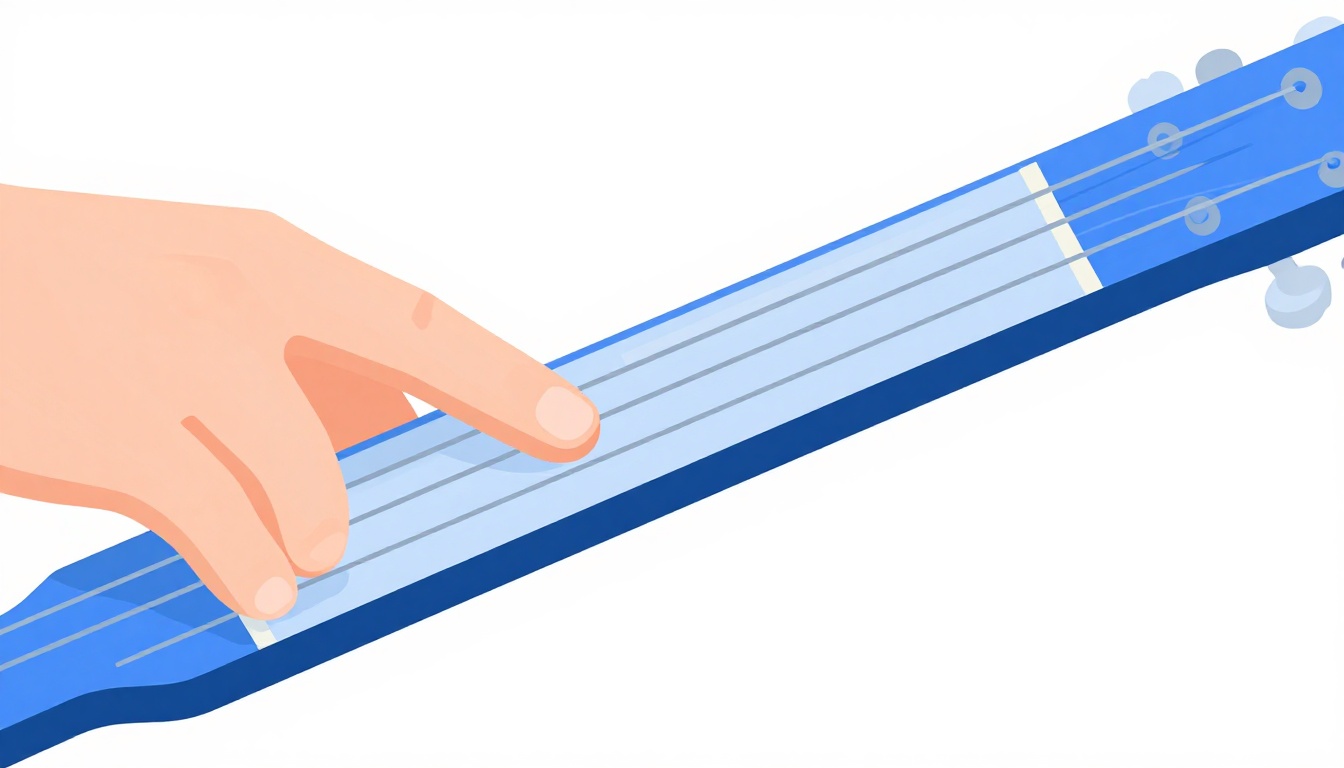
If you already know E minor, you are one finger away from E major. E minor uses the same middle and ring fingers on the same strings and frets, the 5th string 2nd fret and 4th string 2nd fret, but leaves the 3rd string (G) open. E major adds the index finger on that string, 1st fret, which raises the note from G natural to G sharp.
That single note is the difference between a minor and a major chord here. G natural sitting under an E and B gives you E minor. G sharp sitting in the same spot gives you E major. If you are switching between the two chords in a song, the moves is simple: to go from Em to E, drop your index finger onto the 3rd string without disturbing the other two fingers. To go from E to Em, lift the index finger straight up and leave the rest of the shape alone.
Practicing that one movement, back and forth, teaches your index finger to move independently of the other two, which is a skill you will reuse constantly once you start playing chords with partial barres.
Why It Is Not Working
E major looks simple on paper, three fingers, six strings, but it produces more buzzing complaints from new players than almost any other open chord, because the fingers are packed into a small area. Here is every likely cause, one at a time.
The G String Buzzes or Sounds Choked
This is the most common complaint with this chord. Your index finger is on the 3rd string at the 1st fret, which is the smallest fret space on the neck and the least forgiving about finger placement. If your fingertip lands in the middle of the fret or too far back toward the nut, the string will buzz against the fret wire. Move your index finger so it sits just behind the fret, almost touching the metal, and press down with the very tip of the finger rather than the fleshy pad.
The High Strings Sound Muted or Dead
If the 2nd string (B) or 1st string (high E) sounds thumped or dead instead of ringing, one of your other fingers is leaning over and touching it without meaning to. This happens most often with the ring finger, which is fretting the 4th string but can easily flatten out and brush the 3rd string next to it if your hand angle is off. Arch your fingers more, so each one comes down close to perpendicular to the fretboard instead of flat across it, and check that only the fingertip is making contact.
The Low E String Sounds Weak or Buzzes
The low E string is open here, which means it should be the loudest, fullest note in the chord. If it sounds thin or buzzes, the usual cause is a thumb that has crept up over the top of the neck and is touching or damping the string from behind. Bring your thumb back down behind the neck, roughly opposite your first or second finger, and let the open string ring freely.
Your Fingers Keep Colliding
Because the middle and ring fingers land on adjacent strings at the same fret, it is easy for them to bump into each other while you are still building the shape. Angle your middle finger slightly so its middle knuckle is not directly in the path of your ring finger, and bring the ring finger down at more of a vertical angle. Placing the middle finger down first and using it as a reference point for where the ring finger goes usually solves this faster than trying to drop both at once.
You Are Pressing Too Hard and Your Hand Cramps
New players tend to grip far harder than the strings require, especially on a chord that already feels crowded. Once a fretted note is ringing clearly, more pressure does nothing except tire out your hand and make it harder to move quickly. Play each string one at a time, pressing only as hard as needed for a clean note, and notice how much lighter that pressure is than what your hand has been doing out of habit.
The Chord Cuts Out When You Strum Fast
If individual strings ring clean when you pick them slowly but the chord sounds messy under a fast strum, the issue is usually your strumming hand brushing a string it should be clearing, or your fretting hand fingers relaxing slightly as your strumming arm speeds up. Slow the strum down until every string rings, then bring the tempo back up in small steps, checking that your fretting hand holds its shape at every speed.
The Chord Sounds Slightly Wrong Even Without Buzzing
If every string rings clearly but the chord still sounds slightly off, the problem is not your fretting hand at all. It is tuning. E major relies on four open strings, so a guitar that is even a little out of tune will make this chord sound sour in a way that is easy to blame on finger placement. Tune the guitar with a clip-on tuner or a tuning app before troubleshooting anything else, since chasing a buzz that is actually a tuning problem wastes time on the wrong fix.
The Easiest Version: A One-Finger E for Absolute Beginners
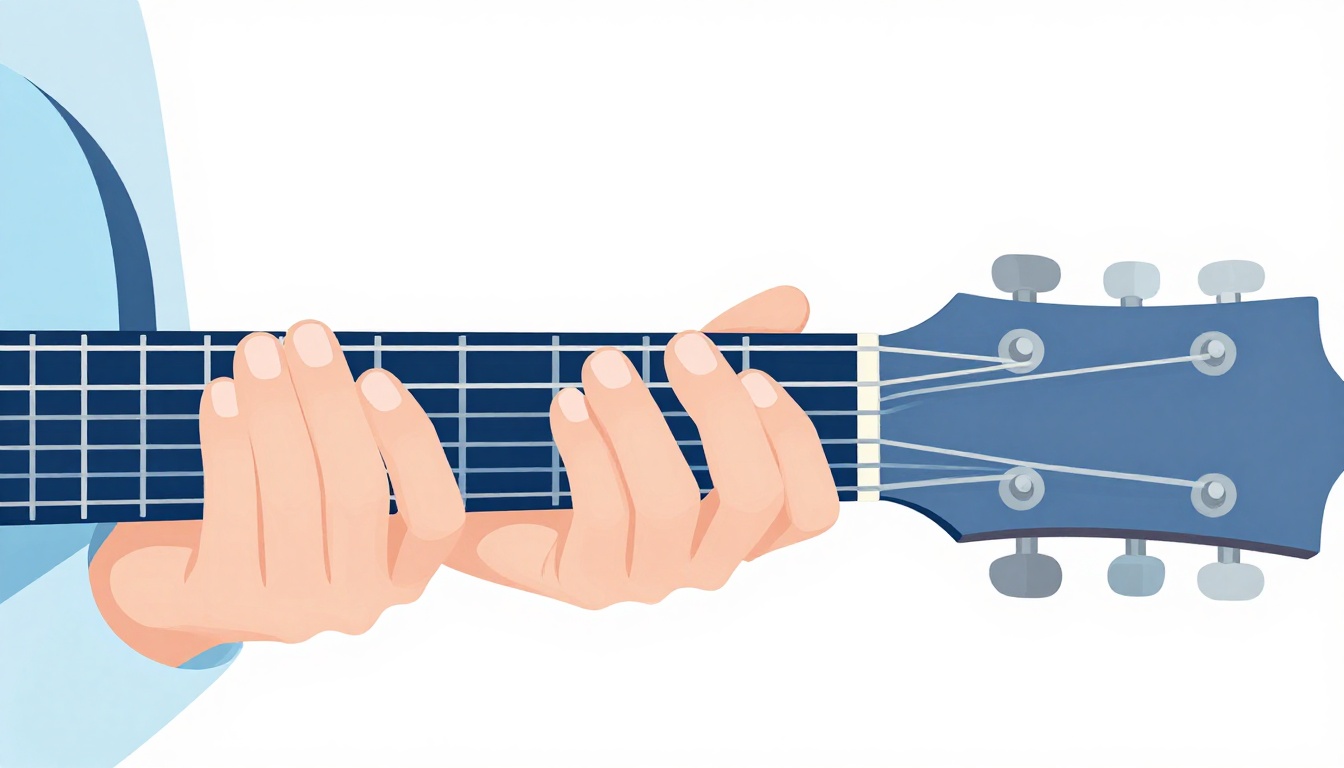
If the full three-finger shape is still out of reach, or your hand is small enough that stacking two fingers on adjacent strings at the same fret feels impossible, there is a simplified version that uses a single finger and still produces a real E major chord.
| String | Fret | Finger |
|---|---|---|
| 6 (low E) | Not played | - |
| 5 (A) | Not played | - |
| 4 (D) | Not played | - |
| 3 (G) | 1 | 1 (index) |
| 2 (B) | Open | - |
| 1 (high E) | Open | - |
Rest your index finger on the 3rd string, 1st fret, exactly as you would for the full chord, and strum only the top three strings. Those three notes, G sharp, B, and E, are the complete E major triad on their own, root, third, and fifth, just without the extra E and B doubled in the bass. It sounds thinner than the full six-string chord, but it is genuinely in tune and genuinely E major, which makes it a real chord to build strumming patterns on rather than a placeholder you will have to unlearn later.
A Two-Finger Version With the Low Strings Left Out
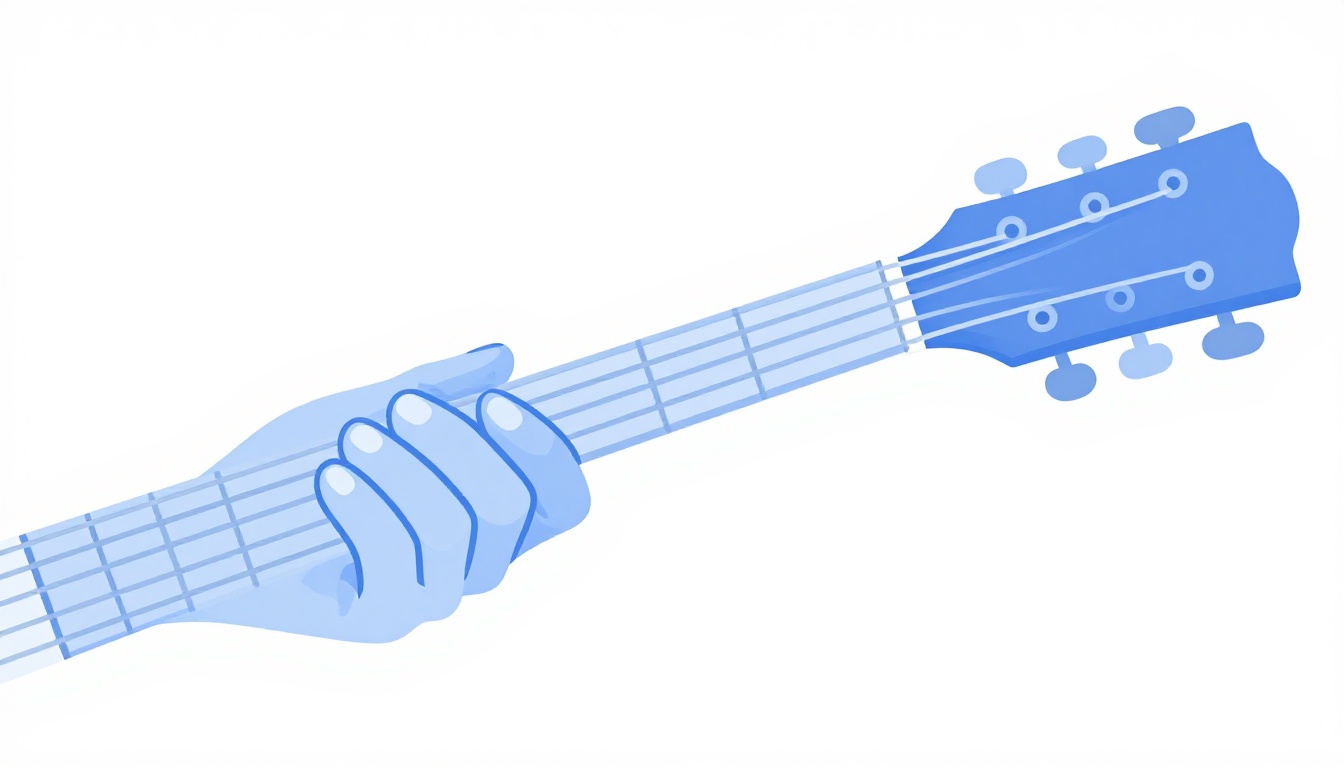
A slightly fuller alternative uses two fingers and four strings, and it is worth knowing because it removes the low E and A strings entirely, which is exactly where beginners most often introduce buzz.
| String | Fret | Finger |
|---|---|---|
| 6 (low E) | Not played | - |
| 5 (A) | Not played | - |
| 4 (D) | 2 | 2 (middle) |
| 3 (G) | 1 | 1 (index) |
| 2 (B) | Open | - |
| 1 (high E) | Open | - |
Place your index finger on the 3rd string, 1st fret, and your middle finger on the 4th string, 2nd fret, then strum from the D string down through the high E string. You are left with G sharp, E, B, and E again on top, still a complete E major chord, with none of the finger-crowding that trips people up on the full six-string version. This is a good stepping stone between the one-finger version and the full shape, since it introduces the two-finger stretch without asking for a third finger at the same time.
A Movable Three-String Voicing Higher on the Neck
Once the open shape feels comfortable, there is a compact E major voicing that uses no open strings at all, built on the same shape as an open D chord moved two frets higher.
| String | Fret | Finger |
|---|---|---|
| 3 (G) | 4 | 1 (index) |
| 2 (B) | 5 | 3 (ring) |
| 1 (high E) | 4 | 2 (middle) |
This uses only the top three strings, index finger on the G string at the 4th fret, middle finger on the high E string at the 4th fret, and ring finger on the B string at the 5th fret, mirroring the fingering of an open D chord shifted up. The notes it produces, B, F sharp, and E moved into different octaves, still spell out E major. Because nothing here is open, the whole shape is movable: slide it around the neck and it becomes whatever major chord matches its new root, which makes it a useful shape to know once you start reading chord charts that call for compact voicings higher up the fretboard, especially for fingerpicking where you do not need the low strings ringing.
E Major Barre Chords Up the Neck
The open E shape is not the only way to play this chord, and once you can barre, two other positions become available. Both are worth learning because the technique transfers directly to nearly every other barre chord you will meet later.
The A-Shape Barre at the 7th Fret
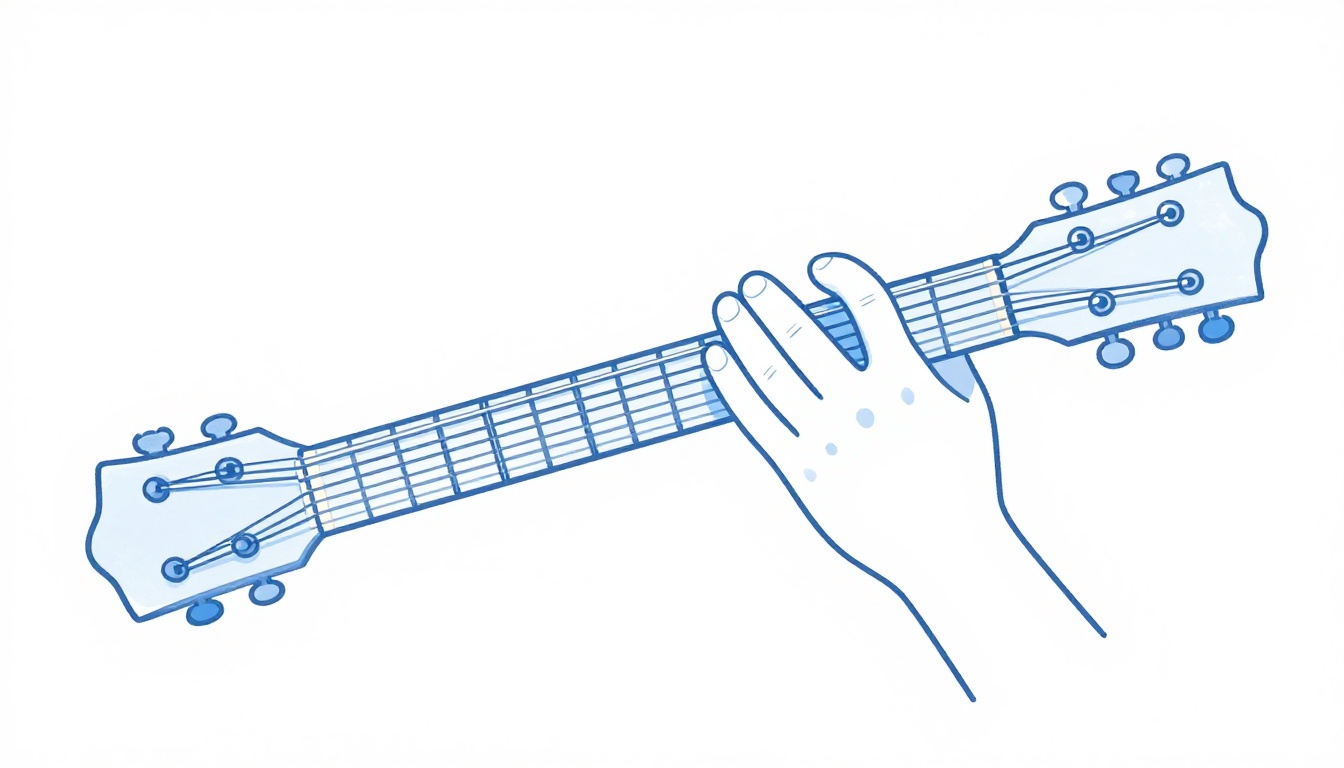
This version borrows the shape of an open A chord and turns it into a barre chord anchored at the 7th fret, where the 5th string lands on an E note.
| String | Fret | Finger |
|---|---|---|
| 6 (low E) | Muted | - |
| 5 (A) | 7 | 1 (index, barre) |
| 4 (D) | 9 | 3 (ring, barre) |
| 3 (G) | 9 | 3 (ring, barre) |
| 2 (B) | 9 | 3 (ring, barre) |
| 1 (high E) | 7 | 1 (index, barre) |
Lay your index finger flat across the 5th, 4th, 3rd, 2nd, and 1st strings at the 7th fret, muting or simply not strumming the low E string. Then barre your ring finger across the 4th, 3rd, and 2nd strings at the 9th fret. This shape has a tighter, more compact sound than the open version and is genuinely useful once you start playing higher up the neck alongside other chords in that same region.
The E-Shape Barre at the 12th Fret
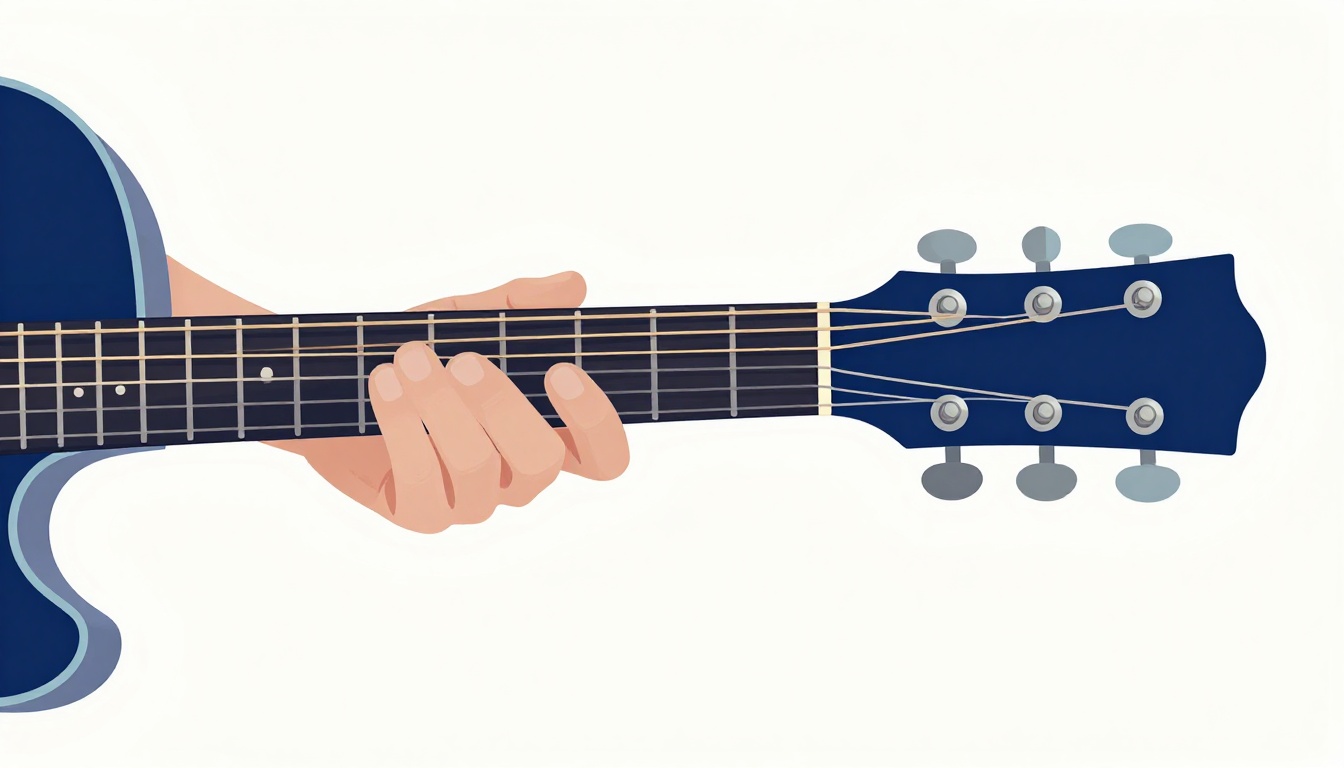
The other option takes the open E shape itself and moves the whole thing twelve frets higher, using your index finger as a barre in place of the open strings.
| String | Fret | Finger |
|---|---|---|
| 6 (low E) | 12 | 1 (index, barre) |
| 5 (A) | 14 | 3 (ring) |
| 4 (D) | 14 | 4 (pinky) |
| 3 (G) | 13 | 2 (middle) |
| 2 (B) | 12 | 1 (index, barre) |
| 1 (high E) | 12 | 1 (index, barre) |
Barre your index finger across all six strings at the 12th fret, then place your middle finger on the 3rd string at the 13th fret, your ring finger on the 5th string at the 14th fret, and your pinky on the 4th string at the 14th fret. It is the same shape as the open chord, just shifted up an octave, which is why open strings work as the reference point for the barre version. This one sits far up the neck, close to where the body of the guitar meets the fretboard, so it takes some hand adjustment the first few times you reach for it.
Dressing Up the Chord: Esus4 and Other Close Variations
Once the plain E major shape is solid, a few close relatives are worth knowing, since they show up constantly in the same songs and use nearly the same hand position.
Esus4
A suspended fourth chord swaps out the major third for a perfect fourth, which removes the "happy or sad" quality of the chord entirely and leaves a suspended, unresolved sound until it moves back to E major.
| String | Fret | Finger |
|---|---|---|
| 6 (low E) | Open | - |
| 5 (A) | 2 | 1 (index) |
| 4 (D) | 2 | 2 (middle) |
| 3 (G) | 2 | 3 (ring) |
| 2 (B) | Open | - |
| 1 (high E) | Open | - |
Place your index, middle, and ring fingers across the 5th, 4th, and 3rd strings, all at the 2nd fret, and strum all six strings. Compare this to the plain E chord shape: your index finger moves back one fret and over one string, from the 3rd string 1st fret to the 3rd string 2nd fret, while your middle and ring fingers stay exactly where they were. That shared middle and ring finger position makes Esus4 to E one of the smoothest-sounding moves you can make, and it is a common way songwriters build tension into a chord before resolving it.
E and Esus4 Together in a Progression
Because only one finger moves between the two shapes, alternating E and Esus4 within a strumming pattern is a common technique in folk and singer-songwriter guitar parts. Try holding the E shape, lifting only your index finger back one fret for Esus4, then returning it, all without disturbing your middle and ring fingers. Done smoothly, it sounds like a single chord breathing rather than two separate chords being swapped.
What Notes Make Up the E Major Chord
E major is built from three notes: E, G sharp, and B, the root, major third, and perfect fifth of the E major scale. Every version of the chord in this post, from the one-finger simplification to the barre chords up the neck, is some arrangement of those same three notes, sometimes with one or more of them repeated in a different octave. That is also why the one-finger and two-finger versions still count as a real E major chord rather than a watered-down approximation: as long as a voicing contains E, G sharp, and B in some combination, it is E major.
The key of E major itself, the scale this chord is drawn from, contains four sharps: F sharp, C sharp, G sharp, and D sharp. That is worth knowing if you plan to play in this key regularly, since it tells you which notes to expect sharped throughout a piece.
In interval terms, the major third sits four semitones above the root and the fifth sits seven semitones above the root. That four-semitone gap between E and G sharp is the entire reason this chord sounds major rather than minor, and it is the same gap you would find between the root and third of any major chord on the guitar, in any key. Shrink that gap by one semitone, moving G sharp down to G natural, and you get E minor instead, which is exactly the single-finger difference covered earlier in this post.
The Chords in the Key of E Major
If you are playing in the key of E major, not just using the E chord in passing, these are the seven chords built from that scale.
| Degree | Chord | Type |
|---|---|---|
| I | E major | Major |
| ii | F# minor | Minor |
| iii | G# minor | Minor |
| IV | A major | Major |
| V | B major | Major |
| vi | C# minor | Minor |
| vii° | D# diminished | Diminished |
Major keys always follow that same major-minor-minor-major-major-minor-diminished pattern regardless of which note they start on, so once you know this shape for E major, you know it for every key.
Common Chord Progressions Built on E Major
A few progressions come up again and again in songs written in or around the key of E, and knowing them ahead of time makes it much easier to guess what is coming next when you are playing along with something you have not seen written out.
- I-IV-V: E, A, B. The most common progression in popular music, built entirely from major chords.
- I-V-vi-IV: E, B, C# minor, A. A progression that shows up across decades of pop and rock songwriting.
- I-vi-IV-V: E, C# minor, A, B. A close relative of the progression above, with the minor chord and the V chord swapped in order.
- ii-V-I: F# minor, B, E. A staple of jazz harmony, less common in beginner guitar material but worth knowing if you branch into that style.
- IV-V-I: A, B, E. Here the B major chord functions as a dominant chord pulling back toward E, giving the progression a strong sense of resolution when it lands.
Why E Major Is Such a Common Guitar Chord
E major gets called the guitar's natural key for a reason. Standard tuning starts and ends on E, low E on the 6th string and high E on the 1st string, so an open E major chord puts the root note in the bass, the root again on top, and lets four of the six strings ring without any fretting at all. That is more open, unfretted resonance than almost any other major chord shape gives you, which is a large part of why it sounds so full for so little effort.
That same open-string advantage is why E major shows up so often as the I, IV, or V chord in guitar-friendly keys. It works as the IV chord in the key of B, and it functions as the V chord in the key of A, both common guitar keys in their own right, which means E major keeps reappearing across a wide range of songs even when it is not the key the song is actually written in. Early blues guitarists leaned on it heavily for the same reason modern rock and pop songwriters still do: it is loud, it rings, and the hand shape is one of the more forgiving three-finger chords on the neck.
E Major and the E5 Power Chord
If you play or listen to rock and metal, you have almost certainly heard the E5 power chord, and it is worth knowing how it relates to the full E major shape covered in this post. A power chord strips a chord down to just the root and the fifth, leaving out the third entirely, which is the note that normally decides whether a chord sounds major or minor. Because the third is gone, a power chord is technically neither major nor minor, just a stripped-down, heavier version of the root.
| String | Fret | Finger |
|---|---|---|
| 6 (low E) | Open | - |
| 5 (A) | 2 | 1 (index) |
| 4 (D) | 2 | 3 (ring, optional) |
Play the low E string open as the root, add your index finger on the 5th string (A) at the 2nd fret for the fifth, and optionally add your ring finger on the 4th string (D) at the 2nd fret to double the root an octave up for a fuller sound. This is one of the first shapes electric guitar players learn, since it requires no full chord voicing, sounds massive through distortion, and shares its root position directly with the open E major chord this post is about. Knowing both shapes means you can switch between a full, ringing E major for acoustic or clean playing and a tight E5 power chord for anything heavier, without relearning where your hand sits on the neck.
Changing From E to A, the Move You Will Make Most
E to A, and back again, is one of the most common chord changes in guitar playing, largely because both chords sit in a similar area of the neck and share a related shape.
| String | Fret | Finger |
|---|---|---|
| 6 (low E) | Muted | - |
| 5 (A) | Open | - |
| 4 (D) | 2 | 1 (index) |
| 3 (G) | 2 | 2 (middle) |
| 2 (B) | 2 | 3 (ring) |
| 1 (high E) | Open | - |
For A major, mute the low E string, leave the A string open as your root, and place your index, middle, and ring fingers on the 4th, 3rd, and 2nd strings, all at the 2nd fret. Some players prefer to barre those same three strings with just the index finger instead of using three separate fingers, which is worth trying if the three-finger version feels cramped.
The practical trick for changing between E and A is to think of your fingers moving as a block rather than repositioning each one individually. In E, your fretted fingers sit on the 5th, 4th, and 3rd strings. In A, they sit one string over, on the 4th, 3rd, and 2nd strings, all landing at the 2nd fret except for the index finger in E, which sits at the 1st fret on the 3rd string. Practicing this change slowly, watching where each finger lands rather than lifting the whole hand off the neck between chords, is what eventually makes it fast.
Changing From E to B or B7
B major and B7 both function as the V chord in the key of E, which makes this change extremely common in blues and rock progressions built around E. B7 is the easier of the two to reach for as a beginner, since the full B major barre chord asks for a lot more hand strength.
| String | Fret | Finger |
|---|---|---|
| 6 (low E) | Muted | - |
| 5 (A) | 2 | 2 (middle) |
| 4 (D) | 1 | 1 (index) |
| 3 (G) | 2 | 3 (ring) |
| 2 (B) | Open | - |
| 1 (high E) | 2 | 4 (pinky) |
For B7, mute the low E string, place your middle finger on the 5th string at the 2nd fret, your index finger on the 4th string at the 1st fret, your ring finger on the 3rd string at the 2nd fret, leave the 2nd string open, and place your pinky on the 1st string at the 2nd fret. It uses all four fingers, which makes it a genuine stretch the first several times, but none of the fingers are barring, so it is more approachable early on than the full B major barre chord.
When practicing the change from E to B7, build it in stages. Get comfortable moving your middle finger from the 5th string 2nd fret in E to the same string and fret in B7, since that finger barely moves at all between the two shapes. Add the index finger next, then the ring finger, and only bring the pinky in once the first three fingers land together reliably.
The 12-Bar Blues in E
E, A, and B7 are not just three chords that happen to sound good together. They form the I, IV, and V of a standard 12-bar blues in the key of E, one of the most common forms in blues, rock, and early rock and roll guitar playing. The standard 12-bar pattern, counted in bars of four beats each, runs:
E  | E  | E  | E
A  | A  | E  | E
B7 | A  | E  | B7
That is four bars of E, two bars of A, two bars back on E, one bar of B7, one bar of A, and two bars closing back on E, with the final B7 often used to push the progression back around to the top. Once you can hold E, A, and B7 individually and change between them without stopping, running this 12-bar form is one of the most useful things you can practice, since it is the backbone of an enormous amount of guitar-based music and it puts all three chord changes from this post to work in one place.
Changing From E to D, C, G, and A Minor
E shows up constantly alongside these four chords in beginner song material, and each change has its own small technique worth knowing.
E to D
These two chords do not share an obvious pivot finger, so the change relies on speed built through repetition rather than a shortcut. Practice lifting all three fingers from E together and placing the D shape, index on the 3rd string 2nd fret, ring on the 2nd string 3rd fret, middle on the 1st string 2nd fret, as one coordinated motion instead of finger by finger. Since D uses fingers on the top three strings and E uses fingers on the middle three, this change effectively means your whole hand shifts one string block toward the floor, which is worth feeling out slowly before trying it at tempo. If you can already play the C chord cleanly, the same slow-hand-shift habit that works for C to D transfers directly here.
E to C
C major uses the ring finger on the 5th string 3rd fret, the middle finger on the 4th string 2nd fret, and the index finger on the 2nd string 1st fret, with the G and high E strings ringing open. There is no shared finger position with E, so like the change to D, this one comes down to practicing the full hand movement slowly and adding speed gradually. What does help is that both chords use the same three fingers, index, middle, and ring, just on different strings, so the coordination problem is really about relearning where each finger lands rather than learning a new motion from scratch.
E to G
In its common three-finger form, G major uses the middle finger on the 6th string 3rd fret, the index finger on the 5th string 2nd fret, and the ring finger on the 1st string 3rd fret. Your middle finger in E sits on the 5th string 2nd fret, which is close to where your index finger needs to land for G on the same string, a useful reference point even though the finger itself changes. This change is common enough in open-chord songwriting that it is worth drilling on its own, back and forth, before trying it inside a full song.
E to A Minor
A minor uses the index finger on the 2nd string 1st fret, the middle finger on the 4th string 2nd fret, and the ring finger on the 3rd string 2nd fret, with the low E string muted. Since E minor and A minor share a similar low, open sound, going from E major into A minor often feels most natural if you think of it as passing through E minor first, dropping the index finger before repositioning the whole hand. Because E major and its relative-feeling neighbor Em7 already share so much of this same fretting-hand territory, players who have drilled that chord tend to pick up the E to Am change faster than the E to C or E to D changes.
A Basic Strumming Pattern to Start With
If you are still working out what to do with your strumming hand while your fretting hand holds the shape, start simple rather than reaching for a busy pattern right away. A steady down-down-up-up-down-up pattern, counted across four beats, works with almost any song built around open chords like E, and it gives your strumming hand a consistent rhythm to lock onto while your fretting hand is still occupied with getting the shape clean.
Keep your strumming arm moving in a constant up-and-down motion even on beats where you are not actually striking the strings, rather than starting and stopping the motion for each individual strum. That continuous motion is what keeps a strumming pattern from sounding stiff, and it is a habit that is much easier to build early than to correct later, once a chord like E major has enough open strings ringing that timing mistakes become obvious.
Using a Capo With the E Shape
A capo clamps across the neck and effectively moves the nut up the fretboard, which raises the pitch of every open string by the same amount without changing the shape your hand makes. Since so many players already know the open E major shape well, it is a common one to fall back on with a capo when a song needs a different key but the songwriter or arranger still wants that same open, ringing sound.
Clip a capo on the 2nd fret, for example, and playing the exact E major shape covered at the top of this post produces an F sharp major chord, two whole steps higher than open E, without asking your hand to learn a new fingering. This is why capos are so common in acoustic and singer-songwriter guitar parts: rather than learning a fresh barre chord for every key, players lean on a small handful of open shapes, E major included, and let the capo do the transposing.
A Simple Fingerpicking Pattern for the E Major Chord
Strumming is not the only way to use this shape. Because so many strings ring open, E major is also one of the more rewarding chords to fingerpick, since the open strings sustain nicely while your picking hand works through them.
A basic pattern to start with: use your thumb to pick the 6th string (low E) on beat one, then your index finger on the 3rd string (G), your middle finger on the 2nd string (B), and your ring finger on the 1st string (high E), one after another. Repeat that four-note pattern, thumb then index then middle then ring, at a slow, even tempo, keeping the chord shape held down the entire time rather than re-fretting it between repetitions. Once that feels steady, try alternating the thumb between the 6th string and the 5th string (A) on alternating beats, which gives the pattern a walking bass feel underneath the picked treble notes.
This pattern works because of exactly the same open strings that make E major sound so full when strummed. There is no equivalent fingerpicking pattern for a chord like F, built entirely on a barre with no open strings, which is part of why E major is often one of the first chords guitar teachers use to introduce fingerpicking at all.
Songs That Put the E Major Chord to Work
Hearing this chord inside a real song makes the shape click faster than drilling it in isolation. "Sweet Caroline" by Neil Diamond leans on a simple three-chord structure built from A, D, and E, making it a common practice piece once you can hold all three chords steady. Blues standards like "Catfish Blues", covered widely including by Jimi Hendrix and originally associated with Muddy Waters, and Bo Diddley's "Who Do You Love" both draw on the open E chord as part of their foundation, which makes them useful listening if you want to hear how the chord sits inside a driving rhythm rather than a gentle strum.
Why Your Fingertips Hurt When You Practice This Chord
E major presses three fingertips into steel strings at once, and for a brand new player, that is often the first chord where the soreness really sets in. This is normal and temporary. The skin on your fingertips has not yet built the small calluses that experienced players develop, so the strings dig in more than they will once your hand adjusts.
The fix is not to avoid the discomfort, since that only delays the callus forming, but to manage it. Practice in short sessions, several times a day rather than one long session, and stop for the day if your fingertips start to feel raw rather than just sore. Most players notice a real difference within two to three weeks of regular practice, as the skin toughens and the same pressure that once hurt stops registering as pain at all.
A Practice Routine for the E Major Chord
Fifteen minutes is enough to make real progress on this chord if you spend it deliberately rather than just strumming through it on repeat.
- Five minutes on the shape alone. Place the chord, check every string one at a time by picking it individually, and adjust whichever finger is causing buzz or mute before moving on. Release the shape completely and rebuild it from scratch each time, rather than leaving your hand resting on the neck between attempts.
- Five minutes on E to Em. Since these two chords differ by a single finger, this drill sharpens your index finger's independence from the rest of your hand, a skill that carries directly into barre chords later.
- Five minutes on E to A. Practice the change slowly, watching where your fingers land rather than lifting your whole hand off the neck, then gradually bring the tempo up until the change happens on the beat rather than after it.
Repeat this most days rather than doing one long session once a week. Short, frequent practice builds the muscle memory for a chord shape far faster than occasional long sessions, because your hand needs repetition spread across days, not just minutes spent in one sitting.

Frequently Asked Questions
Why does my E chord sound different from a recording?
Most often this comes down to one string buzzing, muting, or ringing weakly rather than the chord being fingered wrong outright. Go through the "Why It Is Not Working" section above and pick each string individually to isolate which one is off before assuming the whole shape is incorrect.
Do I need to use my ring finger, or can I use my pinky instead?
The standard fingering uses index, middle, and ring, which leaves your pinky free. Some players do substitute a different finger for comfort, but starting with the standard fingering matters because it is the version most chord charts and lesson material assume, and it leaves you a spare finger for later embellishments.
Is E major or E minor easier for beginners?
E minor is very slightly easier, since it uses only two fingers instead of three and skips the tightest part of the shape, the index finger at the 1st fret. Most beginners can move to E major within a session or two of learning E minor, since the underlying hand shape is nearly identical.
Why do my fingers cramp when I hold this chord?
Cramping almost always means you are pressing harder than the chord requires. Play each string one at a time and notice the minimum pressure needed for it to ring clean, then hold the full chord at that same lighter pressure rather than gripping the neck.
Can I play E major without using the low E string?
Yes. Several versions in this post, the one-finger version, the two-finger version, and the compact three-string voicing higher up the neck, all leave the low E string out entirely and still produce a complete E major chord.
What is the difference between E major and E7?
E7 adds a fourth note, D, to the E major triad, and is played by lifting the ring finger off the E major shape entirely, leaving only the index and middle fingers down. It has a bluesier, less resolved sound than plain E major.
How long does it take to make this chord sound clean?
This varies by player, but because the fingers are packed into a small area, E major often takes a bit longer to sound consistently clean than more spread-out chords like G or D. Steady short practice sessions, checking each string individually rather than strumming and hoping, get there faster than long unfocused sessions.
Why do some chord charts show a different fingering for this same shape?
Chord charts occasionally assign the index and middle fingers differently, but the strings and frets involved are the same. The fingering in this post, index on the 3rd string, middle on the 5th string, ring on the 4th string, is the version most widely taught and the one that leaves the clearest path to changing chords quickly, since it keeps your pinky free.
Can I play E major on an electric guitar the same way as on acoustic?
Yes, the shape, strings, and frets are identical on both. The main practical difference is that electric strings are typically thinner and sit closer to the fretboard, which usually makes fretting the chord slightly easier, though it can also make it more sensitive to buzzing if a finger is placed carelessly.
Should I learn E major or E minor first?
Most beginner courses teach E minor first, since it uses one fewer finger, and then introduce E major once the two-finger shape feels comfortable. That order also happens to teach the exact finger movement, dropping the index finger onto the 3rd string, that turns one chord into the other, which is a useful piece of muscle memory either way.
What does a plain "E" mean on a chord chart, as opposed to Em or E7?
On a chord chart, a bare letter like "E" always means the major chord, E major, unless another symbol is attached. "Em" or "E-" means E minor, and "E7" means the dominant seventh version covered briefly earlier in this post. Getting used to reading a bare letter as "major by default" saves confusion once chord charts start mixing majors, minors, and sevenths in the same song.
Want a structured way to build chords like this one into real playing rather than isolated drills? Head back to the homepage to see how GuitarLowKey turns fifteen minutes a day into steady progress on the guitar you already own.
GuitarLowKey
Ready for fifteen focused minutes?
Open the web app and train the change that is blocking your song.