
F#7 Guitar Chord: Every Way to Play F Sharp Dominant 7
The easiest F#7 shape with no barre needed, the full barre version, a capo trick, and how to fix the buzz before you use it in a blues turnaround.

The easiest way to play F#7 needs no barre at all: mute the low E and A strings, put your ring finger on the 4th fret of the D string, your middle finger on the 3rd fret of the G string, your index finger on the 2nd fret of the B string, and let the high E string ring open. Strum the top four strings only. That single shape contains every note F#7 needs, root, third, fifth and seventh, with nothing left out. There is also a full six-string barre version, a capo trick, and a shape further up the neck, all covered below along with why this chord buzzes and how to fix it.
What Notes Make Up F#7
F#7 is a dominant seventh chord built from four notes: F#, A#, C# and E. That is an F# major triad (F#, A#, C#) with a flattened seventh, E, stacked on top. The "seventh" in the chord's name refers to that E, the note a minor seventh above the root.
This is different from plain F# major, which uses only the three triad notes. Adding the E is what gives F#7 its restless, unresolved character. A major chord on its own sounds settled. Stack a flattened seventh on top and the chord leans forward, wanting to move somewhere else, which is exactly the pull a blues or a jazz turnaround wants right before it resolves.
Looked at as intervals rather than note names, F#7 is built the same way as every dominant seventh chord on the instrument:
| Interval | Note in F#7 | Distance from Root |
|---|---|---|
| Root | F# | Unison |
| Major third | A# | 4 semitones |
| Perfect fifth | C# | 7 semitones |
| Minor seventh | E | 10 semitones |
Here is what the easiest shape actually plays, string by string, which is worth studying because unlike a lot of open seventh-chord voicings, it leaves nothing out:
| String | Note Played | Role in the Chord |
|---|---|---|
| 6 (low E) | Muted | Not played |
| 5 (A) | Muted | Not played |
| 4 (D) | F# | Root |
| 3 (G) | A# | Major third |
| 2 (B) | C# | Perfect fifth |
| 1 (high E) | E | Minor seventh, ringing open |
Many open seventh-chord shapes on guitar quietly drop the fifth, since the ear fills it in as long as the root, third and seventh are present. F#7's easiest shape does not need to make that compromise. All four tones are there, which is part of why it sounds as full as it does for a shape that only needs three fretting fingers.
The Easiest Way to Play F#7 (No Barre Required)
This is the shape from the opening paragraph, and it is worth learning first even if you already know how to barre, because it is genuinely the cleanest-sounding, least effortful way to get F#7 under your fingers.
| String | Fret | Finger |
|---|---|---|
| 6 (low E) | Muted | - |
| 5 (A) | Muted | - |
| 4 (D) | 4 | 3 (ring) |
| 3 (G) | 3 | 2 (middle) |
| 2 (B) | 2 | 1 (index) |
| 1 (high E) | Open | - |
The three fretting fingers form a diagonal line climbing from the thinner strings toward the thicker ones, index lowest, ring highest, which is a natural, unforced hand position rather than a stretch. The high E string needs nothing at all, it just rings open as the b7. Mute the low E and A strings by resting the underside of your fretting hand lightly against them, or simply avoid strumming past the D string.
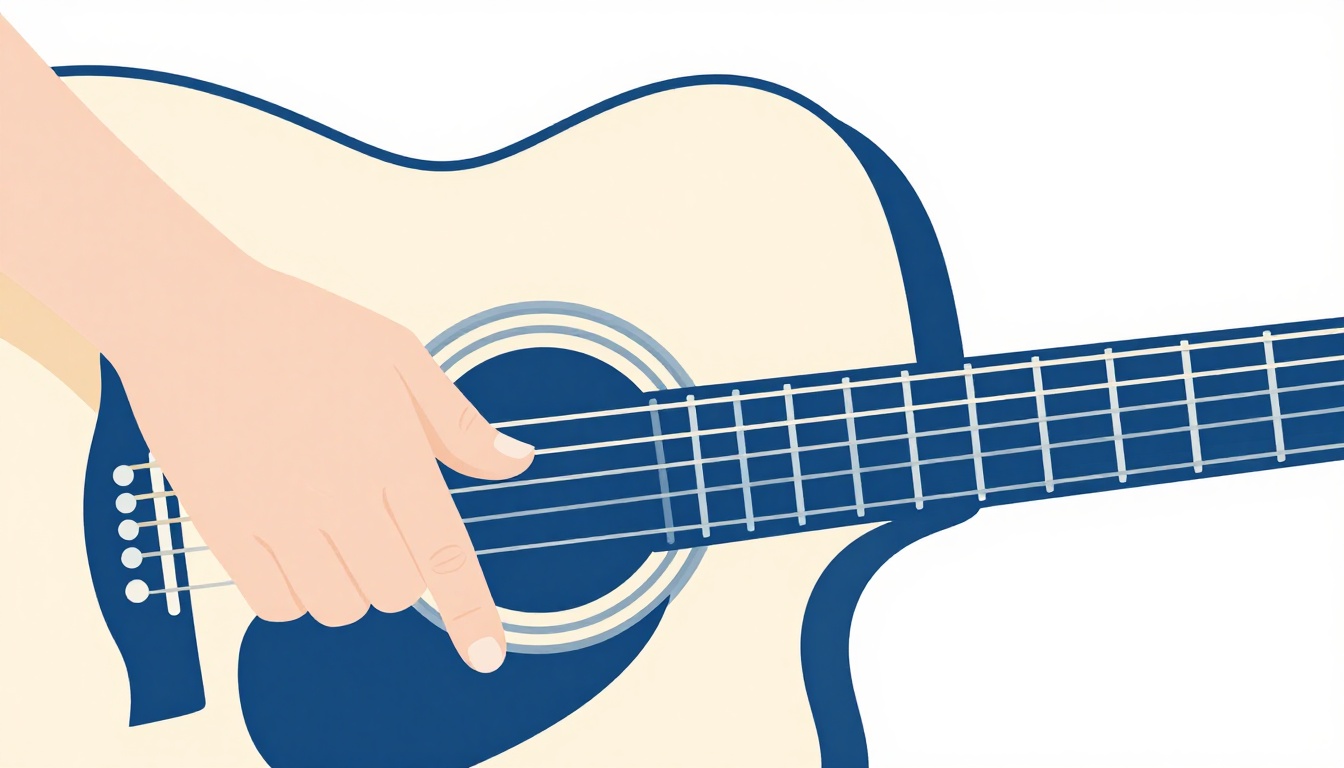
This shape has one small trap worth knowing about before you rely on it: because it is not anchored by an open low string the way a chord like E7 is, sliding the whole hand one fret in either direction produces a real, different chord rather than an obviously wrong noise, so a hand that lands a fret off will still sound like a chord, just not F#7. Check it against a tuner or a reference note the first few times until the shape is second nature.
The Full Six-String Barre Version
For a fuller, louder sound, or when a song needs F#7 to carry the same weight as the barre chords around it, use the E7-shape barre at the 2nd fret. This is the version most chord charts show first, even though it is not the easiest one to start with.
| String | Fret | Finger |
|---|---|---|
| 6 (low E) | 2 | 1 (barre) |
| 5 (A) | 4 | 3 (ring) |
| 4 (D) | 2 | 1 (barre) |
| 3 (G) | 3 | 2 (middle) |
| 2 (B) | 2 | 1 (barre) |
| 1 (high E) | 2 | 1 (barre) |
The index finger does two jobs here: it frets the low E, D, B and high E strings all at the same fret, and it acts as a movable nut for the rest of the shape. The middle finger sits on the G string one fret above the barre, and the ring finger sits on the A string two frets above it. This is the same relationship the open E7 chord has between its two fretted notes, just barred and moved up two frets, which is exactly what makes the capo trick in the next section work.
Strum all six strings. If any of them sound muted or buzzing, that is covered in detail further down rather than something to push through by strumming harder.
The Capo Trick That Skips the Barre Entirely
If the barre is the obstacle and not the chord itself, a capo removes it completely. Clip a capo on the 2nd fret and play an ordinary open E7 shape behind it. Every string sounds two semitones higher than it would without the capo, and E raised by two semitones is F#. The open E7 shape becomes F#7 without a single finger forming a barre.
| String | Behind the capo | Finger |
|---|---|---|
| 6 (low E) | Open | - |
| 5 (A) | 2 frets past the capo | 2 (middle) |
| 4 (D) | Open | - |
| 3 (G) | 1 fret past the capo | 1 (index) |
| 2 (B) | Open | - |
| 1 (high E) | Open | - |
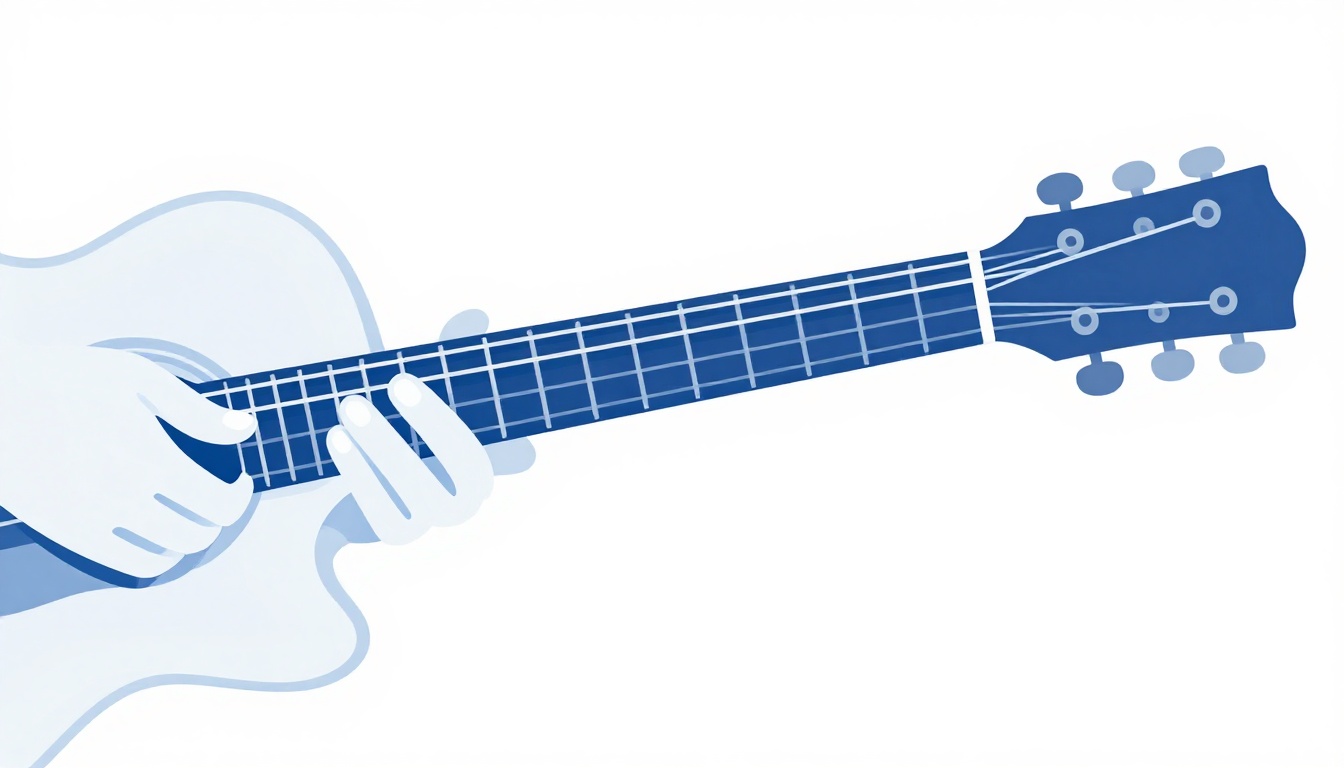
With the capo doing the work of the barre, your left hand only places two fingers: middle finger on the A string, two frets above the capo, and index finger on the G string, one fret above the capo. The low E, D, B and high E strings all ring open behind the capo. This is not a compromise version of F#7, it is the identical set of notes produced by moving the work from your fretting hand to the capo.
The same logic works with other open dominant seventh shapes, if you already know them. An open D7 shape with a capo on the 4th fret produces F#7 as well, and an open C7 shape with a capo on the 6th fret does too, since a capo transposes whatever shape you play behind it by however many frets it covers.
| Open shape | Capo position | Sounds as |
|---|---|---|
| E7 shape | 2nd fret | F#7 |
| D7 shape | 4th fret | F#7 |
| C7 shape | 6th fret | F#7 |
The E7 version is the most practical of the three, since it uses only two fingers and the fewest frets of travel for the capo. The other two are worth knowing if a song's capo is already sitting somewhere else and you would rather reuse a shape you know than move the capo mid-song.
F#7 Further Up the Neck: The Ninth-Fret Shape
There is a second common F#7 shape, rooted on the A string instead of the low E string, borrowed from the open A7 chord shape moved up the neck. Because the A string is open at A and F# sits nine semitones above it, this version lives at the 9th fret.
| String | Fret | Finger |
|---|---|---|
| 6 (low E) | Muted | - |
| 5 (A) | 9 | 1 (barre) |
| 4 (D) | 11 | 3 (ring) |
| 3 (G) | 9 | 1 (barre) |
| 2 (B) | 11 | 4 (pinky) |
| 1 (high E) | 9 | 1 (barre) |
The index finger bars the A, G and high E strings at the 9th fret, while the ring and pinky fingers reach two frets further for the D and B strings. The low E string is muted, either by letting the side of your index finger touch it lightly or by simply not strumming it.
This shape is worth learning even though it sits high on the neck, because it puts F#7 within easy reach of B, E and C#m played in nearby positions, which is exactly the neighborhood a chord functioning as the V7 of B tends to show up in. It also has a brighter, more compressed voicing than the open-position barre at the 2nd fret, since all six notes sit close together rather than spread across a wide, ringing low end.
A Compact Jazz Voicing
Jazz rhythm playing rarely uses full six-string barre chords, since a band already has a bassist covering the root and a drummer covering the low end, so a smaller, four-note voicing that emphasizes the third and seventh does more harmonic work per string than a full barre does.
| String | Fret | Finger |
|---|---|---|
| 6 (low E) | Muted | - |
| 5 (A) | 9 | 3 (ring) |
| 4 (D) | 8 | 2 (middle) |
| 3 (G) | 9 | 4 (pinky) |
| 2 (B) | 7 | 1 (index) |
| 1 (high E) | Muted | - |
This voicing plays the root twice, on the A string and again an octave up on the B string, with the third on the D string and the flattened seventh on the G string in between. The exact fingering is one of a few reasonable options for this stretch, since the frets involved span from the 7th to the 9th, but placing the index finger on the lowest fret and working up from there is the most common approach. Both the low E and high E strings are muted or simply not strummed.
This shape will not carry a song on its own the way the open-position or full barre versions can, but it is a genuinely useful sound once you are comfortable with the basic shapes and want F#7 to sit inside a jazz or blues progression without dominating the mix.
Why F#7 Is Not Ringing Clean
Test each string one at a time after forming whichever shape you are working on. A chord that sounds fine strummed fast can still have a dead string hiding in the mix. Work through these one cause at a time.
The high E string is not actually ringing open
On the easy no-barre shape, the high E string carries the seventh, and it is the one note in that shape most players forget to check, since it needs nothing done to it at all. If it sounds muted, the culprit is almost always your ring finger on the D string leaning back and lightly touching it, or your palm resting too close to the strings near the soundhole. Arch your fretting fingers so only the tips make contact, and keep your strumming hand's palm clear of the strings you intend to let ring.
The barre buzzes on the middle strings
On the full six-string version, the G and D strings are the ones most likely to buzz, since they sit directly under the middle and ring fingers, which need to hold their own notes firmly while the barre finger is doing separate work underneath them. Roll your index finger slightly onto its outer edge rather than laying it completely flat, which presses more evenly across all six strings with less overall effort, and check that your middle and ring fingers are arched enough that their knuckles are not accidentally resting against the barre finger's strings.
Your thumb is riding too high on the neck
If your thumb creeps up over the top of the fretboard, the barre finger loses its counter-pressure and has to do all the clamping alone, which is exactly when the low E or A string tends to buzz first. Bring the thumb down to the back of the neck, roughly opposite your middle finger, and press forward as if you were trying to bring your thumb and index finger together through the neck.
One finger is muting the string next to it
On the no-barre easy shape, the three fingers sit close together on adjacent strings, and it is common for the middle or ring finger to lean sideways and lightly touch a neighboring string. This shows up as a specific string going dead rather than a buzz, and it is the single most common reason that shape sounds thin. Come down on each fingertip as close to straight up and down as your hand allows, checking one finger at a time.
You are pressing at the wrong point in the fret
A finger placed near the middle of the fret space, or worse, right on top of the fret wire, needs far more pressure to ring cleanly than one placed just behind the fret, because the string has more room to vibrate against the fret ahead of it before it buzzes. Slide the whole shape slightly toward the guitar's body until every finger sits right up against its fret.
The guitar itself is working against you
High action, old strings, or a neck that needs a truss rod adjustment can make any fretted chord harder than it should be, independent of your technique. If open chords ring clean but F#7 in every version still buzzes no matter how carefully you place your fingers, the instrument is worth having checked.
Your guitar has drifted out of tune
Any chord with several fretted notes at once makes tuning problems more obvious than a chord with open strings ringing alongside them, since there is no unfretted reference note to mask a small discrepancy. A guitar that has drifted slightly flat or sharp since the last time you played can produce an F#7 that is fingered perfectly and still sounds faintly sour.
| String | Standard tuning |
|---|---|
| 6 (low E) | E |
| 5 (A) | A |
| 4 (D) | D |
| 3 (G) | G |
| 2 (B) | B |
| 1 (high E) | E |
Before spending time troubleshooting a shape that will not ring clean, check the guitar against a tuner in this order, low E to high E. It takes a few seconds, and it rules out the one cause on this whole list that has nothing to do with your hand at all.
Getting the Barre Technique Right
The full six-string version of F#7 lives or dies on three things that have nothing to do with finger strength, and getting them right early saves weeks of frustration.
Wrist and hand position
Keep your wrist reasonably straight rather than bent sharply toward the floor. A bent wrist reduces the force your fingers can generate and tires the forearm faster. Bring your fretting arm slightly forward and let your elbow drop, rather than pulling your hand back at an angle to reach the neck. Your palm should not be flush against the back of the neck either. A small gap between your palm and the wood gives your fingers room to arch and your thumb room to press independently against the barre finger.
Standing with the guitar on a strap tends to change all of this compared to sitting, since the neck angle is usually lower and further from the body, which pulls the wrist into a more awkward bend if the strap length has not been adjusted for it. If the barre version of F#7 felt fine sitting down but suddenly buzzes constantly once you stand up, check the strap length and neck angle before assuming your technique has gotten worse.
Building the strength to hold it
Barre strength comes from time under the shape, not from a single trick. Hold the full six-string F#7 shape for ten to fifteen seconds at a time, release, shake your hand out, and repeat for a few minutes a day. Strumming through a song is good practice too, but holding the static shape isolates the exact muscles a barre chord uses without the distraction of timing or a strum pattern.
Progress is not linear. Most players notice a real jump in barre strength after two to four weeks of daily practice, then a slower, steadier improvement after that. A day where the chord feels harder than it did yesterday is normal, not a sign anything is wrong. Playing through other dominant seventh barre chords built from the same E-shape, F7 at the 1st fret or G7 at the 3rd, helps just as much as repeating F#7 on its own, since the same index finger and the same thumb position are doing the work regardless of which fret the shape sits on.
F#7 vs F7: Why the Sharp Matters
F#7 and F7 are two different chords, a semitone apart, and mixing them up on a chart is an easy mistake to make since the names differ by a single character.
| Chord | Notes | Root |
|---|---|---|
| F7 | F, A, C, Eb | F |
| F#7 | F#, A#, C#, E | F#, one semitone higher |
Every shape in this post shifts up exactly one fret if you meant to play F7 instead, since F7 is the same dominant seventh shape moved down a fret from F#7. If a chord you are playing sounds close but not quite right against a recording, checking whether the chart actually calls for F7 rather than F#7 is worth doing before assuming your fingering is wrong.
F# and Gb are the same pitch, so F#7 and Gb7 are the same chord played with the same fingers in the same place. Which name shows up on a chart usually depends on the key signature of the song, sharps or flats, rather than anything about the chord itself.
F#7 vs F#m: Same Two Letters, Different Chord
F#7 and F#m share a root and little else. They are easy to confuse on a page because they start with the same two characters, but they serve completely different roles in a song.
| Chord | Notes | What makes it different |
|---|---|---|
| F#7 | F#, A#, C#, E | Dominant seventh, tense and unresolved, the chord this post covers |
| F#m | F#, A, C# | Minor triad, moody and settled, no seventh at all |
| F#maj7 | F#, A#, C#, F | Major seventh, smooth and dreamy, no strong pull to resolve |
| F#m7 | F#, A, C#, E | Minor with a seventh added, softer and jazzier than plain F#m |
The practical difference shows up the moment you play them back to back. F#m sits still, comfortable staying exactly where it is. F#7 leans forward, wanting to resolve, almost always to a B or Bm chord that follows it. If a chart says F#7 and the chord you are playing sounds settled rather than restless, double check you have not accidentally landed on F#m instead, since the two shapes do not look alike on the fretboard but the names are close enough to misread in a hurry.
Small Hands and the F#7 Shapes
The full six-string barre asks the most of a smaller hand, since the ring finger needs to reach two frets past the barre while the index finger holds firm underneath it. The good news with F#7, unlike a lot of barre chords, is that the barre is genuinely optional rather than a hard requirement.
The no-barre easy shape covered earlier needs no stretch beyond three fingers on three adjacent strings, one fret apart each, which is a comfortable reach for nearly any hand size. If the full barre chord specifically is the obstacle, lean on that shape or the capo trick instead of forcing a six-string barre before your hand is ready for it. Neither is a lesser version of the chord. Both use the exact same four notes.
If barre chords in general still feel out of reach and you want to build toward them anyway, three adjustments help more than brute force once you do attempt the barre version: bring your thumb further down the back of the neck rather than centering it under your palm, angle your wrist slightly outward away from the neck, and get the barre finger as close to the fret wire as it can go without sitting on top of it. Hand size is rarely the real ceiling. Finger independence and grip strength, built through repetition, usually matter more than the physical span between fingers.
Where F#7 Comes From: The Key of B and the Dominant Function
F#7 rarely shows up as a chord chosen at random. It is the V7, the dominant seventh, of B major and B minor, and it shows up constantly in any song built around either key.
| Key | F#7's role |
|---|---|
| B major | V7, resolves to B |
| B minor | V7, resolves to Bm |
| E major | V7 of V, a secondary dominant that leads toward B or B7 |
| F# | I7, the tonic seventh chord of a blues written in F# |
A dominant seventh chord's whole character comes from the tension between its third and its flattened seventh, a pair of notes a tritone apart that both want to resolve inward toward the notes of the chord that follows. In F#7, that pair is A# and E. When F#7 moves to B, the A# resolves up a half step to B, and the E resolves down a half step to D#, the third of the B chord. That pull is not a stylistic choice, it is built into the physics of the interval, which is why F#7 to B or F#7 to Bm feels so inevitable once you hear it happen.
This is also why F#7 turns up constantly in songs that are not otherwise built entirely from sharps. A song in E major, for instance, can borrow F#7 for a single bar as a secondary dominant, briefly tonicizing B before returning to E, a common move in pop and folk songwriting that gives an otherwise diatonic progression a moment of extra pull.
Two generic progressions cover a lot of the ground F#7 actually gets used for, and both are worth running through on their own before hunting for a specific song that uses them.
| Progression | What it demonstrates |
|---|---|
| B, E, F#7, B | The plain I-IV-V7-I blues and folk pattern in B major |
| E, F#7, B | F#7 working as a secondary dominant, briefly tonicizing B inside a progression built from E |
Changing Into and Out of F#7
The shape itself stops being the hard part once your hand knows it. What actually trips people up is the half second between chords, and there is no shortcut around it besides slow, deliberate repetition.
Bm to F#7: both chords sit at the same fret if you use the E-shape minor barre for Bm and the E-shape barre for F#7, so the change is mostly about which fingers land where rather than moving your whole hand. If you are using the no-barre easy F#7 shape instead, the change becomes a bigger hand shift, worth practicing slowly on its own before adding it to a full progression.
B to F#7: this pairing shows up constantly, since F#7 is B's own dominant. If you play B as a barre chord at the 2nd fret using the A-shape, F#7 using the 9th-fret A7-shape voicing sits in a completely different part of the neck, so most players find it easier to reach for the open-position F#7 shapes instead when switching from an open or low-neck B.
E to F#7: a whole step apart on the low E string, this change is common in E major progressions where F#7 functions as a secondary dominant. Moving from an open E chord to the capoed E7-shape version of F#7 keeps the hand shape almost identical, just shifted up behind the capo, which is one of the more forgiving changes in this whole list.
A to F#7: this pairing shows up whenever a progression in A major borrows F#7 as a secondary dominant leading to Bm, the ii chord, in patterns like A, F#7, Bm, E. Both chords can be played close together on the neck, open A near the nut and the no-barre easy F#7 shape just a few frets up, which keeps the hand from having to jump far during the change.
Practice moving between only two chords at a time before trying a full progression. Play each pair slowly with a metronome, staying on each chord for a full four beats before switching, and only speed up once the change happens without you having to look at your hand.
F#7 in a 12-Bar Blues
A standard 12-bar blues in the key of B uses F#7 as its V chord, arriving in bar 9 to set up the turnaround back to the tonic.
| Bar | Chord |
|---|---|
| 1 to 4 | B7 |
| 5 to 6 | E7 |
| 7 to 8 | B7 |
| 9 | F#7 |
| 10 | E7 |
| 11 to 12 | B7, resolving toward the top of the form |
This is the same I-IV-V structure that underlies blues in any key, just built from B rather than the more commonly taught E or A. F#7 is the V chord here in the same role E7 plays in a blues built from A, or B7 plays in a blues built from E, which makes practicing this progression genuinely useful beyond the key of B itself, since the same shape and the same function transfer directly once you move the whole progression to a different starting chord.
Bar 9 is worth singling out, since it is the moment the turnaround begins in earnest. After eight bars of alternating B7 and E7, the ear has settled into expecting the tonic. F#7 arriving in bar 9 breaks that expectation on purpose, pulling the progression up to its dominant right when it feels most resolved, before bars 11 and 12 bring it back home. Practicing the switch into F#7 specifically at that point in the form, rather than as an isolated chord change, is what makes the turnaround feel inevitable instead of arbitrary once you play it at tempo.
The same shape also works as a quick turnaround on its own, without the full twelve bars around it. A single bar of F#7 followed by a bar of B7 is a common way to end a verse or signal that a song is about to repeat, and it is worth practicing as a two-chord phrase by itself for exactly that reason.
F#7 in "Hotel California" and Other Real Songs
F#7 pairs constantly with Bm, since it functions as Bm's dominant the same way it functions as B major's. The clearest example on the site is the Eagles' B minor chord post, which covers "Hotel California" in detail. The song is written in the key of B minor and leans on Bm and F#7 throughout, and because F#7 sits a barre shape away from Bm on the neck when both are played at the same fret, the two chords together give repeated, back-to-back practice at forming and releasing a barre, which is exactly the repetition that turns a shape from effortful into automatic.
That pairing is also a good example of why learning F#7 in more than one position pays off. The intro and verse of that song move at a tempo where a hand jump between a low-neck Bm and a high-neck F#7 would be impractical, so keeping both chords in the same small area of the neck, using barre shapes that share a fret, is what actually makes the part playable at speed rather than just correct in theory.
Beyond that one song, F#7's practical use case is almost always the same: it is the chord that shows up right before a resolution to B or Bm, whether that resolution happens at the end of a verse, inside a blues turnaround, or as a brief secondary dominant borrowed into a song built from an entirely different key like E major or A major.
F#7sus4 and F#7#9: Variations You'll See Written
F#7sus4 replaces the major third with a perfect fourth, B instead of A#, which removes the tension between third and seventh that makes plain F#7 feel unresolved and replaces it with a more open, suspended sound.
| Interval | Note in F#7sus4 |
|---|---|
| Root | F# |
| Perfect fourth | B |
| Perfect fifth | C# |
| Minor seventh | E |
Starting from the easy no-barre F#7 shape, F#7sus4 is one small move away: slide the finger on the G string up one fret, from the 3rd fret to the 4th, so both the D and G strings are now fretted at the 4th fret.
| String | Fret | Finger |
|---|---|---|
| 6 (low E) | Muted | - |
| 5 (A) | Muted | - |
| 4 (D) | 4 | 3 (ring) |
| 3 (G) | 4 | 4 (pinky) |
| 2 (B) | 2 | 1 (index) |
| 1 (high E) | Open | - |
Players often move between F#7sus4 and F#7 as a single rhythmic figure, sliding that one finger down to resolve the sus4 back into the plain dominant chord, which is a common enough move in folk and rock rhythm playing that it is worth practicing as a pair rather than two unrelated shapes.
F#7#9, sometimes called the "Hendrix chord" for how often it turns up in rock and funk rhythm parts, stacks a sharped ninth, A natural, on top of the basic F#7 shape, sitting directly against the A# major third already in the chord. That clash between the major third and the sharped ninth, a half step apart, is exactly what gives the chord its aggressive, bluesy edge, and it is a sound worth recognizing on a chart even before you have the higher-neck voicings needed to play it comfortably.
Fingerpicking F#7
The no-barre easy shape and the full barre version both work just as well fingerstyle as they do strummed, since every fretted note is already in place. A fingerpicking pattern only chooses the order the strings are plucked in.
For the easy no-barre shape, a simple starting pattern uses the thumb on the D string, then the index, middle and ring fingers on the G, B and high E strings in turn: thumb, index, middle, ring, middle, index, repeated. Because the D string carries the root in this shape, the thumb is always landing on a genuine chord tone rather than a string you would otherwise mute.
For the full barre version, shift the thumb to the low E string instead, since that carries the root there, and let the index, middle and ring fingers cover the D, B and high E strings while the barre finger continues to hold the G string note underneath them. A pattern that alternates the thumb between the low E and A strings while the fingers stay on top, thumb, index, thumb, middle, index, ring, gives the arpeggio more rhythmic movement in the bass and is closer to what a fingerstyle arrangement of a real song is likely to ask for.
Playing F#7 fingerstyle is also a quieter, lower-pressure way to check your barre technique, since a slow arpeggio gives you time to hear each string ring individually without the volume of a strum covering up a weak note.
Scales to Solo Over F#7
F#7's dominant character comes from its major third and flattened seventh, and the scale that matches that sound most directly is F# Mixolydian, the major scale with its seventh flattened by a half step.
| Degree | Note |
|---|---|
| 1 (root) | F# |
| 2 | G# |
| 3 | A# |
| 4 | B |
| 5 | C# |
| 6 | D# |
| b7 | E |
Every note in F# Mixolydian except the flattened seventh is shared with F# major, which makes the scale a natural first choice once F# major or F# major pentatonic already feels familiar under your fingers. The b7 is the note that actually matches the chord and gives a solo its dominant, bluesy pull, so leaning on it, rather than avoiding it, is what makes a line sound like it belongs over F#7 specifically rather than over F# major.
For a simpler, more forgiving option that leans harder into the blues side of this chord, the F# blues scale swaps out most of the Mixolydian's passing tones for a compact five-note shape plus one added blue note.
| Degree | Note |
|---|---|
| 1 (root) | F# |
| b3 | A |
| 4 | B |
| b5 | C |
| 5 | C# |
| b7 | E |
The b3 sitting against F#7's major third, A# in the chord, A in the scale, is exactly the kind of clash that gives blues soloing its characteristic bite, and it is one of the more forgiving scales for a newer player, since nearly every note in it lands somewhere musical against a dominant seventh chord, unlike scales built for major or minor chords specifically.
Common Mistakes Beyond Buzzing
Squeezing far harder than necessary is the most common one, especially once the full barre version starts ringing clean. More pressure past that point does nothing but tire your hand out faster, which makes the next chord change slower rather than more accurate.
A second common mistake is resetting the whole hand shape from scratch on every repetition instead of keeping fingers anchored where they can be and only adjusting what actually needs to move, particularly when switching between the no-barre shape and the full barre version of the same chord.
A third is rushing straight to full-speed strumming before any of the shapes are reliable at a slow tempo, which just practices the buzz instead of curing it. A fourth shows up once the chord itself is solid: holding the shape rigidly between strums instead of relaxing slightly the moment the strum passes. Some tension needs to stay to keep the strings pressed down, but a hand that never releases any tension between strums fatigues far faster over a whole song than one that finds a small amount of release between beats.
A fifth mistake is practicing F#7 only in isolation and never in the actual musical context it will be used in. A chord that appears for one bar in a 12-bar blues turnaround asks something different of your hand, and your timing, than the same chord held for four beats in a slower ballad, and only practicing the static shape will not expose that difference until it shows up mid-song.
A Practice Routine for F#7
Start with the no-barre easy shape. Form it, hold it for ten seconds, check each of the four strings individually by picking it alone, release, and repeat five times. This builds the finger independence the shape needs without any barre-related fatigue getting in the way.
Once that shape is reliable, strum a slow, even four-beat pattern on F#7 by itself for a minute, listening for any string that drops out. Then move to the full six-string barre version and repeat the same process, holding the shape, checking each string, and strumming slowly before adding speed.
Next, pair F#7 with one other chord. B or Bm are the most useful starting points, since F#7 resolves to both constantly in real songs. Practice switching between the two on a metronome at a slow, comfortable tempo, four beats per chord, then drop to two beats per chord, then to one, only increasing speed once the change is clean at the slower tempo.
Finish by trying the change in the context of a real progression, a 12-bar blues in B or the Bm-to-F#7 pattern from "Hotel California," since a chord that works fine in isolation sometimes falls apart the moment a song's timing gets added back in.
Fifteen minutes of this, done consistently, moves this chord from effortful to automatic faster than an hour done once a week, which is really the whole case for practicing in short daily sessions rather than saving it all up for the weekend.
Frequently Asked Questions
What notes make up F#7?
F#7 is built from F#, A#, C# and E, an F# major triad with a flattened seventh, E, stacked on top.
Is there an easy version of F#7 that does not need a barre?
Yes. Mute the low E and A strings, put your ring finger on the 4th fret of the D string, your middle finger on the 3rd fret of the G string, your index finger on the 2nd fret of the B string, and let the high E string ring open. It contains all four chord tones and needs no barre at all.
Is F#7 the same as Gb7?
Yes. F# and Gb are the same pitch, so F#7 and Gb7 are the same chord played with the exact same fingers in the exact same place. Which name appears on a chart depends on whether the song's key uses sharps or flats.
What is the difference between F#7 and F7?
They are different chords a semitone apart. F#7 is built from F#, A#, C# and E, while F7 is built from F, A, C and Eb. Every F#7 shape in this post moves down one fret to become F7.
Why does F#7 show up so often with Bm or B?
F#7 is the dominant seventh, the V7 chord, of both B major and B minor. Its third and seventh sit a half step away from notes in the B chord, which creates a strong pull toward resolving there, and that pull is why the two chords appear together constantly, including throughout the Eagles' "Hotel California."
Can I use a capo to avoid the barre in F#7 entirely?
Yes. Clip a capo on the 2nd fret and play an open E7 shape behind it, middle finger on the A string two frets past the capo and index finger on the G string one fret past the capo. It produces the identical notes as the barred version without a barre.
What is F#7sus4?
F#7sus4 replaces F#7's major third with a perfect fourth, giving the notes F#, B, C# and E. From the easy no-barre F#7 shape, it is one small move: slide the finger on the G string up from the 3rd fret to the 4th.
Why does my F#7 sound muddy or unclear even when nothing buzzes?
This is usually the low E or A string ringing where it should be muted, especially on the no-barre easy shape, which is built specifically to leave those two strings out. Rest the underside of your fretting hand lightly against them, or simply avoid strumming past the string you intend to start on.
What scale should I use to solo over F#7?
F# Mixolydian, the F# major scale with its seventh flattened, matches the chord's own notes most closely. For a bluesier sound, the F# blues scale, F#, A, B, C, C#, E, is more forgiving for a newer player and leans into the tension a dominant seventh chord is built for.
Is F#7 harder than a plain major or minor barre chord?
Not really, and in some ways it is easier. The full barre version uses the same E-shape barre technique as any other chord built from that shape, but F#7 also has a genuinely easy non-barre alternative that most major and minor barre chords in the same position do not, since its four notes happen to fall in a comfortable, three-finger diagonal shape on the top four strings.
GuitarLowKey
Ready for fifteen focused minutes?
Open the web app and train the change that is blocking your song.