
F#m Guitar Chord: Every Way to Play F Sharp Minor
The full F#m barre shape, a capo trick that skips the barre entirely, why it buzzes, and how to switch into F#m without losing the beat.

To play F#m on guitar, lay your index finger flat across all six strings at the 2nd fret, then add your ring finger on the 4th fret of the A string (5th string) and your pinky on the 4th fret of the D string (4th string). Strum all six strings. There is no open-position version of this chord, so the barre is not optional, but there are several easier ways in below, including a capo trick that avoids the barre entirely.
The F#m chord, string by string
F#m is built from the E-shape minor barre, the same shape you would use for Fm, Gm or Am if you moved it up or down the neck. At the 2nd fret, that shape sounds as F#m.
| String | Fret | Finger |
|---|---|---|
| 6 (low E) | 2 | 1 (barre) |
| 5 (A) | 4 | 3 |
| 4 (D) | 4 | 4 |
| 3 (G) | 2 | 1 (barre) |
| 2 (B) | 2 | 1 (barre) |
| 1 (high E) | 2 | 1 (barre) |
The index finger does two jobs at once: it frets the low E, G, B and high E strings all at the same fret, and it acts as a movable nut for the rest of the shape. The ring and pinky fingers sit on the A and D strings, one fret higher than the barre. Every string should ring out. If any of the six sound muted or buzzing, that is covered in detail further down, not something to push through by strumming harder.
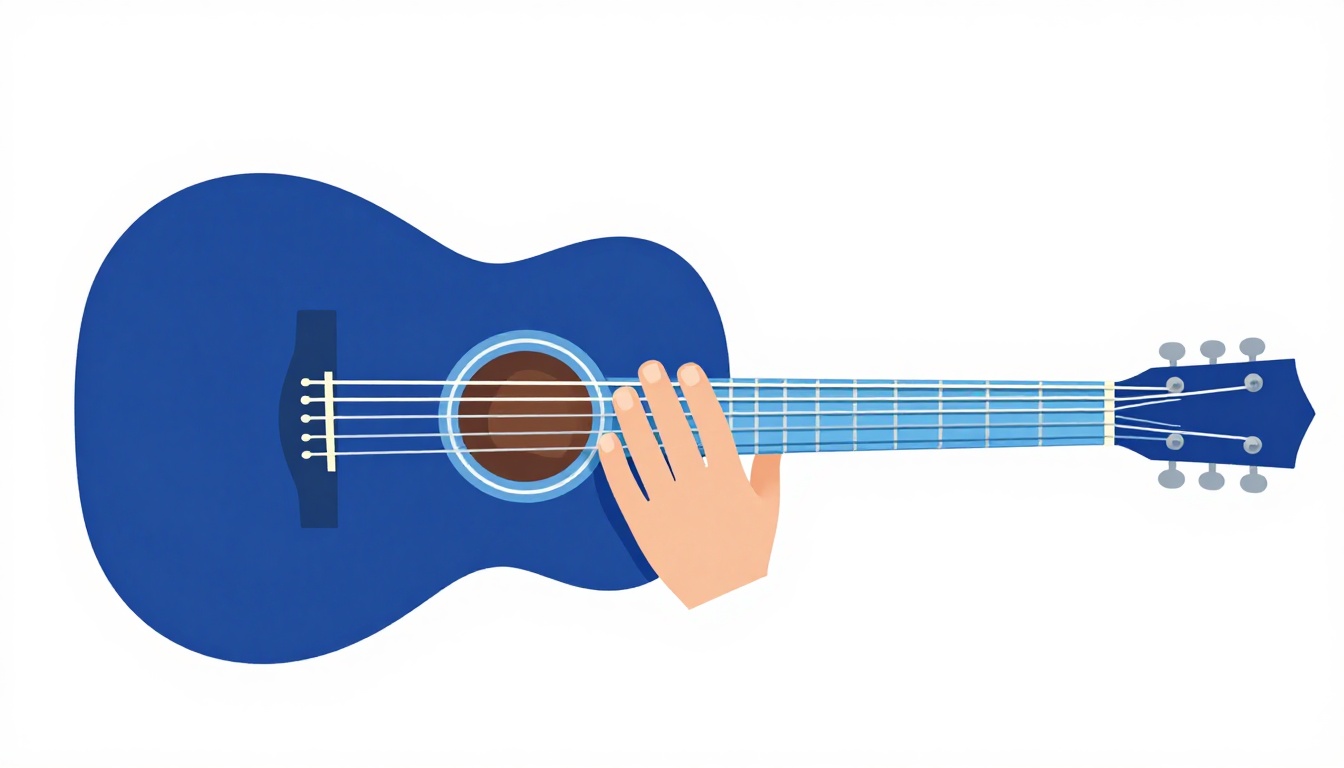
Reading F#m on a chord chart or diagram
Printed chord diagrams use a small set of conventions worth knowing once, since they show up on every chart you will ever read, not just for F#m. A curved line or a thick horizontal bar drawn across the top of a diagram means a barre: one finger covering every string it touches. A number inside a circle tells you which finger to use, following the same 1 to 4 numbering as this post, index through pinky. An "x" above a string means mute or skip it, and an "o" means play it open.
For F#m specifically, most charts show a barre line across all six strings at the 2nd fret, with a "3" and a "4" marked on the A and D strings one fret up. Some charts add a small "2fr" or "II" next to the diagram to confirm which fret the barre sits on, since a barre shape looks identical no matter where it is placed on the neck, and only that fret label tells you it is F#m rather than Fm or Gm.
Diagram orientation trips up a surprising number of beginners the first time they read one, so it is worth stating plainly: a vertical diagram is drawn as if the guitar were standing upright with the headstock at the top, meaning the low E string is on the left and the high E on the right, while the frets run across horizontally with the nut, or the fret number label, at the top. Tab notation, by contrast, is written horizontally with each line representing a string and numbers showing frets, which is a different convention entirely and not interchangeable with a chord diagram at a glance.
What makes F#m a minor chord
F#m is made of three notes: F# (the root), A (the minor third) and C# (the fifth). Swap that A for an A# and you get F# major instead, the brighter, more resolved-sounding chord built from the same root. The minor third is the only difference between the two, and it is the reason F#m sounds unsettled or moody rather than bright. That single half-step is doing all the emotional work.
Every minor chord follows the same pattern relative to its major counterpart: root, flat third, fifth. Counting in half-steps from the root makes this concrete. F# up three half-steps lands on A, the minor third. F# up seven half-steps lands on C#, the perfect fifth. Move that same three-and-seven pattern from any root and you get that root's minor chord: three half-steps up from G is A#, the minor third of Gm, and so on. Once that arithmetic is familiar in F#m, it transfers directly to Fm, Gm, Bm and any other minor barre chord played from the same E-shape.
A major chord uses the same root and fifth but counts four half-steps to the third instead of three. That one half-step, the difference between three and four, is the entire distinction between every major and minor chord on the instrument, not just this one.
F#m or Gbm: why the same chord has two names
F# and Gb are the same pitch, just spelled two different ways, so F#m and Gbm are the same chord played with the same fingers in the same place. Which name shows up on a chord chart depends on the key signature of the song. A tune built around sharps, like a piece in A major or E major, will usually call it F#m. A tune built around flats, like something in Db major, will call the identical shape Gbm.
Nothing about your hand changes. If a chart calls for Gbm, play exactly what is described above.
Building the barre shape correctly
Most of what makes this chord hard is technique, not finger stretch. Three things matter before you even worry about the ring and pinky fingers:
Rotate your index finger slightly onto its outer edge rather than laying it completely flat. The edge of the finger, just past the first knuckle, has firmer bone underneath than the soft pad, and it presses more evenly across all six strings with less effort.
Bring your thumb to the back of the neck, roughly behind your middle finger, and press forward with it as you squeeze. The thumb and the barre finger work as a clamp. Without the thumb pushing back, the barre finger is doing all the work alone and tires out fast.
Get your index finger as close to the fret wire as it can go without sitting on top of it. A barre placed in the middle of the fret space needs far more pressure than one placed right against the fret.
The root 5 shape: a second way to play F#m
The barre chord above is rooted on the low E string. There is a second, equally common F#m shape rooted on the A string instead, borrowed from the open Am chord shape moved up the neck. Because the A string is open at A and F# sits nine semitones above it, this version lives at the 9th fret.
| String | Fret | Finger |
|---|---|---|
| 6 (low E) | Muted | - |
| 5 (A) | 9 | 1 (barre) |
| 4 (D) | 11 | 3 |
| 3 (G) | 11 | 4 |
| 2 (B) | 10 | 2 |
| 1 (high E) | 9 | 1 (barre) |
The low E string is muted here, either by letting the side of your index finger touch it lightly or by simply not strumming it. This shape is worth learning even though it sits higher up the neck, because it puts F#m within easy reach of A, C#m, D and E played in nearby positions, which is exactly the neighborhood F#m tends to show up in.
The easiest way in: the capo trick with an Em shape
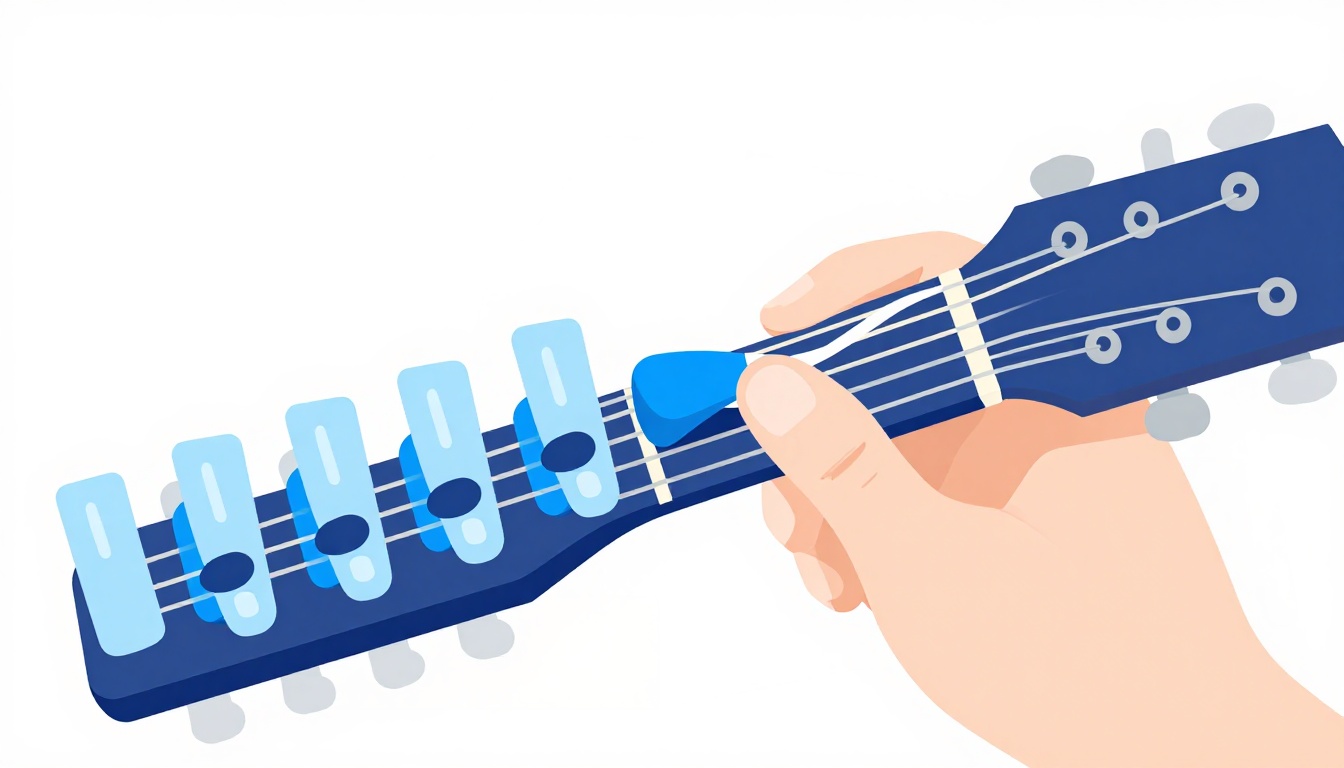
If the barre is the obstacle, not the chord itself, a capo solves it completely. Clip a capo on the 2nd fret and play an ordinary open Em shape behind it. Every string sounds two semitones higher than it would without the capo, and E raised by two semitones is F#. The open Em shape becomes F#m without a single finger leaving the fretboard for a barre.
| String | Behind the capo | Finger |
|---|---|---|
| 6 (low E) | Open | - |
| 5 (A) | 2 frets past the capo | 2 |
| 4 (D) | 2 frets past the capo | 3 |
| 3 (G) | Open | - |
| 2 (B) | Open | - |
| 1 (high E) | Open | - |
Playing the Em shape once the capo is on
With the capo doing the work of the barre, your left hand only has two fingers to place: middle finger on the A string, two frets above the capo, and ring finger on the D string, two frets above the capo. The low E, G, B and high E strings all stay open behind the capo. Strum all six strings exactly as you would for a normal open Em chord.
This is not a compromise version of F#m. It is the identical set of notes, F#, A and C#, produced by moving the work from your fretting hand to the capo. Songwriters use capoed open shapes for this reason all the time, not just as a beginner shortcut.
Why the capo trick works for any minor chord, not just this one
The reason clipping a capo on the 2nd fret and playing Em turns into F#m is not specific to these two chords. A capo shortens the vibrating length of every string equally, which raises every open string's pitch by the same number of semitones, exactly as if you had retuned the whole guitar up. Since a chord shape is just a pattern of relationships between strings, not a fixed set of pitches, playing any open shape behind a capo produces that same shape's chord, transposed up by however many frets the capo covers.
That means an open Am shape behind a capo on the 2nd fret gives Bm. An open Dm shape behind a capo on the 4th fret gives F#m as well, using different open strings than the Em version but landing on the identical chord. Once this relationship is clear, any minor barre chord anywhere on the neck can be approached the same way: find an open minor shape, a capo position that transposes it to the target chord, and let the capo do the work a barre would otherwise do.
A mini three-string version for tight chord changes
When a song only needs the top end of F#m for a beat or two, or your hand needs a rest between full barre chords, bar just the top three strings.
| String | Fret | Finger |
|---|---|---|
| 3 (G) | 2 | 1 (barre) |
| 2 (B) | 2 | 1 (barre) |
| 1 (high E) | 2 | 1 (barre) |
Strum only those three strings. This version has no low end and will not carry a song on its own, but it is genuinely useful for quick strumming patterns, ukulele-style rhythm parts, or as a resting position between full barre chords in a fast-changing progression.
Small hands and shorter fingers
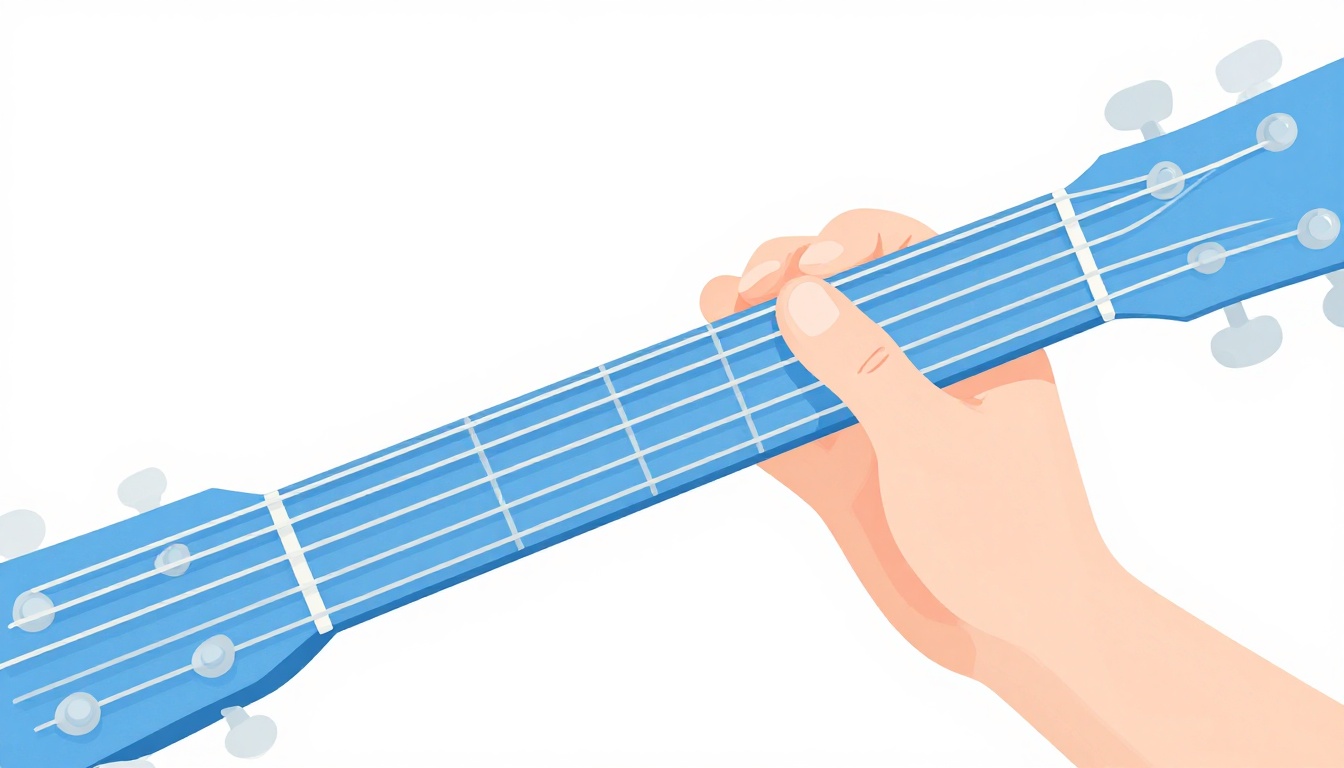
A full six-string barre asks the most of a smaller hand, since the ring and pinky both need to reach two frets past the barre while the index finger holds firm underneath them. If that stretch feels cramped rather than just unfamiliar, three adjustments help more than brute force.
First, bring your thumb further down the back of the neck, closer to where your index finger sits, rather than centering it under your palm. This shortens the reach your other fingers need to make without changing the shape itself. Second, angle your wrist slightly outward, away from the neck, which opens the space between your fingers more than most players expect from such a small movement. Third, if the reach still feels wrong, use the three-string mini barre or the capo-and-Em-shape version above instead of forcing the full six-string shape before your hand is ready for it. Neither is a lesser chord, and both use exactly the same three notes.
Hand size is not the ceiling it feels like early on. Barre chords get noticeably easier with the same weeks of practice regardless of finger length, because the limiting factor is almost always finger independence and grip strength, not the physical span between the barre and the ring finger. If barre chords in general still feel out of reach, it is worth building basic finger independence on an open chord first. The open C chord uses no barre at all and asks each finger to work on its own, which is exactly the skill a barre chord needs once you add the constraint of one finger holding down several strings at once.
The thumb-over alternative to a full six-string barre
Some guitarists, including well-known players who favor this grip, skip the full barre entirely by wrapping their thumb over the top of the neck to fret the low E string directly, leaving the index finger to cover only the remaining top three strings.
| String | Fret | Finger |
|---|---|---|
| 6 (low E) | 2 | T (thumb, wrapped over the neck) |
| 5 (A) | 4 | 3 |
| 4 (D) | 4 | 4 |
| 3 (G) | 2 | 1 (mini barre) |
| 2 (B) | 2 | 1 (mini barre) |
| 1 (high E) | 2 | 1 (mini barre) |
This turns a six-string index barre into a three-string one, which some hands find noticeably easier to hold clean, and it frees the thumb to mute the A string slightly if a song calls for a leaner, less bass-heavy version of the chord. It is not a technique taught in classical guitar, and it does not suit every hand or every neck profile, some necks are simply too wide for a thumb to reach comfortably over the top, but it is a legitimate, widely used option rather than a shortcut to be embarrassed about.
The F#5 power chord shortcut
Power chords drop the third entirely, so F#5 is not technically major or minor. In a distorted or rock context it functions as a stand-in for F#m without asking your hand to barre at all.
| String | Fret | Finger |
|---|---|---|
| 6 (low E) | 2 | 1 |
| 5 (A) | 4 | 3 |
Strum only those two strings, or add a muted low E for extra weight. This shape will not work in an acoustic ballad where the third is doing real harmonic work, but it is a legitimate option with distortion, and it uses the exact same two fingers as the fretted notes in the full barre chord, so practicing it also builds toward the real thing.
An alternate voicing further up the neck
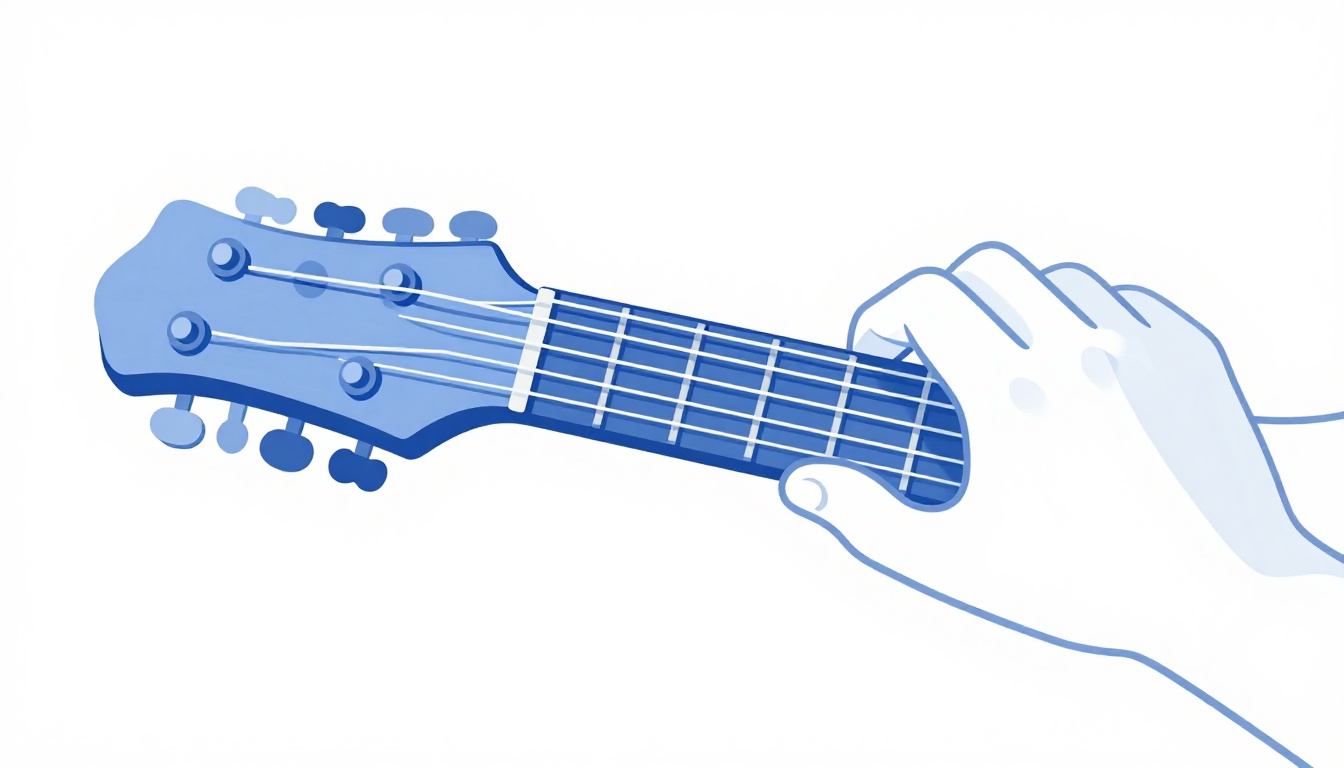
Once the main shapes are comfortable, a fuller-sounding, higher-neck alternative is worth knowing, since it drops the low strings entirely and voices F#m only on the middle and top strings.
| String | Fret | Finger |
|---|---|---|
| 4 (D) | 4 | 2 |
| 3 (G) | 2 | 1 (barre) |
| 2 (B) | 2 | 1 (barre) |
| 1 (high E) | 5 | 4 |
Strings 5 and 6 are not played. The index finger bars only the G and B strings at the 2nd fret, the middle finger reaches to the D string at the 4th fret, and the pinky stretches to the high E string at the 5th fret. It is a genuine stretch, more than the standard barre asks for, so treat it as something to work toward rather than a first shape to learn. What it gives back is a brighter, more open voicing that sits well in a fingerstyle arrangement or behind a vocal, where the full low end of the standard barre chord would otherwise crowd the mix.
Why your F#m chord is buzzing or sounds dead
Test each string one at a time after forming the shape. A chord that sounds fine strummed fast can still have one or two dead strings hiding in the mix. Work through these one cause at a time.
Your index finger is too flat
A completely flat barre finger presses with the soft, fleshy part of the finger, which gives way unevenly across six strings, usually leaving the high E or B string sounding weak or dead since they sit under the thinnest, least supported part of the pad. Roll the finger slightly onto its outer edge, toward the thumbnail side, where there is firmer bone directly under the strings. Check the shape from the player's-eye view looking down the neck: a properly rolled barre finger shows more of its side than its flat top.
Your thumb is riding too high on the neck
If your thumb creeps up over the top of the fretboard, the barre finger loses its counter-pressure and has to do all the clamping alone, which is exactly when the low E or A string tends to buzz first, since they are furthest from where an unsupported barre finger naturally presses hardest. Bring the thumb down to the back of the neck, roughly opposite your middle finger, and press forward as if you were trying to bring your thumb and index finger together through the neck.
One string is collapsing under a neighboring finger
The ring finger on the A string or the pinky on the D string can lean sideways and lightly touch the string next to it, muting it, and this is the single most common reason the D string specifically goes dead in this shape, since the pinky is the weakest, least independent finger on most hands. Arch those fingers so only the very tip contacts the string, coming down as close to straight up and down as your hand allows, and check that the ring finger is not resting its side against the G string as it reaches for the A string.
You're pressing at the wrong point in the fret
A finger placed near the middle of the fret space, or worse, right on top of the fret wire, needs far more pressure to ring cleanly than one placed just behind the fret, because the string has more room to vibrate against the fret ahead of it before it buzzes. Slide the whole shape slightly toward the guitar's body until every finger sits right up against its fret, and check the ring and pinky fingers on the A and D strings separately from the barre finger, since they often end up in a different spot in the fret space even when the barre itself is placed correctly.
You're not pressing hard enough yet
Barre chords ask more of your hand than open chords, and there is no way around building that strength except playing them. If everything above is correct, technique-wise, and one string still buzzes, the honest answer is often that your hand needs a few more weeks of practice, not a different technique. This is the cause most beginners want to rule out first and the one that is actually most often true last, after the four technique issues above are genuinely fixed.
The guitar itself is working against you
High action, old strings, or a neck that needs a truss rod adjustment can make every barre chord harder than it should be, independent of your technique. If open chords ring clean but every barre chord anywhere on the neck buzzes no matter what you do, the instrument is worth having checked.
Getting the wrist and hand position right
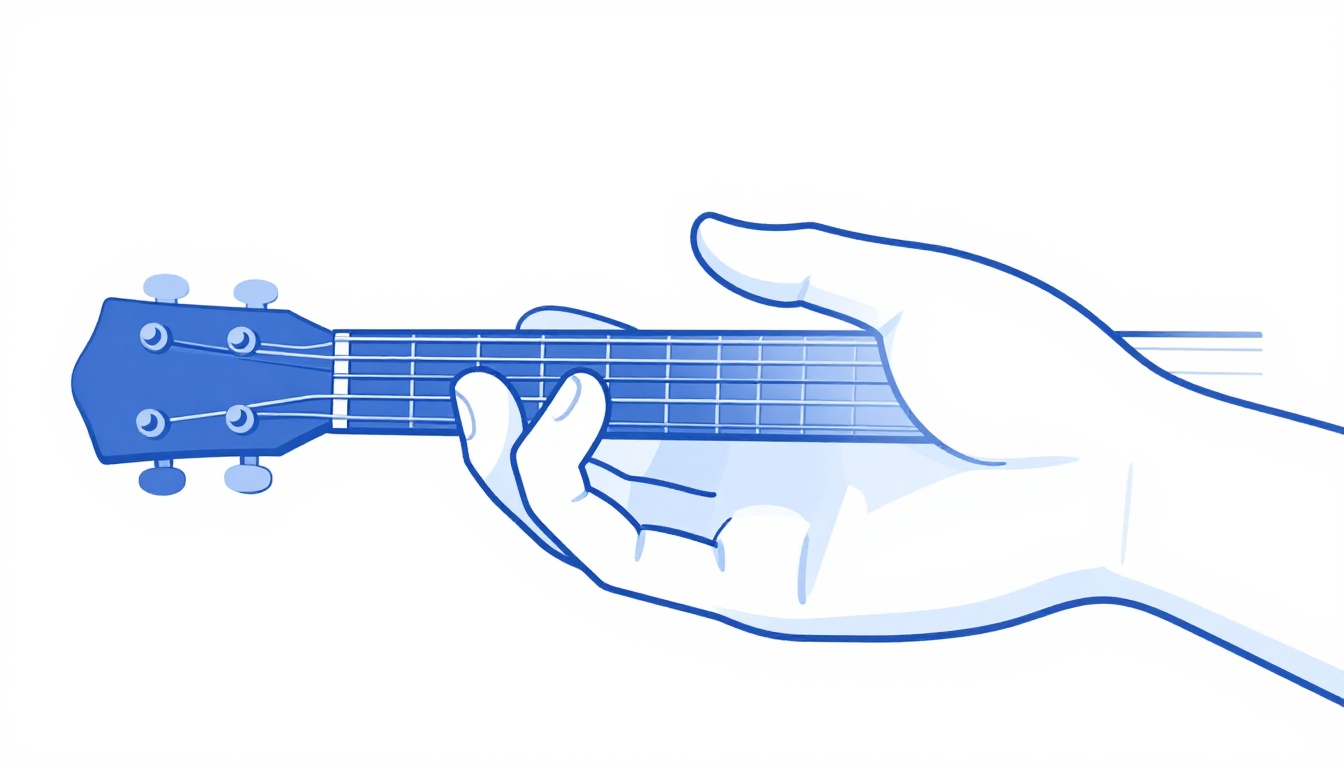
Keep your wrist reasonably straight rather than bent sharply toward the floor. A bent wrist reduces the force your fingers can generate and tires the forearm faster. Bring your fretting arm slightly forward and let your elbow drop, rather than pulling your hand back at an angle to reach the neck.
Your palm should not be flush against the back of the neck. A small gap between your palm and the wood gives your fingers room to arch and your thumb room to press independently. Players who grip the neck like a baseball bat, palm and all, almost always find barre chords harder than they need to be.
Standing with the guitar on a strap tends to change all of this compared to sitting, since the neck angle is usually lower and further from the body, which pulls the wrist into a more awkward bend if the strap length has not been adjusted for it. If a barre chord that felt fine sitting down suddenly buzzes constantly once you stand up, check the strap length and the neck angle before assuming your technique has gotten worse. Raising the guitar slightly, so the neck sits closer to where it would rest seated, usually resolves it.
Building the strength to hold a barre chord
Barre strength comes from time under the shape, not from a single trick. Hold the F#m shape for ten to fifteen seconds at a time, release, shake your hand out, and repeat for a few minutes a day. Strumming through a song is good practice too, but holding the static shape isolates the exact muscles a barre chord uses without the distraction of timing or a strum pattern.
Progress is not linear. Most players notice a real jump in barre strength after two to four weeks of daily practice, then a slower, steadier improvement after that. A day where the chord feels harder than it did yesterday is normal, not a sign anything is wrong.
Playing through other minor barre chords helps just as much as repeating F#m on its own, since the same index finger and the same thumb position are doing the work regardless of which fret the shape sits on. Moving the identical shape to the 1st fret for Fm, the 3rd for Gm, or the 7th for Bm gives your hand variety while training the exact same muscles, which keeps practice from feeling as repetitive as holding one chord in one place for weeks at a time.
Does your guitar's setup make F#m harder than it needs to be?
Some guitars are simply harder to barre on than others, for reasons that have nothing to do with your technique. Action that is set high at the nut or along the neck means every fretted note, not just barre chords, needs more finger pressure to ring clean. Strings that are old and dead can buzz no matter how well you fret them. A neck with too much relief, meaning it bows slightly forward, raises the action in the middle of the fretboard specifically, right where barre chords usually live.
None of this is something to diagnose from a blog post with total certainty, but the test is simple: if every open chord rings clean and every barre chord anywhere on the neck buzzes no matter how carefully you place your fingers, the guitar is worth a setup check before you blame your hand any further.
Check your tuning before you blame the chord
Barre chords make tuning problems more obvious than open chords do, because every string is fretted at once and there is no open reference note ringing alongside the fretted ones to mask a small discrepancy. A guitar that drifted slightly out of tune since the last time you played can produce an F#m that is fingered perfectly and still sounds faintly sour.
| String | Standard tuning |
|---|---|
| 6 (low E) | E |
| 5 (A) | A |
| 4 (D) | D |
| 3 (G) | G |
| 2 (B) | B |
| 1 (high E) | E |
Before spending time troubleshooting a shape that will not ring clean, check the guitar against a tuner in this order, low E to high E. It only takes a few seconds, and it rules out the one cause on this whole list that has nothing to do with your hand at all.
Where F#m sits in a key
F#m rarely shows up on its own. It is the relative minor of A major, which means the two share every note in their scale, and it appears as a diatonic chord in several common keys.
| Key | F#m's role |
|---|---|
| F# minor | i, the home chord |
| A major | vi, the relative minor |
| D major | iii |
| E major | ii |
| B minor | v |
| C# minor | iv |
Knowing this matters practically. If a song is in A major or E major, expect F#m to turn up, and expect it to lead naturally to or from D, A, E and Bm, the chords that share its key.
A major and F# minor sharing every note explains why the two feel so connected. Both are built from the same seven notes, F#, G#, A, B, C#, D and E, just starting from a different point in that same set. A major starts from A and stacks a major third and a perfect fifth on top, giving it a bright, resolved character. F# minor starts from F#, six notes later in the same collection, and stacks a minor third and perfect fifth instead, giving it a darker one. A song can move freely between A major and F#m without introducing a single new note, which is exactly why the two show up together so often and why switching between them tends to feel natural under the fingers once the shapes are familiar.
Chord progressions that use F#m
Two generic progressions cover a lot of ground: F#m, E, D, A and F#m, Bm, A, E. Both put F#m in the role of the minor chord that gives an otherwise major-key progression some weight.
Two real songs make the pattern concrete. In a-ha's "Take On Me," the chorus runs A, E/G#, F#m, D, with F#m sitting between the E/G# and the D, and the verse resolves through Bm, E, F#m, D near its end. In the Backstreet Boys' "I Want It That Way," the verse progression is F#m, D, A, with the line "I want it that way" landing on F#m, E, A. In both songs, F#m is the chord that turns a bright, major-key progression momentarily serious before it resolves back.
| Song | Progression | Where F#m sits |
|---|---|---|
| Take On Me (a-ha) | A, E/G#, F#m, D | Chorus, between E/G# and D |
| I Want It That Way (Backstreet Boys) | F#m, D, A | Verse, as the opening chord |
Strumming patterns that work well with F#m progressions
A barre chord's biggest practical problem is not the shape, it is holding that shape steady through a strum pattern that keeps moving. Start with a simple down-down-up-up-down-up pattern over four beats, and play it on F#m alone before adding any other chord, so your strumming hand can settle into a rhythm your fretting hand does not have to think about yet.
Once that is steady, bring in a second chord and keep the same strum pattern running underneath the change, rather than pausing the strum to reset your fretting hand. This is the single biggest habit that separates a strum pattern that sounds musical from one that sounds like a sequence of correct chords played one at a time. If the change genuinely cannot happen in time, simplify the strum for that one beat, muting the strings with your fretting hand and strumming a percussive scratch, rather than stopping the rhythm outright.
For a slower, more emotional progression like F#m to D to A to E, a pattern with fewer, longer strokes, down on beat one and down-up on beat three, gives the chord more room to ring and suits the moody character of the minor chord better than a busy sixteenth-note pattern would.
Whichever pattern you choose, keep your strumming hand moving in a constant down-up motion even through the beats you are not actually striking the strings on, letting your wrist simply miss the strings on beats you are skipping. This is the habit that keeps a strum pattern in time once a song speeds up, since a hand that stops and restarts its motion for every beat almost always drifts off tempo the moment a chord change demands its attention instead.
Scales for soloing over F#m
The F# natural minor scale is the starting point for anything melodic over this chord.
| Degree | Note |
|---|---|
| 1 (root) | F# |
| 2 | G# |
| b3 | A |
| 4 | B |
| 5 | C# |
| b6 | D |
| b7 | E |
For a simpler, more forgiving option, the F# minor pentatonic scale drops the 2nd and b6th, leaving five notes that are harder to land wrong.
| Degree | Note |
|---|---|
| 1 | F# |
| b3 | A |
| 4 | B |
| 5 | C# |
| b7 | E |
Both scales share every note with A major and A major pentatonic, since F#m is A major's relative minor. If a solo already works over an A major backing, the same shapes played starting from F# will work over F#m.
F#m compared to the chords it gets confused with
Names that are one character apart on a chart are easy to mix up mid-song. Here is what actually separates them.
| Chord | Notes | What makes it different |
|---|---|---|
| F# major | F#, A#, C# | A major third instead of a minor one, brighter and more resolved |
| F#m | F#, A, C# | The chord this post covers |
| Fm | F, Ab, C | A different root a semitone lower, easy to misread on a page |
| F#m7 | F#, A, C#, E | F#m with a minor seventh added, softer and jazzier |
F#m7 is worth knowing on its own, because it is genuinely easier to play than the full minor chord. Take the main F#m barre shape from earlier and simply lift your pinky off the D string. The D string, still held down by the barre itself at the 2nd fret, rings out as an E, which happens to be exactly the note F#m7 needs. You go from three fretting fingers to two, and the chord that comes out is a real F#m7, not an approximation. If you want to hear how a minor 7th chord differs from a plain minor chord without the barre getting in the way, the Em7 chord is the same relationship, root six shape, one string dropped for the seventh, played entirely open.
Changing between F#m and other chords smoothly
The shape itself stops being the hard part once your hand knows it. What actually trips people up is the half-second between chords, and there is no shortcut around it besides slow, deliberate repetition.
Practice moving only between two chords at a time before trying a full song. F#m to D is a common pairing, since both use fingers on the A and D strings that barely need to move. F#m to A works well too, especially using the root 5 F#m shape at the 9th fret, which sits close to an open A chord played further down. F#m to Bm, both barre chords from the same E-shape family, is really just sliding the identical hand shape up two frets, which makes it one of the easiest transitions in this whole group once the shape itself is solid.
Play each pair slowly with a metronome, staying on each chord for a full four beats before switching, and only speed up once the change happens without you having to look at your hand. Looking at your fretting hand mid-song is normal early on, but the goal is to feel the shape rather than see it.
Common mistakes beyond buzzing
Squeezing far harder than necessary is the most common one. Once a barre chord rings clean, more pressure does nothing but tire your hand out faster, which makes the next chord change slower, not more accurate. A second common mistake is resetting the whole hand shape from scratch on every repetition instead of keeping the barre finger anchored and only adjusting the ring and pinky fingers. A third is rushing straight to full-speed strumming before the shape is reliable at a slow tempo, which just practices the buzz instead of curing it.
A fourth mistake shows up once the chord itself is solid: holding the shape rigidly between strums instead of relaxing slightly the moment the strum passes. Some tension needs to stay to keep the strings pressed down, but a hand that never releases any tension between strums fatigues far faster over a whole song than one that finds a small amount of release between beats. A fifth is practicing the shape only in isolation and never in the actual context it will be used in, since a chord that appears for one bar in a fast progression asks something different of your hand than the same chord held for four bars in a slow ballad.
Fingerpicking F#m
The barre shape works just as well for fingerstyle playing as it does for strumming, since every fretted note is already in place, all a fingerpicking pattern does is choose the order strings are plucked in. A simple starting pattern uses the thumb on the low E string, then the index, middle and ring fingers on the G, B and high E strings in turn: thumb, index, middle, ring, middle, index, repeated. Because the low E string is part of the chord tone (F#, the root) rather than a string you would normally mute, this pattern gives a full, grounded arpeggio without needing to think about which notes belong to the chord.
For the root 5 shape at the 9th fret, shift the thumb to the A string instead, since that is the root there, and mute the low E string with the side of your fretting hand's index finger so the thumb has one less string to avoid. Playing F#m fingerstyle is also a quieter, lower-pressure way to build the barre itself, since a slow arpeggio gives you time to check each string is ringing clean without the volume of a strum covering up a weak note.
A second pattern worth learning alternates the thumb between the low E and A strings while the fingers stay on the top three: thumb on low E, index on G, thumb on A, middle on B, index on G, ring on high E, repeated. This gives the arpeggio more rhythmic movement in the bass than the first pattern, which stays on a single low note throughout, and it is closer to what a fingerstyle arrangement of a real song is likely to ask for once F#m sits inside a full progression rather than being played alone.
A practice routine for F#m
Start with thirty seconds of the static shape: form F#m, hold it, check each string individually by picking it alone, release, and repeat five times. Move on to strumming a slow, even four-beat pattern on F#m by itself for a minute, listening for any string that drops out.
Next, pair F#m with one other chord, D or A are the easiest starting points, and practice switching between the two on a metronome at a slow, comfortable tempo, four beats per chord. Once that feels stable, drop to two beats per chord, then to one, only increasing speed once the change is clean at the slower tempo. Finish by trying the change in the context of a real song section, since a chord that works fine in isolation sometimes falls apart the moment lyrics and timing get added back in.
Spread this over a couple of weeks rather than expecting it in one sitting. In the first week, most of the value comes from the static hold and the slow strum, simply getting your hand used to the shape without the added demand of switching quickly. In the second week, shift the balance toward chord changes, since by then the shape itself should need less conscious effort and the timing between chords becomes the actual skill left to build. By the third week, most players can hold a four-beat-per-chord progression through a full song without stopping, which is a reasonable point to consider the chord learned rather than still in progress.
Fifteen minutes of this, done consistently, moves a barre chord from effortful to automatic faster than an hour done once a week, which is really the whole case for practicing in short daily sessions rather than saving it all up for the weekend.
Frequently asked questions
Is F#m the same as Gbm?
Yes. F# and Gb are the same pitch, so F#m and Gbm are the same chord played with the exact same fingers in the exact same place. Which name appears on a chart depends on whether the song's key signature uses sharps or flats.
Can you play F#m without barring?
Not as an open chord in standard tuning, since none of F#m's three notes, F#, A and C#, ring open on any string. The closest thing to an open version is the capo trick: clip a capo on the 2nd fret and play an open Em shape, which sounds as F#m without a barre.
What is the easiest F#m shape for a beginner?
The capo-and-Em-shape method is the easiest true version, since it needs only two fingers and no barre. Without a capo, the three-string mini barre across strings 1 to 3 at the 2nd fret is the simplest option, though it leaves out the low end.
Why does F#m sound sad or moody compared to F# major?
The difference is a single note. F# major uses A#, a major third above the root, while F#m uses A, a minor third. That one half-step lower is what gives minor chords their darker, more unresolved character.
What is F#m7, and is it different from F#m?
F#m7 adds one more note, E, on top of the F#m triad. It is easier to play than it sounds: take the standard F#m barre shape and lift your pinky off the D string, letting it ring open at the barre fret instead.
Is F#m a common chord in songs?
Yes, especially in songs written in A major or E major, where F#m is the relative minor or the ii chord. It appears in the chorus of a-ha's "Take On Me" and throughout the verses of the Backstreet Boys' "I Want It That Way."
Do I need a capo to play F#m properly?
No. The capo is a genuine shortcut, not a requirement. The barre chord versions produce the identical notes and are worth learning even if you use the capo trick as a starting point, since barre chords transfer directly to dozens of other chords once the technique is solid.
Why do some chord charts show F#m at a different fret than others?
F#m can be played as a root 6 barre at the 2nd fret or a root 5 barre at the 9th fret, and both are correct. Which one a chart shows usually depends on which chords come right before or after it, since staying in one area of the neck makes the whole progression easier to play.
Why does my F#m sound fine alone but fall apart in a song?
This almost always comes down to timing rather than the shape itself. A chord that rings clean when you take your time to form it can still buzz or arrive late once a strum pattern or a chord change is added back in, because your hand has less time to settle into position. Practicing the change into and out of F#m on its own, slowly and with a metronome, closes this gap faster than repeating the whole song from the top.
Is F#m harder than other barre chords like F or Bm?
Not meaningfully. F#m uses the same E-shape minor barre as F minor, G minor or B minor, just moved to a different fret, so the technique and the difficulty are identical across all of them. Once the shape is comfortable anywhere on the neck, it is comfortable everywhere on the neck.
GuitarLowKey
Ready for fifteen focused minutes?
Open the web app and train the change that is blocking your song.