
How to Play the F7 Chord on Guitar (Every Shape, No Buzzing)
The easiest F7 shape with no full barre, a capo trick that needs none at all, and how to fix the buzz before you use it in a blues turnaround.

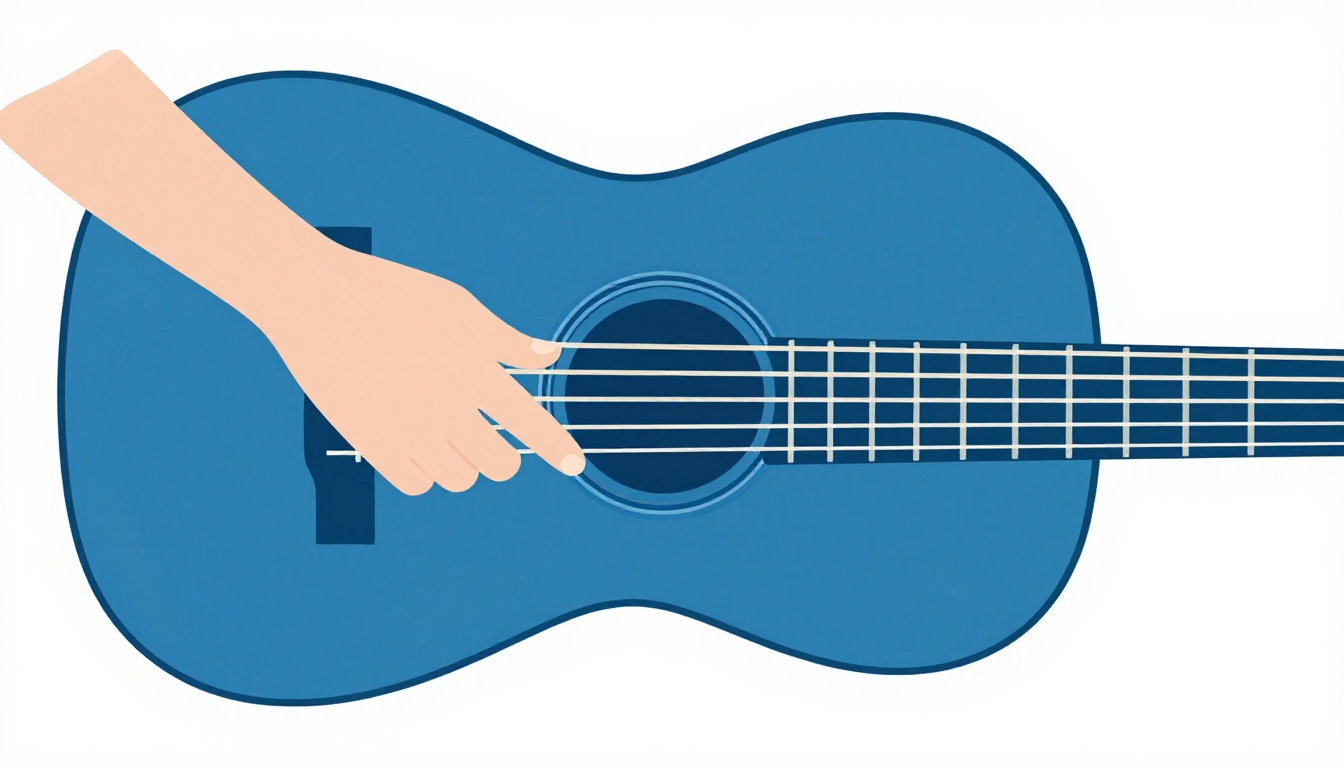
The fastest way to play F7 without a full barre: mute the low E and A strings, lay your index finger flat across the D, G, B and high E strings at the 1st fret, then press your middle finger onto the G string at the 2nd fret. Strum the top four strings only. That single shape contains every note F7 needs, root, third, fifth and flattened seventh, and it needs only a four-string mini barre instead of the full six-string version most charts show first. There is also a genuine zero-barre version using a capo, the full six-string barre for when you need it, and every fix for the buzz this chord is known for, all covered below.
F7 has a reputation as one of the trickier chords a new guitarist meets, and that reputation is fair. Unlike E7 or A7, which lean on open strings for most of their sound, F is not an open-string note anywhere near the nut on a standard-tuned guitar. Every practical way to play F7 either uses a barre, a partial barre, or a workaround like a capo. There is no shortcut around that fact, but there are several genuinely easier paths into the chord, and this post walks through all of them.
What Notes Make Up F7
F7 is a dominant seventh chord built from four notes: F, A, C and Eb. That is a major triad (F, A, C) with a flattened seventh (Eb) stacked on top. The "seventh" in the name refers to that Eb, the note a minor seventh above the root.
This is different from a plain F major chord, which uses only three notes (F, A, C) repeated across six strings. Adding the Eb is what gives F7 its pull. A major chord on its own sounds settled. Add the flattened seventh and the chord leans forward, wanting to resolve somewhere else, almost always toward a chord a fourth above it, which from F is Bb.
What Each String Plays in the Full Barre Shape
Here is what rings out, low to high, in the standard six-string barre version of F7 covered in full further down:
| String | Note Played | Role in the Chord |
|---|---|---|
| 6 (low E) | F | Root |
| 5 (A) | C | Perfect fifth |
| 4 (D) | Eb | Flattened seventh |
| 3 (G) | A | Major third |
| 2 (B) | C | Perfect fifth, doubled |
| 1 (high E) | F | Root, one octave up |
Every core tone of F7 is present here, and the root and fifth are each doubled. Nothing in the shape is decorative, which is also why one dead string in a barre chord is so noticeable: you are not losing a spare note, you are losing one of only four pitches available.
Standard Tuning to Check First
F7 relies on a barre pressing across several strings at once, and a barre exaggerates any tuning problem instead of hiding it. If one string is even slightly flat, the chord will sound sour in a way that is easy to blame on your fretting hand when the real fault is the tuning peg.
Standard tuning, low to high, is:
| String | Note | Common Name |
|---|---|---|
| 6 | E | Low E |
| 5 | A | A |
| 4 | D | D |
| 3 | G | G |
| 2 | B | B |
| 1 | E | High E |
Check your tuning with a clip-on tuner or a tuning app before working on this chord. A barre chord that sounds "almost right" is worth checking against a tuner before you assume the fault is your hand position.
The Easiest Way to Play F7 (No Full Barre)
Most chord charts lead with the full six-string barre, but there is a genuinely easier entry point that uses the same fretting-hand shape with less of your hand doing the work.
| String | Fret | Finger |
|---|---|---|
| 6 (low E) | Muted | - |
| 5 (A) | Muted | - |
| 4 (D) | 1 | 1 (index, mini barre) |
| 3 (G) | 2 | 2 (middle) |
| 2 (B) | 1 | 1 (index, mini barre) |
| 1 (high E) | 1 | 1 (index, mini barre) |
Lay your index finger flat across the D, G, B and high E strings at the 1st fret. It is fine that your index finger is also technically touching the G string, because your middle finger presses that same string down at the 2nd fret, and on any string fretted at two points at once, only the note closer to the bridge actually sounds. Strum from the fourth string down to the first, leaving the low E and A strings out entirely.
This is not a lesser version of the chord. It contains the root, third, fifth and flattened seventh with nothing missing, just in a smaller, four-string footprint that asks much less of your hand than a full barre.
The Capo Trick: F7 With No Barre At All
If even the partial barre feels like too much right now, there is a real way to play F7 with zero barre, using a capo.
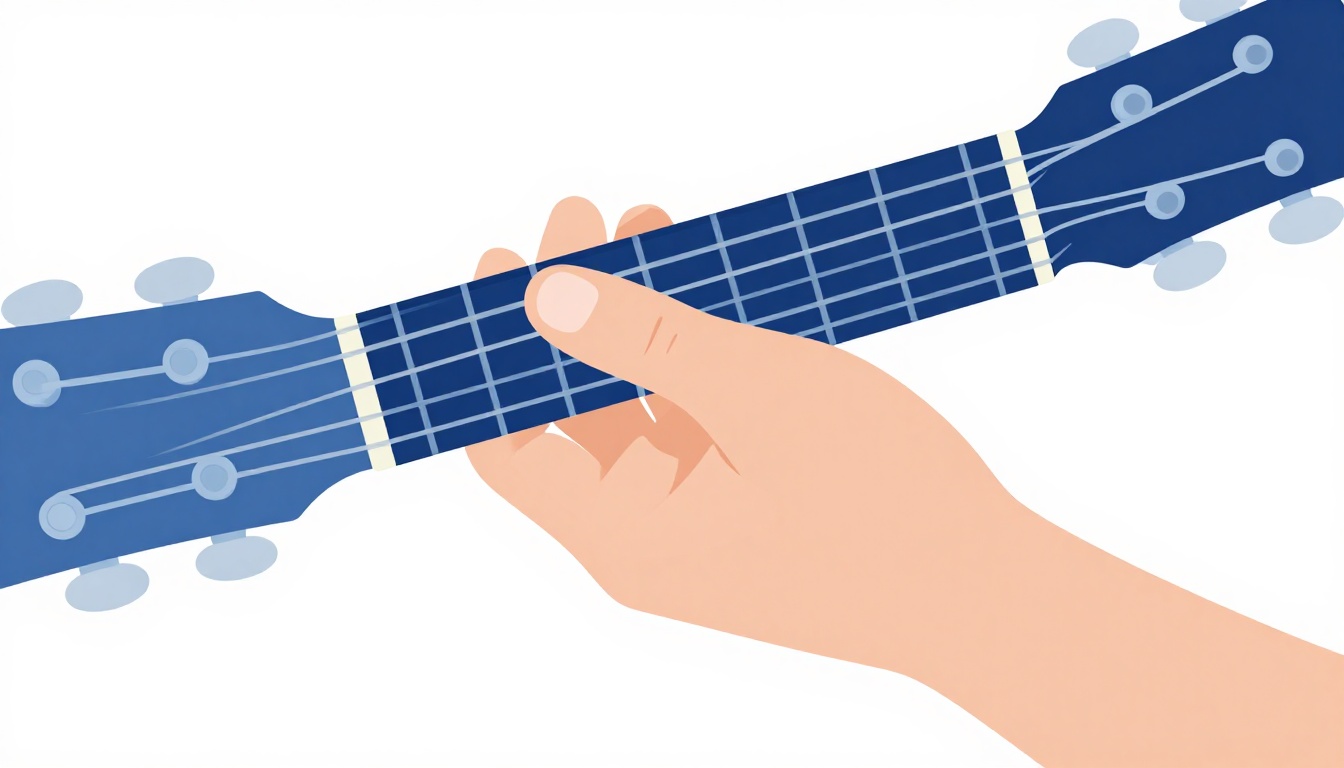
Clip a capo onto the 1st fret. Then play the same two-finger shape you would use for an open E7 chord with no capo at all: index finger on the third string, one fret past the capo, and middle finger on the fifth string, two frets past the capo. Strum all six strings.
| String | Fret Past the Capo | Finger |
|---|---|---|
| 6 (low E) | Open (capo only) | - |
| 5 (A) | 2 | 2 (middle) |
| 4 (D) | Open (capo only) | - |
| 3 (G) | 1 | 1 (index) |
| 2 (B) | Open (capo only) | - |
| 1 (high E) | Open (capo only) | - |
A capo works by acting as a movable nut. Barring the open E7 shape at the 1st fret with your own finger produces exactly this chord, and a capo does the same job mechanically, freeing up your other fingers entirely. This is the same trick that turns open E into F and open E minor into F minor, and it is worth knowing about even once the barre versions feel comfortable, because there are moments mid-song where swapping to a familiar open shape under a capo is simply faster than resetting your whole hand into a barre.
The Full Six-String F7 Barre Chord
Once the smaller versions feel solid, the full six-string barre is worth learning, because it gives F7 a fuller, lower sound and it is the version most chord charts and other musicians expect when they call out "F7."
| String | Fret | Finger |
|---|---|---|
| 6 (low E) | 1 | 1 (index, barre) |
| 5 (A) | 3 | 3 (ring) |
| 4 (D) | 1 | 1 (index, barre) |
| 3 (G) | 2 | 2 (middle) |
| 2 (B) | 1 | 1 (index, barre) |
| 1 (high E) | 1 | 1 (index, barre) |
This shape is the open E7 chord (index on the third string, first fret; middle on the fifth string, second fret; everything else open) barred as a whole unit and slid up one fret, with the ring finger added on the fifth string. Everything that makes open E7 easy to understand, root and fifth doubled at the ends, third and seventh in the middle, carries over exactly, just moved up the neck and turned into a full barre.
Step by Step: Building the Full Barre Version
Work through this in order rather than trying to drop the whole barre and both other fingers down at once.
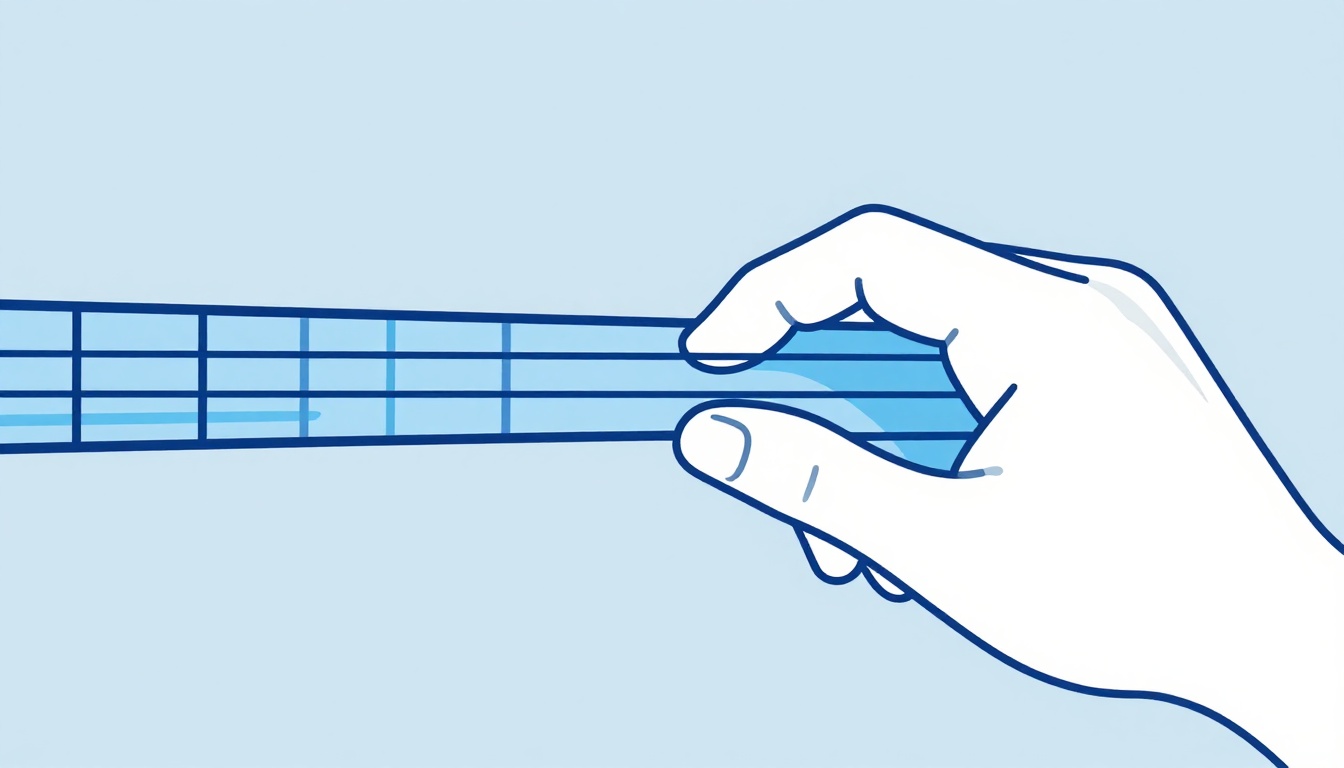
- Set your index finger first, on its own. Lay it flat across all six strings at the 1st fret, close to the fret wire rather than in the middle of the gap between the nut and the fret. Check every string rings clean with just this finger down, one at a time, before adding anything else.
- Add your ring finger on the fifth string, third fret. This finger sits two frets further down the neck and one string over from the barre. Keep it upright on its tip so it does not lean into the fourth string next to it.
- Add your middle finger on the third string, second fret. This finger sits between your index and ring fingers in fret position but on a different string entirely, so give it its own clear path down rather than letting it brush the barre.
- Check your thumb. It should sit behind the neck, roughly opposite your index finger, applying steady counter-pressure against the barre. A thumb that creeps over the top of the neck flattens the whole hand and makes the barre far harder to hold.
- Strum all six strings slowly, one at a time first, then together, listening for a clean note on every string before you commit to a full strum.
If a string buzzes or goes dead, the causes and fixes further down cover this one at a time. Barre chords punish impatience more than any other shape, so it is worth resisting the urge to add pressure everywhere at once. In almost every case, one specific string is the problem, not the whole hand.
Reading F7 in Tab and Shorthand Notation
Away from a full chord diagram, F7 shows up in two more compact forms worth being able to read.
Guitar tab shows the full six-string barre shape like this, read from the thinnest string at the top to the thickest at the bottom, with each number giving the fret to press:
e|--1--
B|--1--
G|--2--
D|--1--
A|--3--
E|--1--
Chord charts and some songbooks also use a compact string-of-numbers shorthand for the same shape, written low string to high string as 1-3-1-2-1-1, with an "x" standing in for any muted string. The partial-barre version from earlier in this post would be written the same way as x-x-1-2-1-1, with the "x" marking the two low strings left out of the strum. Once you recognize this pattern, you can read any six-string chord shorthand without needing a full diagram, which is useful for songbooks and lead sheets that only give chord names and fret numbers rather than pictures.
F7 vs F Major: What Actually Changes
F major and F7 share almost the same barre shape, which makes them easy to mix up on a chord chart and easy to convert between once you know the difference.
The standard full barre F major chord is:
| String | Fret | Finger |
|---|---|---|
| 6 (low E) | 1 | 1 (index, barre) |
| 5 (A) | 3 | 3 (ring) |
| 4 (D) | 3 | 4 (pinky) |
| 3 (G) | 2 | 2 (middle) |
| 2 (B) | 1 | 1 (index, barre) |
| 1 (high E) | 1 | 1 (index, barre) |
Compare that with the F7 barre shape above and there is exactly one difference: the fourth string. In F major, your pinky presses the D string at the third fret, adding an extra F an octave up. In F7, that finger lifts off entirely and the barre itself covers that string at the first fret instead, which turns that same string into an Eb, the flattened seventh.
In other words, F7 is F major with the pinky lifted off the fourth string. That single finger is the entire difference between a chord that sounds settled and one that sounds like it wants to move. It also means F7 is, in one specific way, the easier chord of the two: it needs one fewer finger than the full F major barre.
Why F7 Feels Harder Than E7 or A7
If E7 or A7 came easily and F7 has felt like a wall by comparison, there is a real, structural reason for that, not just bad luck with your hand.
E, A, D, G and B are all names of open strings. Chords built on those roots can use open strings to fill out most of their sound, which is why E7 and A7 are usually taught as two-finger shapes early on. F is not an open string anywhere near the nut on a standard-tuned guitar. There is no way to let F ring open the way you can with E or A, which means every practical F-family chord, F major, F7, F minor, all of them, needs either a barre, a partial barre, or a workaround like the capo trick above.
This is not a flaw in your technique. It is a genuine structural gap in how the guitar is tuned, and every guitarist who has ever played this instrument has hit the exact same wall on F. The same gap is why the plain Fm chord has no open version either and relies on the same kind of capo shortcut used above for F7. The partial barre and capo versions earlier in this post exist specifically because of this gap, and leaning on them while your barre strength builds is a completely legitimate way to keep playing songs that need F7 in the meantime.
Why the Barre Isn't Ringing Clean
Every one of these shows up constantly with barre chords, and each has a specific, fixable cause. Work through them one at a time rather than just pressing harder everywhere.
The high strings buzz but the low strings are fine
This is almost always a barre finger that is flat everywhere except where it needs to be. Check that your index finger is straight and pressed evenly, and that the side of the finger, not the flat pad, is making contact along its full length. A finger that bows in the middle presses hard at the ends and barely touches the strings in between.
One string in the middle of the barre is dead
This is usually a gap between two knuckle joints. Fingers are not perfectly flat between the joints, and if a string happens to sit right over a dip in your finger, it will not get enough pressure no matter how hard you press elsewhere. Try rolling your index finger very slightly toward the headstock, which changes exactly where along its length each string makes contact, and often clears a dead string instantly.
The fifth string (ring finger) buzzes
This is almost always the ring finger sitting too far from the third fret's wire, or leaning at an angle instead of coming straight down on its tip. Move it right up against the fret and check it is not accidentally touching the fourth string next to it.
The third string (middle finger) buzzes
Same cause, different finger. Get the middle finger's tip close to the second fret wire, arched enough that it clears the strings on either side rather than flattening across them.
Your whole hand tires out within a few seconds
Barre chords take real hand strength that builds with repetition, not instantly. In the meantime, check your thumb position first: it should sit directly behind your index finger, pushing forward into the neck, not lower down the neck or wrapped over the top. A misplaced thumb makes your hand do far more work than it should. If the strength genuinely is not there yet, the partial barre and capo versions above are not compromises, they are the correct chord to reach for while that strength develops.
You are pressing much harder than the chord needs
New players consistently squeeze two or three times harder than necessary, especially on barre chords, because the shape feels effortful. Find the minimum pressure that produces a clean note on every string, then stop adding force past that point. Extra pressure past that threshold does nothing for tone and tires your hand out faster.
The guitar's action is fighting you
If every barre chord you try buzzes no matter how careful your technique is, and open chords sound fine, the guitar itself may have its strings set unusually high or low above the fretboard. This is a setup issue rather than a technique issue, and a guitar tech can adjust it. It is worth ruling out your technique first using the checks above, since it is the more common cause by far, but it is a real possibility if nothing else fixes the buzz.
Building Barre Strength for F7
Barre strength is built through specific, repeated practice, not through willpower on a single attempt, and it is worth training deliberately rather than just hoping it shows up eventually.
Practice isometric holds. Set the full six-string barre and hold it for ten to twenty seconds without strumming, focused purely on keeping every string clean under your finger. Rest for a few seconds, then repeat four or five times. This trains the specific muscles a barre needs far faster than strumming through a whole song, because it isolates the hold itself from everything else your hands are doing.
Use the side of your index finger, not the flat pad. The side of the finger, just next to the bone, needs noticeably less pressure to fret cleanly than the fleshy pad does. Roll your finger very slightly toward the headstock until you find the angle where the strings ring cleanest with the least effort, rather than pressing straight down with the pad.
Keep your wrist relatively straight. A heavily bent wrist reduces the leverage your hand has to apply through the barre, which means you end up compensating with raw finger strength instead. Bring your fretting hand's wrist closer to a straight line with your forearm and the barre generally gets easier without changing anything else.
Progress from partial to full. The partial-barre F7 shape earlier in this post is not just an easier alternative, it is also a legitimate stepping stone. Practicing it regularly builds the same finger strength and hand shape a full barre needs, just across fewer strings at a time, which makes the jump to six strings smaller than it looks.
Expect real progress within weeks, not days. For most new players, barre chords go from consistently buzzing to consistently clean somewhere between two and eight weeks of regular short practice sessions, not a single afternoon. That timeline is normal and has nothing to do with hand size for the vast majority of players; it is simply how long it takes the specific muscles involved to adapt.
The Thumb-Over Technique: An Alternate Way to Fret It
Some guitarists skip barring the low E string with the index finger entirely and instead wrap their thumb over the top of the neck to fret it, a technique often associated with electric blues and rock players.
Applied to F7, the thumb frets the sixth string at the first fret (the root), which leaves the index finger free to handle just the D, G, B and high E strings, essentially the same partial-barre shape covered earlier in this post, plus a thumb-fretted root underneath it. The result sounds like the full six-string version but distributes the work differently across your hand.
This technique depends heavily on the guitar itself. It works well on electric guitars with slim, narrow necks, where the thumb can comfortably reach around and over. It is far harder, sometimes not physically possible, on wider classical guitar necks or some acoustic necks, since the thumb simply cannot reach that far around. If your guitar allows it, it is worth experimenting with as an alternative to the full barre once the partial-barre shape is comfortable, since it uses a completely different set of muscles and can feel like a relief when your index finger is fatigued from barre practice. It is not a required technique, and plenty of excellent guitarists never use it, but it is a genuine option rather than a shortcut for beginners only.
F7 vs Fmaj7: Do Not Mix These Up
These two names are one letter apart and it is common to see them confused, but they are different chords with a different mood.
F7 is F, A, C and Eb, a major triad with a flattened seventh. Fmaj7 is F, A, C and E, the same major triad with a natural, unflattened seventh instead. That one-note difference, Eb versus E natural, changes the chord's character completely. F7 leans forward, restless, wanting to resolve to another chord. Fmaj7 is smooth and settled, closer in feeling to the plain F major chord it is built from than to F7.
If a chord chart just says "F7" with no "maj" attached, it means the dominant version covered in this whole post. "Fmaj7" or "FM7" always means the natural-seventh version. The two are not interchangeable in a progression: swapping one for the other changes whether a passage sounds like it is pushing forward or settling down.
A Movable Shape Higher Up the Neck (No Barre)
Once the shapes near the first fret feel comfortable, there is a genuinely barre-free way to play F7 higher up the neck, useful once you start playing progressions where staying in one area saves movement.
| String | Fret | Finger |
|---|---|---|
| 6 (low E) | Muted | - |
| 5 (A) | 8 | 2 (middle) |
| 4 (D) | 7 | 1 (index) |
| 3 (G) | 8 | 3 (ring) |
| 2 (B) | Muted | - |
| 1 (high E) | 8 | 4 (pinky) |
This voicing has its root on the fifth string rather than the sixth, and it needs no barre at all, just four fingers each on their own string and fret. It contains every note F7 needs, and because it is built from a movable finger pattern rather than any open string, the exact same shape becomes a different dominant seventh chord if you slide it to a different fret, which is a useful shortcut once you start recognizing how chord shapes move around the neck rather than needing a separate one memorized for every key.
Another Movable Shape: The D7-Shape Voicing
There is a second barre-free movable voicing worth knowing, sitting lower on the neck than the one above and built from a different starting shape.
| String | Fret | Finger |
|---|---|---|
| 6 (low E) | Muted | - |
| 5 (A) | Muted | - |
| 4 (D) | 3 | 1 (index) |
| 3 (G) | 5 | 3 (ring) |
| 2 (B) | 4 | 2 (middle) |
| 1 (high E) | 5 | 4 (pinky) |
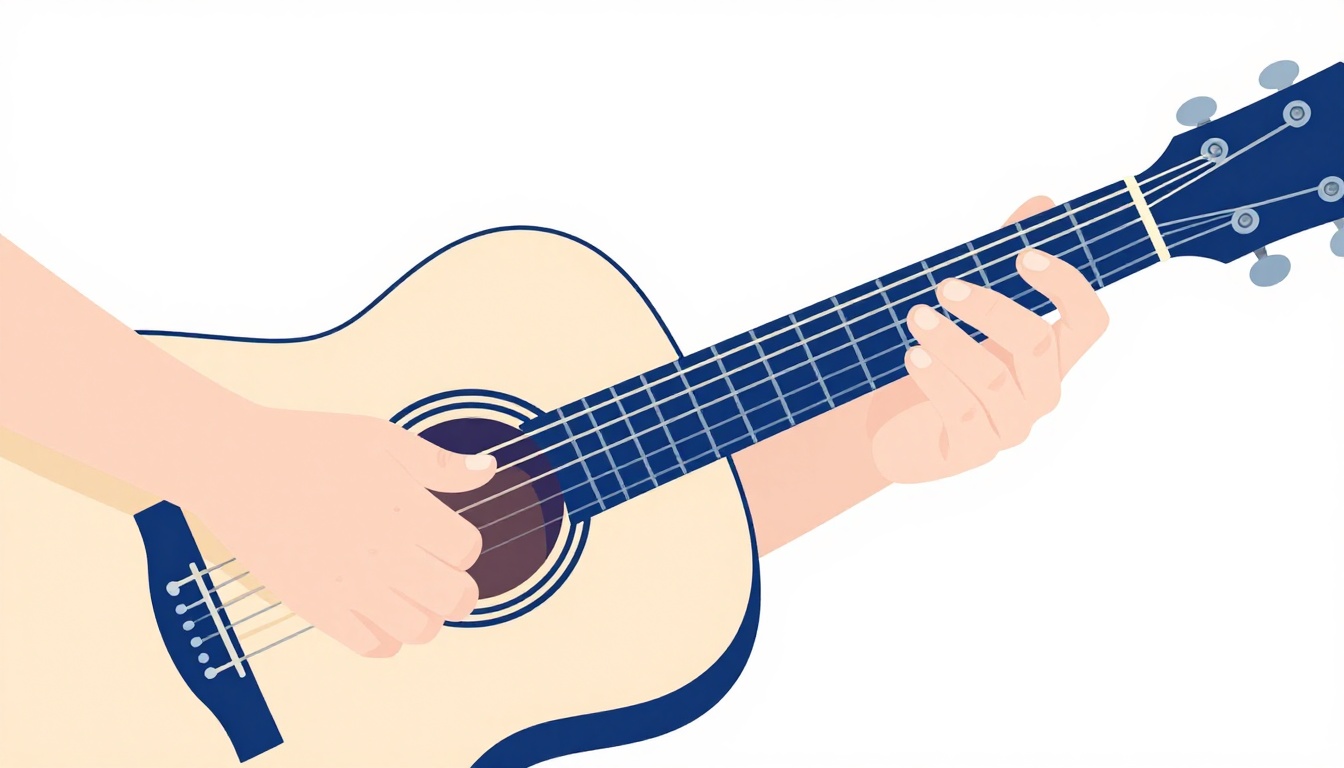
This one has its root on the fourth string instead of the fifth, and it sits in the third-to-fifth fret range, which puts it within easy reach of the full barre version rather than requiring a jump up the neck. Each finger lands on its own string and fret with no barre involved, working out from the lowest fret (your index finger) to the highest (your pinky), which makes it a reasonably natural stretch once your hand knows the general shape.
Having two different barre-free movable voicings, this one and the fifth-string-rooted version above, matters because they put F7 in different places on the neck without ever needing a barre. If a progression has you jumping between chords in different positions, picking whichever of the two sits closer to where your hand already is saves real movement compared with resetting to a barre chord near the nut every time.
A Rootless Three-String Shape for Small Hands
There is also a small, barre-free shape that drops the root entirely and plays only the third, fifth and seventh. It is worth knowing as a lighter option if a full barre is tiring your hand out mid-practice.
| String | Fret | Finger |
|---|---|---|
| 6 (low E) | Muted | - |
| 5 (A) | Muted | - |
| 4 (D) | Muted | - |
| 3 (G) | 5 | 3 (ring) |
| 2 (B) | 4 | 1 (index) |
| 1 (high E) | 5 | 4 (pinky) |
Strum only the top three strings. Because this shape has no open strings anchoring it to F specifically, it is also movable, the same three fingers in the same relative pattern become a different dominant seventh chord elsewhere on the neck. It is not a full replacement for the fuller versions above while you are still learning F7 itself, since it leaves out the root, but it is a genuinely useful lighter option and a preview of how jazz and blues guitarists build compact chord voicings later on, an idea covered in more depth in jazz chords for guitar.
How F7 Functions in the Key of Bb
F7 rarely shows up on its own. It is what musicians call the dominant chord, built on the fifth note of a scale, and its job is to pull toward the chord built on the first note of that scale.
In the key of Bb major, F7 is the five chord, written V7. The Bb major scale is Bb, C, D, Eb, F, G, A, and stacking the notes a third apart starting on the fifth degree, F, produces exactly F, A, C and Eb, the four notes of F7. That is not a coincidence: F7 is the chord that naturally occurs on the fifth degree of Bb major, which is why it resolves so convincingly back to Bb.
Play Bb major and let it ring, then play F7 and let that ring, then go back to Bb. In that order, Bb sounds like a place you left, F7 sounds like a question, and the second Bb sounds like the answer, even without naming a single interval. That felt difference between leaving and arriving is the entire function of a dominant chord, and it is why F7 shows up constantly in songs written in Bb, almost always in the bar just before the progression resolves back home.
F7 can also turn up as what is called a secondary dominant in keys that are not Bb at all, briefly borrowed to point toward a Bb chord even inside a song built around a different key center. If you come across F7 in a song with no other connection to Bb, check the chord that follows it. It is very likely Bb, or a chord standing in for Bb's role at that moment.
F7 in a 12-Bar Blues in the Key of F
F7 is also close to unavoidable in blues guitar, because a 12-bar blues in the key of F is built entirely from dominant seventh chords rather than plain major ones, with F7 as the tonic sound throughout. A standard 12-bar blues in F uses three chords: F7, Bb7 and C7.
| Bars | Chord |
|---|---|
| 1 to 4 | F7 |
| 5 to 6 | Bb7 |
| 7 to 8 | F7 |
| 9 | C7 |
| 10 | Bb7 |
| 11 to 12 | F7 (turnaround) |
The last two bars are the turnaround, where F7 does its most recognizable work, landing back home right as the form loops back to bar one. You do not need deep blues theory to use this. The practical version is that F7 is rarely the final destination in a progression, it is the chord that sets up the next one, and playing through this 12-bar form slowly, even without a backing track, is one of the fastest ways to make the F7 shape feel automatic, because it forces the change to happen on a predictable schedule.

Changing Between F7 and Other Chords
The shape is not the hardest part of this chord. Getting into it and out of it without stalling the song is, especially since F7 usually shows up in the middle of a barre-heavy progression rather than on its own.
F7 to Bb
This is the most common move F7 makes, since Bb is the chord it resolves to. Both are barre-based shapes anchored around the first few frets, so the change is more about shifting your whole hand's position than untangling individual fingers. Practice it slowly, letting your barre finger act as the anchor that guides the rest of your hand into the new shape.
F7 to Bb7
An even shorter trip in a blues context, since both chords sit in barre shapes close together on the neck. The main adjustment is which strings you are muting and where your ring and pinky fingers land, since Bb7 rearranges the inner fingers compared with F7's shape.
F7 to C7
C7 sits further up the neck in its own barre position, so this change has no single shared anchor finger the way F7 to Bb does. Treat it as its own move to drill slowly, especially since it shows up on beat nine of the 12-bar blues form above, right after two full bars of Bb7, which does not give your hand much time to reposition.
F7 to F Major
This is the smallest possible change on the whole fretboard: keep the barre and the ring finger exactly where they are, and simply add your pinky onto the fourth string, third fret. Nothing else moves. It is worth drilling on its own, back and forth, since it is a common move inside a single bar of music rather than between sections of a song.
F7 to Gm7
In jazz and jazz-influenced blues playing in Bb, F7 often moves to a ii chord like Gm7 rather than straight to Bb. Both chords can be played as small, movable shell shapes higher up the neck, which makes this change smoother once you are comfortable with the barre-free voicings covered earlier in this post, since neither shape needs a full six-string barre to sound complete.
F7 to Dm
Dm is the relative minor of F major and shows up constantly in progressions built around F, often right alongside F7. Dm is usually played with the index finger on the first string, first fret, middle finger on the third string, second fret, and ring finger on the second string, third fret, which shares no fingers or strings with F7's barre shape. Treat this as a full reset between shapes rather than looking for a shortcut, since the two chords occupy different areas of the neck entirely.
F7 to Am
Am sits diatonically inside the key of F as well, and it shares a useful reference point with F7: both chords contain the note A. That shared tone does not simplify the fingering, since Am's open shape (index on the second string, first fret, middle on the fourth string, second fret, ring on the third string, second fret) does not overlap with F7's barre physically, but it does mean the two chords blend smoothly when one follows the other, since the ear already has that note anchoring the sound across the change.
A general approach to any of these
Practice the change on its own, away from a full song, in a loop: F7, then the next chord, then back to F7, slowly, for two minutes at a time. Speed comes from repeating the specific motion, not from playing the whole song faster and hoping your hand catches up. Once a change feels reliable at a slow, even tempo, increase the tempo in small steps.

Strumming and Muting Technique for F7
Because F7 is a barre chord with only two open strings even in its fullest form, it responds well to percussive strumming techniques that would be wasted on a chord built mostly from ringing open strings.
Try relaxing the pressure of your barre finger without lifting it off the strings entirely on the off-beats of a strum pattern, which produces a muted, percussive scratch instead of silence. This is a rhythm technique rather than a chord change, and it works with any barre shape, but it is especially useful with F7 because the chord already has a tight, compact sound that suits a rhythmic, muted attack, particularly in blues and funk-influenced playing.
Whether you strum with a pick or with your fingers changes the tone here more than it changes the technique itself. A pick brings out a brighter, more cutting attack that suits F7's role driving a blues turnaround forward. Fingers give a softer, rounder attack that can suit a slower, more restrained arrangement. Neither is more correct for this chord, and it is worth trying both.
A simple pattern to build this technique on: strum down on beat one, mute and scratch on the "and," strum down again on beat two, mute and scratch on the "and" of two, and repeat. Keep the muted scratches quiet and short compared with the full strums, so the pattern has a clear pulse rather than sounding like constant noise. Once that feels steady at a slow tempo, try relaxing the barre for the mute rather than lifting your hand away from the strings entirely, which keeps the whole pattern tighter and faster to execute.
F7 on Electric vs Acoustic Guitar
F7 behaves a little differently depending on which instrument you are playing it on, and it is worth knowing what to expect from each.
On acoustic guitar, thicker strings and higher action generally ask for slightly more finger pressure to get a clean barre, but the chord rewards that effort with a full, ringing sound that suits its role in folk and acoustic blues. The doubled root and fifth in the full six-string version fill out an acoustic's natural resonance well, which is one reason the full barre is worth learning even once the easier versions feel comfortable.
On electric guitar, lighter strings and lower action typically make the barre noticeably easier to hold clean, which is part of why F7 and other dominant seventh barre chords are so central to electric blues and funk rhythm playing. The percussive muting technique covered above is especially at home on electric guitar, where a tight, muted chunk cuts through a full band mix in a way that a fully open acoustic strum cannot. Funk rhythm guitar in particular leans heavily on muted dominant seventh barre chords played in short, percussive bursts rather than held out, which is a direct extension of the same muting technique described in this post.
Neither instrument is the "correct" one to learn F7 on. If you are working through this chord on an acoustic and it feels stiffer than expected, that is a real difference in the instrument, not a sign you are doing something wrong.
A Practice Routine for Today
Fifteen minutes is enough to make real progress on this chord if the time is spent deliberately.
- Minutes 1 to 3: Place the partial-barre, no-full-barre F7 shape, check each of the four strummed strings one at a time for buzz, and adjust. Reset your hand fully between each attempt.
- Minutes 4 to 6: Strum that shape in a steady rhythm for a full minute without stopping, even if a string buzzes occasionally. The goal here is consistency, not perfection on every strum.
- Minutes 7 to 10: Work on the full six-string barre version specifically, one finger at a time as described in the step-by-step section, checking each string before adding the next finger.
- Minutes 11 to 13: Pick one chord change from the section above, most usefully F7 to Bb, and loop it slowly: F7 for four counts, Bb for four counts, back to F7, for the full three minutes.
- Minutes 14 to 15: Finish with the easy partial-barre version again, strummed freely, so the session ends on the version you are most confident with.
Repeating this exact structure daily for a week does more for this chord than one long session. Barre strength in particular builds through frequent short repetition far more reliably than through one marathon attempt, and there is little point drilling the chord changes into a barre that still buzzes half the time, since you would just be practicing the buzz alongside the change. Spend the first two or three days weighted toward minutes 1 to 6 above, then shift the balance toward the full barre and the chord change once the smaller shape rings clean on most attempts.
Frequently Asked Questions
Is F7 a hard chord for beginners?
It is one of the harder common seventh chords to start on, mainly because F has no open-string version to lean on the way E7 or A7 do. The partial-barre and capo versions in this post exist specifically to make it approachable earlier, and most players find F7 easier than the full F major barre, since it uses one fewer finger.
Do I have to play all six strings when I strum F7?
No. The partial-barre version further up this post strums only the top four strings and still contains every note F7 needs. A full six-string strum gives a lower, fuller sound but is not required for the chord to be recognizable.
What is the difference between F7 and F major?
F major has three notes (F, A, C) and sounds settled. F7 adds a flattened seventh (Eb) and sounds restless, pulling toward another chord. On the fretboard, F7 is F major with the pinky lifted off the fourth string.
What is the difference between F7 and Fm?
They share only the root note. F7 is a major chord with an added flattened seventh (F, A, C, Eb). Fm is a minor triad (F, Ab, C), with a flattened third instead of a major one. They sound and function completely differently: F7 pulls toward another chord, Fm sits as a minor tonic or minor chord within a progression.
Can I use a capo with F7?
Yes, and it is one of the most practical ways to get F7 without a barre at all. Capo the first fret and play the open two-finger E7 shape behind it, and it sounds as F7.
Why does F7 sound unresolved compared to F major?
The added Eb creates a tritone with the chord's third (A), the most unstable interval in Western harmony. That tension is what makes F7 want to move toward another chord, usually Bb, rather than sit still the way a plain major chord can.
Is the full barre version of F7 worth learning as a beginner?
Eventually, yes, since it is the version most other musicians and chord charts expect. But it is not the place to start. The partial-barre and capo versions earlier in this post let you use F7 in real songs immediately, while barre strength builds in the background through regular short practice.
Why do some chord charts write it as F7 and others as Fdom7?
They mean the same chord. "F7" is the standard shorthand used on almost every chord chart: any chord letter followed directly by a plain number, with no "maj" or "m" attached, is understood to mean the dominant version. "Fdom7" is a longer, more explicit form of the same name, more common in written music theory discussion than on the charts guitarists actually read from.
How long does it usually take to get F7 sounding clean?
For most new players working through it in short, regular sessions, the partial-barre version can sound clean within days, while the full six-string barre typically takes somewhere between two and eight weeks of consistent practice. Progress is rarely a straight line; a session or two of feeling stuck is normal and usually resolves with continued short, regular practice rather than longer, less frequent sessions.
Is it fine to only ever use the partial-barre or capo version of F7?
Yes, for a lot of real playing. Both versions contain every note F7 needs, and plenty of working guitarists reach for a partial barre or a capo trick over a full six-string barre specifically because it is faster and just as musically correct. The main reason to also learn the full barre is that other musicians and most written chord charts assume you can play it, so it is worth having in reserve even if it is not your daily default.
GuitarLowKey
Ready for fifteen focused minutes?
Open the web app and train the change that is blocking your song.