
The Guitar Fretboard, Fully Mapped: Every Note, String by String
The full guitar fretboard note chart, why only two notes have no sharp, what the dots mean, and a method that actually gets the notes into your fingers.

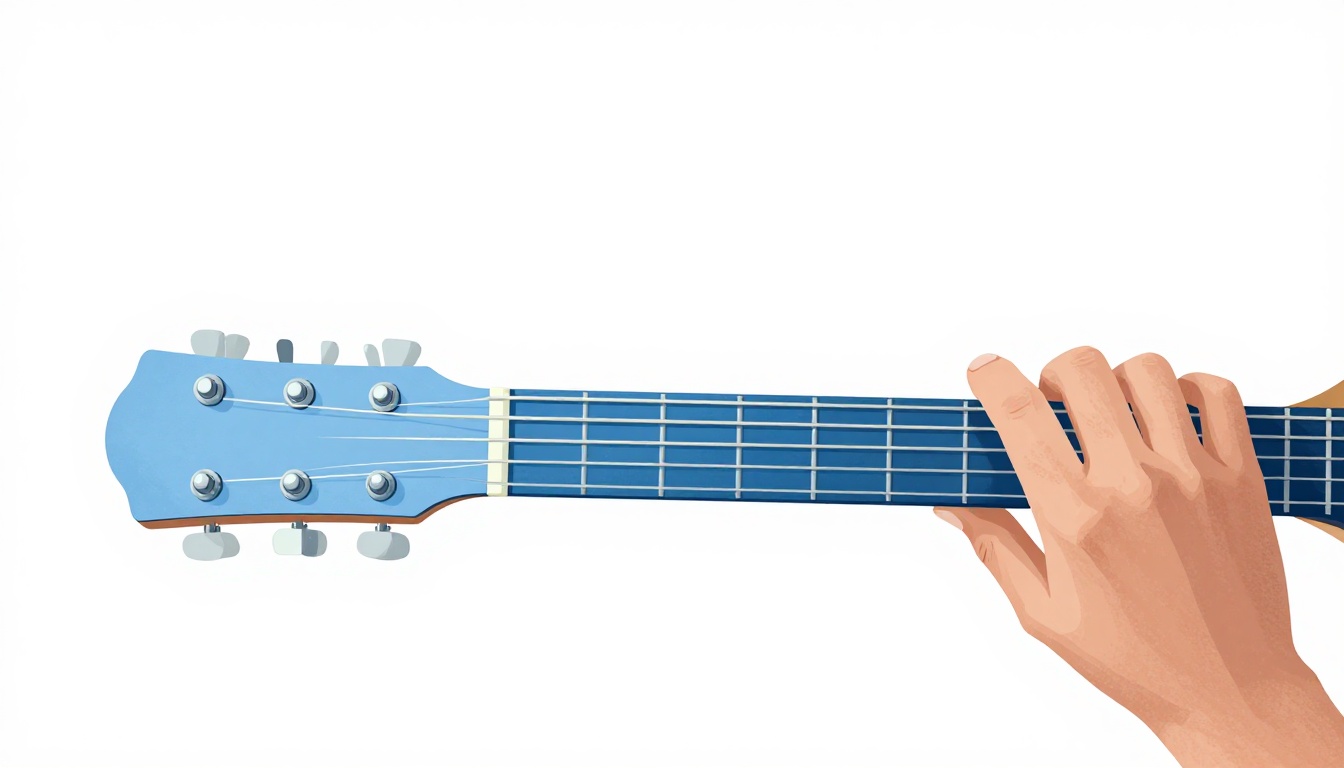
The guitar fretboard (sometimes written fret board) is the flat, fretted strip of wood running under the strings, from the nut down to the body, and every fret on it raises the string's pitch by one half step. Learn the natural notes on one string, use the 12th fret as a mirror, and the other five strings stop being a mystery within a week of real practice.
That is the short version. The long version, the one that actually gets the notes into your fingers instead of just your head, is what the rest of this covers: the full note chart, why the pattern skips a sharp in two places, what the dots are actually for, how the 12th fret cuts your workload in half, and a practice method that does not involve staring at a diagram until your eyes cross.
None of this needs new gear or a new tuning. If you can already press a string down cleanly, you have everything you need. What is usually missing is not the notes, it is a system for finding them fast enough that you stop needing to think about it.
What the Fretboard Actually Is
A few terms get used loosely, so here is what each one means, since the rest of this post leans on them:
- Fretboard (or fingerboard). The strip of wood glued to the front of the neck, usually rosewood, ebony, or maple, that the strings run over.
- Fret wire. The thin metal strips embedded across the fretboard. Pressing a string just behind one shortens the vibrating length of the string, which raises the pitch.
- Fret (as a number). The space between two pieces of fret wire, not the wire itself. "3rd fret" means the third space up from the nut, not the third metal strip.
- Nut. The grooved strip at the top of the fretboard, where the headstock meets the neck. It is fret zero. A string played with no finger on it is called "open."
- Inlay. The dots or shapes set into the fretboard at certain frets, covered in full further down.
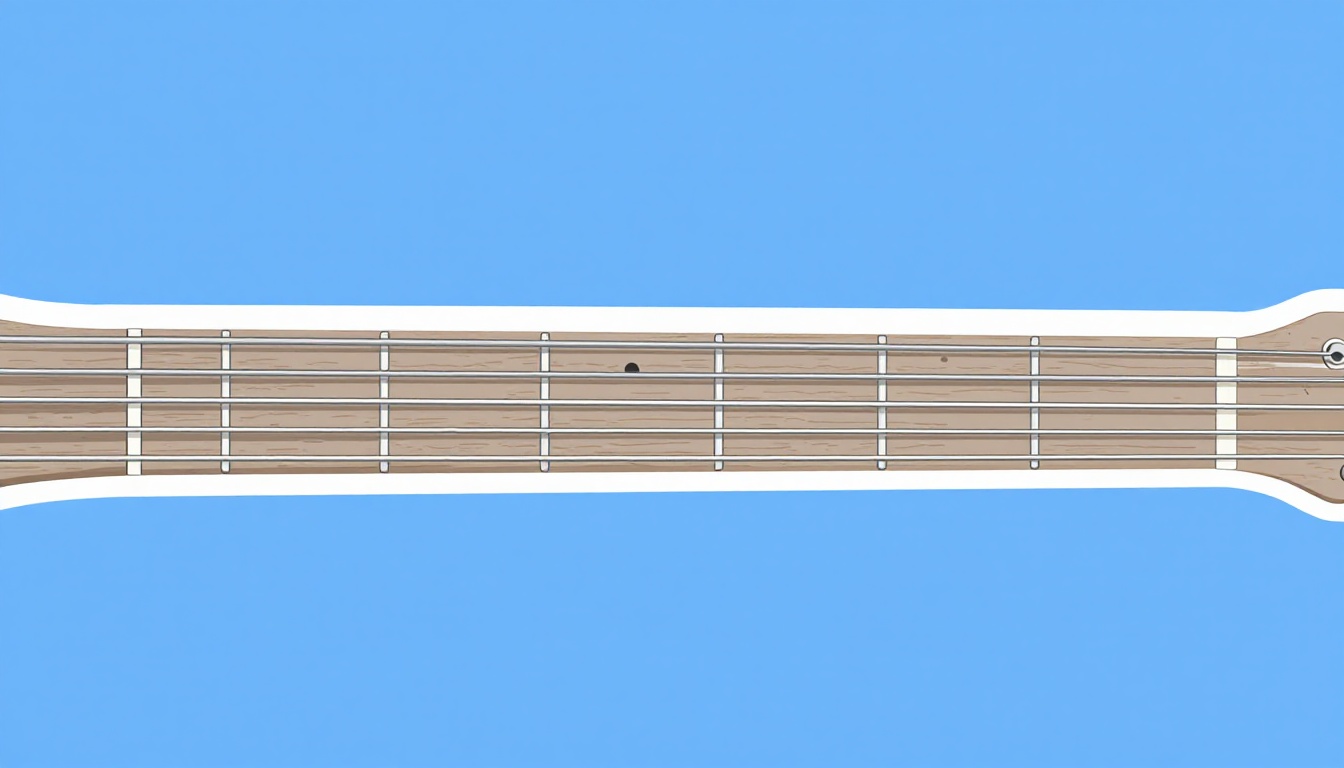
Every fret raises a string's pitch by one half step, which is the smallest interval in Western music. Move up twelve frets on any single string and you land on the exact same note, an octave higher. That one fact does more to make the fretboard learnable than anything else in this post, because it means the entire neck is really just two identical twelve-fret maps stacked on top of each other.
It is also why the frets themselves get closer together as they approach the body. Fret spacing follows a fixed ratio, each fret sits at roughly 94.4 percent of the distance from the previous fret to the bridge, so the gaps shrink at a steady, predictable rate rather than at random. This has nothing to do with which notes live where, it is a physical requirement of getting a string to produce evenly spaced half steps, but it explains why a fretboard looks the way it does rather than having uniform spacing top to bottom.
The Open Strings, Low to High
Standard tuning, from the thickest string to the thinnest, is:
| String | Note | Common name |
|---|---|---|
| 6th | E | Low E |
| 5th | A | A |
| 4th | D | D |
| 3rd | G | G |
| 2nd | B | B |
| 1st | E | High E |
Every note chart on this page reads in that order, 6th string on the left, 1st on the right. Notice the 6th and 1st strings are both E, two octaves apart. That is not a coincidence, and it means you are really only memorizing five strings' worth of new information, not six, since the 1st string repeats the 6th string's note names fret for fret.
If the six letters themselves are the part that will not stick, a mnemonic sentence for the first letter of each word, read low to high, tends to work better than rote repetition. "Eddie Ate Dynamite, Good Bye Eddie" is one of the more common ones, "Elephants And Donkeys Grow Big Ears" is another. Any sentence works as long as it is memorable enough to outlast the first few practice sessions, since the sentence is only scaffolding, it gets dropped once the string names are automatic on their own.
The Full Fretboard Note Chart, Frets 0 to 12
This is the chart worth bookmarking. It covers every natural and sharped note from the open string (fret 0) through the 12th fret, where the pattern starts repeating.
| Fret | 6th (E) | 5th (A) | 4th (D) | 3rd (G) | 2nd (B) | 1st (E) |
|---|---|---|---|---|---|---|
| 0 (open) | E | A | D | G | B | E |
| 1 | F | A#/Bb | D#/Eb | G#/Ab | C | F |
| 2 | F#/Gb | B | E | A | C#/Db | F#/Gb |
| 3 | G | C | F | A#/Bb | D | G |
| 4 | G#/Ab | C#/Db | F#/Gb | B | D#/Eb | G#/Ab |
| 5 | A | D | G | C | E | A |
| 6 | A#/Bb | D#/Eb | G#/Ab | C#/Db | F | A#/Bb |
| 7 | B | E | A | D | F#/Gb | B |
| 8 | C | F | A#/Bb | D#/Eb | G | C |
| 9 | C#/Db | F#/Gb | B | E | G#/Ab | C#/Db |
| 10 | D | G | C | F | A | D |
| 11 | D#/Eb | G#/Ab | C#/Db | F#/Gb | A#/Bb | D#/Eb |
| 12 | E | A | D | G | B | E |
A few things to notice once you sit with it:
- Fret 12 in every column matches fret 0 in the same column, one octave up. That is the mirror mentioned above.
- The 5th string at fret 5 is A, the 4th string at fret 5 is D, the 3rd string at fret 5 is G. Each string's 5th fret matches the note name of the next string up, open. That relationship is worth remembering on its own, it comes back later in this post as a shortcut for finding notes fast.
- The 2nd string is the one exception to that pattern. Its 4th fret, not its 5th, matches the 1st string open. That single quirk is responsible for most of the confusion people have with the B string, and it comes from the same cause covered next.
Why Only Two Notes Have No Sharp
The musical alphabet has seven letters, A through G, but twelve notes, because most letters have a sharp or flat between them. Two pairs do not:
- B to C has no note between them. B is already one half step below C.
- E to F has no note between them. E is already one half step below F.
Every other letter pair, C to D, D to E, F to G, G to A, A to B, has a sharp or flat sitting in between it. This is not guitar-specific, it is how Western music assigns letter names to the twelve notes in an octave, and it is the reason the fretboard chart above has a "gap" at exactly those two spots in every column. It is also the direct cause of the B string's 4th-fret quirk from the last section: the interval from the G string to the B string is a major third (four half steps) instead of the perfect fourth (five half steps) that every other adjacent string pair uses, because that interval crosses the B-to-C gap.
Why Standard Tuning Breaks Its Own Pattern at the B String
It is worth asking why the guitar is tuned this way at all, since the G-to-B major third is the one exception in an otherwise consistent run of fourths. If the pattern of fourths had continued unbroken, the 2nd string would be tuned to C and the 1st string to F, instead of B and E.
That fully consistent version would be more symmetrical, but it would make many of the open chords guitarists learn first, C, G, D, E, and A among them, considerably harder to finger, since those shapes depend on the specific half-step relationship the G-to-B major third creates. The break in the pattern is a deliberate trade of theoretical symmetry for practical, comfortable chord shapes, and it is also why barre chords built on the E and A shapes work the way they do, the major third is baked into the geometry those barre shapes rely on.
The Chromatic Scale on One String
"Chromatic" means every note, natural and sharped, in order, with no skips. Play any string open, then fret by fret up to the 12th fret, and you are playing a chromatic scale, because each fret is exactly one half step above the last.
Try it on the 6th string alone, saying the note names out loud as you go:
E (open), F (1), F#/Gb (2), G (3), G#/Ab (4), A (5), A#/Bb (6), B (7), C (8), C#/Db (9), D (10), D#/Eb (11), E (12).
This is the single best exercise for learning one string cold, because it forces you to notice the two half-step gaps (E to F, and B to C) with your own hands instead of memorizing them as a rule. Once one string feels automatic, the same pattern of "mostly whole steps, two half steps" applies to every other string, just starting from a different open note.
What the Dots on the Fretboard Actually Mean
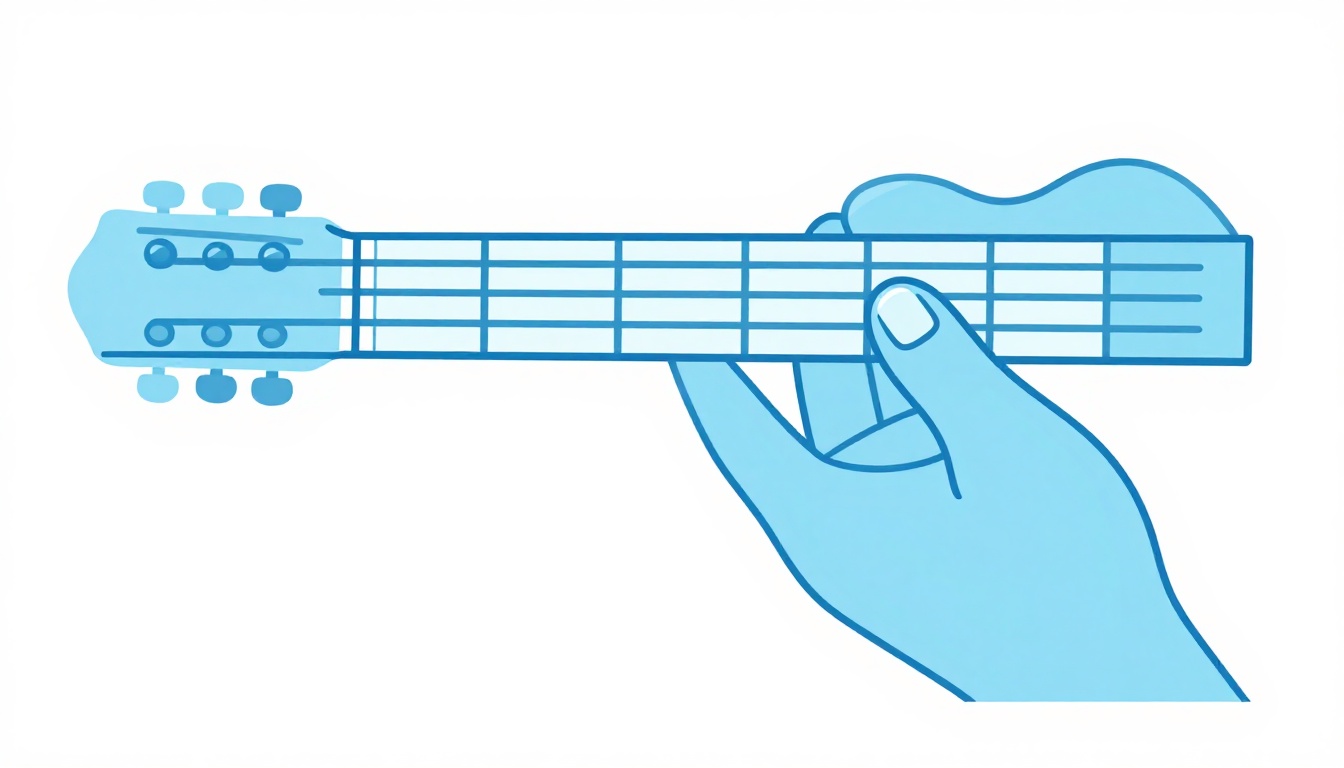
Those inlaid dots are not decoration, they are a hand-position map built around the octave relationship covered above. The standard layout is:
| Fret | Marker |
|---|---|
| 3 | Single dot |
| 5 | Single dot |
| 7 | Single dot |
| 9 | Single dot |
| 12 | Double dot |
| 15 | Single dot |
| 17 | Single dot |
| 19 | Single dot |
| 21 | Single dot |
| 24 (if present) | Double dot |
The double dot at the 12th fret marks the octave, the point where the entire chart above starts repeating. Everything past fret 12 is a copy of frets 0 through 11, which is why the single-dot pattern (15, 17, 19, 21) mirrors the one below the octave (3, 5, 7, 9) exactly twelve frets higher. Glance at a dot and you instantly know which fret you are looking at without counting from the nut every time, which is the entire point of them.
Why Classical Guitars Often Have None
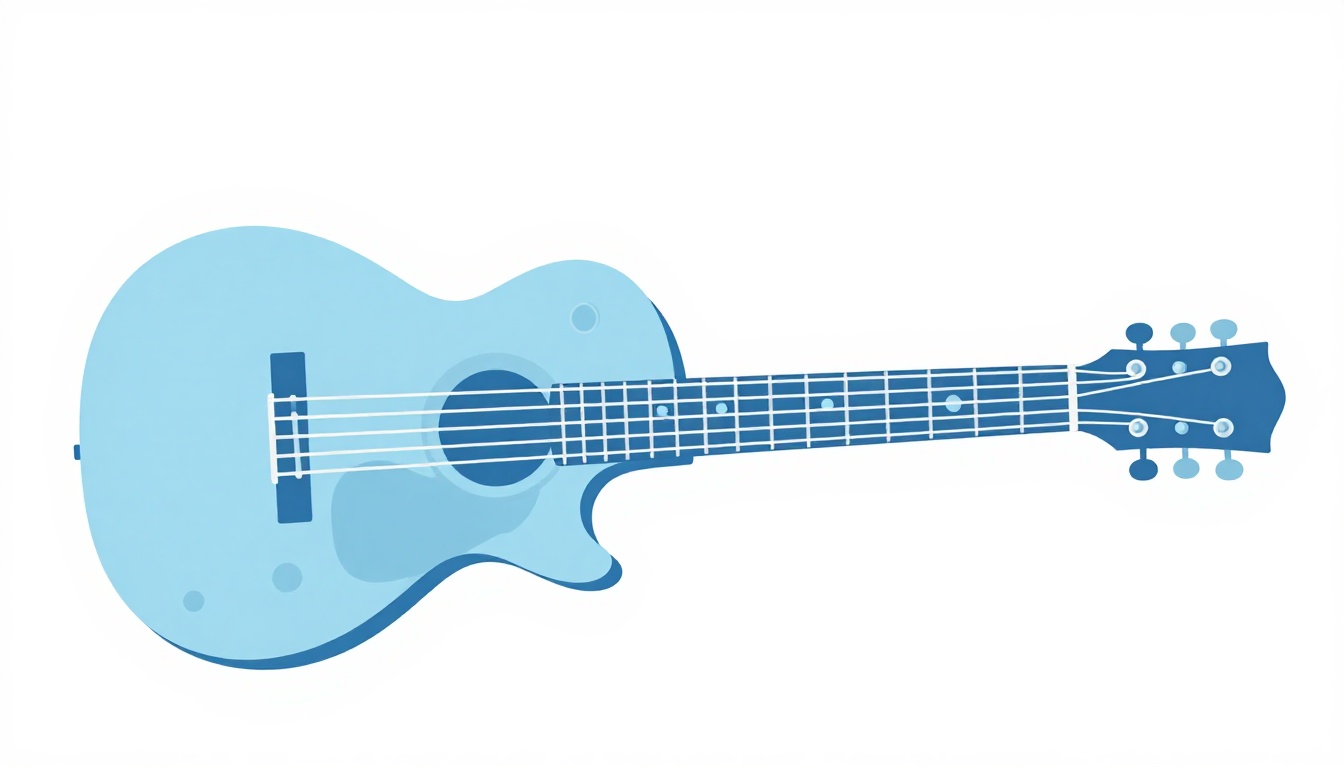
If you have picked up a classical or nylon-string guitar and noticed a bare fretboard, that is tradition rather than an oversight. Classical technique holds the guitar in a position where the fretting hand's own posture, and the player's attention on the picking hand, made face dots less essential in the first place, and the convention of leaving the face bare simply stuck. Many classical players still add small dots on the side of the neck, visible without looking at the face of the fretboard, as a compromise. The chart and all the relationships in this post apply exactly the same either way, the dots are a convenience, not a different set of notes.
The 5th Fret Rule: A Shortcut for Finding Notes Fast
Here is the practical use for the pattern noticed in the note chart: fret any string at its 5th fret, and the note you get matches the next string up, played open. Low E at the 5th fret is A, the same as the open A string. A at the 5th fret is D, the same as the open D string. D at the 5th fret is G, the same as the open G string.
This breaks at the G-to-B string pair, for the same B-to-C reason covered earlier. G at the 5th fret is C, not B, so to match the open B string you fret the G string at the 4th fret instead. B at the 5th fret does match the open high E string, since that pair goes back to a normal fourth-interval relationship.
This rule is how most players tune a guitar by ear when no tuner is handy, and it doubles as a fast way to double-check a note you think you have found: if fretting the string below at the 5th fret (4th fret for G to B) gives you the same note as the open string above, you have confirmed it.
The 12th Fret Is Where the Neck Repeats
Every string's 12th fret is the same note as that string played open, one octave higher. This means the entire fretboard is really only twelve frets of new information, not twenty-two or twenty-four. Everything past the 12th fret is a note you already know, played an octave up, in the same relative position on the string.
Practically, this cuts your memorization workload in half. Learn frets 0 through 11 on a string cold, and frets 12 through 23 are the identical pattern shifted up by twelve. The double-dot marker at the 12th fret exists specifically to make this boundary obvious at a glance.
The Same Chart, Frets 13 to 24
If your guitar has a 22 or 24-fret neck, electric players especially run into this range for lead lines and solos. Here is that stretch written out, since it is exactly the frets 1 to 12 chart above, shifted up an octave:
| Fret | 6th (E) | 5th (A) | 4th (D) | 3rd (G) | 2nd (B) | 1st (E) |
|---|---|---|---|---|---|---|
| 13 | F | A#/Bb | D#/Eb | G#/Ab | C | F |
| 14 | F#/Gb | B | E | A | C#/Db | F#/Gb |
| 15 | G | C | F | A#/Bb | D | G |
| 16 | G#/Ab | C#/Db | F#/Gb | B | D#/Eb | G#/Ab |
| 17 | A | D | G | C | E | A |
| 18 | A#/Bb | D#/Eb | G#/Ab | C#/Db | F | A#/Bb |
| 19 | B | E | A | D | F#/Gb | B |
| 20 | C | F | A#/Bb | D#/Eb | G | C |
| 21 | C#/Db | F#/Gb | B | E | G#/Ab | C#/Db |
| 22 | D | G | C | F | A | D |
| 23 | D#/Eb | G#/Ab | C#/Db | F#/Gb | A#/Bb | D#/Eb |
| 24 | E | A | D | G | B | E |
Notice the single dots at 15, 17, 19, and 21 sit at the exact same relative spot as the dots at 3, 5, 7, and 9, one octave lower. If your neck has a marker at the 24th fret, it is a double dot for the same reason as the one at fret 12, it marks a second octave point.
Octave Shapes: Finding the Same Note in a New Spot
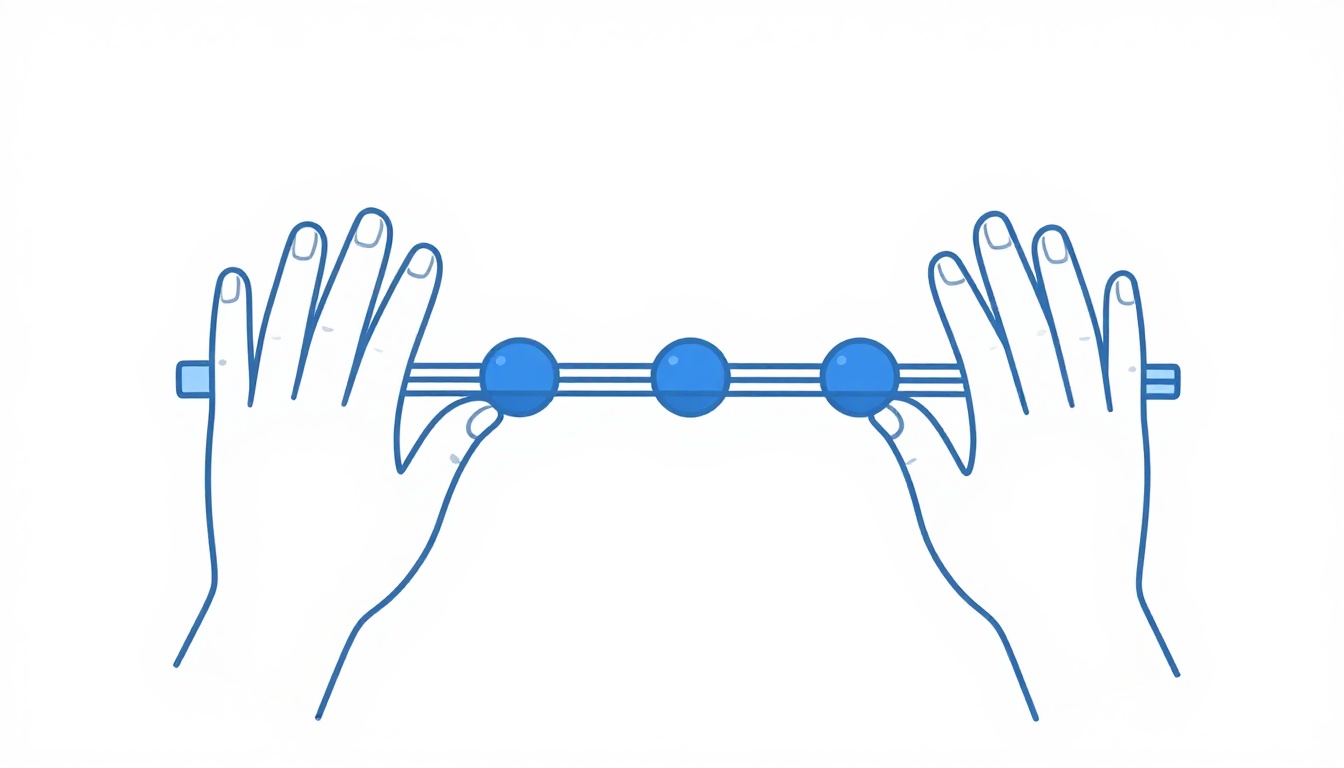
An octave shape is a small, fixed finger pattern that lands you on the same note, one octave higher, on a different string. These are worth learning as shapes, not by naming every note along the way, because they let you find a note anywhere on the neck once you know it in one place.
| Root string | Octave string | Strings skipped | Fret shift |
|---|---|---|---|
| 6th (low E) | 4th (D) | 5th (A) | +2 frets |
| 5th (A) | 3rd (G) | 4th (D) | +2 frets |
| 4th (D) | 2nd (B) | 3rd (G) | +3 frets |
| 3rd (G) | 1st (high E) | 2nd (B) | +3 frets |
The pattern is two frets up and two strings over, except when the B string is one of the two strings involved, in which case it becomes three frets up. That exception is the same G-to-B major third from earlier in this post showing up again. As a working example: fret the low E string at the 5th fret (A), and its octave sits two strings up and two frets over, on the D string's 7th fret, also A.
Sharps, Flats, and Why It Rarely Matters Which You Use
Every note between two natural letters has two valid names. The note one fret above A is both A# (A sharp) and Bb (B flat), the exact same pitch, the exact same fret. Which name is "correct" depends on the key you are in, not on the guitar itself, since the guitar has no way to distinguish them physically.
In practice, most fretboard diagrams default to sharps for simplicity, which is the convention used in the chart above. Once you are reading music in a specific key, flats appear more naturally in keys built around flat notes (F major, Bb major, Eb major, and so on), but for the purpose of learning where notes physically sit on the neck, treating every one of these as interchangeable is the right call. Nothing about your fretting hand changes based on which name you use.
How Fret Numbers Show Up in Tab Notation
Tab is just the fretboard turned into text. A standard tab has six horizontal lines, one per string, and the top line is the 1st string (high E), the bottom line is the 6th string (low E), which is the reverse of what you see looking down at your own guitar while playing it. That reversal is the single most common point of confusion for anyone reading tab for the first time, so it is worth saying plainly: top line of the tab, thinnest string, bottom of the neck as you hold it.
A number placed on a line tells you which fret to press on that string, read left to right in time. A "3" on the bottom line means the 6th string, 3rd fret, which the chart above confirms is G. A "0" means play that string open. Once the note chart is familiar, a tab stops being an abstract set of numbers and starts reading as actual pitches, which is what lets you catch a wrong note by ear instead of just by re-reading the numbers.
Chord diagrams, the small grid boxes printed above song lyrics, are drawn differently again, and the difference trips up players who are used to one format and switch to the other. A chord diagram is vertical rather than horizontal: the six vertical lines are the strings, low E on the left and high E on the right, matching how the neck looks held upright in front of you rather than laid flat. The thick horizontal line at the top is the nut, and each line below it is a fret. An "O" above a string means play it open, an "X" means do not play it at all, and a filled circle shows exactly where to fret. It is the same fretboard as the note chart and the tab, just rotated ninety degrees and viewed from a different angle.
How the Fretboard Connects to Chords You Already Know
Open chords like the ones in the open C chord guide only use the first three frets, but the same chord shapes reappear further up the neck as barre chords, built on the note chart above rather than on open strings. An open C chord shape, moved up so its lowest fretted note sits on the 3rd fret of the 5th string instead of open, becomes a G chord, because that is the note now sitting under your finger.
This is the logic behind the CAGED system: five chord shapes (named for C, A, G, E, and D open chords) that, played as barre shapes, cover every major chord on the neck. None of it works without knowing the note names first, because the entire system depends on recognizing which note your barre is landing on. Shapes without note names are just finger positions you have memorized without understanding why they produce the chord they do.
How the Fretboard Connects to Scale Shapes
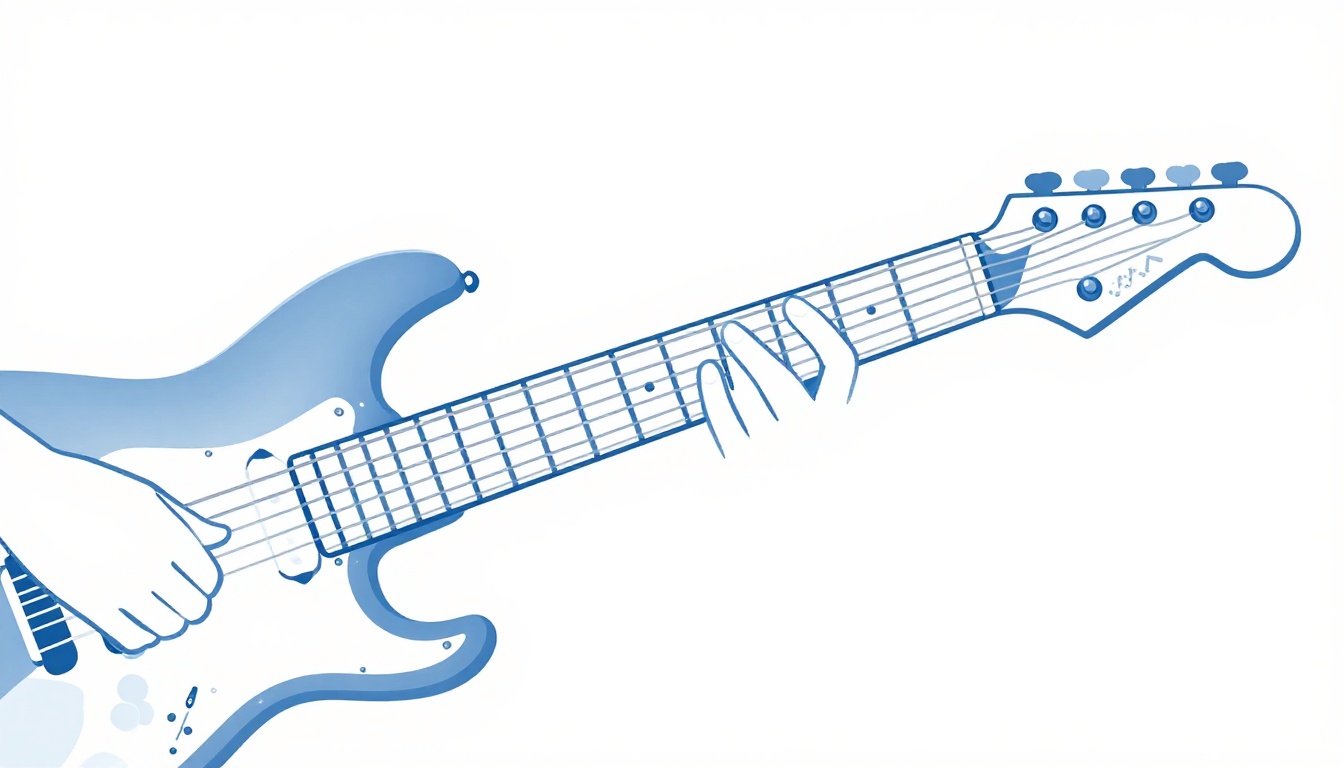
The same logic applies to scales. The five pentatonic scale boxes are movable patterns, and the only thing that changes as you slide a box up or down the neck is which key it is in, determined by which note the root falls on. A minor pentatonic box one, played with its lowest root on the 5th fret of the 6th string, is A minor pentatonic, because that fret is A. Slide the identical shape up three frets and it becomes C minor pentatonic, because the 8th fret of that string is C.
Without the note chart, moving a scale shape to a new key means trial and error. With it, moving a scale shape to a new key is arithmetic: find the fret with the root note you want, and place the shape there.
Power Chords and the Fifth Shape
A power chord, written as a root note followed by a 5 (E5, A5, D5, and so on), is just the root plus its fifth, and it has one of the most consistent shapes on the entire neck once you know where that fifth sits:
| Root string | Fifth string | Fret shift |
|---|---|---|
| 6th (low E) | 5th (A) | +2 frets |
| 5th (A) | 4th (D) | +2 frets |
| 4th (D) | 3rd (G) | +2 frets |
| 3rd (G) | 2nd (B) | +3 frets |
| 2nd (B) | 1st (high E) | +2 frets |
Root on the low E string, open, and the fifth sits two frets up on the A string, that shape is E5. Move both fingers up together, keeping the same two-string, two-fret relationship, and the shape becomes whatever chord the new root note names. The one exception, again, is the G-to-B string pair, where the shift becomes three frets instead of two, for the exact reason covered earlier in this post. Every guitarist who plays rock or metal already knows this shape by feel, what the note chart adds is knowing which power chord you are actually playing without having to count up from an open string every time.
Finding Any Chord Tone With the Chart
A major chord is built from three notes: the root, a major third above it, and a perfect fifth above it. A minor chord swaps the major third for a minor third, one fret closer to the root. Staying on a single string makes the arithmetic simple, since every fret is one half step:
- Root. Wherever you start.
- Major third. Four frets higher than the root, on the same string.
- Minor third. Three frets higher than the root, on the same string.
- Perfect fifth. Seven frets higher than the root, on the same string.
Take C on the 5th string, fret 3. Four frets higher, fret 7, is E, the major third. Seven frets higher, fret 10, is G, the perfect fifth. Root, third, and fifth: C, E, and G, exactly the notes of a C major chord, confirmed against the chart earlier in this post without needing to reach for a chord dictionary. Real chord shapes spread these three notes across different strings rather than stacking them on one, for reasons of playability and how full the chord sounds, but the underlying notes are always the same three, and the chart is what lets you verify them instead of taking a shape on faith.
How Alternate Tunings Shift the Chart
Every chart on this page assumes standard tuning, E-A-D-G-B-E low to high. Retune even one string and every note on that string shifts by however much you detuned it, while the rest of the chart stays exactly the same.
Drop D is the clearest example. Only the 6th string changes, tuned down a whole step from E to D. Everything on the other five strings reads exactly like the chart above, and the 6th string simply shifts its whole column down two frets, so what used to be the 2nd fret (F#) is now the open string's neighbor, and the whole string lines up as though it were capoed down two frets in reverse. The practical payoff is a low D root note available open, without retuning the strings you already know.
Any other alternate tuning works the same way: figure out which strings moved and by how many half steps, then shift only those strings' columns in the chart by that amount. The half-step gaps at B-to-C and E-to-F do not move, they are a property of the note names themselves, not of any particular tuning.
Learning One String at a Time
The most common mistake in learning the fretboard is trying to absorb all six strings simultaneously from a full diagram. It does not stick, because there is too much to hold in your head at once and no single string ever gets enough repetition to become automatic.
Instead, drill one string to fluency before starting the next:
- Start on the 6th string. Say each natural note aloud, fret by fret, from open to the 12th fret, using the chromatic exercise above.
- Once you can call out any fret on that string within a second or two, without counting up from the nut, move to the 5th string.
- Repeat for the 4th, 3rd, and 2nd strings. Skip the 1st string entirely at first, since it repeats the 6th string's names.
- Only after all five are solid, drill jumping between strings at the same fret, which is where octave shapes and chord shapes actually get used.
This is slower at the start than trying to learn everything at once, and it is the only version of this that actually survives contact with real playing.
Landmark Notes First, Then Fill In the Gaps
A second, complementary method: instead of drilling every fret in order, memorize a handful of landmark notes per string first, then work out anything in between by counting from the nearest landmark.
Good landmarks to start with, since they line up with the dot markers:
- The open string note.
- The note at the 3rd fret (a dot marker on every standard fretboard).
- The note at the 5th fret (also a dot marker, and the note matching the next open string, per the rule above).
- The note at the 12th fret (the octave of the open string, marked with a double dot).
Once those four are automatic on a string, any other fret on that string is at most two frets away from a landmark you already know, which is faster than counting from the nut every time.
A Worked Example: Finding Every C on the Neck
Here is what all of the above looks like used together, on a single note. Every C on the first twelve frets, pulled straight from the chart earlier in this post:
| String | Fret |
|---|---|
| 6th (low E) | 8 |
| 5th (A) | 3 |
| 4th (D) | 10 |
| 3rd (G) | 5 |
| 2nd (B) | 1 |
| 1st (high E) | 8 |
Notice the octave-shape relationships from earlier show up here without any extra work. The 5th string's C at fret 3, plus an octave shape (two strings over, two frets up), lands on the 3rd string at fret 5, which the chart confirms is also C. The 6th string's C at fret 8, same shape applied, lands on the 4th string at fret 10, also C. Once you know one C, the octave shapes hand you two or three more for free, without touching the note chart again.
Where Is Middle C on the Guitar
This one trips up players coming from piano, because the honest answer is "several places," depending on what you mean by middle C. As an absolute pitch, middle C (C4, around 261.6 Hz) is playable in five spots on a guitar in standard tuning:
| String | Fret |
|---|---|
| 2nd (B) | 1 |
| 3rd (G) | 5 |
| 4th (D) | 10 |
| 5th (A) | 15 |
| 6th (low E) | 20 |
The guitar is also a transposing instrument, meaning guitar sheet music is written one octave higher than it actually sounds, so a piece of guitar notation showing "middle C" is really asking for the C one octave below concert middle C, C3, which sits at the more commonly used 3rd fret of the 5th string or 8th fret of the 6th string, both covered in the main chart earlier in this post. Neither answer is wrong, they are answering two different questions: where the pitch sits in absolute terms, or where a guitar part written in standard notation is telling you to play.
Common Mistakes When Learning the Fretboard
Rushing Past the Natural Notes
Trying to learn sharps and flats before the seven natural note names are automatic doubles the amount you are holding in memory at once. Get the naturals solid on a string first, the sharps and flats fill in the remaining frets by process of elimination once the naturals anchor the pattern.
Only Practicing on the Low E String
The low E string gets the most attention because it is the string most chord diagrams reference first, but every other string needs the same repetition. A player who knows the 6th string cold and freezes on the 3rd string has not actually learned the fretboard, only one-sixth of it.
Memorizing Shapes Without the Notes Underneath
Chord shapes and scale boxes move around the neck, but only if you know which note you are moving them to. A shape learned in isolation, without the note chart behind it, cannot be transposed to a new key on demand.
Practicing Only Through Songs
Songs are a poor way to learn raw fretboard knowledge, because a song rarely repeats the same note-finding movement enough times in a row for it to become automatic. Dedicated drills, even five minutes of them, do more for this specific skill than an hour of playing songs you already know.
Treating It as a One-Time Task
Fretboard knowledge fades without use, the same way any memorized information does. A few minutes of the chromatic exercise or the landmark drill, revisited weekly even after the notes feel solid, keeps it from slipping.
Never Testing Recall Under Time Pressure
Reading the chart slowly and being able to name a note in under two seconds while playing are different skills. It is easy to feel confident staring at a diagram with no time limit and then freeze the first time a note needs to be found mid-song. Timing yourself, even informally, is what closes that gap, since it forces the same fast, no-hesitation recall that playing actually demands.
A 10-Minute Daily Drill
This is the version of the above that fits into a real day:
- Minutes 1 to 3. Chromatic exercise on one string, up and back down, naming every note out loud.
- Minutes 4 to 6. Pick five random frets on that same string. Name the note before you fret it, then check yourself by comparing to the note chart or a tuner app's pitch display.
- Minutes 7 to 9. Find one landmark note (say, C) in three different places on the neck using the octave shapes covered above.
- Minute 10. Move to the next string and repeat the chromatic exercise once, just to keep it warm for tomorrow.
Twenty to thirty minutes of total daily practice, with a chunk like this inside it, moves faster than one long session once a week, because the recall itself is what needs the repetition, not just exposure to the information.
Why Any of This Actually Matters
The fretboard is not a trivia exercise. Once the notes are automatic, a few concrete things change:
- You can find any chord anywhere on the neck instead of only in the one open position you memorized from a chart.
- You can move a scale to a new key without relearning the shape, since the shape stays identical and only its position changes.
- You can work out what a capo actually does to a chord shape, instead of guessing, since a capo simply moves every open string's note up by a fixed number of frets.
- You can play along with a song in an unfamiliar key without needing a new chord chart for it.
None of this requires more raw technique than you already have. It requires knowing what note is under your finger, which is the one thing memorizing shapes alone never teaches.
Fretboard Wood: Why It Changes Feel, Not Note Names
Everything covered so far is identical no matter what the fretboard itself is made from, since the notes come from string length and fret placement, not the wood underneath. What the wood does change is feel and, to a smaller degree, tone:
- Rosewood. Warm, resonant in the low mids, and porous enough to absorb finger oils over time, which is why it is common on acoustic and electric necks alike and needs occasional conditioning.
- Ebony. Dense, hard, and glass-smooth under the fingers, with a bright, articulate attack. Its density makes it less porous than rosewood, so it stays cleaner for longer but still benefits from conditioning.
- Maple. Bright, snappy, and usually sealed with a finish, unlike rosewood and ebony, which means it does not absorb oils and needs a different kind of care, covered below.
- Pau ferro. Sits between rosewood and ebony in both tone and feel, brighter and more articulate than rosewood, warmer than ebony, and a common substitute for rosewood on newer instruments.
None of this changes anything covered earlier in this post. A note chart drawn for a rosewood board and one drawn for an ebony board are identical, fret for fret.
Fretboard Radius: Flat, Curved, or Compound
Radius describes how curved the fretboard is across its width, measured as the radius of the imaginary circle the curve would complete. A smaller number means a rounder board, a larger number means a flatter one. Common figures include 7.25 and 9.5 inches on many Fender-style necks, 10 to 12 inches on many other electrics, and flatter boards on some modern shred-oriented instruments.
The practical difference is in what the curve makes easier. A rounder board suits chording and barre shapes, since your fingers naturally roll across a curved surface. A flatter board suits low action and wide string bends without the outer strings choking out, which is why it shows up more on lead-focused instruments. Some necks use a compound radius, rounder near the nut for comfortable chording and progressively flatter toward the body for easier bending and lower action higher up. Like wood, radius changes how the neck feels under your hand, not which notes sit where.
Caring for the Fretboard
Unfinished woods, rosewood, ebony, and pau ferro among them, benefit from occasional conditioning, since they are porous enough to dry out over time. A small amount of a dedicated fretboard oil, applied sparingly during a string change and wiped off after it has had time to soak in, keeps the wood from drying and cracking. This is not a frequent task, every few months depending on climate and how often you play is typical.
Finished maple fretboards are sealed, so they do not need oil and should not be treated the same way. A cloth barely dampened with water, followed by a dry wipe, is enough to clear the grime that builds up between string changes.
Frequently Asked Questions
How long does it actually take to learn the fretboard? Most players get one string solid within a few days of daily short drills, and all six strings usable within four to six weeks. Fluent, instant recall across the whole neck typically takes a few months of consistent practice, not because the information is large, but because the goal is speed, not just familiarity.
Do I need to know the fretboard before learning chords? No. Plenty of players learn open chords from diagrams long before they know note names, and there is nothing wrong with that order. Fretboard knowledge becomes necessary once you want to move a shape to a new key or understand why a chord is built the way it is.
Is it better to learn sharps or flats? Neither is more correct, they are the same pitch on the same fret. Most beginners default to sharps because that is the more common convention in fretboard diagrams, and switch to flats naturally once they are reading music in a key that calls for them.
Why does the fretboard chart look different on a bass guitar? A standard bass has four strings, tuned E, A, D, G, one octave below a guitar's lowest four strings. The note relationships, the half steps at B-to-C and E-to-F, and the octave at the 12th fret all work identically, there are just two fewer strings to track.
Do capos change what note is at a given fret? Yes. A capo effectively creates a new nut, so every open string's note shifts up by however many frets the capo covers. The full capo chart covers this fret by fret if you want the exact shift for every position.
What is the fastest way to check if I have found the right note? Use the 5th fret rule as a cross-check: if the note you found matches the open string one string up (fretted at the 5th fret, or 4th fret for the G-to-B pair), you have the right note. A tuner app's pitch display also confirms a note instantly if you want a second check.
Does a 24-fret neck have different notes than a 22-fret neck? No, the note pattern is identical fret for fret. The extra frets on a 24-fret neck simply extend the octave that already started repeating at fret 12, giving you a full second octave above the 12th fret instead of a partial one.
Should I learn the fretboard on acoustic or electric guitar? It makes no difference. The note layout, string tuning, and fret spacing are the same relationship on both, only the string tension and neck width differ slightly, which affects feel, not note names.
Is the fretboard different for a left-handed guitar? The notes and relationships are identical, the whole layout is just mirrored left to right, since the strings are flipped so the low E sits on top instead of the bottom. A left-handed player learns the exact same chart, applied to the strings in their new physical order.
Does a 7-string guitar just add another column to the chart? Yes. A 7-string adds a low B string below the standard low E, tuned a perfect fourth below it, which follows the same half-step pattern as every other string, just extended one string lower. Everything else on the chart, the 12th-fret octave, the dot markers, the B-to-C and E-to-F gaps, stays identical.
Do fretboard stickers or note labels actually help? They can work as a short-term crutch to speed up the first week or two of the landmark method, since they remove the guesswork while a new pattern gets some initial repetition. The goal is still to stop relying on them, since a label on the wood does nothing for recall the moment you play a guitar that does not have one. Treat them as training wheels, not a permanent fix.
GuitarLowKey
Ready for fifteen focused minutes?
Open the web app and train the change that is blocking your song.